
Free Pattern
Step-by-Step
Crochet
AmigurumiA little amigurumi bee, quick enough for beginners
A small amigurumi bee worked in single crochet, simple enough for a first amigurumi project.
- Level
- Beginner
- Time
- 1-3 hours
- Hook
- 4.5 mm
- Yarn
- DK / Worsted
Pattern highlights
- Begin the body with a magic ring, then let quick increases round out the base into a dome shape.
- Keep working in a continuous spiral, using a stitch marker so you never lose the round.
- Work two wings separately in the same yellow, finishing each with a long tail for sewing.
- Stuff the body firmly before closing the final round, keeping the shape smooth and round.
- Position the wings at the middle stripe section and whipstitch them in place by hand.
- Add the safety eyes, then embroider a few soft pink stitches for the cheeks.
About This Pattern
A bee like this sits near the front of my amigurumi collection, not the back. It's small, quick, and forgiving — the kind of pattern I reach for between bigger projects. Beginner-friendly makes like this one matter more than they get credit for. They teach shaping and stitch counting without demanding hours. This one uses only two yarn colors and a handful of rounds. It never overstays its welcome on the hook.
Technique-wise, this pattern is a tidy tour of amigurumi basics. The body starts in a magic ring, then grows through a continuous spiral — no joining, no turning. Increases come in a steady rhythm: doubling first, then spacing out with plain stitches between. Wings are worked flat and whipstitched on afterward. Cheeks aren't crocheted at all — they're a few straight stitches in pink, embroidered by hand. That mix of construction, shaping, and simple embroidery keeps the hour interesting.
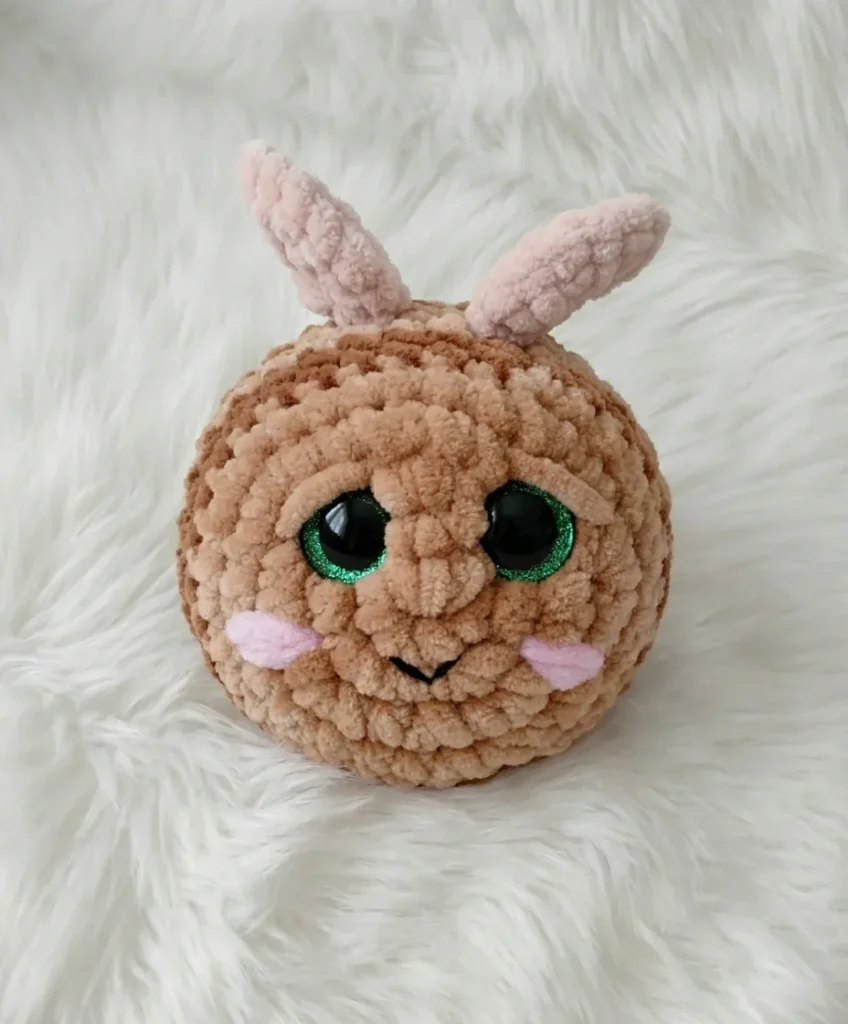
What comes off the hook is a round little bee, stuffed firm with polyester fiberfill. Its safety eyes give it a fixed, curious expression before the cheeks even go on. The wings sit high on the sides, catching light against the yellow and brown body. It's small, plush, and sturdy enough to survive a toy box. I'd call it a satisfying hour of work, even if it runs a little longer for careful hands.
Worth knowing
The satisfaction here is in the shaping. Round 1 starts as eight stitches in a magic ring, barely enough to hold. It doubles instantly to sixteen. Watching that increase spread the fabric into a curve is the quiet trick of amigurumi. The continuous spiral means no telltale join line breaks the color pattern. Embroidering the cheeks afterward is almost meditative. A few loose straight stitches, not fussed over, and the bee suddenly has personality. Whipstitching the wings on by hand, using the leftover tail, ties the whole project together. It's a small process with several small payoffs.
Common mistakes
- Magic ring left too loose Pull the tail firmly before the first round so no hole shows at the center.
- Losing track in the spiral Move a stitch marker up every round; without a join, it is easy to drift off count.
- Wings sewn on unevenly Whipstitch slowly around the flat edge, checking both sides sit at the same height before you finish.
- Cheeks embroidered too neatly Keep the straight stitches loose and a little uneven; a gentle, soft mark suits this face better.
- Stuffing added after closing Add fiberfill before the last rounds close, since it is much harder to stuff a nearly sealed body.


Beginner
Progress Tracker
0 of 0 rounds
Tap a round to tick it off — your place is saved on this device.
The kit
Yarn
- Light worsted weight (CYCA #3 / DK), such as Wolans Bunny Baby — Yellow (light color) and Dark Brown or Black (dark color), small amounts of each; soft pink for cheeks
Hook
- US 7 / 4.5 mm
Safety Eyes
- 18 mm × 1 pair
Stuffing
- Polyester fiberfill
- Stitch Marker
- Yarn Needle / Tapestry Needle
- Scissors
Body (make 1 — begin with light color / yellow)
Round 1Start with a Magic Ring, work 8 sc into the ring. Pull ring closed. (8)
Round 2Inc in each st around. (16)
Round 3\[1 sc, inc\] × 8. (24)
Round 4\[2 sc, inc\] × 8. (32)
Round 5Sc in each st around. (32)Change to dark color.
Round 6Sc in each st around. (32)
Round 7Sc in each st around. (32)Change to light color / yellow.
Round 8Sc in each st around. (32)
Round 9Sc in each st around. (32)
Round 10Sc in each st around. (32)Change to dark color.
Round 11Sc in each st around. (32)
Round 12Sc in each st around. (32)Change to light color / yellow.
Round 13Sc in each st around. (32)
Round 14Sc in each st around. (32)
Place safety eyes (18 mm) between Rounds 2 and 3 now, if you haven’t already. Begin adding fiberfill stuffing.
Round 15\[2 sc, dec\] × 8. (24)
Round 16\[1 sc, dec\] × 8. (16)
Round 17Dec around. Sl st to close the opening. (8 / closed) Fasten off and weave in the end, or use the tail to cinch the opening fully closed if any gap remains.
Wings (make 2 — worked in light color / yellow)
Round 1Start with a Magic Ring, work 8 sc into the ring. Pull ring closed. (8)
Round 2Inc in each st around. (16)Step by step: Sl st to join. Fasten off, leaving a long yarn tail for sewing.
Cheeks (make 2)
Using soft pink yarn and a yarn needle, embroider a small circle of 3–4 straight stitches on each side of the face, centered beside the safety eyes. These don’t need to be perfect — a soft, gentle mark is exactly the look you want.
Assembly
Step 1Finish the body. Make sure the body is fully stuffed and the opening at Round 17 is closed securely. Weave in any loose ends inside the body.
Step 2Position the wings. Place one wing on each side of the body, roughly at Rounds 8–10 (the middle stripe section). Hold each wing flat against the body with the right side facing outward.
Step 3Sew the wings on. Using the long yarn tail from each wing and a yarn needle, whipstitch around the flat edge of the wing to attach it firmly to the body. Pull the tail through to the inside of the body when finished and weave in securely.
Step 4Add the cheeks. Using a small length of soft pink yarn and your yarn needle, embroider the cheeks as described above, just to the sides of the safety eyes.
Step 5Final check. Tug gently on each wing and eye to confirm everything is attached securely. Weave in all remaining ends.
Finishing
- Stuff the body firmly with polyester fiberfill before working the last couple of rounds.
- Close the opening at the final round securely, so no stuffing peeks through.
- Weave in every loose end inside the body, then whipstitch the wings in place.
Why it works
Round 1 opens with eight single crochet in a magic ring. Round 2 doubles that count to sixteen, the classic first jump in amigurumi shaping.
Rounds 3 and 4 space the increases out — one plain stitch, then two. The curve widens gradually instead of jumping all at once.
The wings are finished with a slip stitch join and a long tail for sewing. A flat piece like that is easier to whipstitch onto a curved body.
What it becomes
- A desk companion that sits well next to a mug of coffee or a stack of books.
- A soft toy for a child's shelf, paired with other small amigurumi animals.
- A quiet, plush addition to a nursery windowsill, alongside plants or picture frames.
FAQ
What skill level is this bee pattern suited for?
This pattern is ideal for beginners who already know the basic single crochet stitch and are ready to try their first amigurumi. The construction is straightforward — one main body piece and two small wings — with no complex shaping or specialty stitches required. If you’re comfortable working in a continuous spiral and making basic increases and decreases, you’re ready for this project.
How long does it take to complete?
Most crafters finish this bee in under an hour, making it a wonderful last-minute gift or a satisfying project to complete in a single sitting. The flat wings work up in just two rounds each, and the body stripe pattern moves quickly once you’re in a rhythm. Factor in a few extra minutes for assembly and embroidering the cheeks.
Can I use a different yarn than the one listed?
Absolutely — any light worsted or DK weight yarn in a similar fiber content will work well here. Smooth, plied yarns show the stripe color changes most crisply, so avoid heavily textured or bouclé yarns for this particular design. If you go up or down a yarn weight, adjust your hook size accordingly and expect a slightly larger or smaller finished bee.
How big is the finished bee?
Using the recommended DK weight yarn and a US 7 / 4.5 mm hook, the finished bee measures approximately 3–4 inches tall. Working with a tighter tension or a thinner yarn will produce a smaller bee, while a chunkier yarn and larger hook will give you a bigger, squishier version. The 18 mm safety eyes are sized to match the standard finished dimensions.