
Free Pattern
Step-by-Step
Crochet
AmigurumiAmigurumi snowman head crochet pattern with sphere shaping
A rounded amigurumi head worked in single crochet, shaped with evenly spaced increases and decreases.
- Level
- Intermediate
- Time
- 4-6 hours
- Yarn
- Worsted
Pattern highlights
- Start the head with a magic ring and build the first six stitches from it.
- Work increase rounds that space single crochets further apart each time to widen the sphere.
- Crochet several plain rounds once the head reaches its widest point to set the equator.
- Add the toy eyes and stuff the head before it closes too far to reach inside.
- Embroider the face details with iris thread once the head is stuffed and shaped.
About This Pattern
This is the kind of piece I file under 'basics worth keeping.' A single amigurumi head, worked in single crochet from a magic ring, is the sort of component every collector ends up making dozens of times. I like having one clean version on hand to compare against the others.
The technique here is pure sphere shaping. Increases build the circumference round by round, three rounds hold steady at the widest point, then decreases pull it back in. No shaping chart, no fuss — just the math of a ball worked in the round.
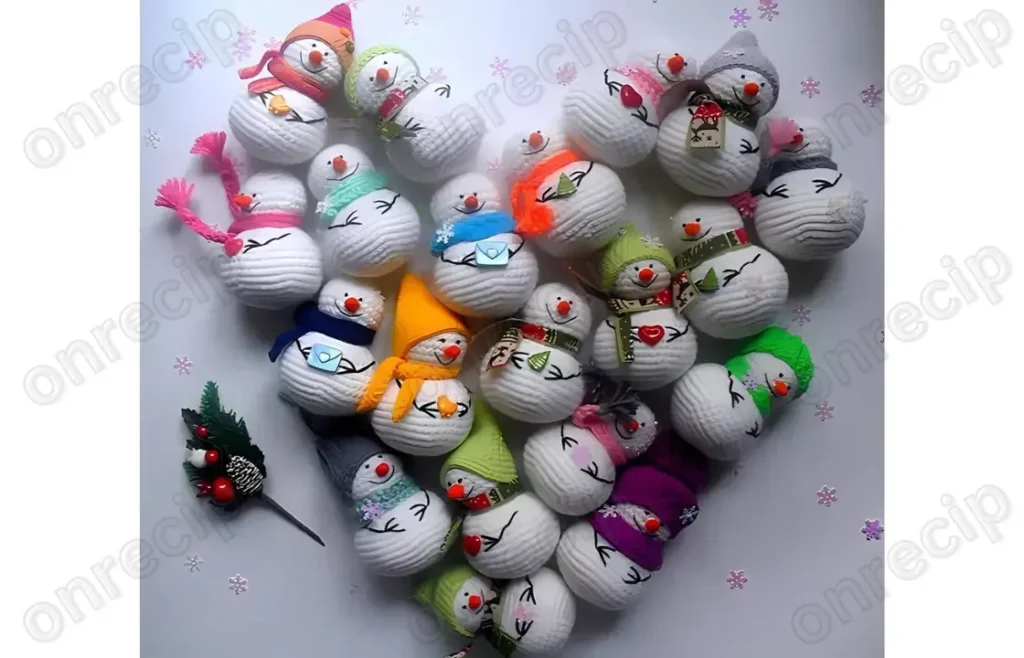
The finished object is a snowman's head, round and ready for stuffing, eyes, and an embroidered face in iris thread. It is small, self-contained, and the sort of thing I can finish while half-watching something else.
Worth knowing
There is something satisfying about watching a flat disc turn into a ball using nothing but spaced single crochet increases. Round two doubles the stitch count, then each round after adds increases a stitch further apart — six inc, then one sc and inc, then two sc and inc. That spacing is the whole trick to a round head instead of a hexagon. The three plain rounds in the middle give the sphere its equator, and the decrease rounds mirror the increases on the way back down. It is a small, quiet bit of geometry worked in yarn, and it is oddly calming to crochet once you trust the pattern of numbers.
Common mistakes
- Skipping a stitch count check after increases Count after every increase round against the number given. Catching a missed inc early saves unpicking a lopsided sphere later.
- Stuffing too late in the decrease rounds Add stuffing while the opening is still wide enough to reach the center. Waiting until the last round makes it hard to pack evenly.
- Losing track of the plain rounds Mark where the increase rounds end so the even rounds don't accidentally pick up a stitch or two. A stitch marker at the round start helps.
- Placing eyes before checking stuffing Attach the toy eyes after the head has some fill in it. Eye placement looks different on a flat disc than on a stuffed ball.
- Embroidering before the head is fully closed Finish closing and weaving in the yarn tail first. Embroidering with iris thread on an unfinished head can pull the shaping out of true.


Intermediate
Progress Tracker
0 of 0 rounds
Tap a round to tick it off — your place is saved on this device.
The kit
- Any yarn (for the snowman itself)
- Iris thread (for embroidering the arms and face)
- Crochet hook
- Eyes for toys
- Stuffing for toys
- Needle for sewing parts
- Scissors
Head
Round 16 sc in KA 2nd round: 6 inc (12 sc) 3rd round: (1 sc, inc) x 6 times (18 sc) 4th round: (2 sc, inc) x 6 times (24 sc)
Round 5(3 sc, inc) x 6 times (30 sc) 6th-8th rounds: crochet in a circle for 3 rounds (30 sc)
Round 9(3 sc, dec) x 6 times (24 sc) 10th round: (2 sc, dec) x 6 times (18 sc) 11th round: (1 sc, dec) x 6 times (12 sc)
Ready to Learn More? Open the next page for Further Guidance!
Pages: 1 2
Finishing
- Stuff the head firmly as the decrease rounds bring the opening in, before it gets too small to pack.
- Close the last round snugly and weave the tail through to secure it inside the head.
- Weave in all loose ends, then embroider the face and attach the toy eyes with iris thread.
Why it works
Each increase round spaces the inc stitches one further apart than the last, which is what keeps the shape round instead of pointed.
Three rounds worked even at 30 sc hold the diameter steady, giving the head a flat 'equator' before it starts closing.
The decrease rounds step down in the same pattern as the increases went up, so the closing half mirrors the building half stitch for stitch.
What it becomes
- A single ornament piece to pair with other small amigurumi heads on a shelf.
- A practice piece for learning sphere shaping before attempting a full amigurumi body.
- A component to combine with your own scarf, hat, or body pieces for a complete figure.
Original pattern: https://onrecip.com/free-amigurumi-snowman-crochet-pattern/
FAQ
What makes this head round instead of hexagonal?
The increases are spaced an extra stitch apart each round, not stacked directly on top of each other. That gradual spacing is what curves the shape into a sphere rather than a flat hexagon.
Why are there three rounds worked even in the middle?
Those rounds hold the widest stitch count steady, giving the head a bit of height at its equator. Without them, the increases and decreases would meet at a single point and the head would look more like a diamond than a ball.
When should I add the stuffing?
I add it gradually once the decrease rounds start, while there's still a wide enough opening to pack firmly. Waiting until the very end makes it hard to reach the center.
Can I use a different yarn than suggested?
The pattern just calls for any yarn, so this is forgiving. I'd just keep the hook size matched to whatever weight I choose, since the stitch counts assume a consistent gauge.