
Free Pattern
Step-by-Step
Crochet
AmigurumiBear in frog costume amigurumi crochet pattern
A plush bear amigurumi dressed as a frog, built in spiral rounds with a separate shirt and hat.
- Level
- Intermediate
- Time
- 4-6 hours
- Hook
- 2.25 mm
- Yarn
- Fingering
Pattern highlights
- Crochet the head and body separately in continuous spiral rounds, shaping each with increases.
- Work the arms and legs as smaller spiraled tubes, then set them aside stuffed.
- Make the frog eyes and eye whites separately, then attach the pupils as safety eyes.
- Crochet the shirt flat in rows to fit around the stuffed body.
- Sew the head to the body, then attach arms, legs, hat, and shirt in sequence.
- Close the shirt at the back with the button before calling the bear finished.
About This Pattern
This one landed in my notebook under 'costumes on animals,' a small but stubborn category. A bear dressed as a frog is a joke that only works if the bear stays soft and round underneath the joke. I like that the pattern keeps the two ideas separate: plush bear first, green costume second.
The technique list is familiar amigurumi territory, worked in continuous spiral with a stitch marker tracking the round. What makes it interesting is the shirt and hat brim breaking from that spiral to work flat in rows, then turning back into the round shape. Two safety eye sizes do two different jobs here.
What comes out the other end is a plush bear in a green frog shirt and hooded hat, with its own small frog eyes perched on top. It is a toy built in parts and then assembled, so the finished object only really appears at the sewing stage.
Written in US crochet terminology, the pattern suits confident beginners and intermediate crocheters, and the finished bear stands about 10–11 cm tall.
Worth knowing
The satisfaction here is in the swap between techniques. Head, body, arms, and hat spiral along in continuous rounds, no slip stitch, just a marker to keep you honest. Then the shirt and hat brim flip to flat rows with a turn, a different rhythm inside the same project. I like a pattern that makes me change gears without changing hooks. There is also the oddity of two sets of safety eyes at two sizes, one pair for the bear, one smaller pair for the frog pupils on the hat. Sewing the pieces together afterward, aligning arms and legs to specific round ranges on the body, is its own small puzzle. It rewards patience more than speed.
Common mistakes
- Losing the spiral round marker Drop a stitch marker at the start of every round on head, body, arms, and legs. Without it the spiral drifts and your stitch count stops matching the pattern.
- Treating the shirt like a spiral part The shirt and hat brim are worked flat in rows with a turn at the end. Carrying spiral habits into these sections will twist the fabric.
- Mixing up the two safety eye sizes One 6mm pair is for the bear's eyes, the other 6mm pair is for the frog pupils. Keep them in separate piles before you start placing anything.
- Overstuffing the head The pattern calls for light stuffing in the head, not firm. Too much fill distorts the shape before you sew it to the body.
- Guessing where arms and legs attach Arms and legs sew on between specific round ranges on the body, not at the seam or top. Count rounds up from the base before placing pins.


Intermediate
Progress Tracker
0 of 0 rounds
Tap a round to tick it off — your place is saved on this device.
The kit
- Yarn (Body & Head): Thin plush yarn (Fingering weight) in white
- Yarn (Costume): Semi-cotton yarn in green, yellow, white, and black
Hook
- US B-1 / 2.25 mm (use 2.2 mm if available)
Safety eyes
- 6 mm × 2
Half-bead cabochons
- 6 mm × 2 (for frog eye pupils)
Stuffing
- Polyester fiberfill
- Stitch markers
- Yarn needle / tapestry needle
- Sewing pins
- Scissors
- Blush powder (for cheeks)
- One small button (for shirt back closure)
- Craft glue
Head
Work with white yarn.
Round 16 sc in MR. (6)
Round 2inc in each st around. (12)
Round 3sc, inc repeat 6 times around. (18)
Round 42 sc, inc repeat 6 times around. (24)
Round 53 sc, inc repeat 6 times around. (30)
Round 62 sc, inc, 2 sc repeat 6 times around. (36)
Round 75 sc, inc repeat 6 times around. (42)
Rounds 8–11sc in each st around. (42) (4 rounds)(42)
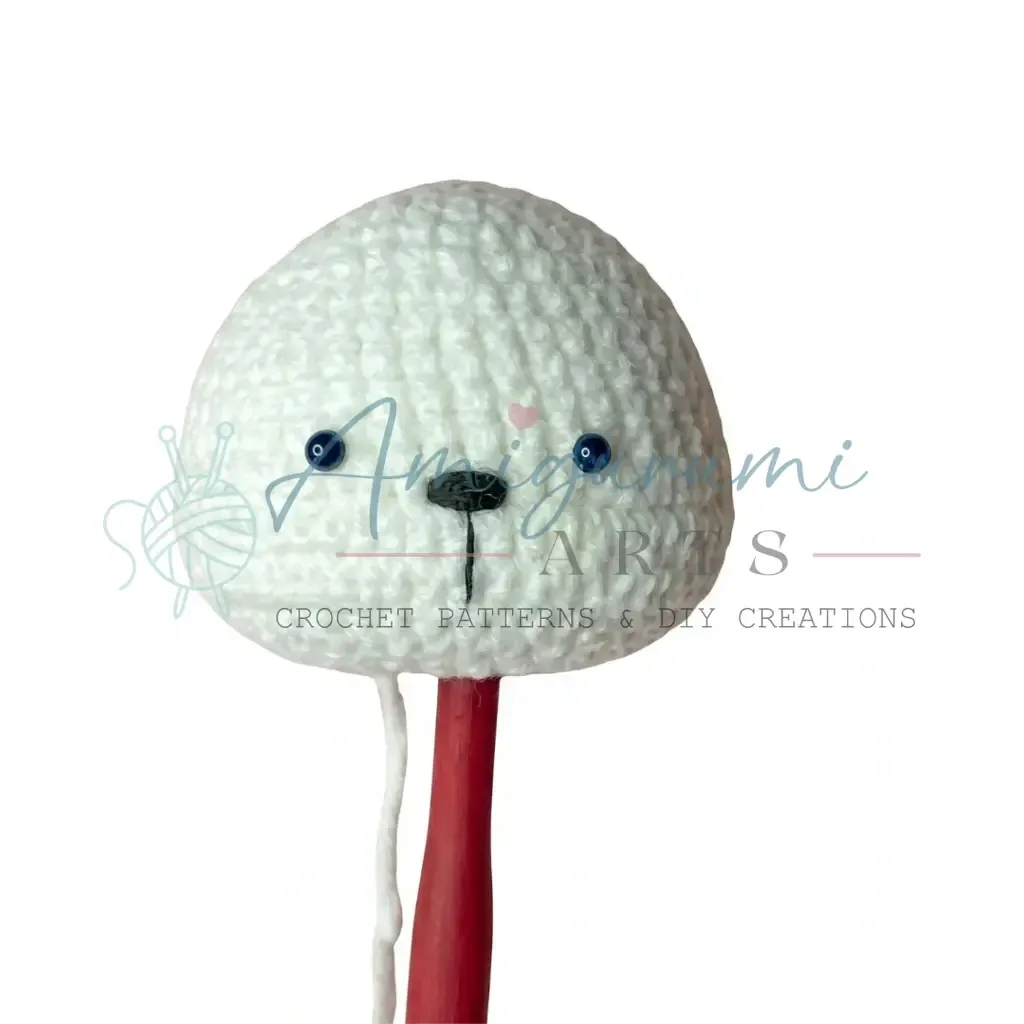
Round 1212 sc, inc 6 times, 6 sc, inc 6 times, 12 sc. (54)Before starting Rnd 12, mark the placement points for the safety eyes between Rnds 11 and 12. Leave 6 stitches between the two eye positions. The eyes should sit between the increase stitches in Rnd 12.
Rounds 13–14sc in each st around. (54) (2 rounds)(54)
Round 1512 sc, dec 6 times, 6 sc, dec 6 times, 12 sc. (42)
Round 165 sc, dec repeat 6 times around. (36)
Round 172 sc, dec, 2 sc repeat 6 times around. (30)
Round 183 sc, dec repeat 6 times around. (24)
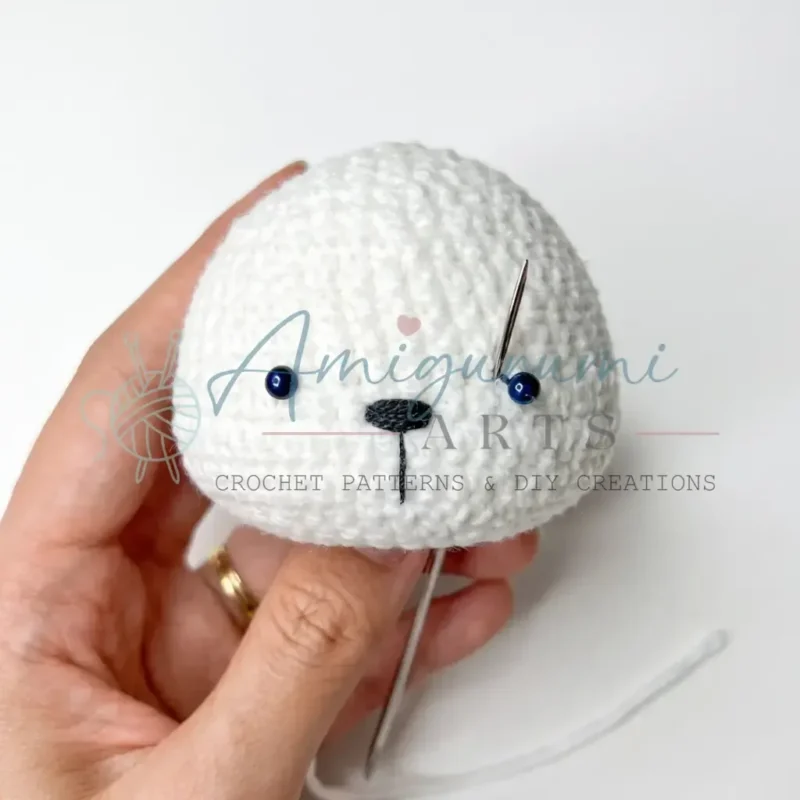
Round 19sc, dec repeat 8 times around. (16)Fasten off, leaving a long yarn tail. Stuff the Head firmly before closing. Embroider the nose, sink the safety eyes, and apply blush to the cheeks.
Body
Work with white yarn.
Round 1Chain 7. Starting in the 2nd ch from hook: inc, 4 sc, 4 sc in the last ch. Working along the opposite side of the foundation chain: 4 sc, inc. (16)
Round 2inc 2 times, 4 sc, inc 4 times, 4 sc, inc 2 times. (24)
Round 3sc, inc repeat 2 times, 4 sc, sc, inc repeat 4 times, 4 sc, sc, inc repeat 2 times. (32)
Rounds 4–6sc in each st around. (32) (3 rounds)(32)
Round 7dec, 14 sc, dec, 14 sc. (30)
Round 8sc in each st around. (30)
Round 93 sc, dec repeat 6 times around. (24)
Rounds 10–11sc in each st around. (24) (2 rounds)(24)
Round 12sc, dec repeat 8 times around. (16)
Round 13sc in each st around. (16)Fasten off. Stuff the Body firmly.
Arms (make 2)
Work with white yarn.
Round 19 sc in MR. (9)
Round 2sc in each st around. (9)
Round 37 sc, dec. (8)
Round 46 sc, dec. (7)
Rounds 5–7sc in each st around. (7) (3 rounds) Fasten off, leaving a long yarn tail. Do not stuff. Sew to the Body between Rnds 8 and 11.
Legs (make 2)
Work with white yarn.
Round 16 sc in MR. (6)
Round 2inc in each st around. (12)
Rounds 3–5sc in each st around. (12) (3 rounds)Fasten off, leaving a long yarn tail. Stuff lightly. Sew to the Body between Rnds 3 and 6.(12)
Hat
Work with green yarn.
Round 18 sc in MR. (8)
Round 2inc in each st around. (16)
Round 3sc, inc repeat 8 times around. (24)
Round 4inc, 2 sc repeat 8 times around. (32)
Round 53 sc, inc repeat 8 times around. (40)
Round 6sc in each st around. (40)
Rounds 7–1536 sc, ch 1, turn. (9 rows worked flat) After Row 15, work the brim as follows: Brim: 36 sc along the edge, ch 8, sl st into the first ch, work 10 sc along the underside of the ch-8 loop, 4 sc across the remaining sts of Rnd 6, 8 sc along the opposite side, 8 sc across the ch-8, sl st. Fasten off.
Frog Eyes (make 2)
Work with green yarn.
Round 18 sc in MR, sl st to first sc to join. (8)
Round 2ch 1, sc, inc repeat 4 times around, sl st to first sc to join. (12)Fasten off, leaving a long yarn tail.
Eye Whites (make 2)
Work with white yarn.
Round 16 sc in MR, sl st to first sc to join. (6)Fasten off and cut yarn.Glue the Eye Whites onto the Frog Eyes, then glue the half-bead cabochons onto the Eye Whites. Sew the completed Frog Eyes to the Hat between Rnds 8 and 9, leaving 8 stitches between them.
Shirt
Work with green yarn. Worked flat.
Foundation: Chain 34. Starting in the 7th ch from hook: 28 sc, ch 1, turn. (28)
Round 1Yellow yarn Switch to yellow yarn. 5 sc, ch 8, sk 4 sts, 10 sc, ch 8, sk 4 sts, 5 sc, ch 1, turn. (36 including ch-8 loops for armholes)
Round 2Green yarn Switch to green yarn. 5 sc, 8 sc across the ch-8 loop, 10 sc, 8 sc across the ch-8 loop, 5 sc, ch 1, turn. (36)
Round 3Yellow yarn Switch to yellow yarn. 36 sc, ch 1, turn. (36)
Round 4Green yarn Switch to green yarn. 36 sc, sl st. Fasten off. (36)Sew the button to the back of the Shirt.
Assembly
Step 1Place the Hat onto the Head, positioning the Frog Eyes toward the front. Sew the Hat securely to the Head.
Step 2Sew the Head to the Body using the long yarn tail, aligning it centrally at the top of the Body. Use whipstitch and pull firmly so the join is tight and invisible.
Step 3Sew the Arms to the Body between Rnds 8 and 11, one on each side, using the long yarn tails.
Step 4Sew the Legs to the base of the Body between Rnds 3 and 6, one on each side.
Step 5Dress the bear in the Shirt, fastening the button at the back.
Step 6Apply blush to the bear’s cheeks with a dry brush.
Step 7Weave in all remaining yarn ends.
From the collection
Finishing
- Weave in every long yarn tail left from fastening off head, arms, and legs.
- Stuff each piece before sewing, firmly in the body and lightly in the head.
- Sew the head, arms, legs, and hat in place, then dress and button the shirt.
Why it works
The body starts from a chained foundation rather than a magic ring, which gives it an oval base instead of a round one.
The hat and shirt both drop the continuous spiral for flat rows, which is what lets them open up and fit around a stuffed shape instead of closing into a ball.
Arms and legs attach to specific round ranges on the body rather than fixed points, so the body's own increases set where the limbs will sit.
Gauge is not critical for this project, but tension should be tight enough that stuffing does not show through the fabric; if it does, try dropping down one hook size.
What it becomes
- A shelf piece for a collection of character amigurumi, next to other dressed animals.
- A handmade gift for a child who already likes frogs or bears specifically.
FAQ
What yarn weight should I use for this bear in frog costume amigurumi?
The body and head are worked in a thin plush yarn at Fingering weight, which creates a soft, velvety surface. The costume pieces use a semi-cotton yarn in the same weight. Avoid going heavier than Fingering weight or the finished bear will be significantly larger than the intended 10-11 cm and the costume pieces may not fit properly.
Why does the shirt need a button instead of just sewing it shut?
The button closure at the back lets the shirt come off the body, which flat-row construction makes possible in the first place. It is a practical detail, not decorative.
Do I need two different sizes of safety eyes?
Yes, the pattern uses one 6mm pair for the bear's face and a separate 6mm pair for the frog pupils on the hat. They serve different parts of the costume.
What is the stitch marker actually tracking here?
Head, body, arms, legs, and hat are worked in continuous spiral with no joining slip stitch. The marker marks round one's start so you don't lose count as the spiral continues.