
Free Pattern
Step-by-Step
Crochet
AmigurumiChunky velvet kitty amigurumi plush pattern
A quick chunky-yarn amigurumi cat with bobble paws, floppy ears, and a curled tail.
- Level
- Intermediate
- Time
- 4-6 hours
- Hook
- 20 mm
- Yarn
- Bulky/Chunky
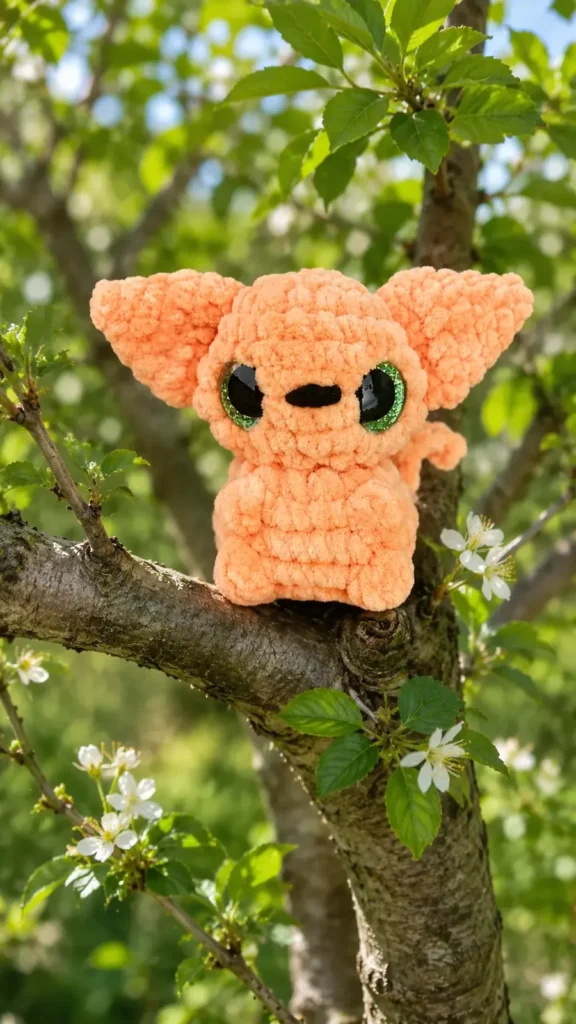
Pattern highlights
- Start the head and body as one continuous piece worked in rounds from the top down.
- Watch the bobble rounds closely, since front paws and back legs use different loop counts.
- Seat the safety eyes once the bobble rounds beneath them are lined up correctly.
- Stuff the head fully before continuing, then add body stuffing in later rounds.
- Crochet both ears flat as small flared rounds, then pin them to the head before sewing.
- Anchor the tail directly into a round on the back and chain it outward.
- Sew the tail base with an upward lean so it stands rather than droops.
About This Pattern
I keep a shelf for the fast plushies, the ones I can start and finish in an evening without losing the thread. This kitty belongs there. One continuous body from nose to tail, worked in a single part rather than pieced from a dozen scraps. It is the kind of pattern I reach for when I want a finished object by bedtime, not a project that sits half-stuffed for a month.
The techniques are modest on paper: single crochet, standard increases, and bobble stitches for the paws and legs. But the bobbles do real work here, 4 loops for the front paws and 6 for the back, which gives the feet more sculptural lift than a flat round ever would. Safety eyes get seated against those bobble rounds, so the alignment between stitch and eye placement actually matters.
What comes off the hook is a compact, palm-sized cat, round-bodied and short-limbed, with two pinned ears and a chenille-friendly tail worked straight off the back. Premier Parfait Chunky and a 5.5mm hook keep the fabric dense enough that stuffing never peeks through. It is a shelf plushie, not a toy you hand to a toddler to test.
Finished size will vary depending on your yarn weight, hook size, and personal tension. Using Premier Parfait Chunky yarn with a 5.5mm hook creates a compact, palm-sized chunky plushie. Gauge is not critical for this pattern — just make sure your stitches are worked tight enough so that the polyfill stuffing does not show through the fabric.
Worth knowing
The satisfaction here is in the bobbles. Four loops for the front paws, six for the back legs, and the difference actually reads once stuffed. I like that the eyes have to line up with those bobble rounds instead of floating wherever I guess is the face, because it forces a little precision into an otherwise forgiving shape. The tail is its own small reward too, chained off the back of round 13 and curled upward with one extra stitch through the back wall instead of just tacked on flat. Nothing about this build is fussy, but each part has one deliberate decision baked into it. For a chunky-yarn amigurumi worked in under half a skein, that is more character than I expected to find.
Common mistakes
- Bobbles drift off from the eyes Check that the bobble stitches sit directly under where the safety eyes will go before working past the rounds that follow. Add or remove a single crochet to nudge the position back into line.
- Mixing up front and back loop counts The front paws use 4-loop bobbles and the back legs use 6-loop bobbles. Reread the round before starting the bobble so the feet keep their distinct definition.
- Losing count in velvet or chenille yarn These fibers hide the loop opening at the start of a round. Place a stitch marker in the first stitch of every round so you always know where it begins.
- Ears sewn on crooked Pin both ears between the earlier head rounds first and step back to compare them. Only sew permanently once they look straight and evenly spaced.
- Tail flops instead of standing up Take the final sewing stitch through the back wall of the body, angled slightly upward. This small adjustment keeps the tail pointing up rather than lying flat.
- Stuffing all at once Stuff the head completely after round 8, then stuff the body after round 15. Adding polyfill in small amounts at each stage keeps the shape smooth instead of lumpy.


Intermediate
Progress Tracker
0 of 0 rounds
Tap a round to tick it off — your place is saved on this device.
The kit
- Premier Parfait Chunky Yarn (less than half a skein) You can use any yarn you would like!
- Two 20 mm safety eyes
- Scrap black yarn for nose
- Polyfill stuffing
- Stitch markers
- 5.5mm crochet hook (You can use any hook that you would like. It may turn out smaller or larger depending on your tension, yarn and hook size)
- Yarn needle
HEAD TO BODY
STARTING IN COLOR OF YOUR CHOICE
Round 18SC IN MR (8)
Round 2INC X8 (16)
Round 3(1SC, 1INC) X8 (24)
Rounds 4–524SC (TOTAL OF 2 ROUNDS)(24)
Round 63SC, 4INC, 7SC, 4INC, 6SC (32)
Round 732SC (32)
Round 8(1SC, 1 DEC) X10, 2SC (22)PLACE EYES BETWEEN ROUNDS 6-7 ABOUT 4 STITCHES APART STUFF HEAD.
Round 9DEC X11 (11)
Round 10FLO (1SC, 1INC) X5, 1SC (16)
Round 11INC X16 (32)
Round 1210SC, BBL(4 LOOPS), 6SC, BBL(4 LOOPS), 14SC (32)
Round 1332SC(32)
Round 1410SC, BBL (6 LOOPS), 6SC, BBL (6 LOOPS), 14SC (32)BBL STITCH PLACEMENT MAY VARY. BBL STITCHES SHOULD BE DIRECTLY UNDER EYES
Round 15(2SC, 1DEC) X8 (24)STUFF BODY
Round 16BLO (1SC, 1DEC) X8 (16)
Round 17DEC X8 (8)FINISH STUFFING. FO WEAVE IN YARN THROUGH FRONT LOOPS ONLY TO CLOSE.
EARS: (MAKE 2)
Round 14SC IN MR (4)
Round 2(1SC, 1INC) X2 (6)
Round 3(2SC, 1INC) X2 (8)
Round 4(3SC, 1INC) X2 (10)
Round 5(4SC, 1INC) X2 (12)DO NOT STUFF FOLD EAR IN HALF AND SC 5 THROUGH BOTH SIDES.
FO LEAVE A LONG TAIL FOR SEWING
Tail
INSERT HOOK IN ROUND 13 OF THE CATS BACK. DEPENDING ON PREFERENCE YOU CAN HAVE THE TAIL DIRECTLY IN THE MIDDLE OF THE BACK, OR TOWARDS THE SIDE OF THE BACK, THAT WAY YOU CAN SEE THE TAIL WHEN LOOKING AT THE FRONT OF THE CAT.
Round 1PULL UP A LOOP AND SL ST.
Round 2CH 9. IN THE SECOND LOOP FROM THE HOOK SC. 7 SC DOWN THE REST OF THE CHAIN. ONCE YOU REACH THE BOTTOM OF THE CHAIN SL ST INTO THE BEGINNING STITCH.(7)
FO AND LEAVE A LONG TAIL FOR SEWING (SEW THE TAIL SLIGHTY TO HELP MAKE THE TAIL STAND STRAIGHT UP)
Assembly
Step 1SEW EARS BETWEEN ROUNDS 3-6 ON HEAD.
Step 2Yay!! You’re done!
From the collection
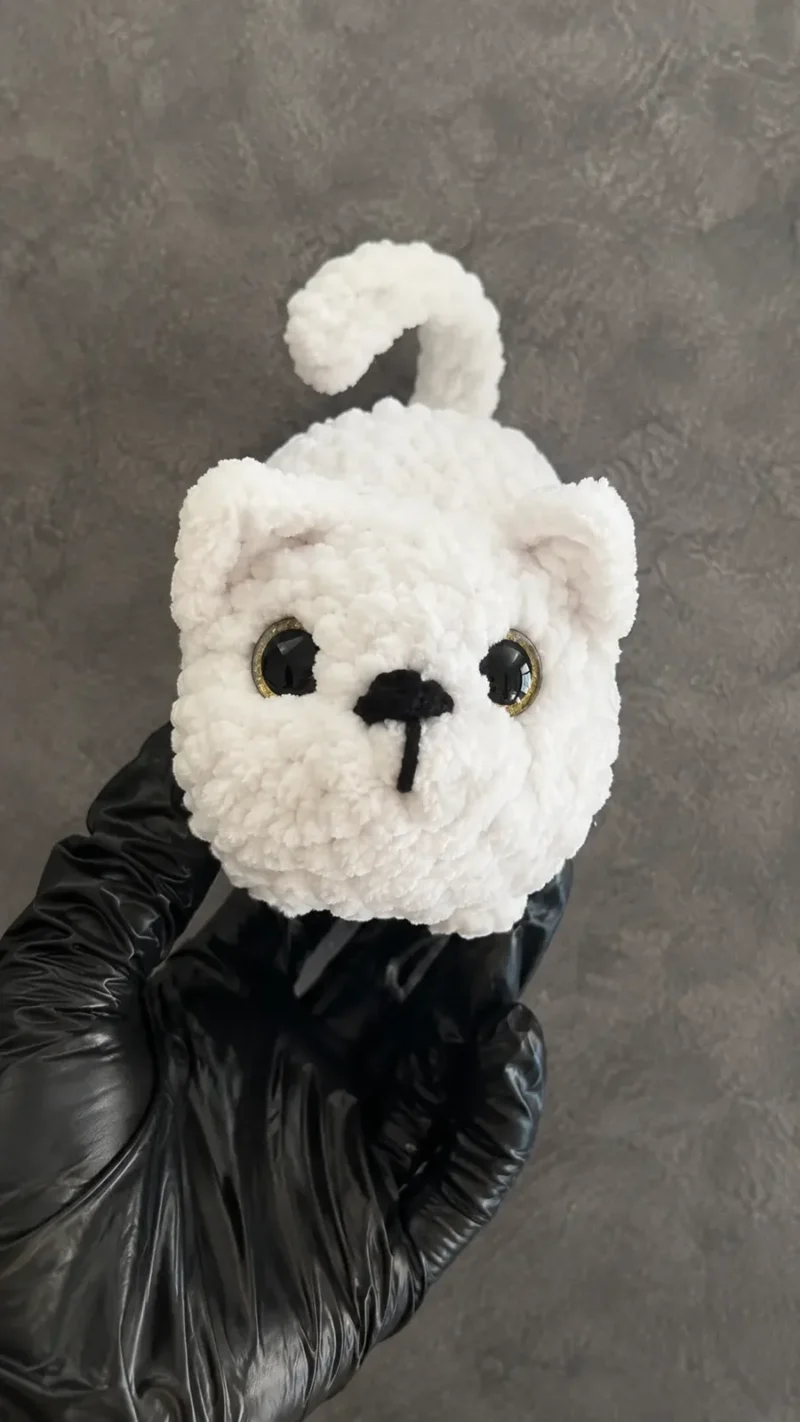
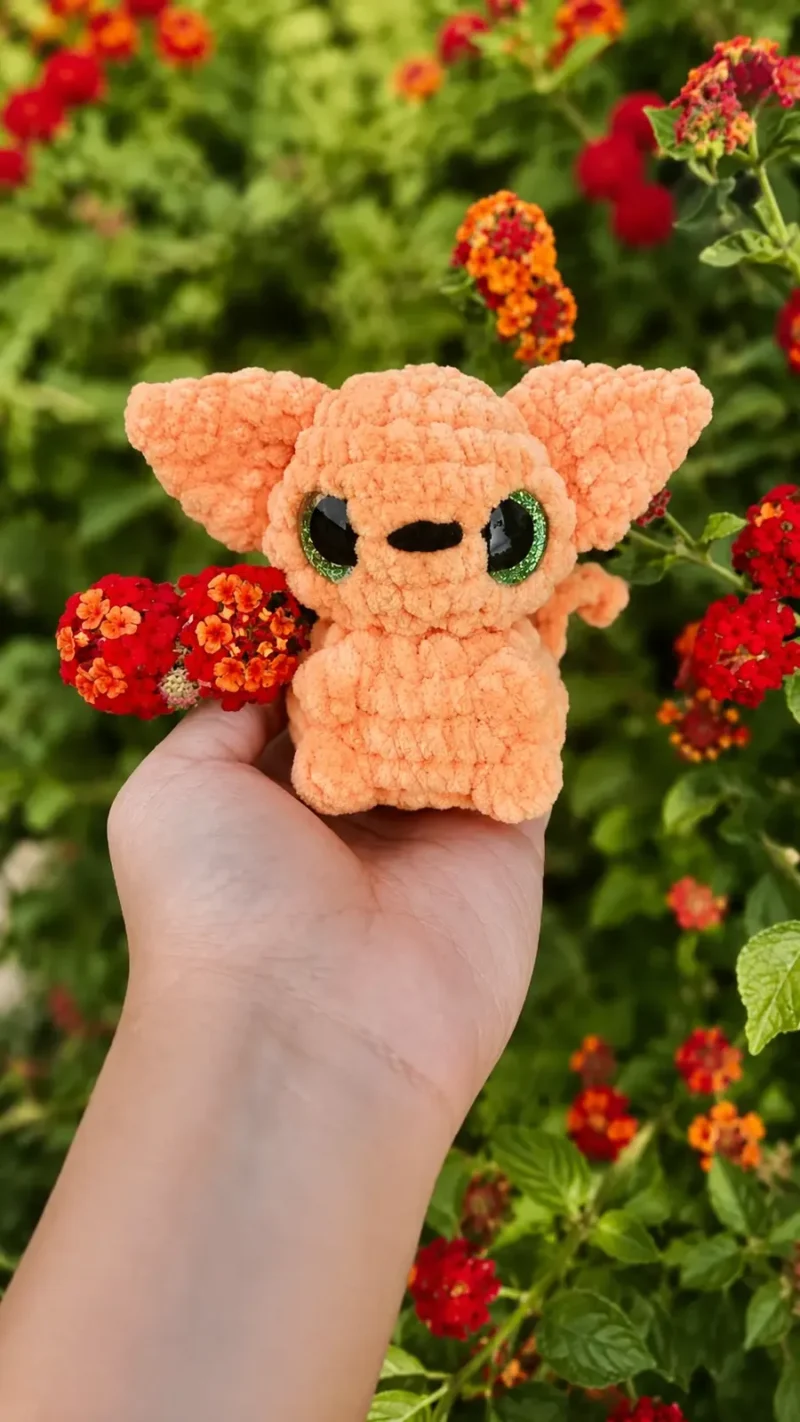
Finishing
- Seat the safety eyes against the aligned bobble rounds before closing up the head.
- Stuff the head fully, then add polyfill to the body in stages as rounds progress.
- Pin the ears in place first, then sew them on permanently once the spacing looks even.
- Sew the tail base with an upward-angled stitch through the back wall so it stands up.
Why it works
The head and body are a single part worked in one unbroken set of rounds, with no waist seam dividing them.
Increases are front-loaded into the earliest rounds, building outward from a magic ring before the stitch count holds steady.
The ears are worked flat in short, flared rounds and pinned on before permanent sewing, which lets placement get checked twice.
The tail is not a separate crocheted piece sewn on after; it is chained directly from a stitch in the back of the body.
What it becomes
- A desk companion for a reading nook, small enough to prop against a stack of books.
- A handmade gift for a cat lover who collects plush animals rather than figurines.
- A quick stash-buster project for leftover chunky yarn sitting around after a bigger blanket.
Original pattern: https://craftwithnina.com/free-amigurumi-pattern-chunky-kitty-plush/
FAQ
Can I use a different yarn weight than the pattern calls for?
Yes, the source notes gauge is not critical here. Just keep your stitches tight enough that the stuffing does not show through the fabric.
Why do the front and back legs look different?
The front paws use 4-loop bobbles while the back legs use larger 6-loop bobbles for more definition. That is a deliberate design choice, not a typo in the rounds.
How do I keep the safety eyes from looking crooked?
Make sure your bobble stitches line up directly under where the eyes will sit before continuing past those rounds. If they seem off, adjust by a single stitch before placing the eyes.
Is this pattern good for a first amigurumi project?
The source describes it as beginner friendly, using single crochet with basic increases. The bobble stitches add a step up in skill, but nothing beyond straightforward shaping.
How do I attach the safety eyes securely?
Insert the posts of your 20mm safety eyes between rounds 6 and 7, about 4 stitches apart, before stuffing the head. Snap the plastic backings firmly into place on the inside of the work to keep them secure.
Do I need to stuff the ears or tail?
No, the ears and tail are worked without any polyfill stuffing. Folding the ears in half and stitching across the bottom edge gives them plenty of structure on their own.