
Free Pattern
Step-by-Step
Crochet
AmigurumiCrochet amigurumi cat pattern for beginners
A beginner amigurumi cat worked in continuous spirals with safety eyes and simple shaping.
- Level
- Intermediate
- Time
- 4-6 hours
- Hook
- 3.5 mm
- Yarn
- Worsted
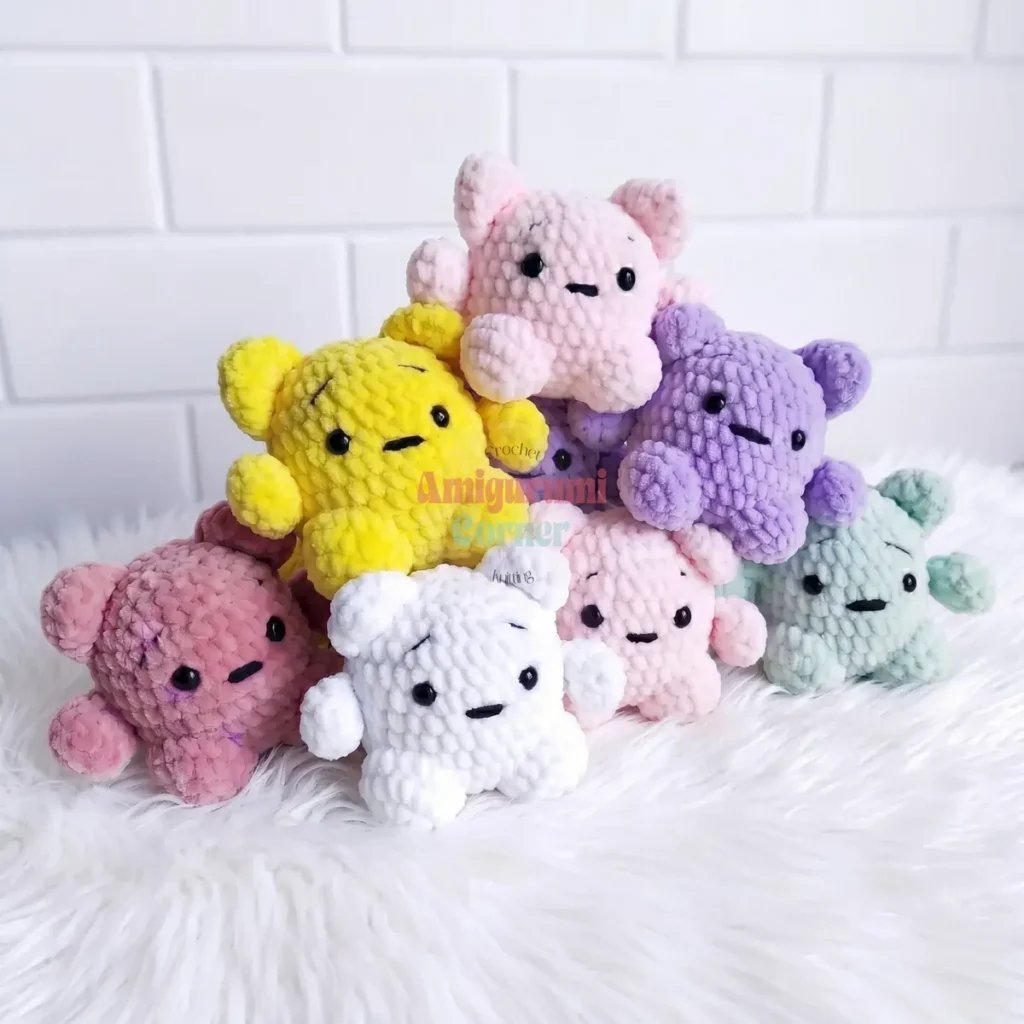
Pattern highlights
- Start the head and body together as one continuous piece worked in a spiral from a magic ring.
- Work through the increase rounds first, then settle into even rounds for the rest of the body.
- Close the body by flattening the last round and single crocheting through both layers.
- Make the arms, legs, ears, and tail as separate small spiral pieces.
- Flatten and close the ears the same way you closed the body, through both layers.
- Insert the safety eyes before you finish stuffing the head.
- Sew all the pieces to the body, lining up ears, arms, and tail by eye or with a stitch marker.
About This Pattern
This is the kind of pattern a collection needs early on: a one-piece body, two small limbs, and a face you build with hardware instead of thread painting. I keep a cat like this near the front of my basket because it teaches the vocabulary — magic ring, increase round, invisible-ish closure — without asking for a second color or a complicated gusset.
The techniques are all spiral work. Every part starts in a magic ring and grows through increase rounds before settling into even rounds for the body of the piece. The ears break that rhythm by finishing flat, which is worth noticing if you have only ever worked continuous spirals before.
What comes out the other end is a small, solid cat — head and body in one piece, with arms, legs, ears, and a tail added after. It sits rather than stands, has a dense enough fabric to hide stuffing, and reads as 'cat' the moment the ears go on.
Worth knowing
I like a pattern that keeps the shaping honest. The head-and-body piece runs twelve rounds with its increases front-loaded, so you watch a flat disc turn into a sphere in real time. The ears flatten and close with a few stitches through both layers — a small, satisfying trick if you have not done it before. Nothing here asks for color changes or surface crochet; the whole face comes from safety eyes and two embroidered lines. It is a project that rewards attention to tension more than it rewards fancy stitches, which makes it a good one for practicing even gauge. By the time you are sewing the last piece on, you have handled every basic amigurumi move at least once.
Common mistakes
- Losing track of the round Move your stitch marker up at the start of every round. In a continuous spiral there is no seam to tell you where you are.
- Skipping safety eye placement Push the eyes in before stuffing the head fully. It is much harder to position them once the fiberfill is packed in tight.
- Loose single crochets showing stuffing Go down a hook size if your fabric gaps. A tighter tension matters more here than stitch beauty.
- Closing the ears unevenly Line up the stitches on both layers before you work through them, so the flattened edge sits straight rather than puckered.
- Random limb placement Use a pin or stitch marker to check that the arms, ears, and tail sit on the same horizontal line before you sew anything down.
- Stuffing all at once Begin packing the head firmly after Round 13 rather than waiting until the very end, so you get an evenly rounded shape without over- or understuffing. A chopstick or pencil eraser helps push stuffing into tight corners.


Intermediate
Progress Tracker
0 of 0 rounds
Tap a round to tick it off — your place is saved on this device.
The kit
- Worsted weight yarn in your chosen cat color (approximately 50–80g)
- Small amount of black yarn for embroidering the nose and eyebrows
- 3.5mm or 4.0mm crochet hook (adjust to achieve a tight, even fabric)
- Two 8mm or 10mm black safety eyes
- Polyester fiberfill stuffing
- Yarn needle for assembly and weaving in ends
- Stitch marker to track rounds
- Scissors
Head and Body
Round 1Make a magic ring, work 6 sc into the ring. (6)
Round 2(inc) × 6 (12)
Round 3(1 sc, inc) × 6 (18)
Round 4(2 sc, inc) × 6 (24)
Round 5(3 sc, inc) × 6 (30)
Round 6(4 sc, inc) × 6 (36)
Rounds 7–1236 sc (work even, no increases or decreases) (36)Insert safety eyes between Rounds 10 and 11, spacing them 5–6 stitches apart. Secure the backings firmly.
Round 13(4 sc, dec) × 6 (30)Stuff the head firmly with polyester fiberfill at this point.
Round 14(3 sc, dec) × 6 (24)
Round 15(2 sc, dec) × 6 (18)
Round 16(1 sc, dec) × 6 (12)Continue adding stuffing as needed to fill the piece completely before closing.
Round 17(dec) × 6 (6)Close the remaining opening by pulling the yarn tail through all 6 remaining stitches. Fasten off, cut yarn, and weave in the end securely.
Arms (Make 2)
Round 1Make a magic ring, work 6 sc into the ring. (6)
Round 2(inc) × 6 (12)
Round 312 sc (work even) (12)
Round 4(dec) × 6 (6)Do not stuff the arms. Flatten the opening and work 2 sc through both layers together to close the arm flat. Fasten off, leaving a long tail for sewing.
Legs (Make 2)
Round 1Make a magic ring, work 6 sc into the ring. (6)
Round 2(inc) × 6 (12)
Round 3(1 sc, inc) × 6 (18)
Round 418 sc (work even) (18)Stuff lightly with a small amount of fiberfill. Fasten off, leaving a long tail for sewing.
Ears (Make 2)
Round 1Make a magic ring, work 4 sc into the ring. (4)
Round 2(1 sc, inc) × 2 (6)
Round 3(inc) × 6 (12)
Round 412 sc (work even) (12)Flatten the ear and work 5 sc through both layers together to close the ear flat. Fasten off, leaving a long tail for sewing.
Tail
Round 1Make a magic ring, work 6 sc into the ring. (6)
Rounds 2–126 sc (work even for 11 rounds) (6)Flatten the end of the tail and work 2 sc through both layers together to close. Do not stuff the tail. Fasten off, leaving a long tail for sewing.
Assembly
Step 1Attach the legs to the base of the head-body piece, positioning them evenly on either side of the bottom.
Step 2Attach the ears to the top of the head, placing them symmetrically on either side of the center.
Step 3Align the arms, ears, and tail on the same horizontal line around the body. Use a pin or stitch marker to check placement before sewing.
Step 4Sew the arms securely to the sides of the body along the established horizontal line.
Step 5Sew the tail to the back of the body along the same horizontal line as the arms and ears.
Step 6Embroider the nose and eyebrows using black yarn and a yarn needle. Create a small triangle or Y-shape for the nose, and work 2–3 straight stitches above each eye for simple eyebrows.
Step 7Weave in all remaining yarn ends and trim neatly. Your cat is complete!
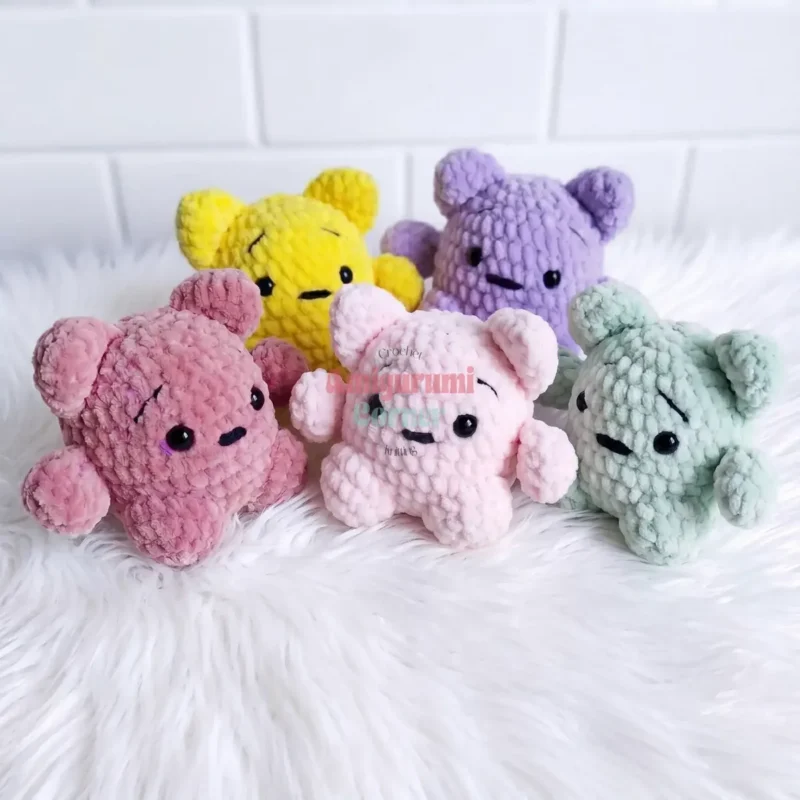
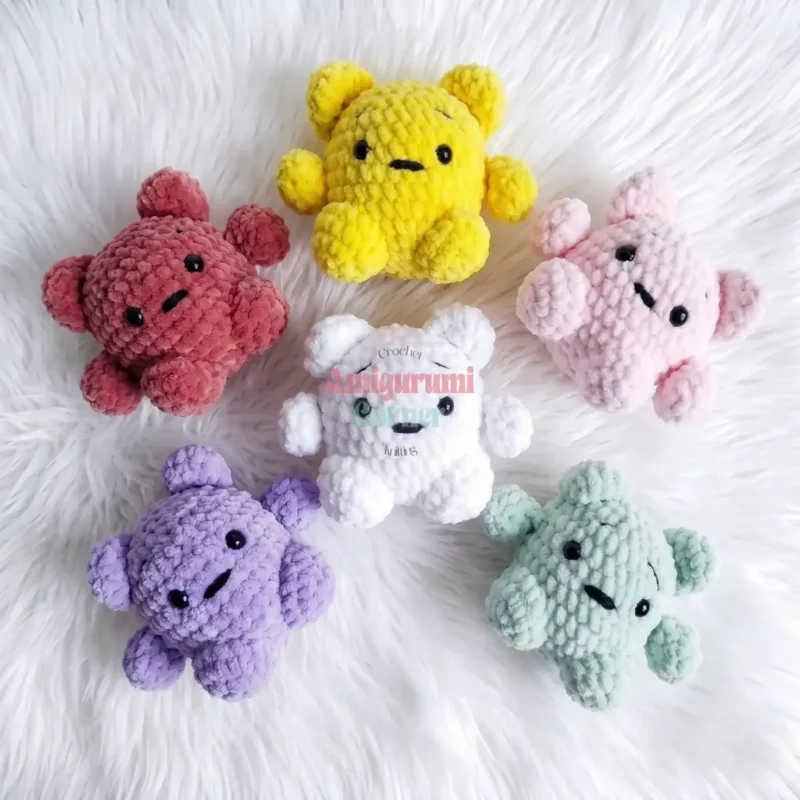
From the collection
Finishing
- Weave in every loose end as you finish each small piece, before it gets buried under the next seam.
- Stuff the head and body firmly before closing, checking that the fiberfill reaches into the increase rounds near the top.
- Attach the eyes, then sew the ears, arms, legs, and tail into place using the long tails left for sewing.
Why it works
The head and body increase steadily from six stitches up through the early rounds before leveling off into even rounds, which is what gives the piece its rounded shape without a visible seam.
The ears are worked in the spiral like everything else, but the last round is flattened and closed with stitches through both layers instead of decreased, so they end up flat rather than domed.
Closing the body tail by flattening it and single crocheting both layers together avoids stuffing a narrow point that would be awkward to fill anyway.
Gauge runs approximately 4 sc = 1 inch with worsted weight yarn and a 3.5mm hook. Gauge is not critical for amigurumi, but keeping a tighter tension prevents the stuffing from showing through the stitches.
This pattern works beautifully in any solid or semi-solid worsted weight yarn — try warm orange for a tabby, soft grey for a Russian Blue inspired kitty, or classic black and white for a tuxedo cat. You can also add subtle texture by using a slightly fuzzy or mohair-blend yarn for the ears to mimic real fur.
What it becomes
- A shelf companion for a desk or reading nook, alongside other small amigurumi animals.
- A handmade gift for a child who already has a favorite stuffed cat and wants a second one.
- A practice piece to keep in a project bag for testing new yarn colors before a bigger make.
FAQ
Is this crochet cat pattern suitable for beginners?
Yes, this pattern is ideal for beginners who are comfortable with single crochet and working in the round. The only stitches used are single crochet, increases, and decreases, so no advanced techniques are required. If you have completed one or two simple amigurumi projects before, you will find this cat very approachable.
Can I use a different yarn weight for this pattern?
Absolutely — you can substitute DK weight yarn with a 3.0mm hook for a smaller cat, or bulky weight yarn with a 5.0mm hook for a larger, chunkier version. Just remember that changing yarn weight will also change the finished size, so adjust safety eye sizes accordingly. The stitch counts remain exactly the same regardless of yarn weight.
How long does it take to crochet this amigurumi cat?
Most crocheters with basic amigurumi experience can complete this cat in approximately 2 to 4 hours, including assembly and embroidery. The head and body take the longest to work, while the smaller pieces like arms, ears, and tail each take just 10 to 15 minutes. It makes an excellent one-evening project.
Can I sell finished cats made from this pattern?
Many crocheters sell handmade items made from shared patterns, but it is always best practice to credit the original designer when selling. If you are selling at craft fairs or online, be sure to replace safety eyes with embroidered eyes or securely fastened buttons for toys intended for children under three years old, in compliance with toy safety guidelines.