
Free Pattern
Step-by-Step
Crochet
AmigurumiCrochet baseball keychain pattern for bags and keys
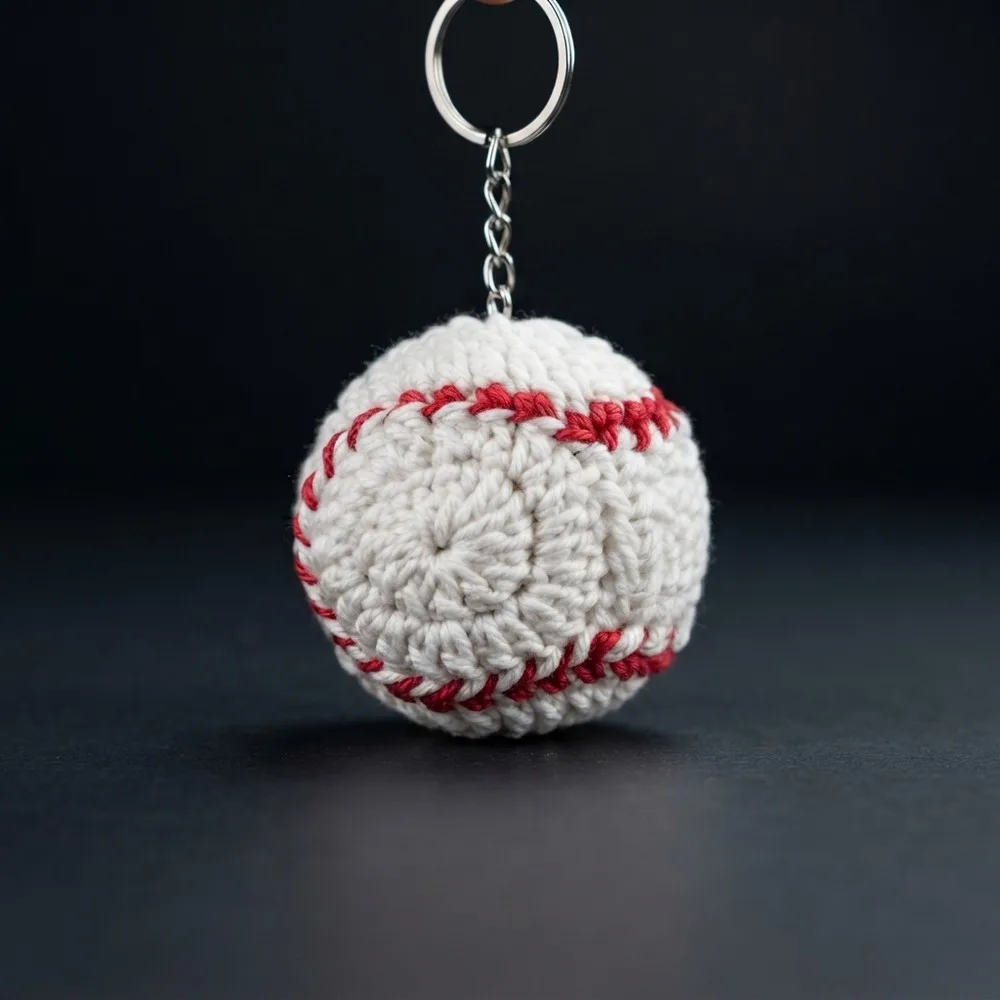
A small crocheted baseball keychain built from two disks and a stitched side strip.
- Level
- Advanced Beginner
- Time
- 3-5 hours
- Hook
- 3.5 mm
- Yarn
- DK
Pattern highlights
- Start by making two identical disks, each begun with a magic ring and closed with a slip stitch join.
- Work the base rounds on each disk, increasing in the first stitch to shape the circle.
- Repeat the strip rows until the piece is long enough to circle the whole disk.
- Sew the strip around the second disk and stuff the ball before closing the seam.
- Weave in loose ends, then attach a keyring at whichever spot suits how you'll carry it.
About This Pattern
This one lives in the drawer of quick makes — projects I turn to between bigger amigurumi projects. A baseball keychain doesn't ask for much: a magic ring, two rounds of double crochet. Then a strip worked flat finishes the shape. I like keeping a few of these on hand for gifts that don't need wrapping. It's the kind of pattern that fills an evening without demanding a whole weekend. It also teaches a two-disk-plus-strip construction that turns up in other small novelty makes.
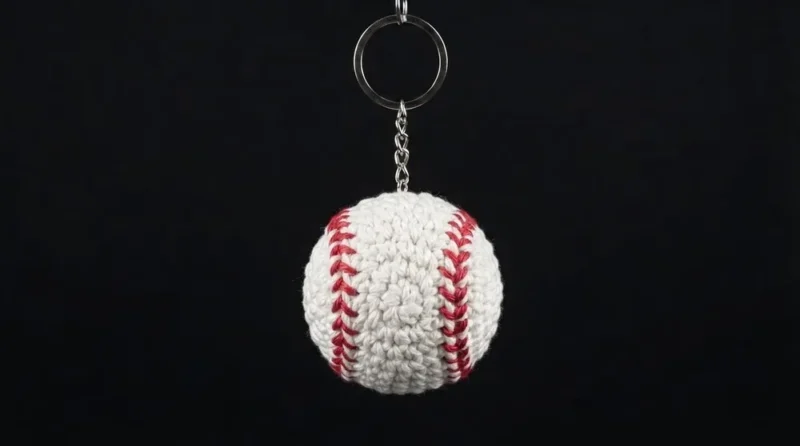
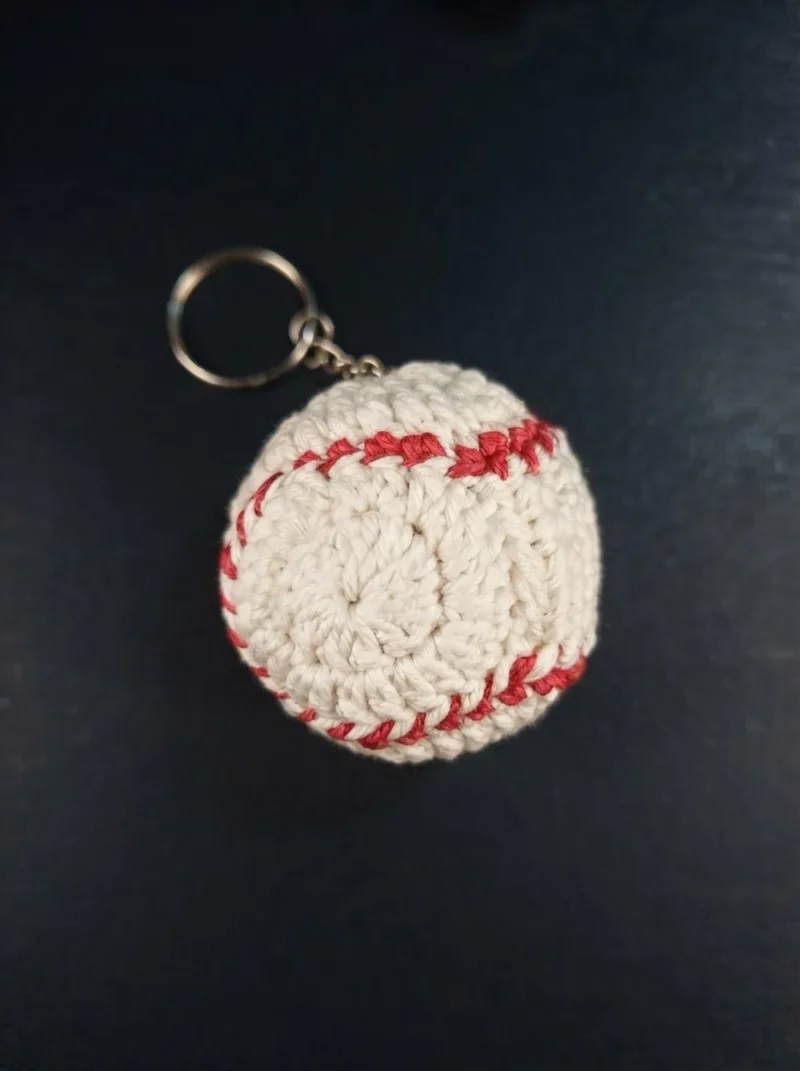
What comes out the other end is small: a round, stuffed ball sized to sit in your palm. It's seamed along a stitched strip that runs like the red thread on a real baseball. It's light enough for a keyring without weighing down a bag. The white and red combination reads instantly as baseball, no extra embellishment needed. Once assembled and attached to a keyring, it's ready for keys or backpack zippers. Or it can sit on a shelf between other tiny amigurumi.
Worth knowing
The satisfaction here is in the small, repeatable steps. Two magic rings, closed identically, give you a matched pair of disks before you've barely started. The slip stitch join into the first actual double crochet is a small technicality. Skip the turning chain, and the seam comes out clean and flat. Then comes the side strip: rows of single crochet worked flat, repeated until it wraps the ball. Finding that rhythm feels almost meditative. There's real satisfaction in watching a handful of flat rows curve naturally around a round shape. It's a project you can finish in a sitting. The two-disk-plus-strip method is worth remembering for other small round makes.
Common mistakes
- Loose magic ring center Pull the tail firmly before working the first round. A loose ring leaves a gap that stuffing pokes through later.
- Joining into the wrong stitch Slip stitch into the first actual double crochet, not the starting chain. Joining into the chain shifts the round and misaligns the seam.
- Uneven side strip rows Count stitches at the end of every row before turning. A strip that drifts wide or narrow won't wrap the ball evenly.
- Skipping tension checks between disks Compare both disks before sewing them together. Mismatched tension makes one half of the ball look tighter than the other.
- Overstuffing before the seam closes Add stuffing gradually while sewing, not all at once at the end. Too much stuffing at once distorts the round shape and strains the seam.


Advanced Beginner
Progress Tracker
0 of 0 rounds
Tap a round to tick it off — your place is saved on this device.
The kit
Yarn
- White for the main ball; red or accent color for “stitching”
Crochet Hook
- Size to match your yarn (commonly 2.5–3.5 mm for amigurumi or tight-weave keychains)
Yarn Needle
- For sewing pieces and weaving in ends
Fiberfill
- For stuffing
Keyring
- For final assembly
- Scissors
Main Pattern
Round 1Base Circle With white yarn, make a magic ring. Ch 3 (counts as first dc). Work 12 dc into the ring (you should have 13 dc total counting the initial ch 3).Pull ring tight.Sl st into the first dc (not the third chain)—this means slip stitch into the first actual dc , not into the starting chain, for a clean join.[Set aside first circle; work second circle identically up to this point.](13 dc)
Round 2Circle Increase Ch 2 (serves as turning chains). In the same first stitch: 2 dc (first increase). Continue: 2 dc in each stitch around for a total of 12 increases (you'll have 24 dc at end of round). Sl st into first dc (not chain).(24 dc)
Repeat for Second Disk
Make a second identical disk.
Step 2: Shaping the Sides Side Strip (Work on one motif): Ch 1.
6 sc , working across 6 stitches of the disk.
This starts your “strip” that will wrap around the ball.
Rows 1–6Ch 1, turn, 6 sc. Repeat this process for each row, ending after row 6. Cut yarn, leaving a long tail for sewing.Step 3: Join Sides to Form Ball ShapeHold both disks with right sides together , matching up the edge of the sc strip from your side rows.With your yarn needle, sew through both thicknesses using both loops of each stitch for a secure seam.Secure tightly at beginning/end.(6 sc)
Hide your yarn tail inside for a clean finish.
Step 4: Red Stitch Detailing (Baseball Accent)
Thread a red yarn onto needle.
Begin at the start of the seam where the motif “extension” is located.
Slip stitch or embroider in a zigzag or “V” shape across the seam to mimic baseball stitching.
Insert at one point, emerge at next equivalent spot on the second side, and continue in a regular, neat pattern.
Knot securely at finishing points.
Step 5: Join Both Motifs and Add Stuffing
Continue as you did for the previous seam, now working the main circular edge: insert hook (or needle if sewing) through matching stitches of both disks.
Advance, joining with sc or whipstitch.
Leave a small opening to insert a little fiberfill stuffing for shape—do not overfill.
Finish the seam by joining the last stitches securely.
Weave in all ends.
Step 6: Attach Keyring
Use the long sewn tail or a scrap of yarn.
Thread through the top of the ball, anchoring securely by weaving through several stitches.
Loop keyring onto the yarn and knot or sew in place, ensuring it holds firm.
Trim any excess thread.
Assembly
Step 1Ensure your baseball has a round, slightly puffy shape.
Step 2Double check all seams for tightness.
Step 3Accent stitches should be even and visible.
Step 4Attach the keyring at your preferred spot (top or side).
Step 5Ball should sit comfortably in palm; lightweight and strong.
From the collection
Finishing
- Weave in the tail left from the side strip before sewing it to the second disk.
- Stuff the ball lightly as you close the seam, so it stays round without overfilling.
- Attach the keyring at the seam or top, then trim and hide the last end.
Why it works
Both disks start from a magic ring, so the center pulls tight with no visible hole.
The slip stitch joins into the first actual double crochet, not the turning chain. That choice keeps the round's seam from twisting.
The side strip is worked flat in rows instead of in the round. Flat rows wrap more naturally around a curve than a closed circle would.
Skill level: beginner to advanced beginner. The project relies on basic skills — magic ring, double crochet, single crochet, and simple joining techniques — with no complex shaping required.
Finished size: the ball is roughly 4–5 cm (1.5–2 inches) in diameter, about 2 cm thick when lightly stuffed, and around 6–8 cm long overall once the keyring is attached.
Gauge isn't critical for this project, but keep stitches fairly tight so stuffing doesn't show between them — a typical gauge runs about 9–10 dc per 5 cm.
What it becomes
- Clip it to a backpack zipper alongside a luggage tag for easy spotting at a busy school pickup.
- Hang it from a house key ring next to a simple fob for a bit of personality.
- Give it as a small add-on gift tucked into a card, paired with a matching stitch marker or two.
Original pattern: https://redagapeblog.com/cute-crochet-baseball-keychain-free-pattern/
FAQ
Can I use a different hook size than the one suggested?
Yes, as long as it matches your yarn weight and keeps the stitches tight. A smaller hook gives a firmer fabric, which helps the ball hold its shape.
Why does the pattern use two identical disks instead of one continuous piece?
Two disks make the shaping simple and let you check they match before joining. It also keeps the increases predictable, since each disk repeats the same first round.
How do I keep the join from twisting the first round?
Slip stitch into the first actual double crochet, not the starting chain. That single detail keeps the seam flat instead of spiraling.
What if my side strip comes out too short to wrap the disk?
Add another row of single crochet before cutting the yarn. It's easier to add a row than to unpick a seam that won't meet.