
Free Pattern
Step-by-Step
Crochet
AmigurumiCrochet bat amigurumi keychain and bag charm pattern
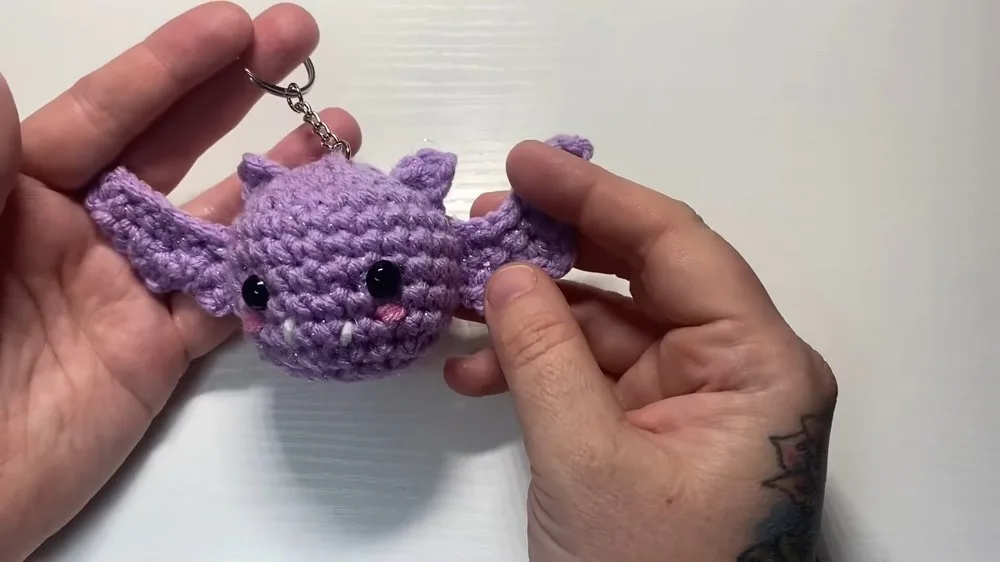
A small crochet bat amigurumi with wings and eyes, worked up as a keychain or bag charm.
- Level
- Intermediate
- Time
- 4-6 hours
- Yarn
- Worsted
Pattern highlights
- Begin the body with a magic circle, then increase steadily over the first few rounds to build its curve.
- Continue the body through its remaining rounds until the shape closes toward the top.
- Set the wings aside as a flat piece, chaining a base row and shaping a spiked edge with chains and slip stitches.
- Insert safety eyes at the point the source specifies, spacing them evenly apart on the head.
- Stuff the body and sew the wings and ears on using the tapestry needle.
- Add extra details like blush or fangs in contrasting yarn for character.
- Attach a jump ring and keychain ring so the finished bat is ready to carry.
About This Pattern
I keep a small drawer for pieces like this one — things too tiny to be toys, too charming to skip. A bat amigurumi built for a keychain belongs there. It's not a plush for a shelf. It's a companion object, made to ride on a zipper or a bag strap and take a little wear.
The body starts the way most amigurumi bodies start, with a magic circle and a fast increase round. The wings break from that entirely — worked flat, in rows, with chains and slip stitches shaping the spiked edge. Two techniques in one small project, which is more than the size suggests.
What comes out the other end is a compact, huggable shape with safety eyes and stitched details, wings sewn on at an angle for lift, and a jump ring waiting at the top. Attach the keychain hardware and it's ready to travel. No shelf required.
Worth knowing
There's something satisfying about a project this size holding two distinct skills. The body is straightforward amigurumi — magic circle, increase round, the usual steady build — but the wings ask for flat crochet with a spiked edge made from chains and slip stitches, which is a nice change of rhythm mid-project. I like that the placement detail is exact: backings go in between two specific rounds, spaced evenly, so the finished bat has a deliberate, almost engineered look rather than a guessed one. It's small enough to finish in an evening or two, but it doesn't feel like a shortcut project. The payoff is a functional object, not just a decorative one — it earns its keep on a bag.
Common mistakes
- Tail not pulled tight on the magic circle Cinch the loop closed before working Round 1 so no hole shows at the center.
- Increase rounds worked unevenly Count stitches as you go so the shape stays round rather than lopsided.
- Wing spikes uneven Work the chain-and-slip-stitch spikes at a consistent tension so each point matches its neighbor.
- Safety eyes placed off-center Check spacing against the body before locking the backings in place, since they can't be repositioned after.
- Hardware attached before stuffing is finished Add the jump ring only after the body is fully stuffed and closed, so it sits securely.


Intermediate
Progress Tracker
0 of 0 rounds
Tap a round to tick it off — your place is saved on this device.
The kit
- Yarn
- Crochet hook
- Safety eyes
- Stuffing material
- Tapestry needle
- Scissors
- Keychain and jump ring (optional)
- Hot glue (optional)
Body
Magic Circle: Wrap the yarn around your finger twice, use the crochet hook to pull the working yarn through the loop, securing it to start a magic circle.
Round 1: Work 6 single crochets into the magic circle. Pull the tail to tighten the circle.
Round 2Increase round Work 2 single crochets in each stitch around. You should have 12 stitches at the end of this round.For Round 3: Pattern: 1 single crochet in the first stitch, 2 single crochets in the next.Repeat this pattern around for a total of 18 stitches.
Round 4Final increase round Pattern: 1 single crochet in the next two stitches, then an increase.Repeat around for a total of 24 stitches.
Rounds 5–9Work 1 single crochet into each stitch all around. For Round 10 (Start of decreases): Pattern: 2 single crochets, then 1 decrease.Repeat this pattern around.
Round 11Pattern: 1 single crochet, then 1 decrease. Repeat this pattern around to reduce to 12 stitches.
Wings
Chain 8, starting a single crochet in the second chain from the hook, single crochet in each chain down.
Chain 1, turn, create spike patterns using chains and slip stitches, then work down the side to give the wing its shape.
Fasten off, leaving a tail for sewing.
Assembly
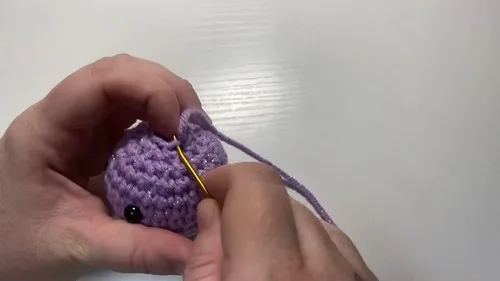
Step 1Sew the ears and wings to the body using the tapestry needle.
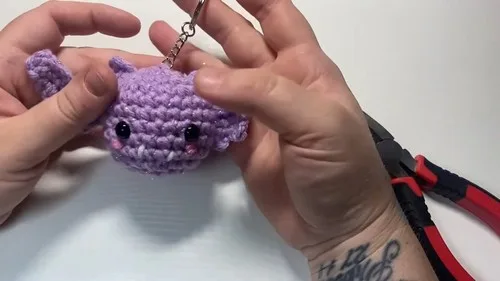
Step 2Add additional features using different colored yarns (like blush and fangs).
From the collection
Finishing
- Weave in the tail from the magic circle and any color-change ends before stuffing.
- Stuff the body firmly enough to hold its shape but not so tight it distorts the rounds.
- Sew the wings and ears on with the tapestry needle, then attach the jump ring and keychain hardware last.
Why it works
Round 2 doubles every stitch, which is the standard amigurumi move for flaring a magic circle into a rounded base fast.
Round 3 alternates a single crochet with an increase, spacing the growth so the shape curves rather than corners.
The wings are worked flat in rows, not in the round, because a spiked edge needs straight turns to keep its points crisp.
What it becomes
- Clip it to a backpack zipper as a small, sturdy travel companion.
- Hang it from a purse strap alongside other soft charms for a collected look.
- Give it as a keychain to someone who collects small handmade objects rather than plush toys.
Original pattern: https://crocheteverything.com/crochet-bat-amigurumi-tutorial-for-keychains-bag-charm/
FAQ
Do I need safety eyes, or can I embroider them instead?
The pattern calls for safety eyes, and they hold up better on something handled often, like a keychain. Embroidered eyes would work too, but they won't have the same durability against daily use.
Why are the wings worked separately from the body?
The wings use flat rows with a spiked edge, which needs straight turns to shape properly. Working them in the round wouldn't produce the same crisp points.
Can I skip the keychain hardware and just make it as a small toy?
Yes, the jump ring and keychain ring are listed as optional. Without them, you'd just have a small stuffed bat, which stands fine on its own.
Where exactly do the eye backings go?
The source places them between Rounds 7 and 8, four visible stitches apart. Secure them with hot glue if you want extra hold before stuffing.