
Free Pattern
Step-by-Step
Crochet
Bags & PursesCrochet Bow Bag Pattern With Textured Side Panels
A crochet bow bag with textured side panels, a button closure, and a strap you can adjust.
- Level
- Intermediate
- Time
- 4-6 hours
- Yarn
- Size 6 / Super Bulky
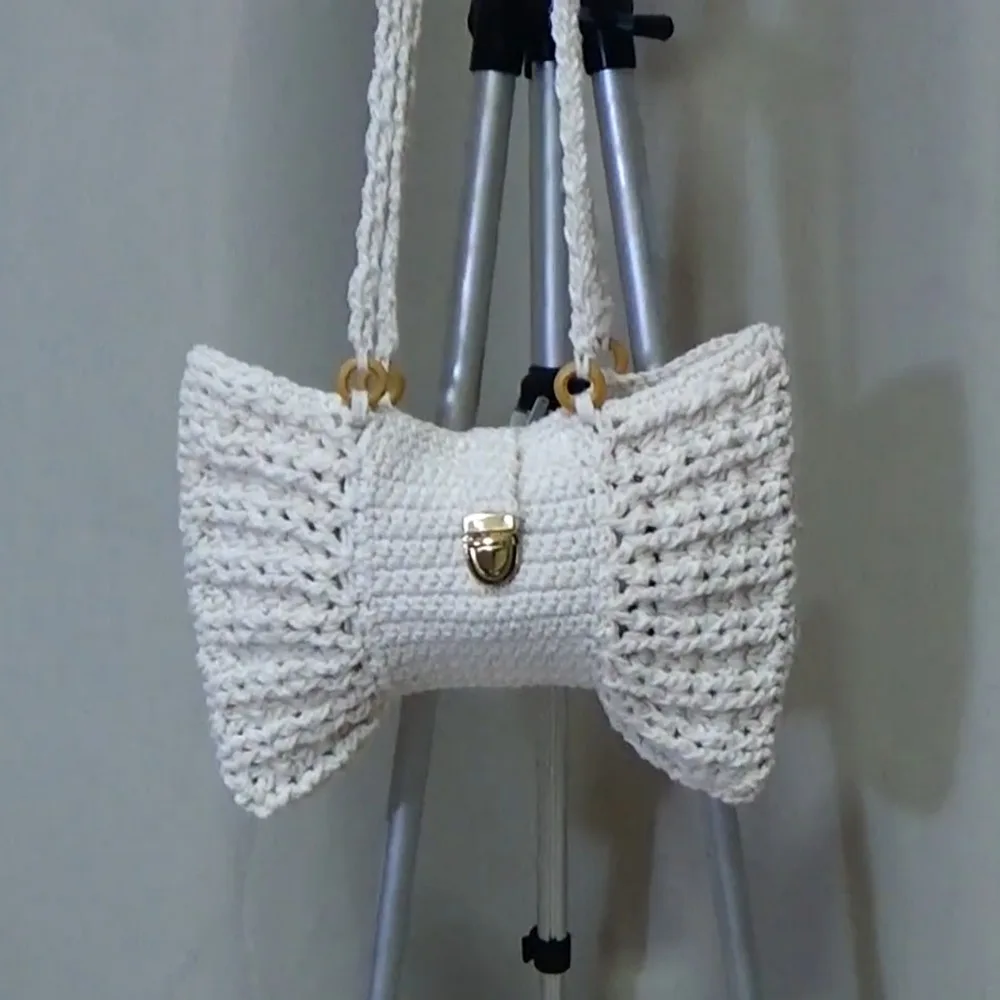
Pattern highlights
- Start with a long single crochet rectangle worked back and forth to form the bag's main body.
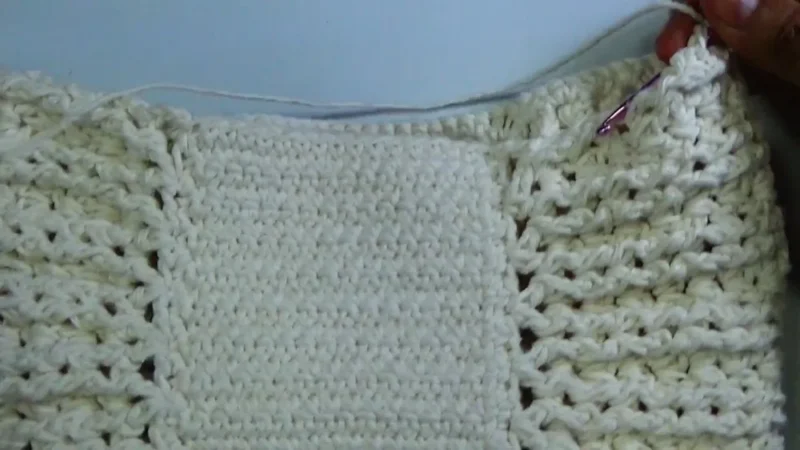
- Turn the panel horizontally and attach yarn along one long side to begin the textured section.
- Work the V-stitch pattern and alternate it with back post relief double crochet on the wrong side rows.
- Repeat the textured rows on the second side so both panels match before folding.
- Single crochet a border around the whole panel edge, adding extra stitches at each corner.
- Fold the two textured side panels toward the center so the ends meet to form the bow, then turn the bag inside out and single crochet the long edges together to seam it.
- Work single crochet along the top opening, adding a ring at each marked position about 7 stitches from each edge for the strap.
- Fold and check symmetry before adding a button or clasp closure and an optional strap.
- Weave in ends and glue lightly at any strap joins if you want extra security.
About This Pattern
Every collection needs a novelty bag, and this one earns its spot. The bow shape sits between accessory and statement piece. I like patterns that fold flat construction into something dimensional. Here a rectangular panel becomes a knot once you add the side texture and cinch it right.
The technique list is short but well chosen. A V-stitch pattern gives the sides their ridged look, and relief double crochet worked in the back post deepens that texture on alternating rows. The border then squares everything off with reinforced corners so the edges hold their line.
What comes out the other end is a compact purse, about 28cm by 15cm inside. Big enough for a phone and keys, small enough to stay out of the way. The strap is optional and adjustable, so the same bow can dress up or down.
Worth knowing
There is something satisfying about watching a flat rectangle turn into a bow. The main body is plain single crochet, quick and meditative, which makes the side panels feel like a reward. That V-stitch pattern alternating with back post relief double crochet builds real texture in just eight rows per side. It is the kind of detail that photographs well and feels good under the thumb. The border cleans up every edge with extra single crochets at the corners, so nothing curls. Add a button or clasp and a strap through small rings, and you have decided the whole personality of the bag yourself. Small project, big payoff.
Common mistakes
- Losing count on the 45 rows Mark every fifth row with a scrap of yarn so the panel stays even on both sides.
- Working the V-stitch too tight Keep the chain-2 spaces open so the following relief row has room to sit properly.
- Skipping the back post direction Relief double crochet only reads as texture when it is worked consistently around the front or back post, not mixed.
- Flat corners on the border Add the extra single crochets at each corner as instructed, or the edge will pull and curl.
- Uneven bow fold Check symmetry before sewing anything closed, since a flat panel hides asymmetry until it is folded.


Intermediate
Progress Tracker
0 of 0 rounds
Tap a round to tick it off — your place is saved on this device.
The kit
- Yarn (Size 6 recommended; adjust to preference)
- Crochet hook (size corresponding to chosen yarn)
- Scissors
- Yarn needle for sewing and weaving in ends
- Buttons or clasps (as preferred)
- Small rings for attaching the strap (1cm recommended)
- Optional: leather or chain strap for the handle
- Optional: glue for securing ends
1. Main Body (Rectangular Panel)
Foundation: Make a slip knot, chain 16 (15 for stitching, plus 1 to turn).
Rows 1–45Skip first chain, single crochet into each chain across (15 single crochets).Chain 1, turn. Repeat for 45 rows (approx. 26.5cm). Adjust row count for your yarn/size.(15)
2. Border
Border Row: Chain 1, turn.
Work single crochets all around the panel's edge—1 sc per row or stitch.
In each corner, add 2 or 3 single crochets (to prevent curling).
Slip stitch to join at the end.
3. Side Panels (Textured Section)
Panel Setup: With the panel horizontally, attach yarn to one long side.
Repeat the next steps for both sides.
Textured Rows (8 Rows Each Side):
Row 1V-stitch pattern Chain 2 (for dc height), skip 2 stitches, (dc, ch 2, dc) in next stitch (forms “V”), repeat to end.
Row 2Wrong Side 3 ch to turn. Alternate relief double crochet (back post) in the “legs” of each V-stitch. In V spaces, work (dc, ch 1, dc).
Row 3Right Side 3 ch, front post reliefs on raised stitches; V-stitch in ch-1 spaces.Continue alternating rows until there are 8 rows per side.
4. Shaping & Assembly
Shape the Bow: Fold the two textured sides towards the center so ends meet, creating a bow.
Seaming: Turn bag inside out.
Use single crochets to join long edges, working through both layers and corresponding stitches (relief, V, etc.).
Use chain and slip stitch to finish, weave in ends.
5. Top Opening & Rings
Adding Rings for Straps: Work single crochets along the top opening, adding a ring at each marked position (first row of textured sections).
Place rings approximately 7 stitches from each edge on both front and back.
For extra security, work two sc around each ring space.
6. Adding Button Closure
Create Button Flap: Mark out three stitches in the center of the top opening.
Attach yarn before marked stitches, work three single crochets, turn.
Continue for 6cm, or desired length.
Attach Button: Secure button/clasp at flap's tip and corresponding loop position.
7. Straps/Handles
Simple Crochet Strap: Attach yarn to one ring, chain 3, work elongated double crochet in ring space.
(Ch 3, elongated double crochet) repeat for desired length (42 segments = ~85cm).
Attach securely to second ring; weave in ends.
Alternatively, use a leather or chain strap.
Assembly
Step 1Secure all ends.
Step 2Check symmetry and adjust folds for crisp bow shape.
Step 3If using glue, apply lightly to inside of strap joins to prevent unraveling.
From the collection
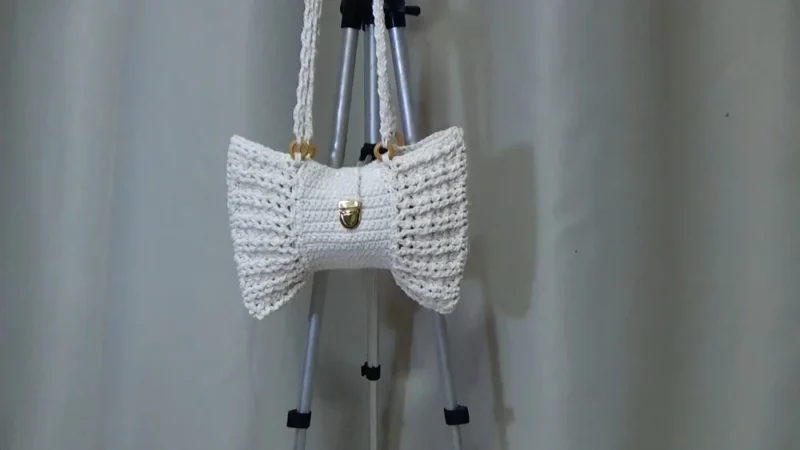
Finishing
- Weave in all yarn ends from the body, side panels, and border.
- Fold the panel into the bow shape and check both sides sit symmetrically.
- Attach the button or clasp closure and, if using one, thread the strap through the small rings.
Why it works
The main body is one long flat panel, which keeps the bow's fold symmetrical on both halves.
Extra single crochets at each border corner stop the edge from curling as it turns.
The V-stitch and back post relief rows are worked identically on both side panels for a matched texture.
Color choice is flexible: mix colors or use variegated yarn for a livelier bow, or keep it a single shade to match an outfit.
What it becomes
- A small crossbody for a walk in the park, holding just a phone, keys, and money.
- A daytime accessory that dresses up a simple dress or a plain pair of jeans.
- A lunch-date bag when you want something handmade and a little playful.
Original pattern: https://redagapeblog.com/cozy-crochet-bow-bag-pattern/
FAQ
How much yarn do I need?
The pattern recommends Size 6 yarn but leaves the amount to your preference, since bag size is adjustable. Plan for enough to cover the 45-row main body plus both side panels and the border.
Can I skip the strap?
Yes, the strap is listed as optional. The small rings are only needed if you plan to attach one, whether crochet, chain, or leather.
What if my row count doesn't match 45 rows?
The pattern itself says to adjust the row count for your yarn or desired size. Just aim for the approximate 26.5cm length before moving to the side panels.
Do I need special stitches beyond the basics?
You will use chain, single crochet, double crochet, and relief (back post) double crochet. All are named in the beginner-friendly note, so no unfamiliar stitches are hiding in the side panels.