
Free Pattern
Step-by-Step
Crochet
AmigurumiLittle crochet chicken for shelf and basket decor
A simple amigurumi chicken worked in rounds, sized for shelves and bowls.
- Level
- Intermediate
- Time
- 4-6 hours
- Hook
- 2.5 mm
- Yarn
- Worsted
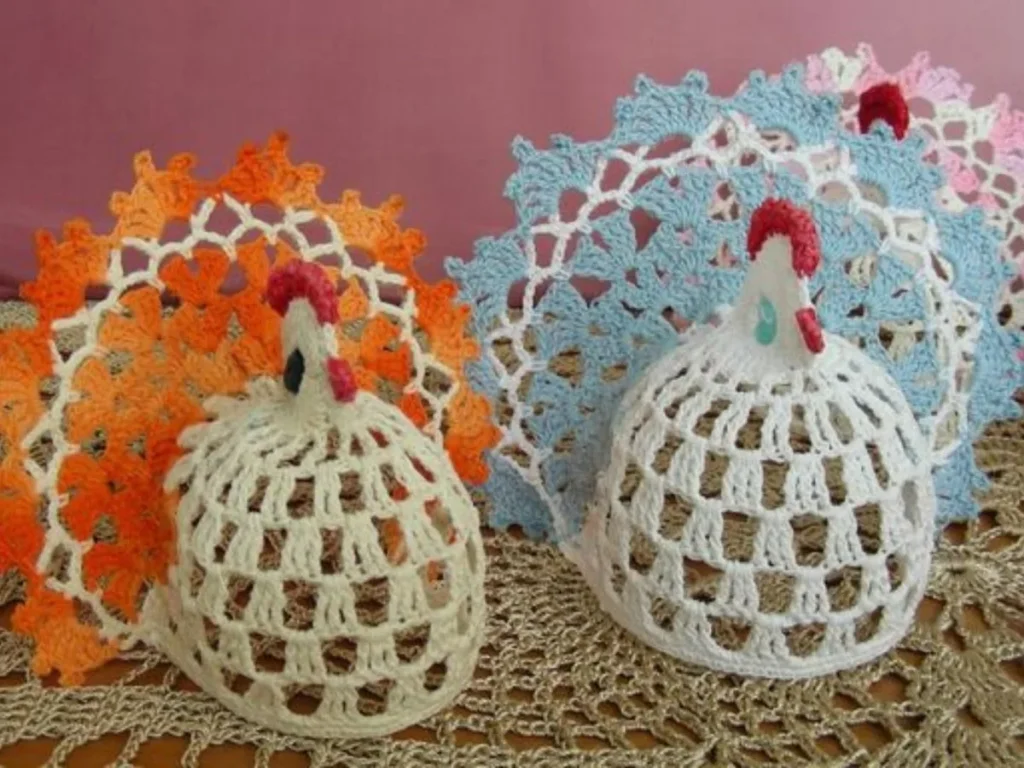
Pattern highlights
- Start the body with a magic circle and work single crochets into it to form the base.
- Increase every stitch around the next round to double the stitch count.
- Work another increase round, spacing the increases evenly to widen the body.
- Keep increasing at that same pace until the body reaches the width you want for your chicken.
- Stuff the body firmly as you go so the shape stays rounded rather than collapsing.
- Finish the shaping and add the small details that turn the ball into a chicken.
About This Pattern
Every collector's notebook needs a shelf-sitter, and a crochet chicken fits the role well. It's small, it's quick relative to a full amigurumi menagerie, and it earns its keep on a windowsill. I keep coming back to birds like this one because the body is just a sphere with opinions.
The technique here is the amigurumi basics: magic circle start, single crochet worked in continuous rounds, increases spaced to round out the shape. Nothing fancy, nothing you haven't done before if you've made a single stuffed ball. The interest is in restraint, not novelty.
What comes out the other end is a plump little body, ready for a beak, comb, and tail to turn it into something recognizably a chicken. It's the kind of piece that looks complicated on a shelf and isn't. That gap is most of the appeal.
Worth knowing
The satisfaction is in the simple math of it. Six stitches into a magic circle, doubled to twelve, then increased steadily until the body reaches the width you want. You're watching a flat disc become a sphere in real time, and the decreases at the end pull it closed with the same logic in reverse. There's no counting fuss, no charted color work, just single crochet doing all the shaping. For anyone who likes amigurumi but doesn't want a project that eats a weekend, this is the right scale. It also stuffs forgivingly. A slightly uneven round disappears once fiberfill rounds out the curve.
Common mistakes
- Losing track of increase rounds Count stitches at the end of each round before moving on. It's faster than unraveling a lopsided sphere.
- Stuffing only at the very end Add fiberfill in small amounts as you work the last few rounds. Trying to stuff a nearly closed body is a losing fight.
- Skipping the safety-eye placement check Test the eye position against the body before securing it permanently. Embroidery is more forgiving if you'd rather not commit early.
- Pulling the magic circle too loose Cinch the starting circle tight before working into it. A loose center leaves a visible hole at the chicken's base.
- Ignoring gauge against hook size Match your hook to your yarn weight so stitches stay tight enough to hide stuffing. A hook too large leaves gaps fiberfill peeks through.


Intermediate
Progress Tracker
0 of 0 rounds
Tap a round to tick it off — your place is saved on this device.
The kit
Yarn
- Cotton or acrylic yarn works well. Select colors that suit your decor, like earthy browns, yellows, whites, or vibrant reds.
- Worsted-weight yarn in colors of your choice.
Crochet Hook
- A 2.5mm to 4mm hook is generally best for creating small, detailed projects.
- Crochet hook (size 3.5mm or appropriate for your yarn).
Polyester Fiberfill
- Polyester Fiberfill : For stuffing the chickens, giving them a rounded, plump shape.
Safety Eyes or Embroidery Thread
- Safety Eyes or Embroidery Thread : Use for creating the eyes. Safety eyes add realism, while embroidered eyes give a softer, homemade touch.
Scissors and Tapestry Needle
- Scissors and Tapestry Needle : Essential for cutting yarn and weaving in ends.
Optional Embellishments
- Optional Embellishments : Small bows, ribbons, or mini hats can add character.
Body
Round 1Make a magic circle, then work 6 single crochets (sc) into the circle.(6)
Round 2Increase each stitch around (12 sc).(12)
Round 3Sc in the next stitch, 2 sc in the next stitch around (18 sc).Continue increasing in this pattern until you reach the desired width for your chicken's body.(18)
Shaping and Stuffing
Decrease RoundStart decreasing by working sc in the next stitch, sc2tog in the next stitch around until you reach the closing point.
Before finishing, add fiberfill stuffing to create a rounded shape.
Comb, Beak, and Wings
Comb: With red yarn, chain 3 and turn. Work sc stitches along the chain to create a comb, then sew it onto the top of the head.
Beak: Use yellow yarn to create a small triangle or a few single crochets to form a beak shape and attach it below the eyes.
Wings: With the body yarn color, crochet a small flat oval shape to sew on the sides.
From the collection
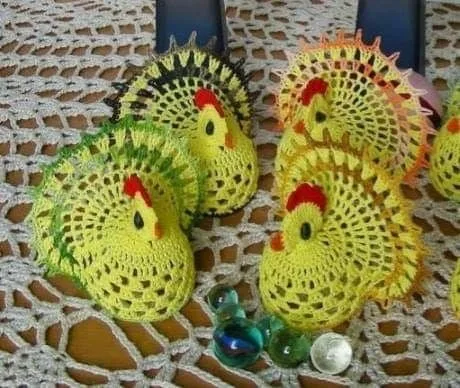
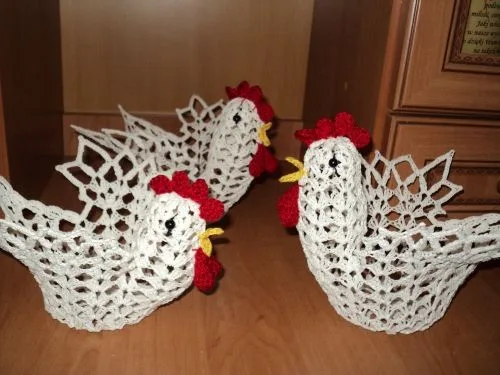
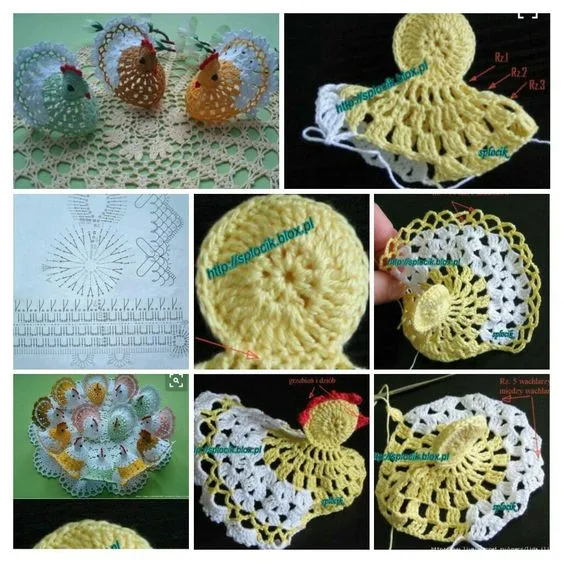
Finishing
- Stuff the body firmly as the rounds narrow, working fiberfill in with your fingers so no gaps remain near the closing point.
- Close the last few stitches with your tapestry needle and pull tight to seat the opening flat.
- Weave in the yarn tail through several stitches on the inside before trimming, then add eyes and any small features by hand.
Why it works
The body starts with a magic circle so the first round closes without a visible hole at the center.
Each early round doubles or evenly increases the stitch count, which is what pushes the flat disc into a curved sphere.
The pattern name-checks decreasing sc2tog rounds worked in the same spaced rhythm as the increases, so the closing curve mirrors the opening one.
Working in continuous rounds rather than flat rows means no seam runs down the body.
What it becomes
- Set one on a kitchen windowsill among potted herbs for a bit of farmhouse charm.
- Group a few in different colors in a shallow bowl as a centerpiece for a table.
- Tuck one into a bookshelf next to other small amigurumi for a rotating collection.
Original pattern: https://crochetblog.net/crochet-chickens-to-use-in-your-decor/
FAQ
Can I use cotton yarn instead of acrylic?
Yes, cotton or acrylic both work well for this pattern. Cotton gives crisper stitch definition, while acrylic feels softer once stuffed.
What hook size should I use?
Something between 2.5mm and 4mm works, with 3.5mm suggested if you're using worsted-weight yarn. Go smaller if you want tighter stitches that hide the stuffing better.
How do I know when to stop increasing the body?
Keep increasing each round until the body reaches the width you want for your chicken. There's no fixed round count, so judge it by eye against the shape you're after.
Should I use safety eyes or embroider them?
Either works; safety eyes give a more realistic look, while embroidered eyes feel softer and more homemade. Pick based on the finish you want and whether the piece is for a child.