Free Pattern
Step-by-Step
Crochet
BagsCrochet messenger bag with a reinforced strap
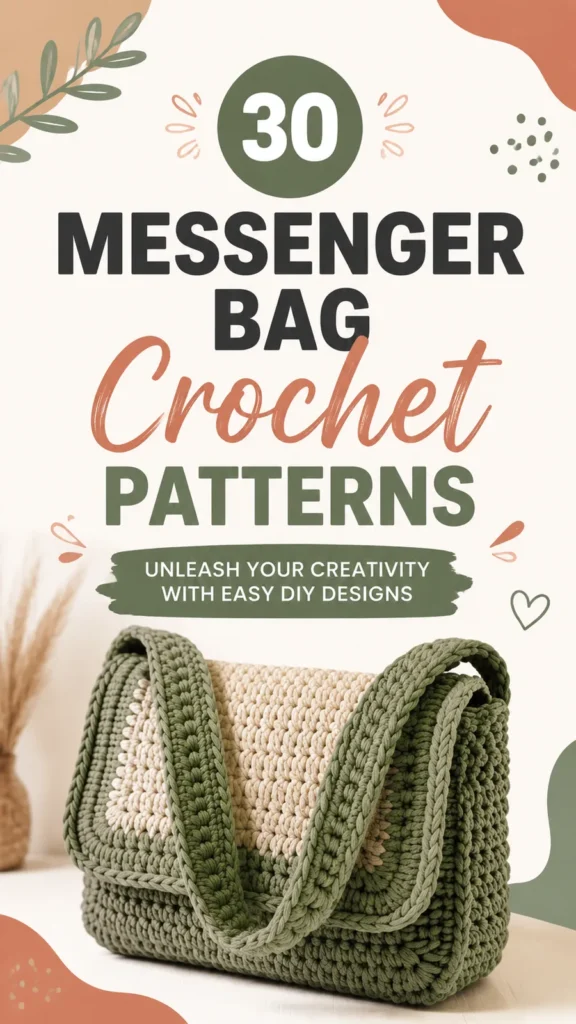
A crochet messenger bag built from flat panels, a side strip, and a long reinforced strap.
- Level
- Intermediate
- Time
- 4-6 hours
- Hook
- 4.5 mm
- Yarn
- Worsted
Pattern highlights
- Start with the front and back panels, working half double crochet and single crochet rows until each panel is complete.
- Work the two side panels separately in single crochet to give the bag its depth.
- Crochet the long strap in half double crochet, leaving tails at both ends for attaching.
- Sew the side panels between the front and back panels to build the rectangular body.
- Attach the strap securely to the bag body using the long tails left for that purpose.
- Weave in any remaining ends, then wash and block the bag while slightly damp.
About This Pattern
Bags take up their own corner of my notebook. Most of what I collect is decorative—coasters, motifs, things with no real job. This messenger bag earns its place differently. It's built to hold a wallet, a phone, a few hooks, and not stretch out of shape doing it. I like that it argues for crochet as structure, not just texture. A rectangular body with side depth and a long strap puts function first, which is rare in my pile of samples.
The construction is plain rows, which is the point. Front and back panels start with a row of half double crochet, then alternate with single crochet rows to build a dense, compact fabric. Side panels are worked separately in single crochet to add depth without extra shaping. The strap is a long strip of half double crochet, worked flat and left with tails for attaching. Nothing here asks for shaping math—just steady rows and keeping the stitch count even.
Finished, it reads as a rectangular bag with rounded corners from the side panels tucking into the body. The dense hdc and sc fabric holds its shape when filled, so it doesn't sag into a flat sack. A contrasting front panel breaks up the main color without adding complexity. The strap is long enough for crossbody wear. It's the kind of piece that looks tidy on a shelf and still gets carried out the door most days.
This is a confident-beginner project. Finished size runs approximately 10 inches wide x 8 inches tall x 3 inches deep (25 x 20 x 7.5 cm), worked at a gauge of 16 single crochet stitches x 18 rows = 4 inches (10 cm) in US crochet terms. The suggested palette pairs a warm brown body with a cream accent panel, a wide comfortable strap, and subtle textured stitch details, though any two contrasting colors work.
Worth knowing
What I like here is the honesty of the stitches. Half double crochet and single crochet, worked in plain rows, build a fabric dense enough to hold a phone and keys without sagging. There's no counting increases across the main body—just panel rows, side strip rows, and strap rows, repeated until each piece hits its length. The contrast front panel is the one chance for color play, and it costs nothing in difficulty. I like that the strap is worked separately and left with long tails, so attaching it is sewing, not fiddly finishing. This is a project where steady rows do more work than clever stitches, and the result still looks deliberate.
Common mistakes
- Bag feels too stretchy Use a smaller hook or add a lining.
- Panels do not match Check stitch counts after every few rows.
- Strap twists Lay the strap flat before attaching.
- Edges look uneven Count stitches regularly and maintain consistent turning chains.
- Pro Tip Before sewing the bag together, arrange all pieces on a flat surface and check that the panels have matching measurements. This simple step helps create a professional finished shape.
Intermediate
Progress Tracker
0 of 0 rounds
Tap a round to tick it off — your place is saved on this device.
The kit
- Medium weight cotton or cotton blend yarn, approximately 700 yards (640 meters)
- 4.5 mm US G/6 crochet hook
- Yarn needle for sewing and weaving ends
- Scissors
- Stitch markers
- Optional fabric lining
- Optional magnetic snap or button closure
Front and Back Panels
Make 2 panels.
With main color yarn, ch 41.
Row 1Hdc in second ch from hook and across. Ch 1, turn. (40 sts)
Row 2Sc across. Ch 1, turn. (40 sts)
Row 3Hdc across. Ch 1, turn. (40 sts)
Row 4Sc across. Ch 1, turn. (40 sts) Repeat Rows 3 and 4 until the panel measures approximately 8 inches (20 cm) tall.Fasten off.
Side Panels
Make 2 side panels.
Ch 13.
Row 1Sc in second ch from hook and across. (12 sts)
Row 2Ch 1, turn, sc across. (12 sts) Repeat Row 2 until the strip measures 8 inches (20 cm).Fasten off.
Strap
Ch 11.
Row 1Hdc in second ch from hook and across. (10 sts)
Row 2Ch 1, turn, hdc across. (10 sts) Repeat Row 2 until the strap measures approximately 42 inches (107 cm).Fasten off, leaving long tails for attaching.
Project Name
Cozy Everyday Crochet Messenger Bag
This original crochet messenger bag pattern creates a structured crossbody bag with a rectangular body, contrast front panel, sturdy strap, and neat edging. This interpretation uses suggested measurements based on the visible style and can be adjusted easily.
Special Stitch
Textured Half Double Crochet: Work half double crochet stitches normally, keeping even tension. This creates a soft raised texture while maintaining a firm fabric.
Contrast Front Detail
Attach contrast yarn to the lower center area of one front panel.
Work 12 rows of alternating sc and hdc stitches across 20 stitches.
Keep the remaining stitches in the original color.
Fasten off and weave in ends.
Blocking and Shaping
Lightly steam or wet block the finished panels before assembly if needed. Shape the bag while drying to encourage straight edges and a balanced silhouette.
Assembly
Step 1Place the front and back panels together with wrong sides facing.
Step 2Attach side panels between the front and back pieces using single crochet seams.
Step 3Leave the top opening unstitched.
Step 4Attach the strap ends securely to the inside top corners.
Step 5Work one round of single crochet around the top opening for reinforcement.
Step 6Fasten off and weave in all ends.
Finishing
- Weave in all loose ends from the panels, side strips, and strap before assembly.
- Attach the strap to the bag body using the long tails left at its ends.
- Wash the finished bag gently, reshape it while damp, and let it dry flat.
- the best results, gently wash the completed crochet messenger bag according to the yarn label instructions. Reshape the bag while damp and allow it to dry flat. Avoid overfilling the bag to maintain the structure of the crochet fabric.
- If you prefer extra durability, adding a simple fabric lining can help prevent stretching and protect small belongings. A handmade crochet bag is also a thoughtful crochet gift idea because colors and details can be customized for each recipient.
Why it works
The front and back panels open with a half double crochet row, then alternate with single crochet rows, giving the main body its dense, two-texture fabric.
Side panels repeat a single sc row until they reach a set length, rather than a fixed row count, so depth is measured, not counted.
The strap is worked as its own flat strip in half double crochet and finished with long tails, so it's attached by sewing rather than joined as it's made.
What it becomes
- A daily crossbody for carrying a wallet, phone, and keys on quick errands.
- A project bag for a single crochet hook, one skein, and a small notebook.
- A lightweight alternative to a structured handbag for casual days out.
Original pattern: https://duniarecipe.com/crochet-messenger-bag-pattern-stylish-diy-crossbody-bag-tutorial/
FAQ
Can I make this messenger bag bigger or smaller?
Yes. Increase or decrease the starting chain by multiples of two and adjust the row count for height. Keep the stitch count even so the hdc and sc rows line up.
Do I need a fabric lining?
No, the lining is optional. The dense hdc and sc fabric already resists stretching, but a lining adds structure if you plan to carry heavier items.
What yarn works best for this bag?
A medium-weight cotton blend gives the clearest stitch definition and a firm fabric. Acrylic blends work too if you want something lighter or easier to wash.
How do I keep the bag from sagging when filled?
The dense stitch pattern helps, but avoid overfilling it. Blocking the finished bag while damp also helps it hold its rectangular shape.