
Free Pattern
Step-by-Step
Crochet
AmigurumiCrochet plush swan amigurumi with velvet yarn
A plush swan pattern with wire-supported neck, flat-worked wings, and a spiral body.
- Level
- Intermediate
- Time
- 4-6 hours
- Hook
- 3 mm
- Yarn
- Bulky
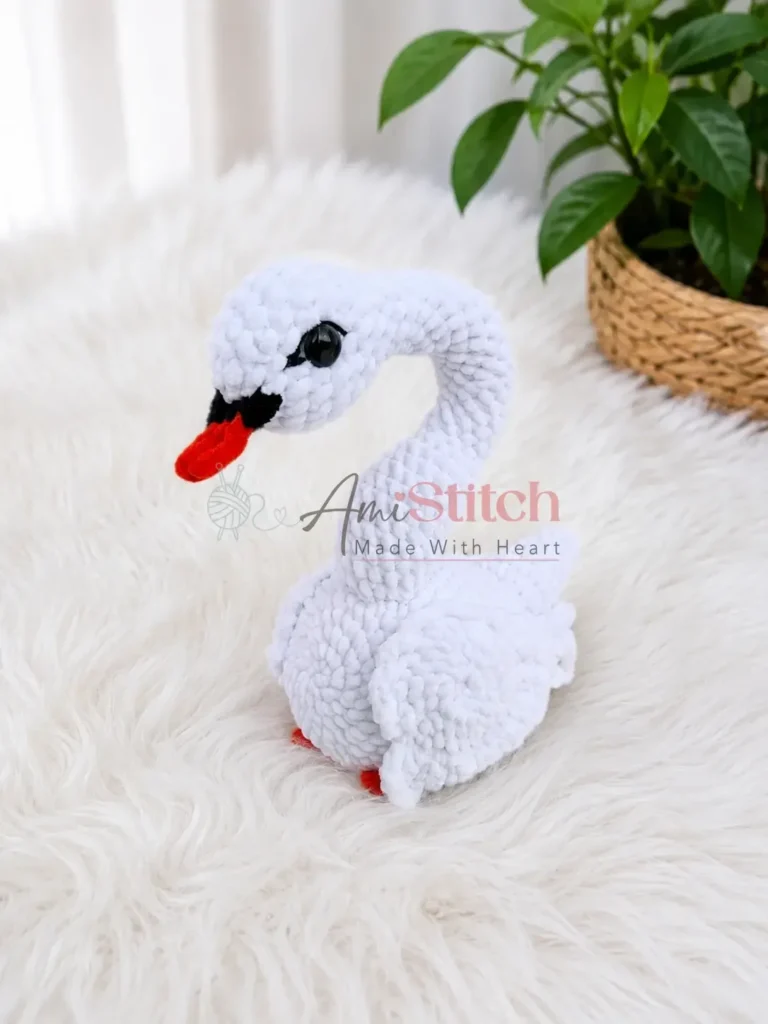
Pattern highlights
- Crochet the head and neck in a spiral, inserting wire into the neck before closing it off.
- Work the body in a continuous spiral, stuffing firmly as the rounds build up.
- Make the tail in the same spiral style as a smaller, simpler piece.
- Crochet two wings, each in two parts worked flat through the back loop only.
- Make the feet and beak as the smaller remaining pieces.
- Sew the neck to the front of the body, the tail to the back, and the wings to the sides.
- Attach the beak to the face and set the safety eyes before final stuffing adjustments.
About This Pattern
Birds don't come up much in my notebook. Most amigurumi collections lean toward bears and bunnies, round and forgiving. A swan asks for something else: a long neck that has to stand up on its own, wings that lie flat against a curved body. It earns a page for the shape alone.
The techniques here are a study in contrast. The head, neck, body, and tail all spiral in continuous rounds, the usual amigurumi rhythm. The wings break that pattern entirely, worked flat in turning rows through the back loop only, which gives them a ridged, feather-like texture the spiral parts can't match.
What comes out the other end is a swan that holds its neck up because there's wire inside it, not wishful thinking. White body, black and orange accents for the face, wings sewn on to mirror each other. It's a piece built to sit upright on a shelf, not slump.
Worth knowing
The satisfaction here is in the contrast between parts. The body and neck spiral up fast in plain single crochet with regular increases, meditative and quick. Then the wings slow you down: flat rows, back loop only, decreasing edges that shape a curve you can feel forming under your hook. Wiring the neck before you close the head is a small, tense moment — get it in, get it straight, then stuff around it. Sewing the wings on so they mirror each other is its own quiet puzzle. By the end you've practiced spiral shaping, flat textured rows, and wire support in one project, which is more range than most plush patterns ask for.
Common mistakes
- Forgetting the wire before closing the head Insert the wire into the neck while the piece is still open, since there's no good way to add it after the head is sealed.
- Losing the spiral starting point Drop a stitch marker at the start of round one and move it up each round so increases land where they should.
- Working wing rows in the wrong loop Check for the back loop only before each row of the wing, since a single regular row will flatten the texture.
- Stuffing too loosely in the body Pack the body firmly as you go, not just at the end, so the velvet yarn doesn't let stuffing show through later.
- Sewing wings that don't mirror Lay both finished wings side by side before sewing to confirm they curve the same way in opposite directions.


Intermediate
Progress Tracker
0 of 0 rounds
Tap a round to tick it off — your place is saved on this device.
The kit
Yarn
- YarnArt Dolce (or any bulky-weight plush/velvet yarn) in the following colors:
- White — 1 full skein
- Black — approximately 1/3 skein
- Orange — approximately 1/3 skein
Hook
- US Size D-3 / 3 mm
Tools
- Safety eyes — 1 pair (size appropriate to scale; 10–12 mm recommended for plush yarn)
- Stuffing — polyester fiberfill
- Yarn needle (tapestry needle for sewing parts together)
- Scissors
- Stitch markers
- Wire — for neck support (floral wire or craft wire, bent to shape)
Head & Neck
Stuff as you work throughout this piece. Insert wire into the neck before finishing.
Round 16 sc in MR. (6)
Round 2inc in each st around. (12)
Round 3sc, inc repeat 6 times around. (18)
Round 4sc in each st around. (18)
Round 52 sc, inc repeat 6 times around. (24)Step by step: Fasten off, leaving a long tail for sewing. Make a second piece identically.
Rounds 6–7sc in each st around. (24)Insert safety eyes between Rounds 6 and 7 now, positioning them symmetrically.
Round 82 sc, dec repeat 6 times around. (18)
Round 9sc in each st around. (18)
Round 10sc, dec repeat 6 times around. (12)Insert wire now to support the neck.
Rounds 11–30sc in each st around. (12) — work 20 rounds total
Round 312 sc, inc repeat 4 times around. (16)
Rounds 32–41sc in each st around. (16) — work 10 rounds total Fasten off and weave in ends.
Body
Stuff firmly before closing.
Round 16 sc in MR. (6)
Round 2inc in each st around. (12)
Round 3sc, inc repeat 6 times around. (18)
Round 42 sc, inc repeat 6 times around. (24)
Round 53 sc, inc repeat 6 times around. (30)
Round 64 sc, inc repeat 6 times around. (36)
Round 75 sc, inc repeat 6 times around. (42)
Round 86 sc, inc repeat 6 times around. (48)
Rounds 9–14sc in each st around. (48) — work 6 rounds total
Round 156 sc, dec repeat 6 times around. (42)
Rounds 16–19sc in each st around. (42) — work 4 rounds total
Round 205 sc, dec repeat 6 times around. (36)
Rounds 21–23sc in each st around. (36) — work 3 rounds total
Round 244 sc, dec repeat 6 times around. (24)Stuff the body firmly now.
Round 253 sc, dec repeat 6 times around. (18)
Round 262 sc, dec repeat 6 times around. (12)
Round 27sc, dec repeat 6 times around. (6)
Round 28dec 6 times around. (6)Wait — the original pattern lists 6 decreases here to close. Pull the remaining stitches closed with the yarn tail.Fasten off and weave in ends.
Wing — Part 1 (Make 2)
The Wing has two parts that are sewn together and then edged — read all wing instructions before starting.
Round 16 sc in MR. (6)
Round 2inc in each st around. (12)
Round 3sc, inc repeat 6 times around. (18)
Round 42 sc, inc repeat 6 times around. (24)
Round 53 sc, inc repeat 6 times around. (30)Fasten off, leaving a long tail for sewing. Make a second piece identically.
Wing — Part 2 (Make 2)
This piece is worked flat in turning rows, working into the Back Loop Only throughout.
Round 1Ch 25, starting in the 2nd ch from hook: 24 sc. (24)
Round 2Ch 1, turn. 21 sc. (21)
Round 3Ch 3, starting in the 5th st: 20 sc. (20)
Round 4Ch 1, turn. 18 sc. (18)
Round 5Ch 3, starting in the 4th st: 18 sc. (18)
Round 6Ch 1, turn. 16 sc. (16)
Round 7Ch 3, starting in the 4th st: 16 sc. (16)
Round 8Ch 1, turn. 14 sc. (14)
Round 9Ch 3, starting in the 4th st: 14 sc. (14)
Round 10Ch 1, turn. 12 sc. (12)
Round 11Ch 3, starting in the 5th st: 11 sc. (11)
Round 12Ch 1, turn. 9 sc. (9)
Round 13Ch 3, starting in the 5th st: 8 sc. (8)
Round 14Ch 1, turn. 7 sc. (7)
Round 15Ch 3, starting in the 4th st: 7 sc. (7)
Round 16Ch 1, turn. 5 sc. (5)
Round 17Ch 3, starting in the 5th st: 4 sc. (4)
Round 18Ch 1, turn. 3 sc. (3)
Round 19Ch 2, starting in the 4th st: 2 sc. (2)Fasten off. Make a second piece identically.Sew Wing Part 1 and Wing Part 2 together, making sure the two finished wings mirror each other (one faces left, one faces right).Wing Edging: Using the remaining stitches along the edge of Wing Part 1 as your base, join yarn where you finished attaching Part 2 and work the feather edging along the top edge as follows: ch 3, sk 1 sc, sl st into next st — repeat to the end of Part 1’s edge. Fasten off and weave in ends.
Tail
Round 15 sc in MR. (5)
Round 2inc in each st around. (10)
Rounds 3–4sc in each st around. (10) — work 2 rounds total
Round 5sc, inc repeat 5 times around. (15)
Rounds 6–7sc in each st around. (15) — work 2 rounds total
Round 82 sc, inc repeat 5 times around. (20)
Round 9sc in each st around. (20)Fasten off, leaving a long tail for sewing.
Feet (Make 2)
Worked in orange yarn.
Make 3 small toes, then join them: For each toe: ch 3, starting in the 2nd ch from hook: 2 sc. (2 sc + the base chain)
Make 3 toes total.
Join the third toe to the first toe with a slip stitch through the base chain.
Fasten off and weave in ends. Make a second foot identically.
Beak
Worked in orange yarn with a color change to black.
Ch 4, starting in the 2nd ch from hook: 3 sc in orange. On the last sc, switch to black yarn.
Ch 3, starting in the 2nd ch from hook: 2 sc in black.
2 sc across, then ch 3 and starting in the 2nd ch from hook: 2 sc.
Fasten off and weave in ends.
Assembly
Step 1Attach the neck (the long narrow section of the Head piece) to the Body by sewing through Rounds 5 to 11 of the body, using the yarn tail and a whipstitch. Position the neck upright at the front of the body.
Step 2Sew the Tail to the back of the Body at Rounds 20 to 25, using the long yarn tail and a whipstitch.
Step 3Sew the Wings to the sides of the Body, aligning them between Rounds 5 and 12. Make sure the wings mirror each other symmetrically.
Step 4Sew the Beak to the center of the magic ring at the tip of the head (the snout area), with the black section at the front.
Step 5Gently shape the face by pulling a slight tightening stitch across the head if needed to define the snout area. Embroider the swan’s eye details using black yarn if you wish to add additional decorative detail around the safety eyes.
Step 6Sew the Feet to the underside of the body.
Step 7Weave in all remaining ends securely.
From the collection
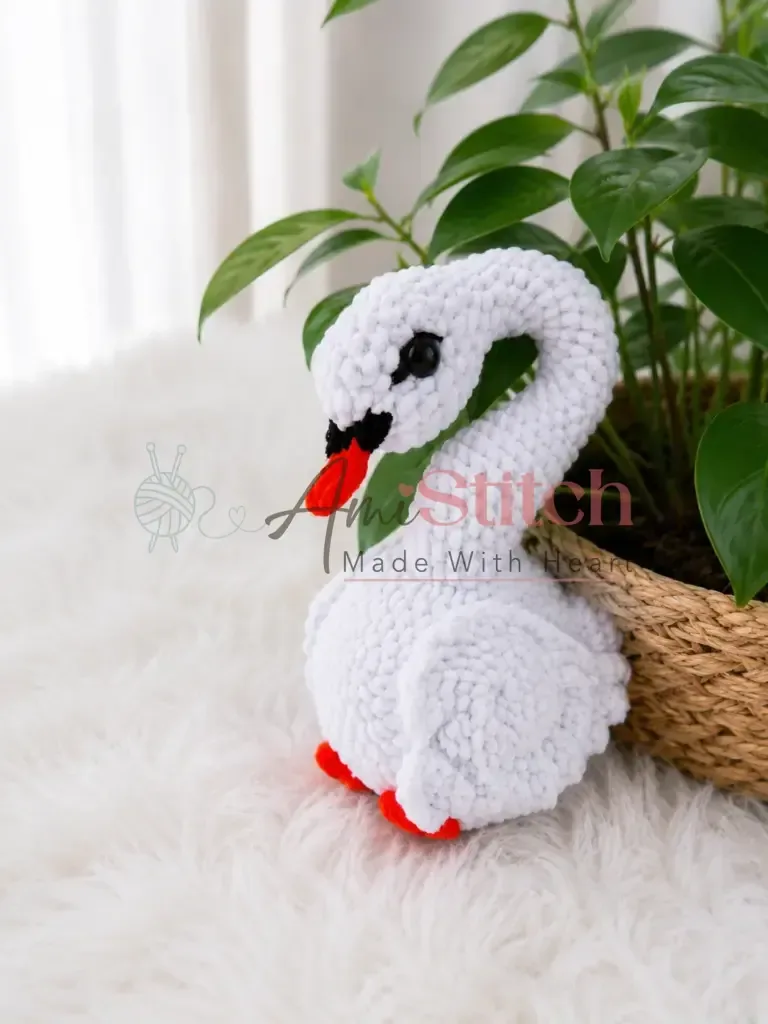
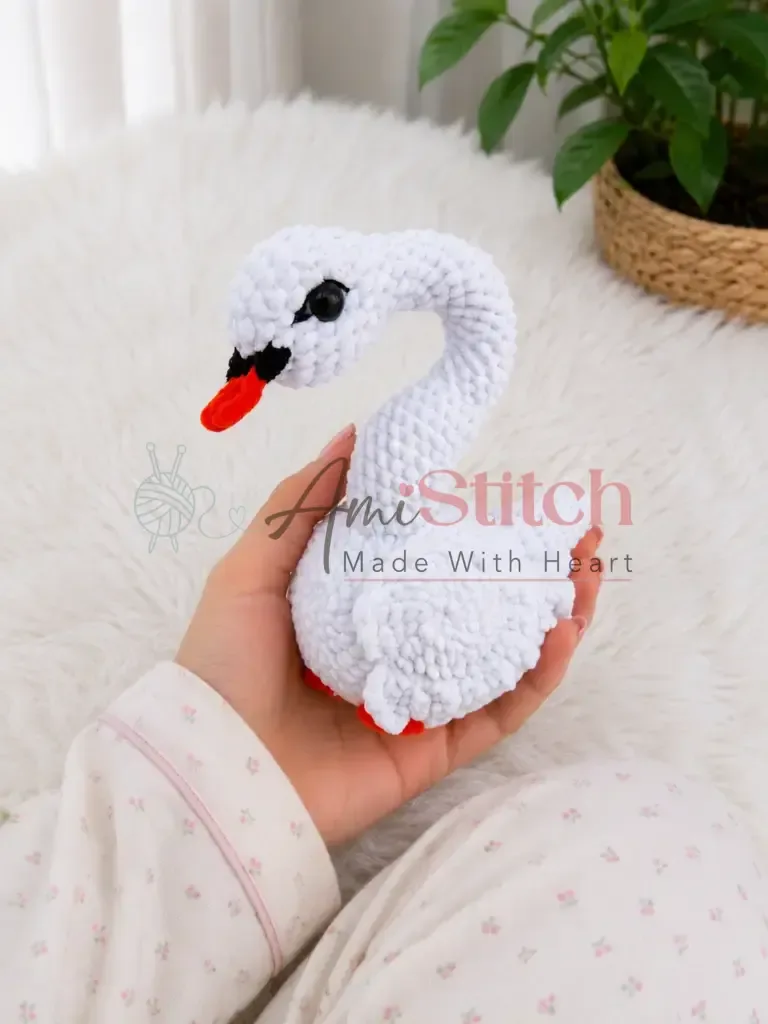
Finishing
- Weave in the yarn tail from each piece before assembly so nothing unravels mid-sew.
- Stuff the head, neck, and body firmly as you work, packing extra around the wire for a stable neck.
- Sew the neck, tail, wings, and beak into place with a whipstitch, checking that the wings sit symmetrically before you knot off.
Why it works
The head and neck increase steadily through the early rounds, then hold a flat stitch count, which builds the narrow neck shape before the head widens.
The wing is worked flat in turning rows rather than in the round, because a flat panel with back-loop-only texture lies against the body better than a spiral tube would.
The neck is sewn to the body across a wide band of rounds rather than a single point, which spreads the stress of the wire-supported neck over a sturdier seam.
This pattern is written in US crochet terminology.
Gauge is not critical for this project, but work tightly enough that stuffing does not show through the stitches.
What it becomes
- A shelf piece for a nursery or playroom, paired with other plush animals in the same velvet yarn.
- A handmade gift for someone who collects birds or waterfowl figures.
- A soft prop for a child's quiet-time corner, sturdy enough to sit upright next to a stack of books.
Original pattern: https://amistitch.com/crochet-plush-swan-free-amigurumi-pattern/
FAQ
Can I skip the wire in the neck?
You can, but the neck will flop without it since that's what holds the upright curve. If you leave it out, expect the swan to rest its head lower rather than stand tall.
Why are the wings worked flat instead of in rounds?
The wing pieces are turning-row panels, not spiral tubes, which lets the back-loop-only texture show on one side. That ridged texture reads more like feathers than a smooth spiral would.
What yarn weight does this pattern need?
It calls for a bulky-weight plush or velvet yarn, like YarnArt Dolce, worked with a US D-3/3mm hook. A smaller or smoother yarn will change the scale and the texture of the finished swan.
How much of each color do I actually need?
One full skein of white covers the body, head, and neck. Black and orange each run about a third of a skein for the smaller accent pieces.