
Free Pattern
Step-by-Step
Crochet
AmigurumiCrochet snail amigurumi with a spiral shell
A small crochet snail with a spiral shell, built body-first then joined by hand.
- Level
- Intermediate
- Time
- 4-6 hours
- Yarn
- Worsted
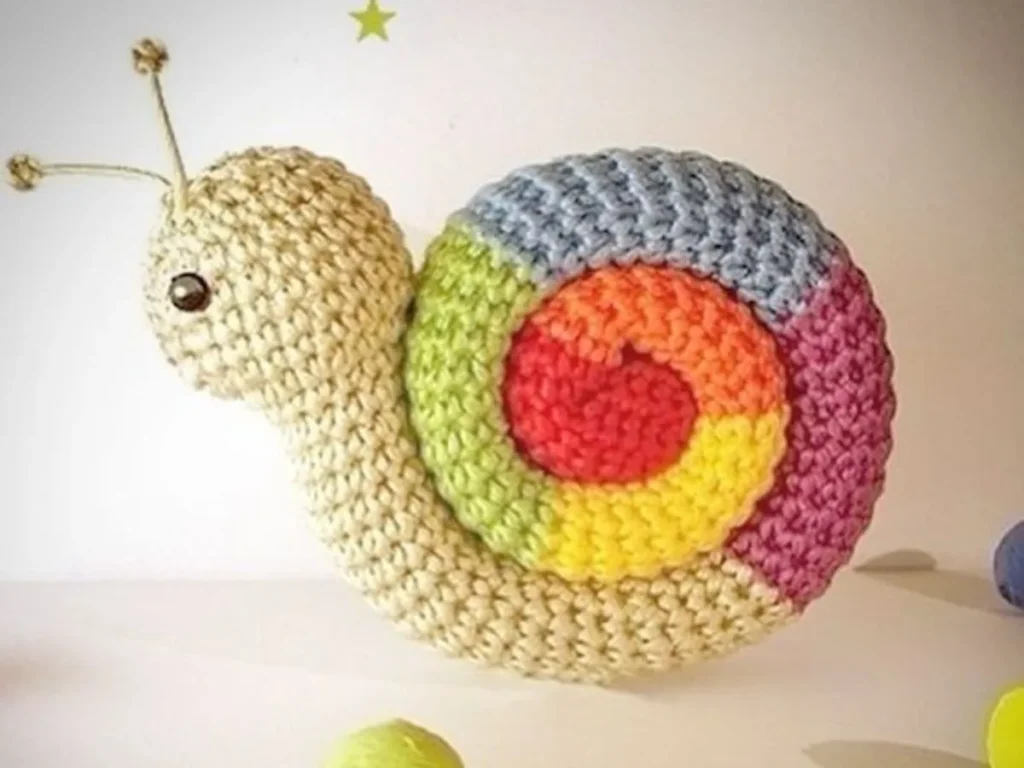
Pattern highlights
- Begin the body with a magic ring and work single crochet increases round by round to build its rounded shape.
- Continue the body through its remaining rounds until it reaches full size, then finish the last rounds as directed.
- Work the shell in a spiral of double crochet and chain-1 spaces, increasing stitches as the spiral grows outward.
- Fasten off the shell with a long tail left specifically for sewing it onto the body later.
- Stuff the body with fiberfill before closing it up, adjusting firmness to how solid you want the snail to feel.
- Sew the shell onto the back of the body at an angle, then add eyes and any small details you like.
About This Pattern
This one sits in the shelf of small, slightly odd amigurumi — the pieces I keep because they're not another bear. A snail has personality built in: the slow curl of the shell, the stretch of the body. It's the kind of pattern I reach for when I want a project with a clear beginning, middle, and a shell to show off at the end.
The body is worked in the round from a magic ring, increasing steadily to build a rounded base before the pattern narrows off. The shell is the interesting part — a separate piece worked flat-ish in a spiral of double crochet and chain spaces, which is a different rhythm from the tight single crochet body. Two techniques in one small toy.
Finished, it's a body you can stuff to whatever firmness you like, topped with a shell sewn on at an angle for a lived-in look. It's not large. It's the sort of thing that ends up on a windowsill or in a kid's hand, and either way it holds its shape.
Common mistakes
- Losing count on the body increases Count stitches at the end of each round before moving on. The magic ring rounds compound fast if one round is off.
- Shell spiral coming out flat Check that chain-1 spaces are actually skipping a stitch, not just sitting between two worked stitches. That gap is what curls the spiral.
- Joining shell color mid-round awkwardly Attach the new yarn with a slip stitch at a clean stitch, not partway through one. It keeps the color change tidy.
- Overstuffing before checking shape Add fiberfill gradually and press the body between additions. Amigurumi bodies distort if stuffed all at once.
- Sewing the shell on straight instead of angled Tilt the shell slightly before pinning it down. A flat, centered shell looks stiff instead of snail-like.


Intermediate
Progress Tracker
0 of 0 rounds
Tap a round to tick it off — your place is saved on this device.
The kit
- Crochet hook
- Yarn in your chosen body color
- Yarn in a contrasting color for the shell
- Fiberfill stuffing
- Safety eyes (or small black beads/yarn for a simple eye design)
- Yarn needle, for weaving in ends and sewing the shell on
- Contrasting yarn, for embroidering the face
Step 1: Start with the Snail’s Body
Create a Magic Ring: Start by creating a magic ring. This will be the foundation of your snail’s body.
Magic Ring Instructions: - Wrap the yarn around your fingers to create a loop. - Insert your hook into the ring, yarn over, and pull up a loop.
Round 1Work 6 sc into the magic ring. Pull the ring tight and join with a sl st to the first sc.
Round 2Ch 1, then 2 sc in each stitch around . You should have 12 sc at the end of this round.
Round 3Ch 1, sc in the first stitch, 2 sc in the next stitch . Repeat around. You should have 18 sc.Rounds 4-6: Continue increasing as follows:
Round 4sc in the first 2 stitches, 2 sc in the next stitch (24 sc).(24)
Round 5sc in the first 3 stitches, 2 sc in the next stitch (30 sc).(30)
Round 6Work in sc until the piece measures approximately 4-5 inches from the start.
Step 2: Create the Snail’s Shell
Start the Shell: Change to your chosen shell color. Attach the new yarn with a slip stitch in any stitch.
Shell Rounds: Work in the round using the following pattern to create a spiral shell:
Round 1ch 3 (counts as dc), dc in the next stitch, ch 1, skip the next stitch and repeat around.
Round 2Continue in this manner, increasing the number of dc as desired to form the spiral shape.Finishing the Shell: Work until your shell reaches your desired size, then fasten off, leaving a long tail for sewing.
Step 3: Assemble the Snail
Shape the Body: If you prefer, add fiberfill stuffing to the body for shape and volume.
Attach the Shell:
Sew the shell to the body using the long tail left from the shell. Position it at the back of the snail to create a realistic look.
Step 4: Add Eyes and Details
Eyes:
If you’re using safety eyes, insert them before sealing the head. If not, you can stitch small black beads or yarn for a simple eye design.
Face: Embroider a smile or any other facial features using contrasting yarn.
Step 5: Final Touches
Weave in Ends: Use a yarn needle to weave in any loose ends for a neat finish.
Block (Optional):
If you want your snail to hold its shape better, you can lightly steam block it to smooth out any uneven stitches.
From the collection
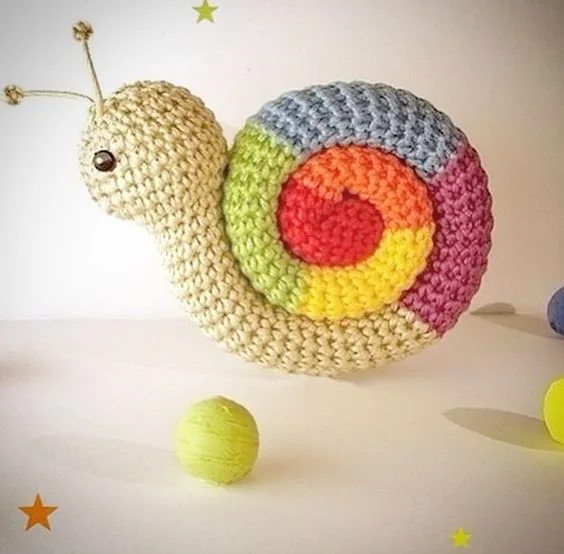
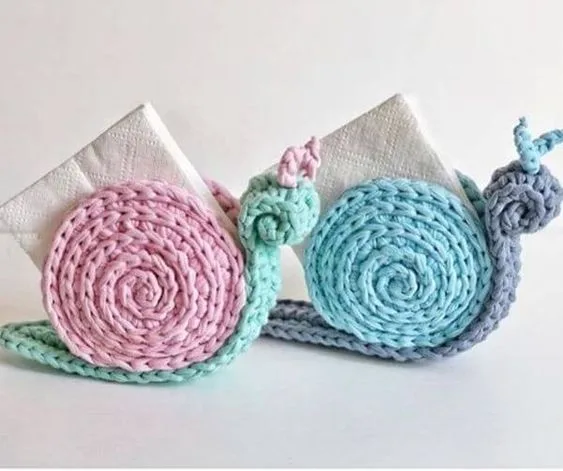
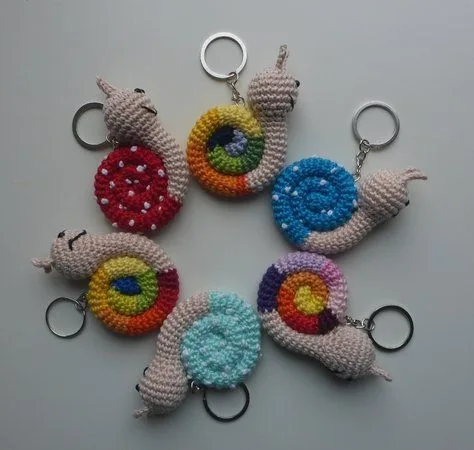
Finishing
- Weave in any loose ends from color changes before stuffing so they don't get trapped where you can't reach them.
- Stuff the body with fiberfill, checking firmness as you go since the shape depends on even filling.
- Sew the shell to the back of the body using its long tail, positioning it at an angle before securing.
Why it works
The body increases every round early on — 6 stitches to 12 to 18 — which is a standard flat-circle progression before the shape curves inward.
The shell is worked separately from the body in its own color, joined by slip stitch rather than continuing directly from the body stitches.
The shell's spiral relies on chain-1 spaces between double crochets, which is what lets it curl rather than lie flat like a straight round.
What it becomes
- A shelf piece for a small amigurumi collection, especially alongside other garden or backyard creatures.
- A soft toy for a child's room, sized for small hands and sturdy once stuffed.
- A one-off gift for someone who collects quirky handmade animals rather than typical stuffed bears.
Original pattern: https://crochetblog.net/diy-crochet-snail-amigurumi-free-pattern/
FAQ
Can I use a different yarn weight than what's suggested?
Yes, though the finished snail will scale up or down with it. A note from the source even suggests experimenting with yarn weight to change the size.
Does the shell need to be a contrasting color?
Not strictly, but a contrast makes the spiral pattern easier to see as you work it. It also gives the finished snail more visual pop.
How do I keep the shell's spiral shape from unraveling?
Fasten off securely and leave a generous tail, since that tail also does the work of sewing the shell down. A loose fasten-off is the usual culprit if it feels wobbly.
Can I make several snails in different sizes?
Yes — that's part of the appeal here. Adjusting stitch counts or yarn weight lets you build a small family rather than a single snail.