
Free Pattern
Step-by-Step
Crochet
AmigurumiCrochet Your Own Cute Toadstool Amigurumi Friend
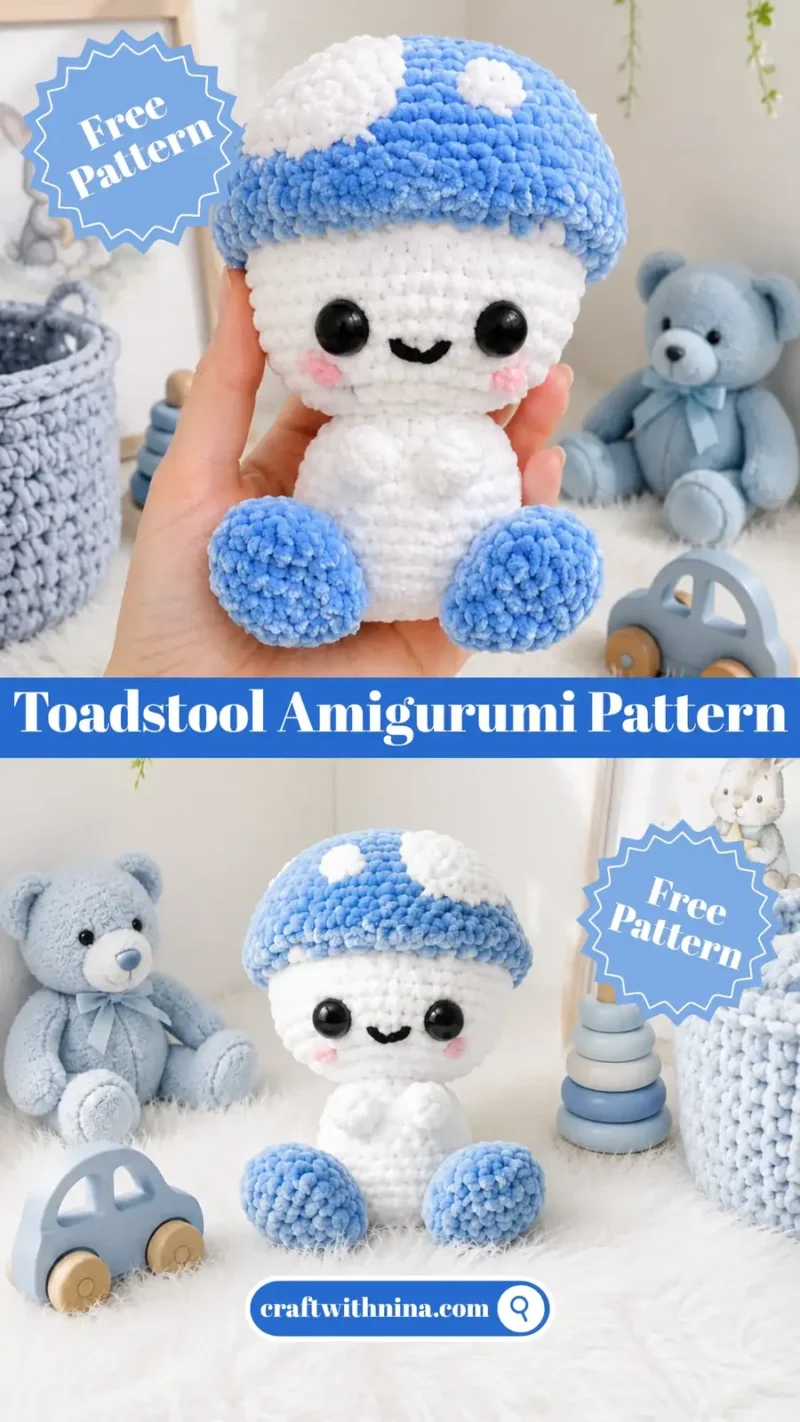
A plush toadstool amigurumi built in pieces, with a loose bubble stitch and a pinned-on cap.
- Level
- Intermediate
- Time
- 4-6 hours
- Hook
- 3.5 mm
- Yarn
- Super Bulky
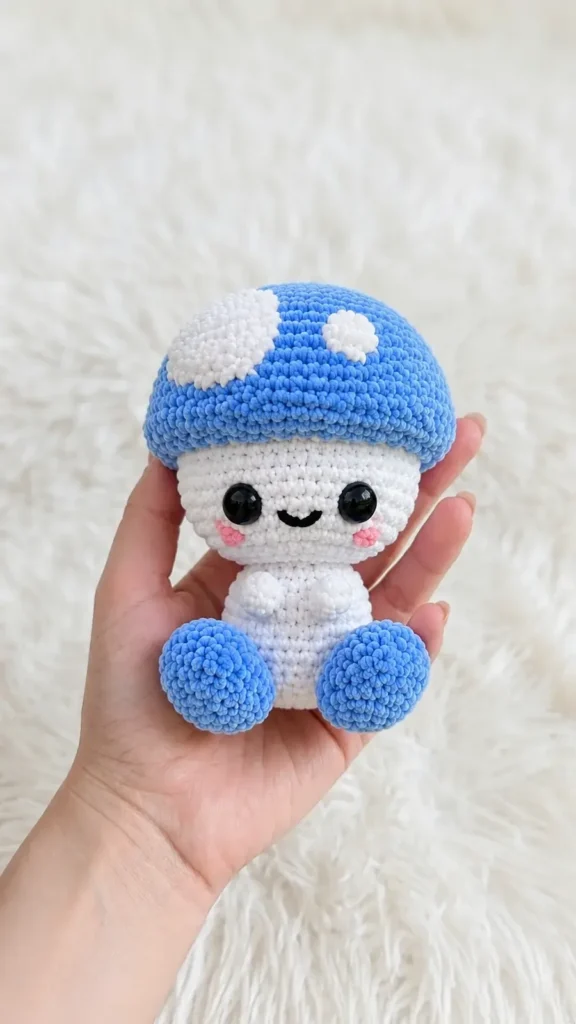
Pattern highlights
- Start the body flat with a chain base, then shape it into a round form through steady increases.
- Work the two feet from magic rings, building up plain rounds before flaring them wider with increases.
- Stitch the head and cap as separate pieces, keeping an eye on your bubble stitch tension throughout.
- Make the small, medium, and big dots in one to three rounds each, leaving long tails for attaching later.
- Pin the cap and feet in place before sewing, checking that the plushie sits flat.
- Finish with safety eyes, felt details, a bow, and any charms you'd like to add.
About This Pattern
I keep a running list of amigurumi that feel like they belong on a shelf of curiosities, and this toadstool earns its spot. It is a small build, worked in eight separate pieces: the body, head, and cap are crocheted as one continuous piece, plus two feet and five dots—two small, one medium, two big—for the cap's spots. In a crowd of bears and bunnies, a toadstool stands out simply by shape. I like patterns that ask me to think about proportion before I even pick up a hook, and this one does exactly that.
The body starts flat, with a chain of five turned into an oval base before the increases shape it into a rounded form. The head and cap continue straight on from the body without a break. The feet begin in a magic ring, work a few plain rounds, then flare out with single crochet and increase pairs. The five dots—two small, one medium, two big—are worked in one to three rounds each, left with long tails for sewing. Bubble stitches show up in the body, and the designer's note about keeping them loose is worth heeding.
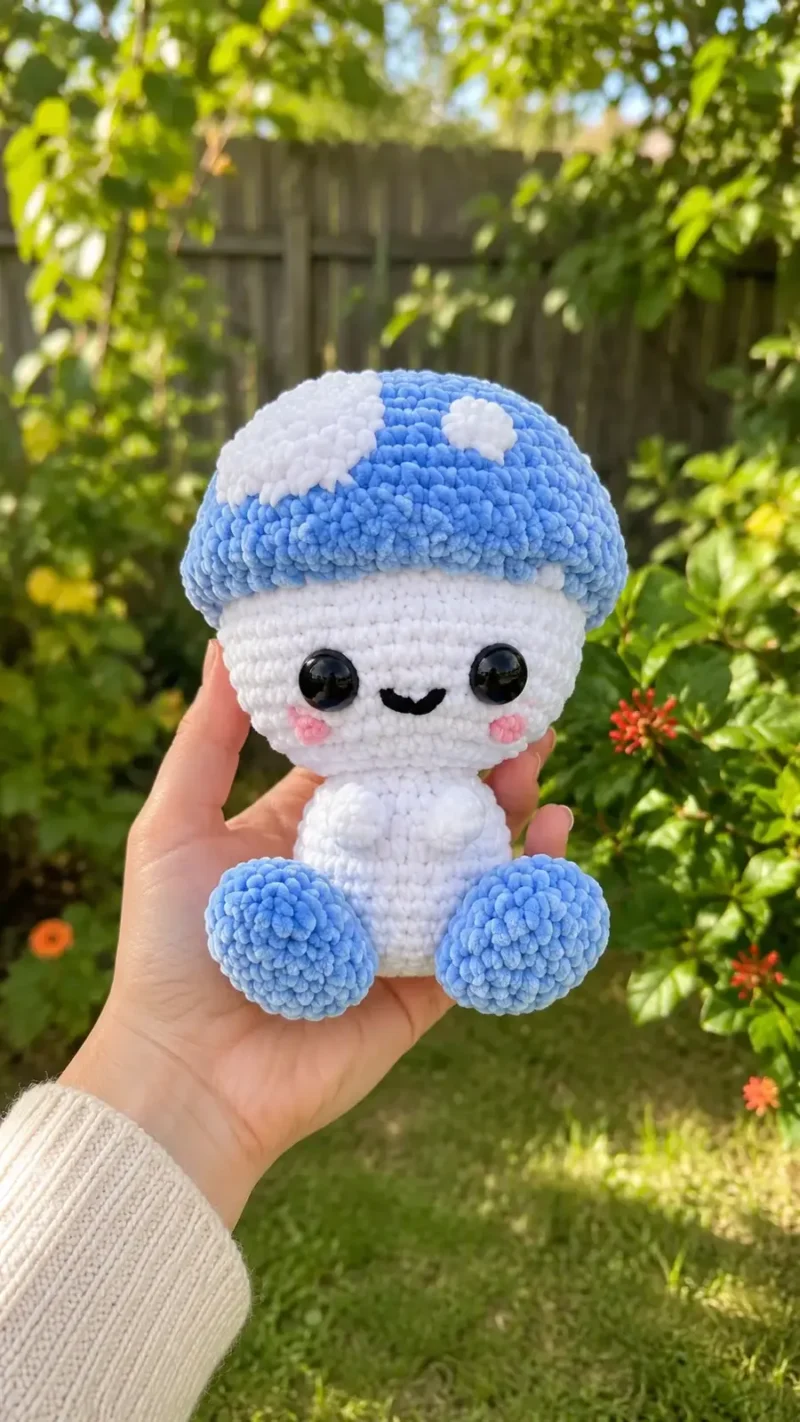
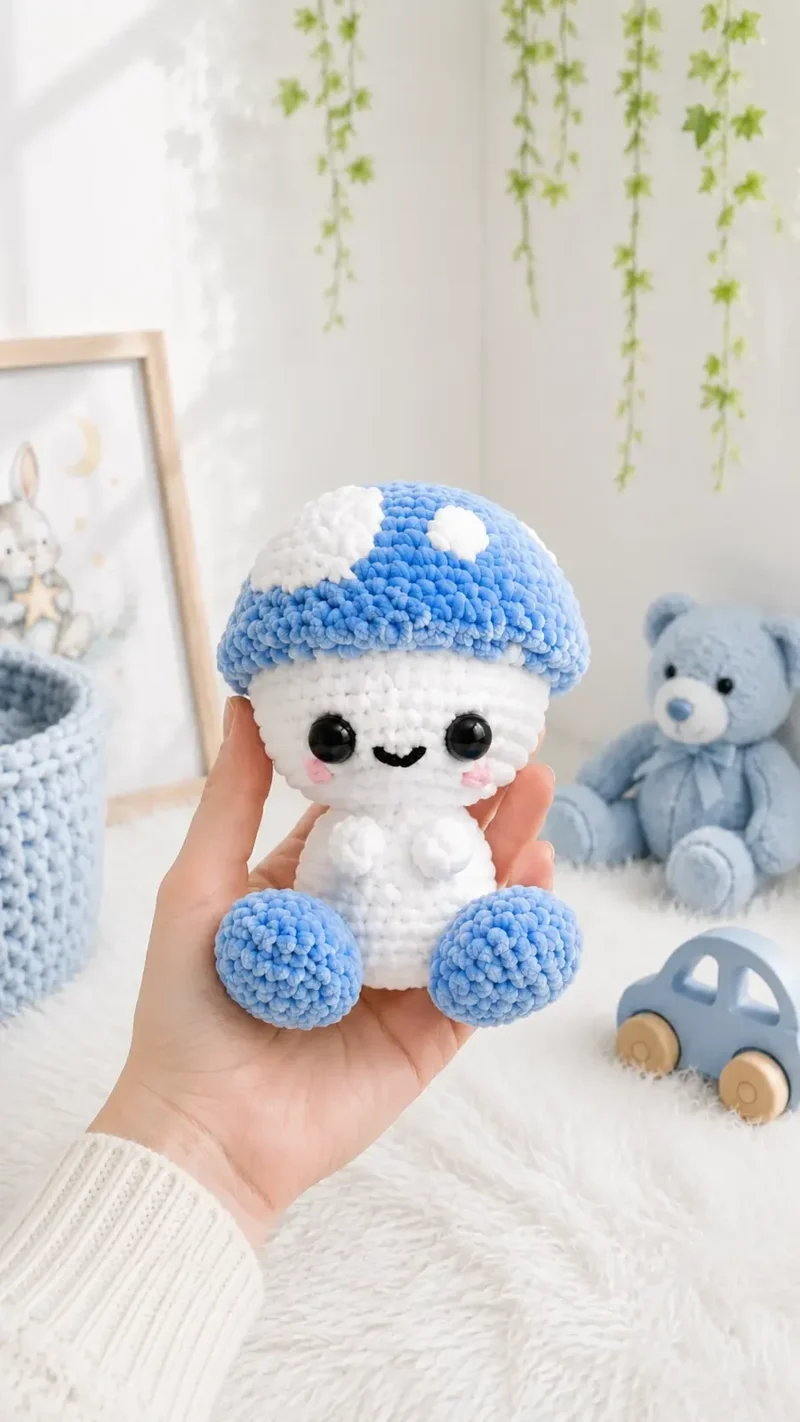
When it is all stitched, stuffed, and assembled, I get a toadstool with a little body, a cap pinned and sewn on top, and two stubby feet. Safety eyes give it a face, felt adds the finishing details, and a small bow or charm dresses it up further. It is the kind of plushie that sits happily on a windowsill or a desk, no occasion required.
The size of your Cutie Toadstool may vary depending on the yarn and tension you use, so there is no single fixed finished measurement.
Worth knowing
There's something satisfying about building a creature from several small pieces instead of one long round body. Each part has its own little job: the feet widen with single crochet and increase pairs, the cap continues straight on from the head, and five tiny dots—two small, one medium, two big—are worked in one to three rounds apiece just to become spots later. The bubble stitches are the real treat here — keep your tension loose and they pop forward instead of flattening into the surface. Pinning the cap and feet before sewing is a small ritual, but it saves me from a toadstool that tips over. By the end, I've practiced magic rings, increases, flat starts, and sewing, all in one quiet sitting.
Common mistakes
- Stitching bubble rounds too tight Tight tension flattens the bubble stitches against the body. Keep your hand loose through those rounds so they pop forward.
- Skipping pins before sewing Sewing the cap or feet on without pinning first can leave the toadstool lopsided. Pin everything in place and check it sits flat before stitching.
- Losing stitches in plush yarn Fuzzy yarn hides your stitch loops easily. Use your fingers to feel for each loop instead of relying on your eyes.
- Misplacing the flat body base The body starts with a chain, not a magic ring, so an uneven first round throws off the oval shape. Count your stitches in the chain carefully before adding increases.
- Forgetting long tails on dots The small dots need a long tail left for sewing onto the cap. Cut too short and you'll have to reattach yarn just for finishing.


Intermediate
Progress Tracker
0 of 0 rounds
Tap a round to tick it off — your place is saved on this device.
The kit
- Beige, blue and white yarn
- Crochet hook for your yarn, I used 3.5 mm hook
- Fiber fill
- Scissors
- Sewing needles
- Stitch markers
- Pins (for sewing)
- Safety eyes of preferred size
- Felt for details and glue
Body section
Start with beige
Round 1CH5, Starting in the 2nd chain from the hook, 3 SC in the next 3 CH, 4 SC in last stitch of the chain. Turn and continue crocheting around the other side of the chain, 2 SC, 3 SC in to the first stitch of this round (12)
Round 24 SC, 2 INC, 4 SC, 2 INC (16)
Round 3(SC, INC) x8 (24)
Round 4BLO 24 SC all around (24)
Rounds 5–824 SC all around (24) [4 rounds](24)
Round 95 SC, BOB5, 2 SC, BOB5, 15 SC (24)
Note on R9: The BOB5 should be placed in the middle of the front of the body. Feel free to adjust the position based on your yarn and tension . TIP: Keep a loose tension while doing Bubble stitches for better result .
Round 10(2 SC, DEC) x6 (18)Start stuffing
Round 1118 SC all around (18)
Round 12(SC, DEC) x6 (12)Finish stuffing, don’t overstuff, keep the base of the body flat
Feet x2
Use blue
Round 16 SC in MR (6)
Round 2(INC) x6 (12)
Rounds 3–412 SC all around (12) [2 rounds](12)
Round 5(SC, INC) x6 (18)
Round 618 SC all around (18)
Round 7(4 SC, DEC) x3 (15)
Round 8(3 SC, DEC) x3 (12)
Round 9(2 SC, DEC) x3 (9)
Round 10(SC, DEC) x3 (6)
Lightly stuff or don’t stuff
FO, close the hole and leave a long tail for sewing . Weave the end to rounds 8-9 . Sew the feet to rounds 8-9 of the body, tilted, just beside the BOB5 .
Small dots x2
Use white/beige
Round 18 SC in MR (8)SLst, FO, leave a long tail for sewing
Medium dot x1
Use white/beige
Round 18 SC in MR (8)
Round 2(INC) x8 (16)SLst, FO, leave a long tail for sewing
Big dots x2
Use white/beige
Round 18 SC in MR (8)
Round 2(INC) x8 (16)
Round 3(SC, INC) x8 (24)SLst, FO, leave a long tail for sewingSew the dots randomly on the cap.
Head section
Continues to Head section
Round 13INC x12 (24)
Round 14(SC, INC) x12 (36)
Round 15(2 SC, INC) x12 (48)
Rounds 16–2048 SC all around (48) [5 rounds]Insert safety eyes between rounds 17-18, 6 visible stitches apart, if you are using them.(48)
Round 21(2 SC, DEC) x12 (36)
Round 22CH2, FLO 36 TRC (36)Make a loose SLst in the CH2 we did at the beginning R22 will be bent and sewed to the head CC to blue
Cap section
Continues to Cap section
Round 23FLO (2 SC, INC) x12 (48)
Rounds 24–26BLO 48 HDC all around (48) [3 rounds](48)
Rounds 27–2848 SC all around (48) [2 rounds](48)
Round 29(4 SC, DEC) x8 (40)
Round 3040 SC all around (40)
Round 31(3 SC, DEC) x8 (32)
Round 3232 SC all around (32)
Start stuffing the head and the cap . Use pins to keep the cap in the right position while stuffing if you can (secure the round 26-27 of the cap to the 21-22 of the head), otherwise just pay attention not to overstuff and check you are still able to position the cap . If you are still having issues start sew the cap before stuffing .
Round 33(2 SC, DEC) x8 (24)Finish stuffing, don’t overstuff
Round 34(SC, DEC) x8 (16)
Round 35DEC x8 (8)
FO Leave a long tail for sewing the hole closed and the cap to the head, instructions below .
Sew the cap to the head
With the long tail sew the cap to the head to keep it in the right position .
Insert the needle in the center of the cap.
Pull it out on the back of the head from rounds 21-22.
Start sewing by inserting the needle in round 26-27 of the cap skipping vertically the treble crochets.
Repeat.
Felt details
Some ideas for a beautiful result <3 Add some felt details like mouth and cheeks .
Charms
You can add some charms to your Cutie toadstool for a more detailed result .
Bow
Knot a ribbon around the neck or crochet a long chain and make a bow .
From the collection
Finishing
- Weave in loose ends from each piece before assembly, especially on the small dots with their long tails.
- Stuff the body, feet, and head firmly but evenly so the toadstool holds its shape without lumps.
- Pin the cap, feet, and dots in place, then sew everything down and glue on the felt details last.
Why it works
The body opens with a chain of five rather than a magic ring, giving it a slightly oval base before the rounds turn circular.
The feet hold two flat rounds at a steady stitch count before the next increase round, which builds height before the shape widens again.
The dots range from one to three rounds depending on size — flat circles for the two small dots, up to a shaped circle for the two big dots — worked as surface details for the cap rather than building volume.
What it becomes
- A desk companion that sits next to a pencil cup or a small plant.
- A shelf piece among other amigurumi, pairing well with other nature-themed stitched creatures.
- A handmade gift for someone who collects small plush figures rather than big ones.
Original pattern: https://craftwithnina.com/crochet-a-cutie-toadstool/
FAQ
What kind of yarn is best for this pattern?
You can use any yarn you like, but a super bulky chenille or velvet yarn works wonderfully to make a soft, huggable plushie. Just make sure to match your hook size to the yarn weight you choose.
Why does the body start with a chain instead of a magic ring?
The chain of five creates a slightly oval base before the rounds turn circular. It gives the body a different footprint than a round magic ring start would.
How tight should the bubble stitches be?
Loose. The designer's note calls for a loose hand on those stitches so they stay raised on the front of the body instead of sinking flat.
Do I need to pin the cap before sewing it on?
I would, yes. Pinning the cap and feet first keeps the finished toadstool sitting flat instead of tipping to one side.
Do I have to use safety eyes?
Not at all! If you are making this toy for a very young child, embroidered eyes or felt details are a much safer alternative to plastic safety eyes.