Free Pattern
Step-by-Step
Crochet
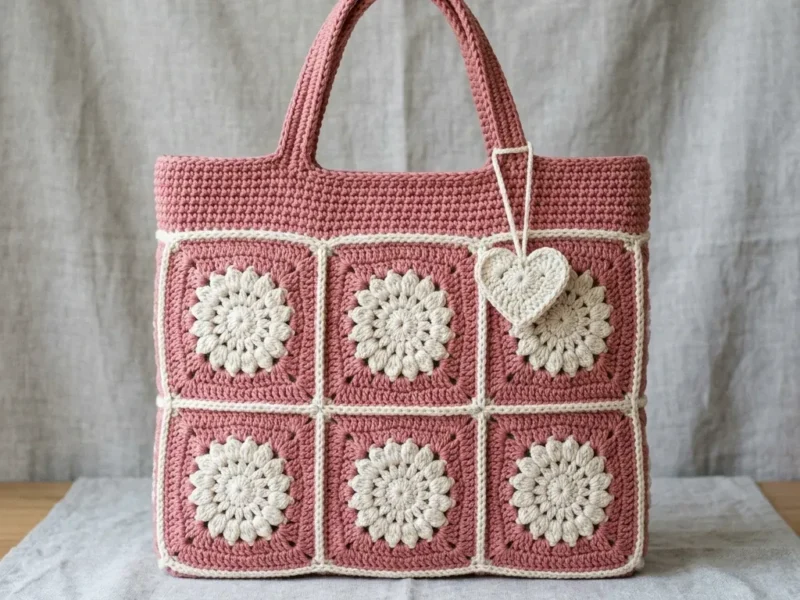
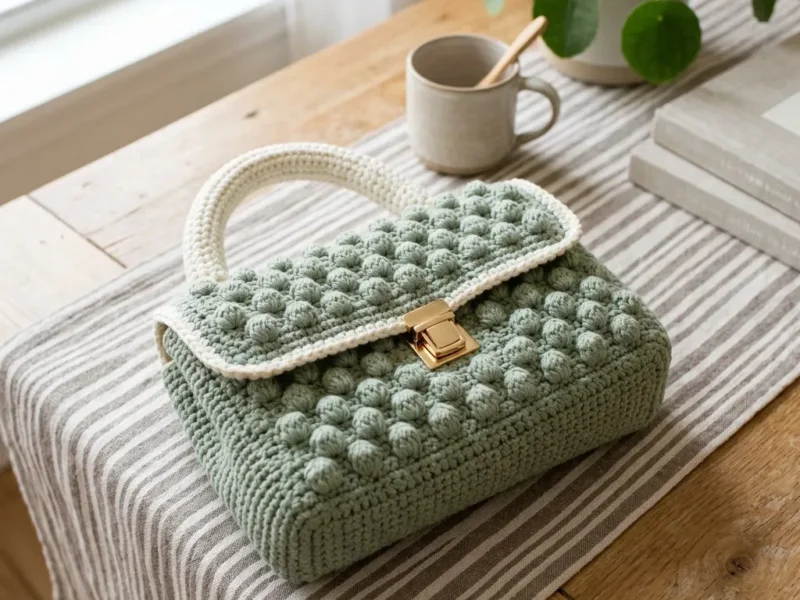
BagsCrochet tote bag with textured puff stitch panels
A textured cotton tote worked in two panels with puff stitches and sturdy crocheted straps.
- Level
- Confident Beginner
- Time
- 6-8 hours
- Hook
- 4.5 mm
- Yarn
- Worsted
Pattern highlights
- Chain a long foundation row, then work plain single crochet rows to set the base fabric width.
- Follow with a row that sinks each puff back into the fabric with a plain single crochet.
- Repeat the panel's row sequence until two identical rectangles are complete, matching stitch for stitch.
- Join the panels along the sides and bottom, then reinforce the top opening.
- Crochet two short strap panels separately, then attach them once the tote is seamed.
- Wet-block the finished bag on a flat surface so the texture settles evenly.
About This Pattern
This tote lands in my notebook under simple shapes with a twist. I like pieces that start as plain rectangles then earn texture through stitch choice alone. No shaping, no fancy construction, just a repeating puff stitch doing the visual work. It fills a gap between flat dishcloths and structured bags. Panel construction, done plainly, can still look considered. I keep coming back to totes like this because they teach patience with repetition.
The technique list is short. Single crochet rows set the base. A puff stitch lands every sixth stitch. The next row tucks each puff back into the fabric. Two panels are worked flat, back and forth, then joined along the sides and bottom. Straps are separate flat strips in rows, attached afterward. Nothing exotic here. It just takes steady counting and a willingness to repeat the puff row until the texture looks deliberate.
What comes off the hook is a slightly structured rectangle, not a slouchy sack. The reinforced top edge keeps the opening from stretching once it is loaded with yarn or groceries. Cotton gives the fabric body. The finished tote holds its rectangle shape on a table rather than folding over. It reads as handmade, not homespun, which is the balance a market tote like this is after.
Worth knowing
The puff stitch is the whole appeal here. Six loops pulled through one stitch is satisfying, stitch after stitch. Alternating textured rows with plain single crochet rows keeps the pace brisk. The plain rows move fast between the fiddly ones, which balances things nicely. Working two identical panels is its own puzzle, matching one to the other by feel. Cotton yarn holds every puff crisply, so the texture reads from across a room. Because there is no shaping, I can watch something else while counting stitches. The only real decision is whether to add a lining, and I usually skip it.
Common mistakes
- Losing count during the puff stitch Six loops should sit on the hook before the final pull-through. Count loops each time instead of trusting rhythm alone.
- Puffs drifting off the sixth stitch A missed stitch early in the row shifts every puff after it. Use a stitch marker at the first puff to anchor the count.
- Skipping the sc into the puff top Row 4 needs one single crochet worked into each puff, not skipped over. Leaving it out creates small gaps instead of a flat row.
- Choosing acrylic for a firm tote Acrylic drapes softly and the bag loses its structured rectangle shape. Stick with cotton if a sturdy market tote is the goal.
- Panels ending up different lengths Working two panels separately invites row-count drift between them. Keep a row tally for each panel so they match before joining.
Confident Beginner
Progress Tracker
0 of 0 rounds
Tap a round to tick it off — your place is saved on this device.
The kit
- Medium weight cotton yarn, approximately 700 yards (640 meters)
- 4.5 mm crochet hook (US 7)
- Yarn needle for sewing and weaving ends
- Scissors
- Stitch markers
- Optional fabric lining for extra support
Front and Back Panels
Round 1Ch 57. Sc in second ch from hook and across. Turn. (56 sts)
Round 2Ch 1, sc across. Turn. (56 sts)
Round 3Ch 1, sc in first 3 sts, puff st in next st, *sc in next 5 sts, puff st in next st; rep from * across until 3 sts remain, sc in last 3 sts. Turn. (56 sts)
Round 4Ch 1, sc across, working 1 sc into each puff stitch top. Turn. (56 sts)
Round 5Ch 1, sc across. Turn. (56 sts)Row 6: Repeat Row 3.Row 7: Repeat Row 4.
Round 860 Repeat Rows 2-7 nine more times. End with a single crochet row. (56 sts) Fasten off.Make two identical panels.
Main Pattern
Round 1Sc in second ch from hook and across. Turn. (80 sts)
Rounds 2–4Ch 1, sc across. Turn. (80 sts) Fasten off. Make two handles.
Special Stitch
Puff Stitch: Yarn over, insert hook into indicated stitch, yarn over and pull up a loop. Repeat this step two more times in the same stitch until six loops are on the hook. Yarn over and pull through all loops. Chain 1 to secure.
Assembly
Step 1Lightly wet the finished bag, reshape it on a flat surface, and allow it to dry completely. Blocking helps even out the textured stitches and improves the overall shape.
Step 2Weave in all yarn ends securely. If desired, add a simple cotton lining to provide extra stability and prevent small items from stretching the crochet fabric.
Finishing
- Weave in every yarn end from the panels, strap rows, and any joins.
- Attach the two crocheted handles to the reinforced top edge, checking they sit evenly on each panel.
- Wet-block the whole bag flat, reshaping the rectangle, then let it dry completely before use.
Why it works
Puff stitches fall every sixth stitch in the texture row. They sit three stitches in from each edge, keeping the raised pattern centered.
The row right after each puff row works a single crochet into the puff top. That stitch locks the raised stitch flat before the next plain rows begin.
The two panels are worked flat, row by row, rather than in the round. Working flat lets me match their row counts exactly before joining the sides and bottom.
What it becomes
- Grocery runs and farmers' market trips, since the cotton fabric holds its shape under weight.
- An everyday book bag for library visits or commuting, light enough for daily carry.
- A dedicated yarn project bag for works in progress, roomy enough for a current skein and hook.
Original pattern: https://duniarecipe.com/19-crochet-tote-bag-ideas-handmade-bag-patterns-diy-inspiration/
FAQ
Can I use acrylic instead of cotton?
Acrylic will work, but the tote will drape more and hold less shape. Cotton keeps the puff stitches crisp and the rectangle structured.
Why are the panels worked separately instead of in one piece?
Two flat panels let me match row counts exactly before joining. It also keeps the texture row readable without working it in the round.
Do I need to line the bag?
Lining is optional, not required for the stitch structure to hold. Cotton lining mainly adds stability and keeps small items from stretching the fabric.
What if my puff stitches look uneven?
Check that each puff has six loops before the final pull-through. Uneven puffs usually mean the loop count drifted partway through the row.