
Free Pattern
Step-by-Step
Crochet
AmigurumiCrochet a velvet yarn puppy amigurumi dog
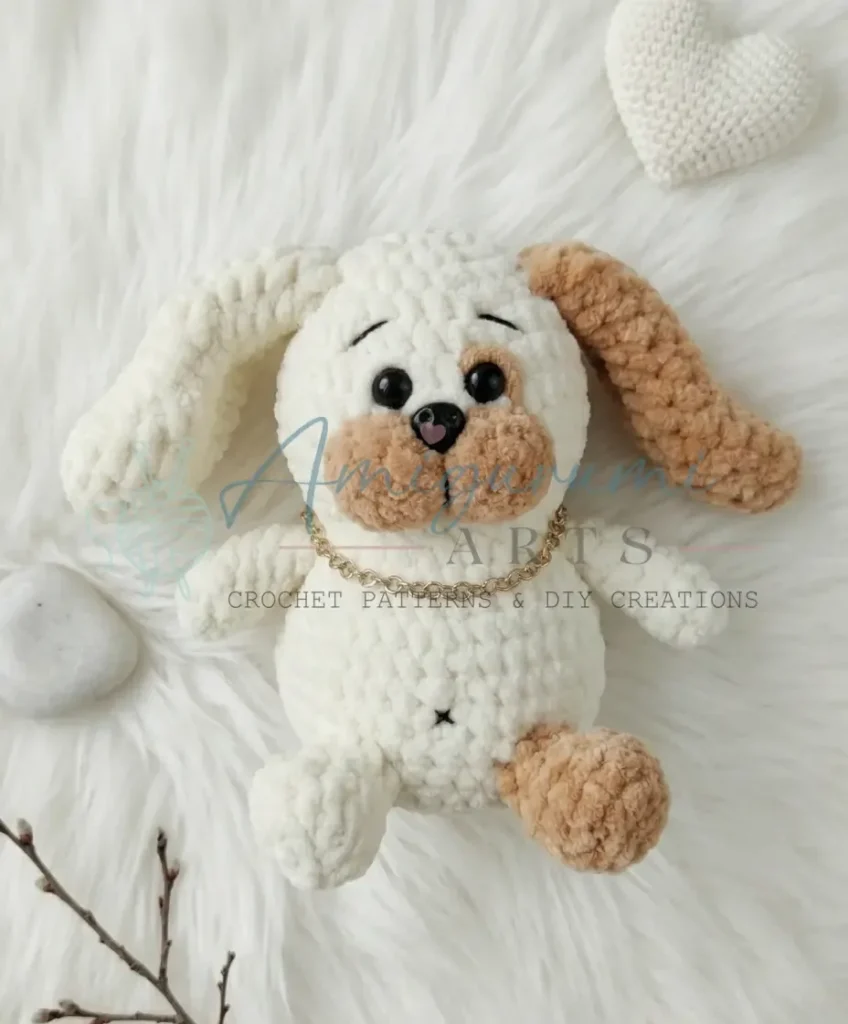
A velvet-yarn puppy amigurumi worked in one spiral piece, with wire for posing ears and tail.
- Level
- Intermediate
- Time
- 4-6 hours
- Hook
- 3.5 mm
- Yarn
- Worsted
Pattern highlights
- Start the head and body together from one oval chain, working the full shape in a continuous spiral.
- Crochet two ears separately, decreasing toward the tip, then slide craft wire inside before attaching them.
- Make the front legs with a back-loops-only round and a shift stitch to keep the pattern aligned.
- Stuff each piece firmly as you go, since velvet yarn hides seams but not soft spots.
- Sew ears, legs, and tail onto the body, then embroider the muzzle, eyelids, and eyebrows last.
About This Pattern
A puppy like this one earns a spot near the front of my amigurumi shelf. I collect small animals more than big centerpieces, and dogs are rare in my own hoop. This one works up as a single continuous body, which saves it from the usual seam anxiety. It is the kind of pattern I save for an evening when I want progress I can see, round by round, without much math.
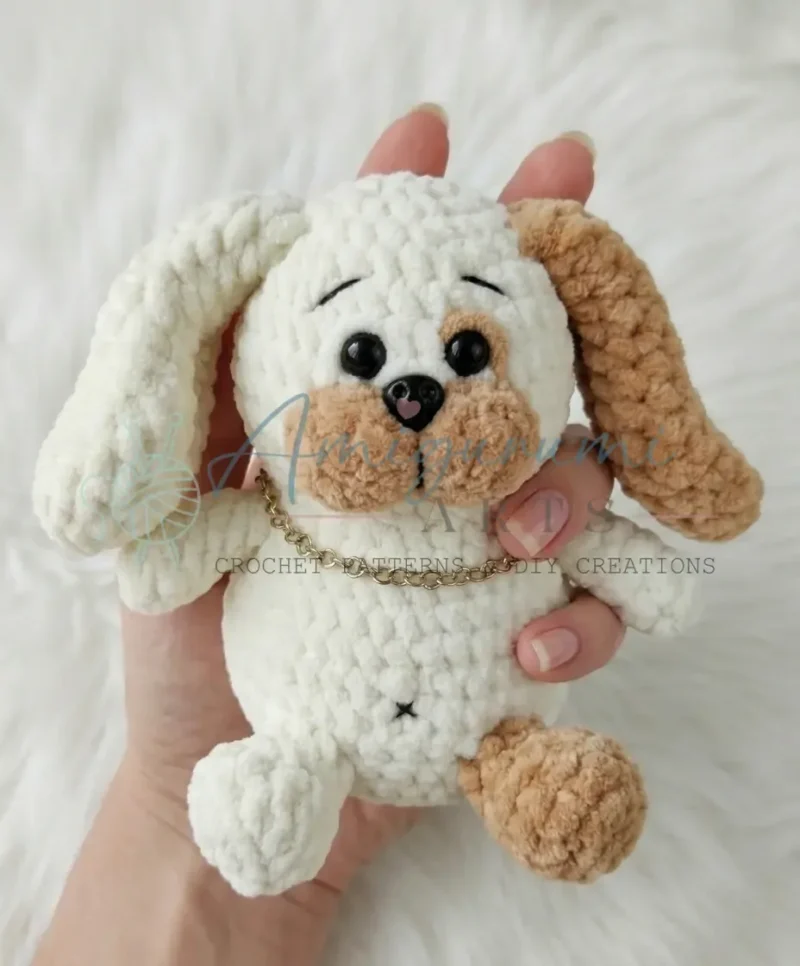
Finished, the dog stands about 5 inches tall, built from worsted-weight velvet yarn on a 3.5 mm hook. The nap of the yarn hides stitch definition, so the shaping reads as fur rather than fabric. Wire in the ears and tail means it can hold a pose instead of flopping. It is a small, dense object, more paperweight than toy, which I like.
Written in US crochet terms. Gauge is not critical for this project, but consistent tension is important — work snugly enough that the fiberfill does not show through the stitches.
Worth knowing
What I like here is the stacking of small techniques into one piece. The head and body grow from an oval foundation chain straight into a magic ring, so there is no seam at the neck. The front legs flip to back-loops-only partway through, then use a shift stitch to reset the round, a small fix I don't see often. Ears decrease steadily to a soft point, and wire inside lets you bend them after sewing. Velvet yarn hides every increase, so the dog reads as fur, not stitches. It is a project where the construction choices show if you know where to look, and disappear if you don't. That tension is the fun of it.
Common mistakes
- Losing the round marker In a continuous spiral it's easy to drift. Keep a stitch marker in the first stitch of every round.
- Skipping the back-loops-only round Round 2 of the front legs calls for back loop only. Working through both loops flattens the ridge that shapes the leg.
- Forgetting the shift stitch The slip stitch that repositions round 3 of the front legs is easy to skip. Leaving it out throws off every round after.
- Sewing ears before adding wire Wire needs to go in before the ear is attached, not after. Insert it while the ear is still loose.
- Working velvet too loosely Velvet yarn hides tension shifts, but stitches that are too loose let stuffing show through. Work slightly tighter than feels natural, and drop to a smaller hook size if you can see fiberfill between stitches when the fabric is pulled apart.
- Lumpy decreases in velvet A standard decrease can look bulky in plush yarn. Work an invisible decrease instead — insert the hook under the front loop of the next two stitches together, yarn over, and pull through both before finishing as usual. The plush texture softens the look either way, so it doesn't need to be perfect.
- Sharp wire ends poking through Raw wire tips can eventually work through the stitches. Fold about 5mm over at each end of the craft wire before inserting it into the ears or tail.
- Packing the body too firm Stuffing until the body is completely rigid makes it less huggable. Stop just before it's fully firm, so it still compresses slightly when squeezed.
- Puckering around the muzzle Pulling the sewing stitches too tight around the muzzle edge makes it pucker. Use the same yarn as the body color and take small, even stitches, firm but not tight — good light helps on dark velvet.


Intermediate
Progress Tracker
0 of 0 rounds
Tap a round to tick it off — your place is saved on this device.
The kit
Yarn
- Plush / velvet-weight yarn in two colors of your choice (main color for the body, accent color for the tail tip) — worsted weight velvet yarn recommended
Hook
- E-4 / 3.5 mm
Safety eyes
- 8 mm (2 pieces)
Safety nose
- 10 mm (1 piece)
Stuffing
- Fiberfill / polyfill
Other Supplies
- Floral or craft wire for the ears and tail (to allow posing)
- Yarn needle / tapestry needle
- Stitch markers
- Scissors
- Black embroidery thread / yarn — for stitching eyelids, eyebrows, and belly button
Head & Body(worked as one piece)
Round 1Start with MR, 6 sc into ring. Pull ring closed. (6)
Round 2Inc in each st around. (12)
Round 3(1 sc, 1 inc) × 6. (18)
Round 4(2 sc, 1 inc) × 6. (24)
Round 5(3 sc, 1 inc) × 6. (30)
Round 6(4 sc, 1 inc) × 6. (36)
Rounds 7–10Sc in each st around. (36)After completing Rnd 7, insert or glue safety eyes between Rnds 7 and 8, with 2–3 stitches between them.
Round 11(4 sc, 1 dec) × 6. (30)
Round 12(3 sc, 1 dec) × 6. (24)
Round 13Sc in each st around. (24)Begin stuffing the head firmly at this point. Continue adding fiberfill as you work.
Round 14(3 sc, 1 inc) × 6. (30)
Round 15(4 sc, 1 inc) × 6. (36)
Round 16Sc in each st around. (36)
Round 17(5 sc, 1 inc) × 6. (42)
Rounds 18–23Sc in each st around. (42)
Round 24(BLO): (5 sc, 1 dec) × 6. (36) Work this entire round through the back loop only — this creates a subtle ridge line at the base of the body.
Round 25(4 sc, 1 dec) × 6. (30)
Round 26(3 sc, 1 dec) × 6. (24)
Round 27(2 sc, 1 dec) × 6. (18)
Round 28(1 sc, 1 dec) × 6. (12)
Round 296 dec. (6)Fasten off, leaving a tail. Weave through remaining 6 sts and pull tight to close. Before fully closing, add a final bit of stuffing. Lightly flatten the bottom of the body so the puppy sits upright and steadily.
Ears(make 2)
Round 1MR, 6 sc into ring. (6)
Round 2Inc in each st around. (12)
Round 3(1 sc, 1 inc) × 6. (18)
Rounds 4–5Sc in each st around. (18)
Round 6(4 sc, 1 dec) × 3. (15)
Round 7Sc in each st around. (15)
Round 8(3 sc, 1 dec) × 3. (12)
Rounds 9–10Sc in each st around. (12)
Round 11(2 sc, 1 dec) × 3. (9)
Rounds 12–15Sc in each st around. (9)
Do not stuff. Insert a length of craft wire into the ear before sewing it closed, bending the wire to follow the shape of the ear. Set aside for assembly.
Front Legs(make 2)
Foundation: Ch 5.
Round 1Starting in the 2nd ch from hook — 1 inc, 2 sc, 4 sc in the last ch; working along the opposite side of the foundation chain — 2 sc, 1 inc. (12)
Round 2(BLO): Sc in each st around. (12)
Round 3Sc in each st around, then work 1 shift stitch (sl st in next st to reposition start of next round). (12)
Round 44 sc, 2 dec, 4 sc. (10)
Round 53 sc, 2 dec, 3 sc. (8)
Round 6Sc in each st around. (8)Stuff lightly. Sew to the body at the lower sides.
Back Legs(make 2)
Round 1MR, 6 sc into ring. (6)
Round 21 inc, 5 sc. (7)
Rounds 3–6Sc in each st around. (7)Do not stuff. Flatten the opening and close with 3 sc across both layers, joining the edges. Sew to the lower body.
Tail
Using accent color yarn:
Round 1MR, 4 sc into ring. (4)
Rounds 2–3Sc in each st around. (4)Switch to main color yarn.
Rounds 4–8Sc in each st around. (4)Do not stuff. Insert craft wire into the tail. Fasten off and sew the tail to the back of the body. Bend the wire to give the tail a jaunty curve.
Muzzle
Foundation: Ch 8.
Round 1Starting in the 2nd ch from hook — 1 inc, 5 sc, 4 sc in the last ch; working along the opposite side of the foundation chain — 5 sc, 1 inc. (18)
Round 2Sc in each st around. (18)Fasten off, leaving a long tail for sewing. Before attaching the muzzle to the head, insert and secure the safety nose at the center of the muzzle, gathering the fabric slightly around it to create a natural nose bridge. Sew the muzzle to the head between Rnds 8 and 12.
Assembly
Step 1Ears: Insert craft wire into each finished ear, shaping it gently. Pin each ear to the top of the head in your desired position and sew securely using the yarn tail and a whipstitch. Bend the ears into position after sewing.
Step 2Front legs: Position the front legs on either side of the lower body, just below the body's widest point. Sew each one firmly in place using the yarn tail and a whipstitch, stitching all the way around the base for a secure join.
Step 3Back legs: Flatten each back leg and sew flat against the lower sides of the body, angled slightly downward so the puppy sits naturally.
Step 4Muzzle: Sew the completed muzzle to the front of the head between Rnds 8 and 12, using the yarn tail and a whipstitch. Pull the stitches snug so the muzzle sits flush against the face.
Step 5Tail: Sew the tail to the center back of the body. Bend the wire inside to shape it however you like.
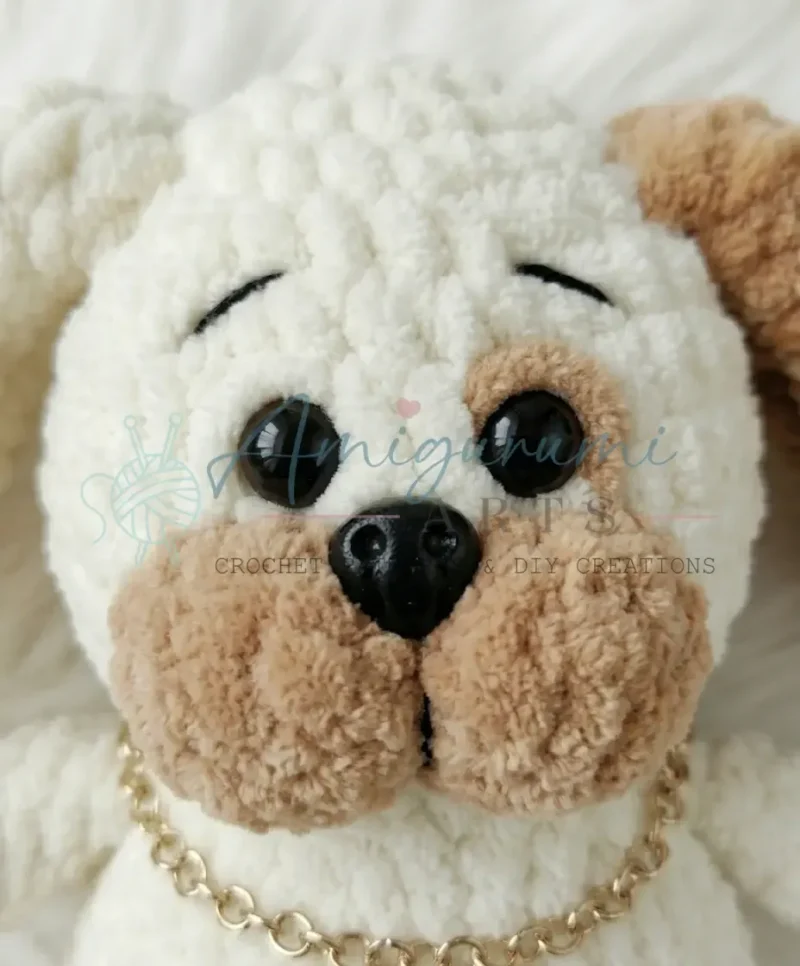
Step 6Embroidery: Using black embroidery thread, stitch eyelids above the safety eyes, eyebrows above those, and a small belly button at the front of the body.
Step 7Finish: Weave in all yarn ends securely.
From the collection
Finishing
- Weave in loose ends from the magic rings and color changes before any piece gets sewn on.
- Stuff the head and body firmly as the rounds close in, then stuff legs, tail, and ears lightly before inserting wire.
- Close the final rounds, attach ears, legs, and tail, then embroider the eyelids, eyebrows, and belly button last.
Why it works
The head and body begin from an 8-chain oval rather than a magic ring, so the first round shapes two straight sides before the increases take over.
Ears increase for three rounds, hold steady for two, then decrease steadily from round 6 onward, which is what gives them their tapered shape.
What it becomes
- A shelf piece next to other small amigurumi animals, where its 5-inch size won't crowd a display.
- A desk companion for someone who collects dog figures but doesn't want ceramic or plastic.
- A soft keepsake paired with other crochet animals in a basket or display case.
FAQ
How big is the finished puppy?
About 5 inches tall when made with worsted-weight velvet yarn and a 3.5 mm hook. Size shifts a little with tension and yarn choice.
Why are the head and body worked as one piece?
Starting from the same oval chain avoids a seam at the neck. It also keeps the spiral unbroken for twenty-one rounds.
Do I need the craft wire?
Wire in the ears and tail lets you pose them after sewing. Without it, both pieces stay soft and floppy.
Can I swap the velvet yarn for something else?
You can, but velvet yarn is what hides the stitch definition and gives the fur look. A smoother yarn will show every increase and decrease.
What skill level is this puppy amigurumi pattern?
This pattern is best suited to confident beginners.