
Free Pattern
Step-by-Step
Crochet
AmigurumiSpotted Dalmatian Puppy Amigurumi Pattern With Heart Bag
A crochet Dalmatian puppy amigurumi with spotted ears, a heart bag, and safety eyes.
- Level
- Intermediate
- Time
- 4-6 hours
- Hook
- 4 mm
- Yarn
- Worsted
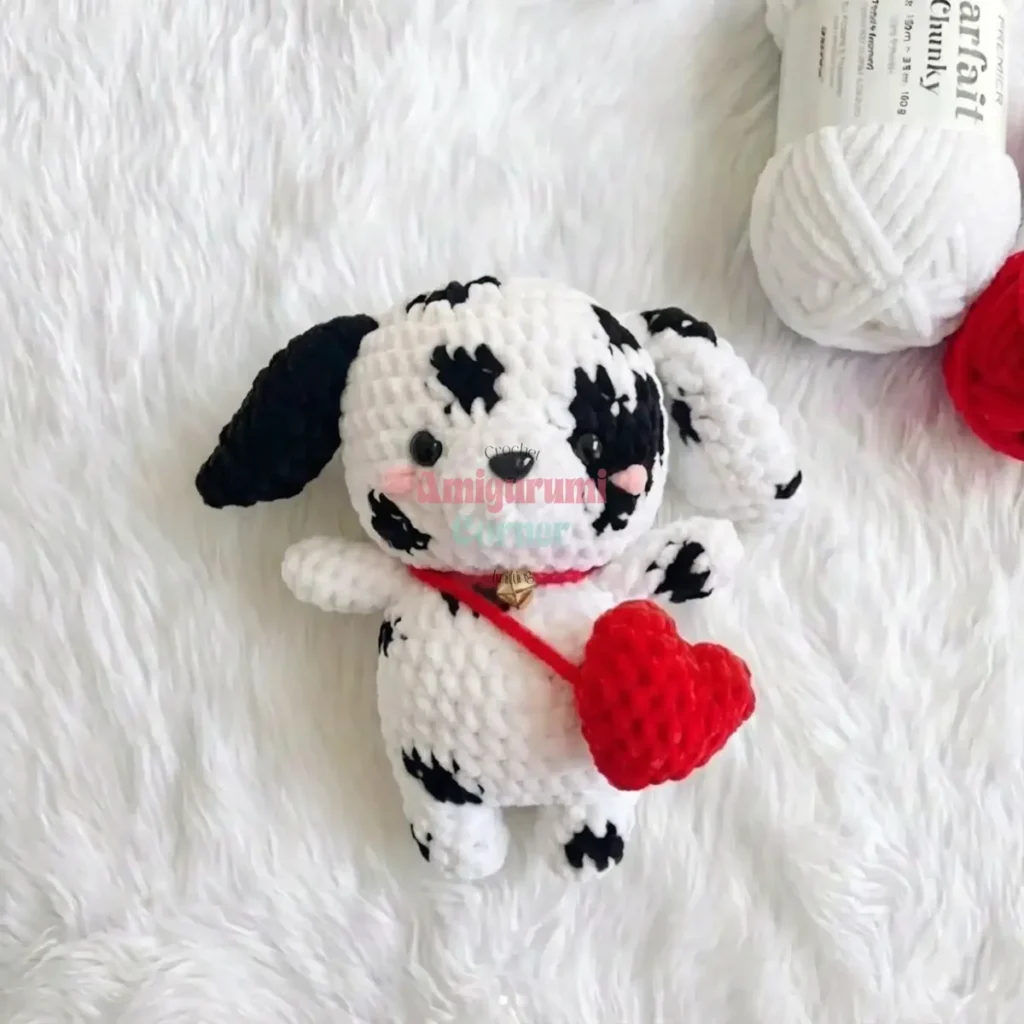
Pattern highlights
- Make the nose separately in a few short rounds, then set it aside for stuffing later
- Crochet the body as two legs worked individually before joining them into one piece with a chain
- Work both arms the same way, then the two ears in different colors and round counts
- Add the tail and the bag as their own small components
- Stuff each piece before sewing, shaping as you go for a rounded result
- Assemble everything onto the body, positioning ears, nose, arms, tail, and the heart bag strap
About This Pattern
Every collector's box of amigurumi ends up with a shelf of dogs eventually. This one earns its spot with spots, not just a floppy ear or a wagging tail. It sits between the novelty pieces and the ones you actually keep out on display, which is the best place for a dog to sit.
The interest here is in the color work. Black and white are swapped mid-round on the head and both legs of the body, so the pattern reads in the stitches themselves rather than being painted on after. Add an invisible decrease for the shaping and a magic ring start, and it is a small lesson in spiral amigurumi with a payoff.
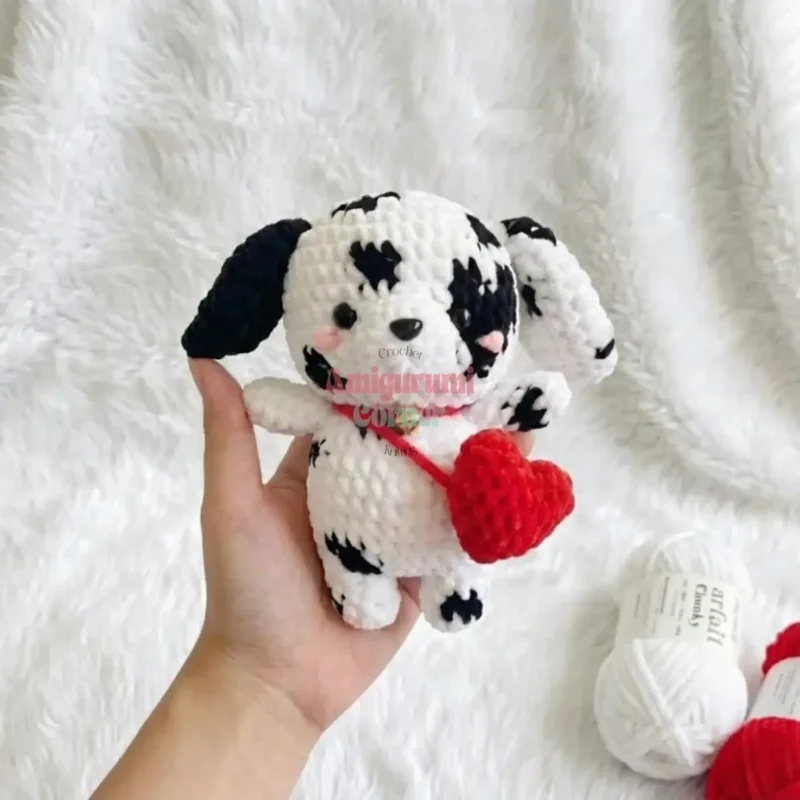
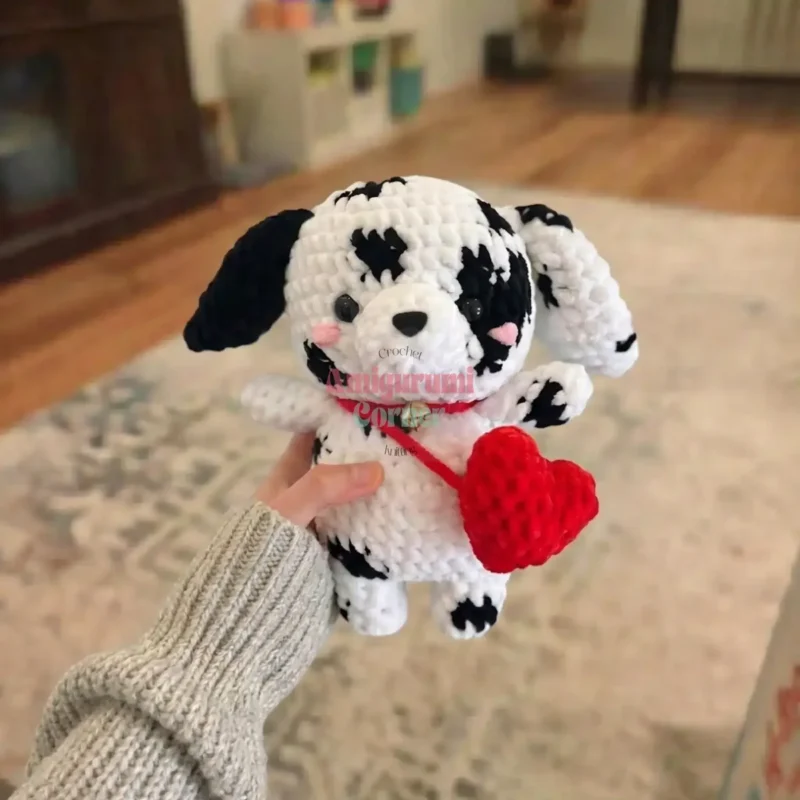
What comes off the hook is a rounded, stuffed puppy with mismatched ears, a spotted head and body, and a little bag slung over one side. It stands on its own two worked-then-joined legs. Chubby by design, not by accident.
Worth knowing
The satisfaction is in the color changes landing exactly where they should, round after round, so the spots on the head and legs actually look like spots and not smudges. Working the body as two separate legs first, then joining them with a chain, is the kind of construction trick that feels clever the first time you do it. The mismatched ears, one solid black and one white with rounds to spare, keep the asymmetry a real dog has. Then there is the heart bag, worked in its own eight rounds and draped across the body last, which turns a plain amigurumi into a character with an accessory. Small parts, a lot of personality.
Common mistakes
- Losing the round while changing colors Use a stitch marker at the start of every round so a color swap mid-round does not throw off your count.
- Safety eyes placed too close together Space them the stated distance apart between the rows indicated, checking both sides before you snap them shut.
- Overstuffing the nose Keep the nose lightly stuffed only, since it is small and a firm stuffing will distort its shape.
- Rushing the leg join Take your time joining the two legs with the chain so the body sits straight rather than twisted.
- Skipping the invisible decrease Use the invisible decrease rather than a regular one for smoother shaping where the pattern calls for it.


Intermediate
Progress Tracker
0 of 0 rounds
Tap a round to tick it off — your place is saved on this device.
The kit
To create your Dalmatian amigurumi, gather these supplies
- Crochet hook – 4mm
- Yarn – Himalaya Dolphin Baby (less than 1 skein per color needed). Alternative brands include Yarn Art, Premier Parfait (most similar available in the US), or other similar plush yarns depending on your location
- Stitch marker
- Scissors
- Fiberfill stuffing
- Safety eyes (12mm) or felt for eyes
- Tapestry needle
Optional
- Pink yarn for cheeks, plastic safety nose or black felt
- Red yarn for the heart bag accessory
Head
Fasten off and cut the yarn.
Eye Placement: Insert 12mm safety eyes between rows 10-11, spacing them 6 stitches apart. Stuff the head fully and generously for that perfect rounded shape.
Adding Pinky Cheeks: Using pink yarn and a tapestry needle, embroider small circles or French knots beside each eye for adorable rosy cheeks.
Round 1Mr 8sc (8)
Round 28inc (16)
Round 3(sc, inc)*3, black sc, inc, white (sc, inc)*4 (24)
Round 4(3sc, inc)*2, black 3sc, white inc, (3sc, inc)*3 (30)
Round 52sc, inc, (4sc, inc)*3, sc, black 2sc, white sc, inc, 4sc, inc, 2sc (36)
Round 6(5sc, inc)*3, 5sc, black inc, sc, white 4sc, inc, 5sc, inc (42)
Round 718sc, black 3sc, white 21sc (42)
Round 819sc, black 2sc, white 3sc, black 2sc, white sc, black 2sc, white 13sc (42)
Rounds 9–1024sc, black 6sc, white 12sc (42)
Round 1125sc, black 4sc, white 13sc (42)
Round 1215sc, black 2sc, white 9sc, black 2sc, white 14sc (42)
Round 13(5sc, dec)*2, sc, black 3sc, white, sc, dec, (5sc, dec)*3 (36)
Round 142sc, dec, (4sc, dec)*5, 2sc (30)
Round 15(3sc, dec)*6 (24)
Round 16(2sc, dec)*6 (18)
Nose – White
Round 1Mr 8sc (8)
Round 28inc (16)
Round 316sc (16)Stuff the nose lightly with fiberfill. Fasten off and leave a long tail for sewing onto rows 10-13 of the head. Insert a plastic safety nose between rows 1-2, or cut a nose shape from black felt and glue it on.
Body
We'll start by creating the legs separately, then join them together.
Fasten off and cut the yarn after completing the first leg.
After completing the second leg, continue by making ch 3 and joining to the first leg.
Fasten off and leave a long tail for sewing to the head. Stuff the body generously to match the chubby head.
Round 1First Leg Mr 5sc (5)
Round 2First Leg 5inc (10)
Round 3First Leg 5sc, black 3sc, white 2sc (10)
Round 4First Leg 6sc, black 2sc, white 2sc (10)
Round 1Second Leg Mr 5sc (5)
Round 2Second Leg 5inc (10)
Round 3Second Leg 3sc, black 2sc, white 5sc (10)
Round 4Second Leg 4sc, black 3sc, white 3sc (10)
Round 510sc (first leg) + 3sc (first side of the chains) + 10sc (second leg) + 3sc (other side of the chains) (26)
Round 6(3sc, inc)*6, 2sc (32)
Round 716sc, black 3sc, white 13sc (32)
Round 84sc, black 2sc, white 11sc, black 3sc, white 12sc (32)
Rounds 9–1032sc (32)
Round 119sc, black 2sc, white 21sc (32)
Round 128sc, black 4sc, white 10sc, black sc, white 9sc (32)
Round 1314sc, dec, 5sc, black 3sc, white 6sc, dec (30)
Round 1430sc (30)
Round 15(3sc, dec)*3, black 3sc, white dec, (3sc, dec)*2 (24)
Round 16(2sc, dec)*3, black 2sc, dec, white (2sc, dec)*2 (18)
Arms
Make 2Make one arm with spots and one in all black or all white for variety.
Stuff lightly with fiberfill. Fasten off and leave a long tail for sewing between rows 15-16 of the body.
Round 1Mr 4sc (4)
Round 24inc (8)
Round 32sc, black 3sc, white 3sc (8)
Round 43sc, black 2sc, white 3sc (8)
Rounds 5–78sc (8)
Ear 1 – Black
Fasten off and leave a long tail. Sew the ear between rows 5-6 of the head. Do not stuff the ear.
Round 1Mr 5sc (5)
Round 25inc (10)
Round 3(Sc, inc)*5 (15)
Round 4(2sc, inc)*5 (20)
Rounds 5–920sc (20)
Round 10(3sc, dec)*4 (16)
Round 11(6sc, dec)*2 (14)
Round 12(5sc, dec)*2 (12)
Ear 2 – White
Fasten off and leave a long tail. Sew the ear between rows 5-6 of the head. Do not stuff the ear.
Round 1mr 5sc (5)
Round 25inc (10)
Round 3Sc, inc, black sc, inc, white (sc, inc)*3 (15)
Round 4(2sc, inc)*4, black 2sc, inc (20)
Round 5White 17sc, black 3sc (20)
Round 6White 20sc (20)
Round 710sc, black 2sc, white 8sc (20)
Round 810sc, black 3sc, white 7sc (20)
Round 920sc (20)
Round 103sc, dec, black 3sc, white dec, (3sc, dec)*2 (16)
Round 115sc, black sc, dec, white 6sc, dec (14)
Round 12(5sc, dec)*2 (12)
Tail – Black
Fasten off and leave a long tail for sewing onto rows 8-9 at the back of the body.
Round 1mr 6sc (6)
Rounds 2–36sc (6)
Rounds 4–6White 6sc (6)
Round 73sc, black 2sc, white sc (6)
Rounds 8–106sc (6)
Heart Bag – Red
This adorable accessory adds extra charm to your Dalmatian!
Fasten off and cut the yarn after the first piece. Make one more identical piece.
Weave in the remaining yarn. Stuff the heart lightly as you crochet. Use a long strand of red yarn to create a strap and attach the heart bag to your Dalmatian.
Round 1First Piece of the Heart Mr 6sc (6)
Round 2First Piece of the Heart (Sc, inc)*3 (9)
Round 3Joining Join the second piece with the first piece: 9sc + 9sc (18)
Round 418sc (18)
Round 5(4sc, dec)*3 (15)
Round 6(3sc, dec)*3 (12)
Round 7(2sc, dec)*3 (9)
Round 8(Sc, dec)*3 (6)
Assembly
Step 1Attach the nose to the center front of the head between rows 10-13
Step 2Sew the head to the body, making sure it's centered and secure
Step 3Position the ears between rows 5-6 of the head (one black, one spotted)
Step 4Attach the arms to the sides of the body between rows 15-16
Step 5Sew the tail to the back of the body on rows 8-9
Step 6Add the heart bag by draping the strap across the body
Step 7Check all seams and reinforce any weak spots
Step 8Trim any excess yarn ends
Step 9Gently brush the plush yarn if needed to hide stitches
Step 10Add any additional spots with black yarn if desired
From the collection
Finishing
- Weave in every fastened-off end with a tapestry needle before assembly, especially where colors changed mid-round.
- Stuff the head and body fully and generously, shaping as you go, then stuff the nose lightly so it stays soft.
- Sew on the nose, ears, arms, tail, and heart bag in order, checking each seam is secure before moving to the next.
Why it works
The head increases in even stages from the magic ring outward, spacing increases every third or fourth stitch so the shape rounds smoothly rather than peaking.
The body is worked as two separate legs first, then joined with a chain, which is how amigurumi makers usually build a standing figure without a seam underneath.
Color changes happen within a single round rather than between rounds, which is why the black patches land as spots instead of stripes.
What it becomes
- A shelf piece for a collection of amigurumi animals, especially alongside other spotted or patterned toys.
- A gift for a dog lover who wants a plush that is not a generic teddy bear.
- A photo prop or desk companion for anyone who likes a small stitched character with an accessory.
Original pattern: https://amigurumicorner.com/dalmatian-dog-amigurumi-pattern-step-by-step-crochet-tutorial/
FAQ
What size will my finished Dalmatian be?
Using a 4mm hook and Himalaya Dolphin Baby yarn, your Dalmatian will be approximately 8-10 inches tall. You can make it larger by using a bigger hook and bulkier yarn, or smaller by using a smaller hook and thinner yarn.
Can I use a different yarn brand?
Yes, the pattern lists alternatives like Yarn Art Dolce, Premier Parfait, or Bernat Velvet alongside the original plush yarn. Just adjust your hook size accordingly to maintain proper tension.
How do I change colors for the spots?
When the pattern indicates a color change, simply drop the working yarn and pick up the new color. Carry the unused color along the inside of your work, catching it with your stitches to keep it secure. The color changes create the authentic Dalmatian spot pattern.
Do I need to stuff the ears and tail?
No, the ears should not be stuffed as this allows them to drape naturally. The tail can be stuffed very lightly or left unstuffed depending on your preference. The head, body, and nose should be stuffed generously for the best shape.