
Free Pattern
Step-by-Step
Crochet
AmigurumiEasy crochet chicken pattern for a cheerful amigurumi
A small amigurumi chicken built from magic rings, a flat beak, and a folded comb.
- Level
- Intermediate
- Time
- 4-6 hours
- Hook
- 3.5 mm
- Yarn
- DK
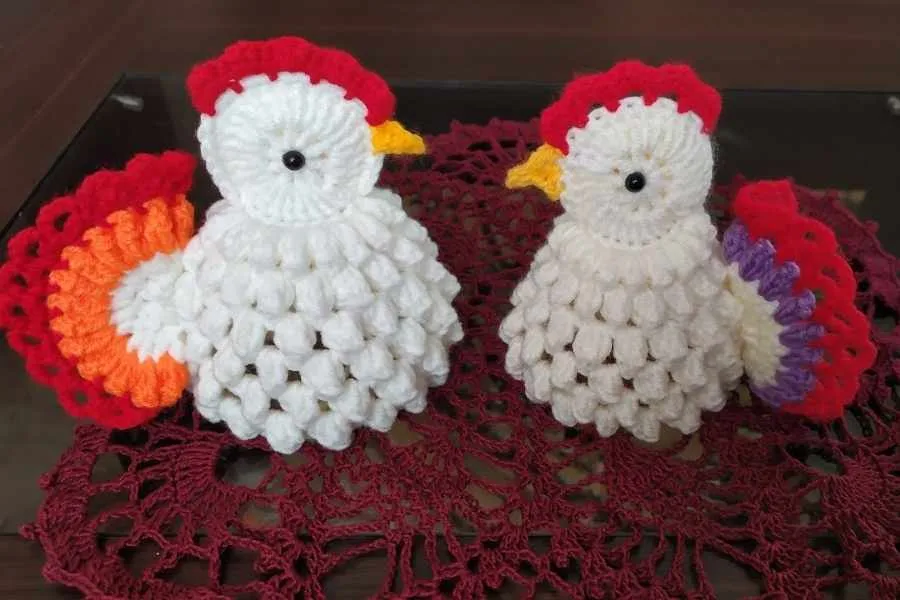
Pattern highlights
- Start the body with a magic ring and build the rounds outward with steady increases.
- Shape the head from a second magic ring worked the same way as the body.
- Decrease the beak at the end to taper it to a point before fastening off.
- Work the red comb as a flat strip, turning after each row to add length.
- Attach the beak below where the eyes will go, centered on the face.
- Fasten the comb to the top of the head, set slightly off-center on purpose.
About This Pattern
Every collector's notebook needs a barnyard section, and this chicken earns its spot. It's small, it's silly, and it uses almost every basic amigurumi trick in one sitting. I like patterns that teach by doing rather than lecturing, and this one qualifies.
The techniques here are foundational: magic ring, single crochet, increase, decrease. Two flat pieces, the beak and the comb, break up the rounds and give a beginner practice reading a chart in both directions. Nothing exotic, just the core vocabulary applied twice.
What comes out the other end is a round, puffy little bird with a face you can customize. The body starts from a magic ring and grows through increases, so the finished shape is naturally egg-like. It sits well on a shelf without wobbling.
Common mistakes
- Losing track of the round marker Move the stitch marker up every round without exception. Without it, the increase counts on rounds 2 and 3 get impossible to check.
- Beak worked too loose Keep the beak's chain-3 start snug, since a loose foundation chain makes the whole piece flop instead of pointing forward.
- Comb rows drifting narrower Count stitches at the end of every comb row before turning. It's easy to miss the last stitch on a flat, four-stitch row.
- Skipping the decrease shaping on the beak Don't skip the decrease row at the beak's end. It's what turns a flat strip into a tapered point.
- Placing the comb dead center Resist centering the comb perfectly. The pattern calls for an off-center placement, which is part of what makes the face look alert rather than symmetrical and stiff.


Intermediate
Progress Tracker
0 of 0 rounds
Tap a round to tick it off — your place is saved on this device.
The kit
Yarn
- Choose a yarn in bright yellow, white, or any other color you prefer for your chicken’s body. You’ll also need yarn in other colors for the beak, legs, and comb.
Suggested yarn
- DK weight yarn (lightweight)
Crochet Hook
- A 3.5mm (E) crochet hook is ideal for this project, but you can adjust based on the thickness of your yarn.
Fiberfill Stuffing
- For a cute, puffy chicken body.
- Safety Eyes (optional): If you want to give your chicken a cute face, you can use safety eyes. Alternatively, you can stitch the eyes with yarn.
Yarn Needle
- For weaving in the ends and attaching parts.
Stitch Marker
- This helps keep track of the beginning of rounds.
- Via
- Via
Step 1: Making the Chicken's Body
Start with a Magic Ring: This will form the foundation of your chicken. If you're not familiar with a magic ring, you can start with a chain and join it into a ring instead.
Step by step: Start with a Magic Ring again for the head.
Round 1Make 6 sc into the magic ring (6 sts).(6)
Round 2Inc in each stitch around (12 sts).(12)
Round 31 sc, inc repeat around (18 sts).2 sc, inc repeat around (24 sts). Work Even: Continue crocheting until the head is a suitable size (approximately 3-4 rounds).Step by step: Stuff the Head lightly with fiberfill and stitch it onto the top of the body.(18)
Round 42 sc, inc repeat around (24 sts). Continue increasing until you reach the desired size for the body (you can stop after 6 rounds or increase more for a larger chicken).
Tip: Use a stitch marker to keep track of your rounds.
Work Even: Once you've reached the right size for your chicken’s body, stop increasing and continue crocheting in rounds without increasing until you have a flat, cylindrical shape. Continue until the body is the desired height (usually 4-5 rounds).
Stuff the Body: Before you close the body, stuff it lightly with fiberfill to give it a rounded and firm shape.
Close the Body: When the body is the desired size, decrease to close the top.
Round 12 sc, dec repeat around. Continue decreasing in the same pattern until there’s a small opening left.Finish by slip stitching and weaving in the ends.
Step 3: Adding the Beak
To create the chicken’s beak, use orange yarn: Row 1: Ch 3 , turn.
Round 2Sc in each stitch across (3 sts).(3)
Round 3Dec 2 sc at the end of the row.Row 4: Fasten off, leaving a tail to attach to the face. Attach the beak just below the eyes, in the middle of the face.
Step 4: Making the Comb
The comb is made using red yarn: Row 1: Ch 4 , turn.
Round 2Work sc across (4 sts).(4)
Round 3Turn, and sc across again. Continue for 3-4 rows, making the comb as large or small as you prefer.Attach the comb to the top of the chicken’s head, slightly off-center for a cute and asymmetrical look.
From the collection
Finishing
- Weave in every tail as you finish each piece, since the beak and comb have short working yarn that frays if left loose.
- Stuff the body and head firmly through the last open rounds before closing them, so the increases keep their rounded shape.
- Attach the beak below the eye placement and the comb slightly off-center on top of the head, then weave those tails in too.
- Attach the beak below the eye placement and the comb slightly off-center on top of the head, then weave those tails in too.
Why it works
The body's round 2 doubles every stitch from round 1, and round 3 alternates single crochet with increase, which spreads the growth evenly so the shape stays round rather than pointed.
The beak and comb are both worked in rows rather than rounds, since a small flat flap doesn't need to close into a tube the way the body does.
The beak's final decrease row narrows three stitches down, which is what gives it a triangular, pecking shape instead of a straight rectangle.
Using a stitch marker across the body rounds matters more here than usual, since a missed round boundary would throw off the increase count on the very next round.
What it becomes
- A shelf accent for a kitchen windowsill, paired with other small amigurumi animals for a farmyard row.
- A desk companion for a coop or garden enthusiast, sitting alongside potted herbs or a mini trellis.
- A handmade gift for a child who collects small stuffed creatures, paired with a scarf or tiny bow as an accessory.
Original pattern: https://crochetblog.net/how-to-make-an-easy-crochet-chicken/
FAQ
Can I make the chicken smaller?
Yes. The source notes that reducing the starting stitches and the number of rounds shrinks the whole body. Just keep the increase pattern proportional so the shape still rounds out evenly.
What yarn weight does this pattern use?
It calls for DK weight yarn with a 3.5mm hook, though the hook size can be adjusted for a thicker or thinner yarn. Lighter yarn gives a tighter, denser stuffed body.
Do I need safety eyes?
No, they're listed as optional. You can stitch the eyes with yarn instead if you'd rather skip separate hardware.
Why are the beak and comb worked flat instead of in rounds?
Both pieces are small, single-layer flaps rather than enclosed volumes, so there's no need to join them into a tube. Working them in turned rows is simply the more direct way to get a flat shape.