
Free Pattern
Step-by-Step
Crochet
AmigurumiElephant amigurumi with a jointed head and bobble toes
A jointed elephant amigurumi with bobble-stitch toes, a textured trunk, and sculpted ears.
- Level
- Intermediate
- Time
- 4-6 hours
- Yarn
- Worsted
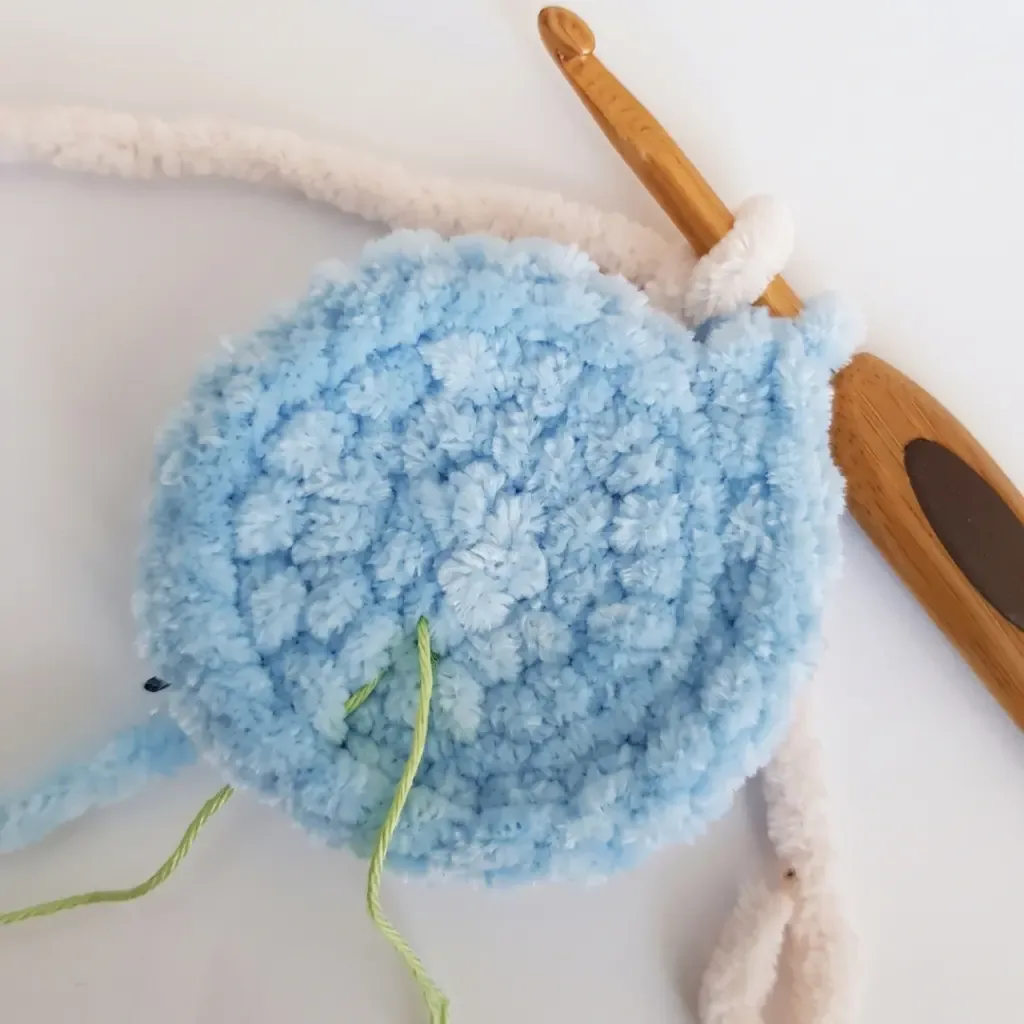
Pattern highlights
- Start with the legs, working each one in a continuous spiral until the bobble toes appear in back loops only.
- Move on to the arms, built the same way with their own bobble fingers before joining to the body.
- Build the body in one long spiral, joining the legs and arms directly into the rounds as you go.
- Shape the trunk separately, giving it length and texture before setting it aside for later.
- Work the ears flat in two colors, pairing a main-color piece with a contrast piece for each ear.
- Install the neck joint in the body, then connect the head so it can turn freely.
- Finish by stuffing firmly, closing openings, and stitching on ears, trunk, and facial details.
About This Pattern
An elephant like this earns a spot on the amigurumi shelf next to the usual bears and rabbits, but it stands out for its details. Jointed heads are less common in patterns pitched at this level, and this one uses a real neck joint instead of a sewn seam. That single choice moves the whole piece into a different category, somewhere between a toy and a small sculpture. I keep a notebook of makes that use joints; this elephant now has a page.
The build leans on a handful of techniques that reward patience. Bobble fingers worked in the back loop only give the legs and arms sculpted toes without any extra sewing afterward. The trunk is worked long enough to feel like a real trunk, and a magic ring starts every piece cleanly. The ears break from the spiral entirely, worked flat in two colors so the contrast layer reads as its own piece from the start.
What comes off the hook is compact but full of small surprises: toes with real definition, a trunk with its own presence, and a head that turns on its joint. It survives close inspection, which not every amigurumi does. Pick it up and turn it over, and every seam still makes sense, joint included.
Worth knowing
The satisfaction here isn't in speed, it's in the details that most elephant patterns skip. Sculpting toes with a bobble stitch, worked in the back loop so the front loop stays free for definition, is a small technical flex that pays off visually. The trunk's length gives it enough presence to feel like an actual trunk, not a stub. Installing a real neck joint instead of sewing the head flat means the finished elephant can nod, tilt, and pose, which changes how it feels to hold. The two-color ears, pieced flat rather than in the round, are a quick change of pace after all that spiral work. Every part earns its place before assembly even starts.
Common mistakes
- Working bobble fingers in both loops Working the full stitch instead of the back loop only flattens the toes. Stay in the back loop for that round so the front loop stays free for definition.
- Skipping the neck joint disc Forgetting the washer or disc on the inside of the head or body leaves the joint loose. Follow the joint manufacturer's instructions before closing either piece.
- Joining ears before checking color placement Sewing the main-color and contrast-color ear pieces together backward flips the contrast to the wrong side. Lay both pieces flat and check the straight edges before stitching.
- Loose gauge on the legs and arms A looser hook lets fiberfill peek through around the bobble toes. Size down until the fabric feels tight and stuffing stays hidden.
- Forgetting the limbs join mid-body Sewing the legs or arms on after stuffing the body ignores that they're already attached during the body rounds. Reread the join step before adding extra stitches.


Intermediate
Progress Tracker
0 of 0 rounds
Tap a round to tick it off — your place is saved on this device.
The kit
Yarn
- Worsted weight yarn in main color (body, head, limbs) and a contrasting or lighter color (inner ears) — exact yardage varies by yarn brand; have at least 200–250 yards of main color and 50 yards of contrast color on hand
Safety eyes
- Size appropriate to your gauge — 1 pair
Stuffing
- Polyester fiberfill
Joints
- 1 neck joint (for attaching head to body)
Stitch markers
- At least 2
- Yarn needle / tapestry needle
- Scissors
- Embroidery thread or thin yarn in a contrasting color for eyebrows, eyelids, and trunk stripes
Legs (Make 2)
Round 16 sc in MR. (6)
Round 2inc in each st around. (12)
Round 3inc in each st around. (24)
Round 4Working in BLO for the entire round: 10 sc, then work the bobble fingers as follows — 3 dc in one stitch with a shared top closure (bobble st), then 2 sc repeat 4 times, 2 sc. (24)
Round 5sc in each st around. (24)
Round 66 sc, dec repeat 3 times. (21)Step by step: 6 sc, inc repeat 6 times. (48).Begin joining the trunk in this round — 13 sc, inc 3 times, 4 sc, work 7 sc together with the trunk (inserting through both head and trunk stitches simultaneously), 4 sc, inc 3 times, 14 sc. (54) The trunk should be centered on what will be the front face of the head.Continue working with the trunk attached — 23 sc, then work 7 sc along the trunk only (working into the trunk stitches, not the head), 24 sc. (54)13 sc, dec 3 times, 15 sc, dec 3 times, 14 sc. (48) Note: there should be exactly 4 sc between the trunk join and the first decrease on each side.Step by step: sc in each st around for 4 rounds. (48).
Round 75 sc, dec repeat 3 times. (18)
Round 84 sc, dec repeat 3 times. (15)
Round 93 sc, dec repeat 3 times. (12)
Round 10sc in each st around. (12)
Round 113 sc, inc repeat 3 times. (15)Step by step: 5 sc, dec repeat 6 times. (36).
Round 124 sc, inc repeat 3 times. (18)
Round 13-17sc in each st around for 5 rounds. (18)Insert safety eyes now, positioning them symmetrically on either side of the trunk. Once placed, they cannot be moved — take your time. After the eyes are secured, attach the neck joint into the magic ring of the head (on the inside), then stuff the head firmly with fiberfill before continuing.
Round 18dec, 4 sc repeat 3 times. (15)
Round 19dec, 3 sc repeat 3 times. (12)Stuff the leg firmly with fiberfill now. Use a stitch marker to adjust your starting position if needed before closing.Work 6 sc through both layers of the opening to close the leg flat. Fasten off and leave a yarn tail for assembly. this …
Arms (Make 2)
Round 18 sc in MR. (8)
Round 2inc in each st around. (16)
Round 3Working in BLO for the entire round: 5 sc, then work the bobble fingers as follows — 3 dc in one stitch with a shared top closure (bobble st), then 1 sc repeat 4 times, 3 sc. (16)
Round 4-5sc in each st around for 2 rounds. (16)
Round 62 sc, dec repeat 4 times. (12)
Round 7-8sc in each st around for 2 rounds. (12)
Round 9 is worked differently for the left and right arm — read carefully before proceeding.
Round 9(Left Arm): 8 sc, 4 sl st. (12)
Round 9(Right Arm): 4 sc, 4 sl st, 4 sc. (12)
The slip stitches in both arms should sit along the side of the piece that will face the body when assembled. Use a stitch marker to verify placement if needed.
Round 10-16sc in each st around for 7 rounds. (12)
Round 17dec, 4 sc repeat 2 times. (10)Stuff the arm lightly with fiberfill. Adjust starting position with a stitch marker if needed.Work 5 sc through both layers of the opening to close the arm flat. Fasten off and leave a yarn tail for assembly.
Body
Round 16 sc in MR. (6)
Round 2inc in each st around. (12)
Round 3inc in each st around. (24)
Round 43 sc, inc repeat 6 times. (30)
Round 54 sc, inc repeat 6 times. (36)
Round 65 sc, inc repeat 6 times. (42)
Round 7sc in each st around. (42)
Round 8Join the legs in this round — work 6 sc together with the Left Leg (inserting through both the body stitch and the corresponding leg stitch), then inc, 4 sc repeat 3 times, inc, work 6 sc together with the Right Leg, 4 sc, inc repeat 2 times, 4 sc. (48)
Round 9-10sc in each st around for 2 rounds. (48)
Round 116 sc, dec repeat 6 times. (42)
Round 12sc in each st around. (42)
Round 136 sc, dec, 3 sc repeat 3 times, dec, 8 sc, dec, 5 sc, dec, 2 sc. (36)
Round 14sc in each st around. (36)
Round 154 sc, dec repeat 6 times. (30)
Round 16sc in each st around. (30)
Round 173 sc, dec repeat 6 times. (24)
Round 18sc in each st around. (24)
Round 19Join the arms in this round — 2 sc, work 5 sc together with the Left Arm (inserting through both body and arm stitches), 7 sc, work 5 sc together with the Right Arm, 5 sc. (24)
Round 20sc in each st around. (24)
Round 212 sc, dec repeat 6 times. (18)Work the face shaping indentations (утяжки — surface tension pulls) at this stage, using your yarn needle and a long piece of yarn to create the eye socket depth if desired.Step by step: 1 sc, dec repeat 6 times. (12); dec 6 times. Fasten off and close the opening.
Round 22sc in each st around. (18)Insert the neck joint into the body now, before closing the opening.
Round 23dec 9 times. (9)
Round 24dec 3 times, then fasten off. Close any remaining gap with your yarn needle.
Trunk
Round 16 sc in MR. (6)
Round 21 sc, inc repeat 3 times. (9)
Round 3Work 9 sc as concave (front-post) single crochets. (9) This creates a gentle ribbed texture on the trunk.
Round 4sc in each st around. (9)
Round 5sc in each st around. (9)
Round 6sl st in each st around. (9)
Round 72 sc, inc repeat 3 times. (12)
Round 8sc in each st around. (12)
Round 9sl st in each st around. (12)
Round 10sc in each st around. (12)
Round 11sc in each st around. (12)
Round 12sl st in each st around. (12)
Round 135 sc, inc repeat 2 times. (14)
Round 14sc in each st around. (14)
Round 15sl st in each st around. (14)
Round 167 sc, 7 sl st. (14)
Round 177 sc, 7 sl st. Fasten off and leave a long yarn tail for joining into the head.
Ears (Make 2 — one piece in main color, one piece in contrast color per ear)
Each ear is made of two flat pieces sewn together — one in the main color and one in the contrast color. Work the following pattern twice for each ear (once in each color).
Foundation chain: ch 7. Starting in the 2nd ch from hook:
Round 16 sc, ch 1, turn.
Round 21 sc, inc, 4 sc, ch 1, turn. (7)
Round 37 sc, ch 1, turn. (7)
Round 41 sc, inc, 5 sc, ch 1, turn. (8)
Round 58 sc, ch 1, turn. (8)
Round 61 sc, inc, 6 sc, ch 1, turn. (9)
Round 71 sc, inc, 5 sc, inc, 1 sc, ch 1, turn. (11)
Round 81 sc, inc twice, 8 sc, ch 1, turn. (13)
Round 91 sc, inc, 9 sc, inc, 1 sc, ch 1, turn. (15)
Round 1015 sc. Fasten off. Work an edging round around the entire outer edge of each piece, then place the two pieces (main color and contrast color) together with wrong sides facing and join them by working a round of sc through both layers. Leave the straight base edge open for attaching to the head.
Assembly
Step 1The legs are already joined into the body during Rnd 8 of the Body, and the arms during Rnd 19. No additional sewing is needed for the limbs.
Step 2Connect the head to the body using the neck joint installed in Rnd 22 of the Body and the magic ring of the Head. The joint allows the head to turn — follow the joint manufacturer’s instructions for securing the washer and disc on the inside of each piece.
Step 3Position one ear on each side of the head. The straight base edge of each ear sits against the head. Pin in place before sewing, then use the yarn tail and a yarn needle to attach each ear securely with whipstitch all along the base edge.
Step 4Embroider the eyebrows, eyelids, and stripe details on the trunk using embroidery thread or thin yarn and a yarn needle.
Step 5Create the tail by attaching a short length of yarn at the back lower end of the body and unraveling or trimming it to a fluffy tuft, or work a short crocheted cord and attach it.
Step 6Add a hairstyle (a yarn tuft or small loop fringe) at the top of the head if desired.
Step 7Weave in all remaining yarn ends securely.
From the collection
Finishing
- Weave in every yarn end before assembly, since the tight gauge makes fixing loose tails harder once stuffed.
- Stuff each piece firmly enough that fiberfill doesn't show through the stitches, then close the last round snugly.
- Attach ears, trunk, and embroidered eyebrows and eyelids last, once the head and body are joined and posable.
Why it works
Legs and arms join directly into the body during specific rounds, skipping a separate sewing step for the limbs.
Ears drop the spiral technique and work in flat rows, which is what allows the two-color layering to sit flat.
What it becomes
- Set it on a nursery shelf next to other amigurumi animals for a small collection that actually turns its head.
- Give it as a handmade gift for someone who collects jointed toys or crocheted animals.
- Use it as a photography prop for craft-fair or shop listing photos, since the joint lets you pose it.
Original pattern: https://amigurumiarts.com/elephant-amigurumi-crochet-pattern/
FAQ
Do I need a special joint for the head?
Yes, this pattern uses a neck joint with a washer and disc, not a sewn seam. Any joint sized to fit the head and body openings will work if you follow the manufacturer's instructions.
Why are the bobble fingers worked in the back loop only?
Working in the back loop leaves the front loop free, so the bobble stitches sit proud instead of blending into the surrounding fabric. It's what gives the toes their sculpted look.
Can I use a different color for the ears?
Yes, the contrast color is meant to stand in for whatever shade you have on hand. Just keep one piece in the main body color and one in the contrast so the layering still reads.
How much yarn do I actually need?
Plan on at least 200 to 250 yards of the main color and around 50 yards of the contrast color. Exact amounts shift depending on your yarn brand and gauge.