
Free Pattern
Step-by-Step
Crochet
AmigurumiWinged fairy cat amigurumi with flower crown
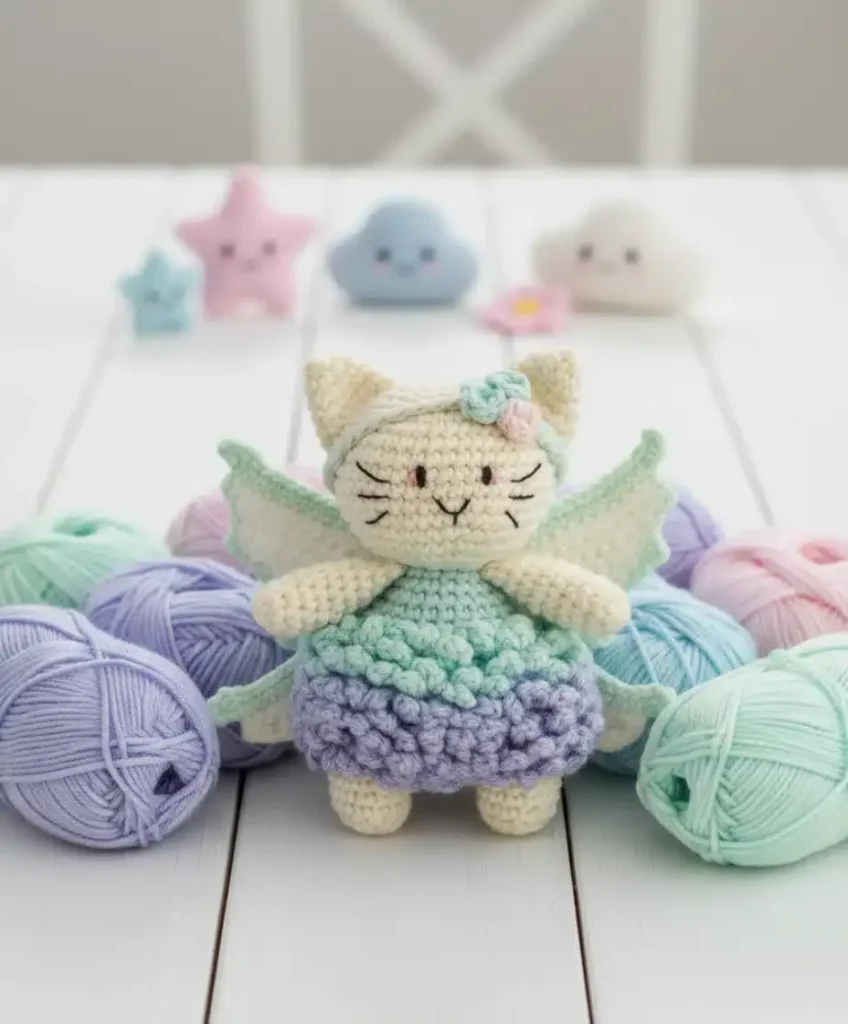
A sport weight fairy cat amigurumi with wings, dress, and flower headband.
- Level
- Intermediate
- Time
- 4-6 hours
- Hook
- 2 mm
- Yarn
- Sport
Pattern highlights
- Start with the arms in Cream/Off-White, stuffing lightly before closing each one.
- Work both legs the same way, but let the second leg carry straight into the body.
- Shape the head on its own, then set it aside until assembly.
- Crochet the dress in Mint Green and Lavender/Purple, the wings, ears, and tail as separate pieces.
- Embroider the face in black thread once the head rounds are in place.
- Assemble everything — ears, wings, tail, dress, headband, and flowers — onto the finished body.
About This Pattern
This one lands in the hybrid-creature corner of my shelf, next to anything that refuses to be just one thing. A cat body, a fairy dress, a pair of wings — someone decided a single amigurumi could carry all three. I like pieces that commit to the mashup instead of hedging.
The build leans on a few reliable moves: magic rings, a back-loops-only stretch for texture, and a color change worked mid-leg instead of at a seam. Nothing exotic. The dress and wings are really where the attention goes, since the body itself stays plain Cream/Off-White.
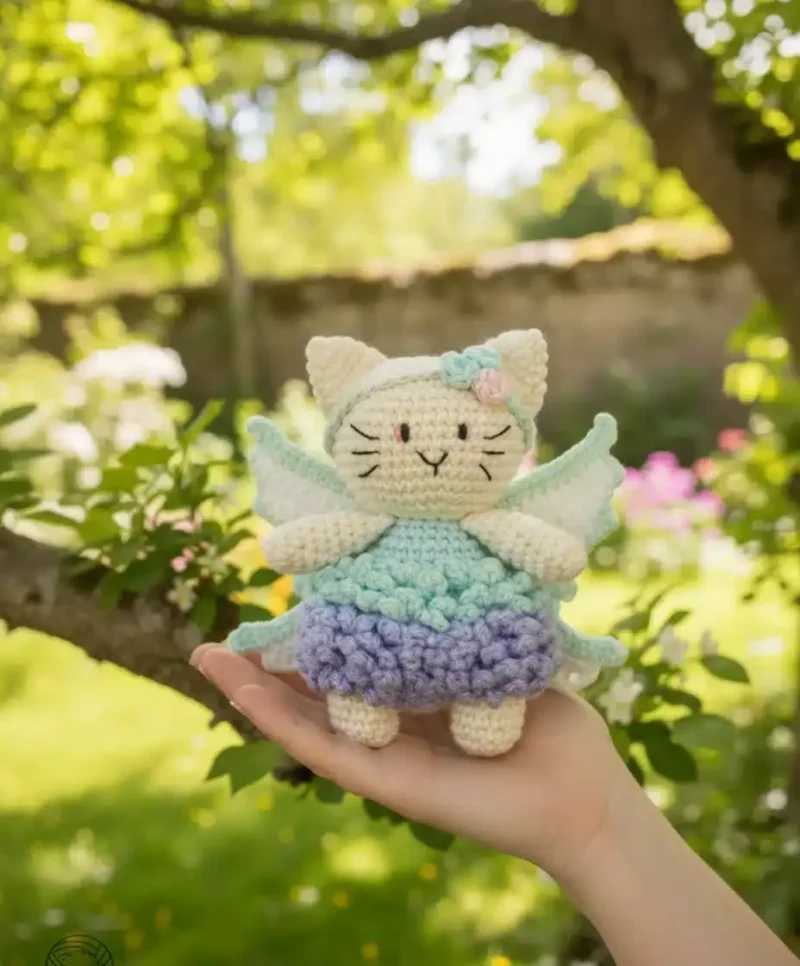
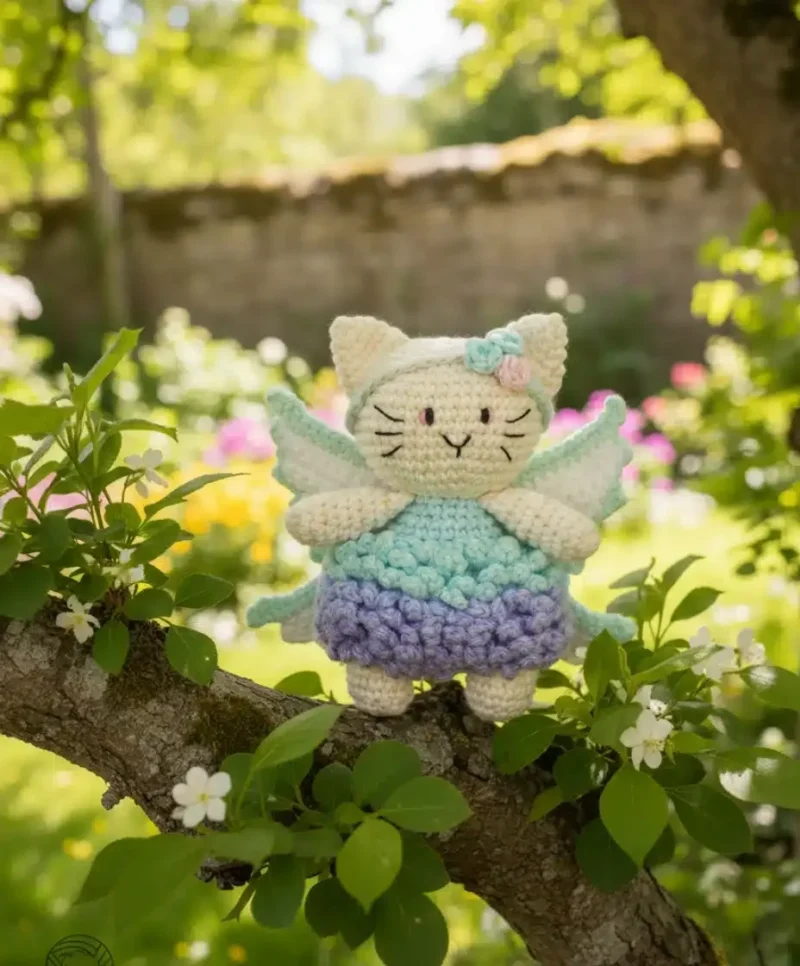
What comes out the other end is a small seated cat in a two-tone dress, wings at the back, flowers pinned to a headband. It reads as a toy first and a costume piece second. Sport weight cotton keeps the stitches tight enough that the details don't blur.
The finished piece stands approximately 11 cm (4.3 inches) tall.
Worth knowing
The satisfaction here is in the sequencing, not any single stitch. You build arms and legs separately, then watch the second leg quietly turn into the body through a color change and a chain instead of a fastened-off seam — a small bit of engineering I appreciate. The back-loops-only rounds on the body add a ridge you can feel before you see it. Then there's the costume layer: a two-color dress, wings, a tail, ears set between specific rounds, and a tiny flower headband that turns a stuffed cat into something closer to a character. None of it is hard on its own. Strung together, it asks you to keep track of several small pieces at once, which is its own kind of fun if you like amigurumi with a few moving parts.
Common mistakes
- Losing the leg-to-body color change Mark the second leg before you start it, since that's the one that chains into the body instead of closing. Skipping the chain here means re-ripping the transition round.
- Forgetting which rounds are back loops only Count carefully when you reach the body's back-loops section, since working into both loops there flattens the ridge. A stitch marker at the start round helps.
- Overstuffing before the decrease rounds Add stuffing in the amount the pattern calls for at each stage, not all at once. Too much too early makes the decrease rounds hard to close evenly.
- Placing ears at a single point Pin the ears across the full round range given, not just at one stitch. This gives the ear a real base instead of a floppy point attachment.
- Guessing face placement without checking round numbers Embroider the eyes on the round the pattern specifies before adding whiskers or the nose. Working from a consistent round keeps both eyes level.


Intermediate
Progress Tracker
0 of 0 rounds
Tap a round to tick it off — your place is saved on this device.
The kit
Yarn Requirements
- Sport weight cotton yarn in Cream/Off-White
- Mint Green (top of dress, wings)
- Lavender/Purple (ruffled bottom of dress)
- Pink (flower on headband)
Tools and Supplies
- 2mm crochet hook
- Black and white embroidery thread for facial features
- Sewing needle
- Hypoallergenic polyester stuffing
- Scissors
Creating the Arms
Begin your fairy cat with the arms, working in Cream/Off-White yarn: Start with 6 single crochet stitches in a magic ring
Round 2: (2sc, 1inc) repeat 2 times for a total of 8 stitches
Rounds 3–9Work 8 single crochet stitches Add a small amount of stuffing before proceeding
Round 10Work 6 single crochet stitches, crocheting the sides together to close the arm Make two identical arms and set them aside for later attachment.
Legs
Using Cream/Off-White yarn, create 6sc in a magic ring Round 2: Work 6 increases for 12 total stitches
Rounds 3–7Work 12 single crochet stitches Create two legs, but on the second leg, switch to your lightest pink shade and chain 3 instead of fastening off. This color transition marks the beginning of the cat’s body.
Body Construction
Round 8Work 30 single crochet stitchesRounds 9-14: Work in back loops only for 30 stitches Round 15: (3sc, 1dec) repeat 6 times for 24 stitches
Rounds 16–17Work 24 single crochet stitches Add stuffing before continuingRound 18: (2sc, 1dec) repeat 6 times for 18 stitches
Attaching the Arms
Round 19 is where the magic happens—you’ll attach both arms while working: 5sc, attach first arm with 4sc, work 4sc across the body, attach second arm with 4sc, then 1sc to complete the round.
Crafting the Head
Switch to Cream/Off-White yarn and work in back loops only for round 20, creating a slip stitch round that forms a distinct neck edge.
Head Shaping:
Round 21Working in the front loops from round 19, increase strategically to reach 30 stitchesContinue increasing through rounds 22-24, reaching a maximum of 48 stitchesRounds 25-31: Maintain 48 stitches Begin decreasing from round 32 onwards Complete stuffing before closing at round 37
Adding the Fairy Dress
The dress features three charming tiers in different Lavender/Purple shades.
Rounds 9–14Starting with the darkest Lavender/Purple, attach yarn to the remaining front loops from round 9. Chain 6 and join with a slip stitch to the next front loop, repeating around rounds 9 and 10. Repeat this process with progressively lighter Lavender/Purple shades for rounds 11-12 and 13-14, creating a beautiful layered effect.
Creating the Ears and Tail
EarsWork in Cream/Off-White yarn, starting with 4sc in a magic ring and gradually increasing to 14 stitches over 6 rounds. Make two identical ears.
TailCreate a simple tube in Cream/Off-White yarn (6sc in a magic ring, working 6sc for 18 rounds), then close by crocheting the sides together. Embroider Cream/Off-White straight lines for decorative detail.
Designing the Fairy Wings
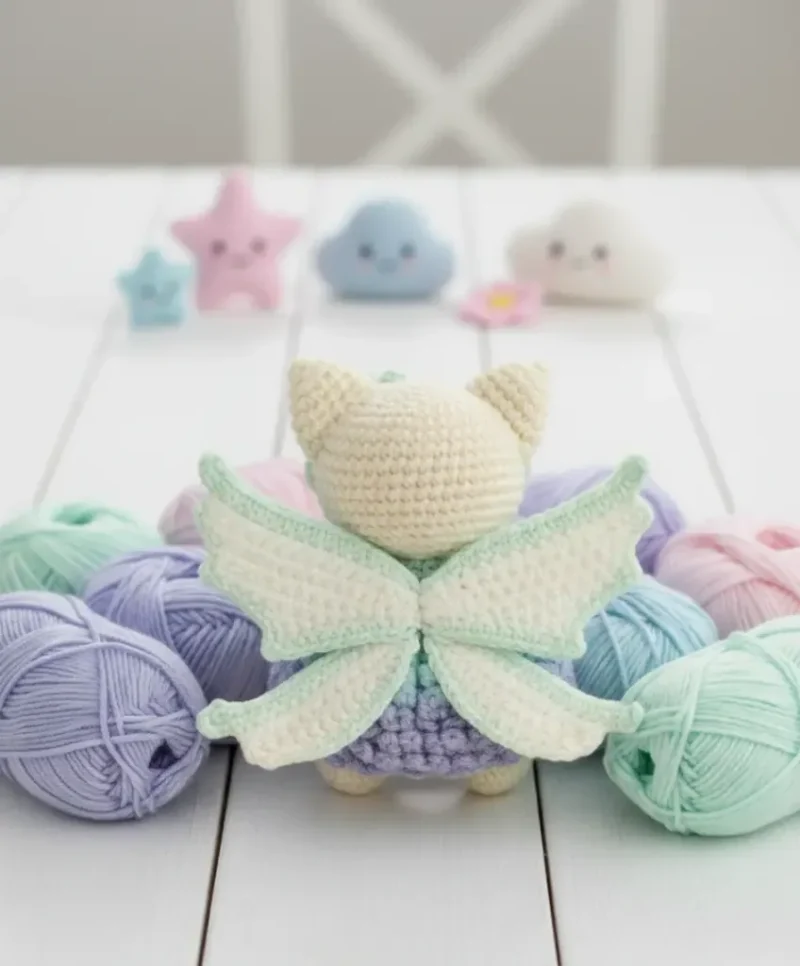
The wings consist of two parts per side: a larger wing and a smaller wing.
Large WingUsing light blue yarn, chain 8 and work in rows, incorporating color changes to dark blue in later rows. The wing gradually increases in size through strategic placement of increases.
Small WingFollow a similar pattern but stop at row 3, creating a smaller companion piece.Assembly: Sew the last 7 stitches of the big wing to the middle 7 stitches of the smaller wing. Create mirror images for both sides, and consider blocking for a professional finish.
Creating the Flower Hairband
HeadbandChain 40 in light pink yarn for the headband base.
FlowersThen create three small flowers in varying pink shades by working 6sc in a magic ring and joining with a slip stitch.
Assembly
Step 1Face Embroidery:
Step 2Using black thread, embroider eyes on round 27 with 4 stitches between them. Add three whiskers extending from each eye and a small nose/mouth centered below. Optional light pink accents can be added to the outer corners of each eye.
Step 3Attachment Order:
Step 4Pin and sew ears between rounds 34-35, extending down 5 rounds
Step 5Position and attach wings to the back of the body
Step 6Sew the tail to the center back
Step 7Attach the headband to the head
Step 8Sew the three flowers onto the headband, positioned slightly to one side
From the collection
Finishing
- Weave in ends on each separate piece — arms, legs, head, dress, wings, ears, tail — before joining anything.
- Add stuffing in stages as instructed, firming the body and head before the final decrease rounds close them.
- Attach ears, wings, tail, dress, headband, and flowers last, working from the body outward so nothing gets trapped underneath.
Why it works
The second leg skips fastening off and chains instead, so the leg stitches feed directly into the first body round without a seam.
Increases on the arms and legs happen early and evenly, then the piece holds a flat stitch count until stuffing and closing.
Ears are sewn on across a two-round span rather than a single point, which gives them a base instead of a single attachment stitch.
What it becomes
- A shelf piece for a collection of character amigurumi, paired with other dressed or winged makes.
- A handmade gift for someone who collects fairy-themed or cat-themed toys specifically.
- A photography subject for anyone documenting amigurumi builds, since the wings and dress give it visual layers.
Original pattern: https://amigurumicorner.com/fairy-cat-crochet-guide/
FAQ
Can I make the cat without the fairy dress and wings?
Yes, the body and head stand on their own as a plain cat amigurumi. You'd just skip the dress, wings, and headband sections entirely.
Why does the second leg not get fastened off?
That leg chains straight into the body round instead, so the leg stitches become the foundation for the body. It saves a seam and keeps the transition smooth.
What does working in back loops only do here?
It leaves the front loops free, creating a ridge line around the body. It's a texture choice, not a shaping one.
How much stuffing does a piece like this need?
The pattern calls for stuffing at specific points — after certain rounds on the arms and body — rather than all at the end. Follow those markers so the shape stays even as you close each piece.