
Free Pattern
Step-by-Step
Crochet
GarmentsA flowing granny cluster crochet robe in teal
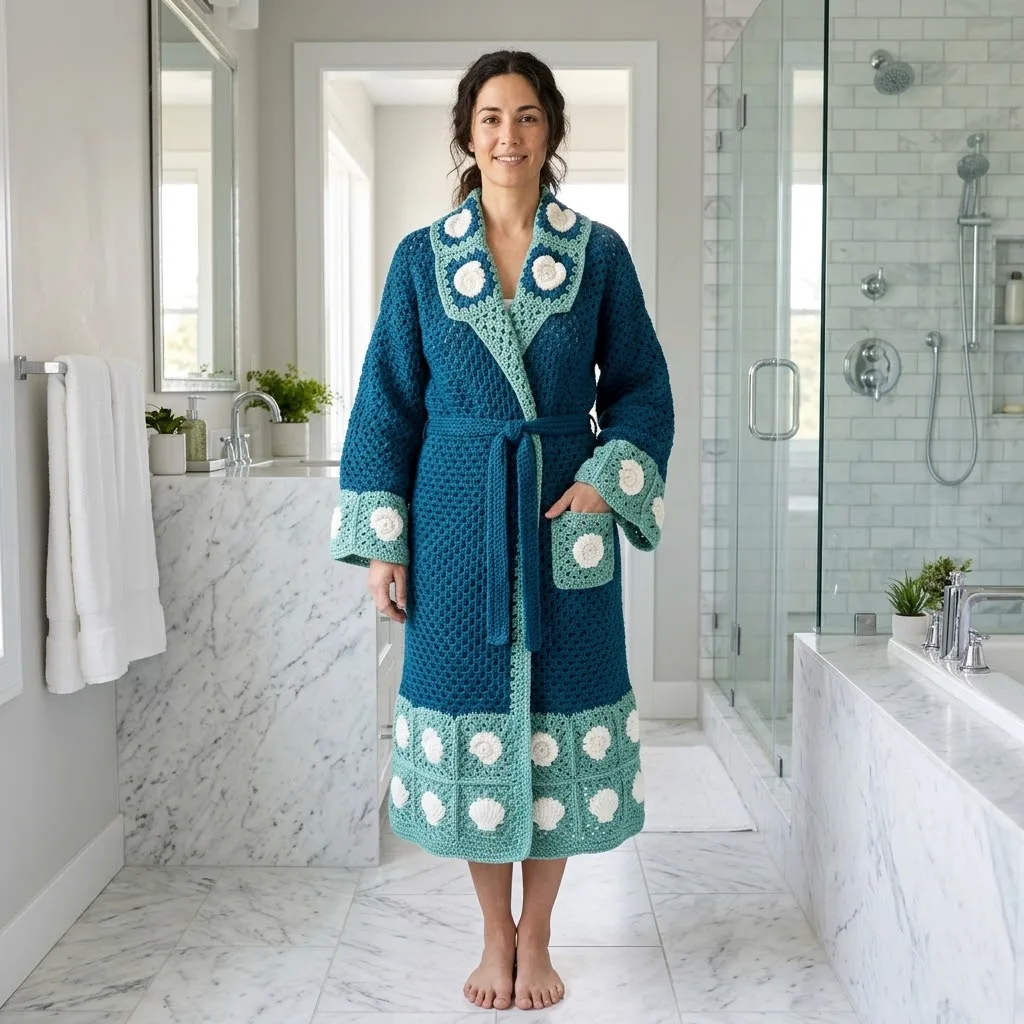
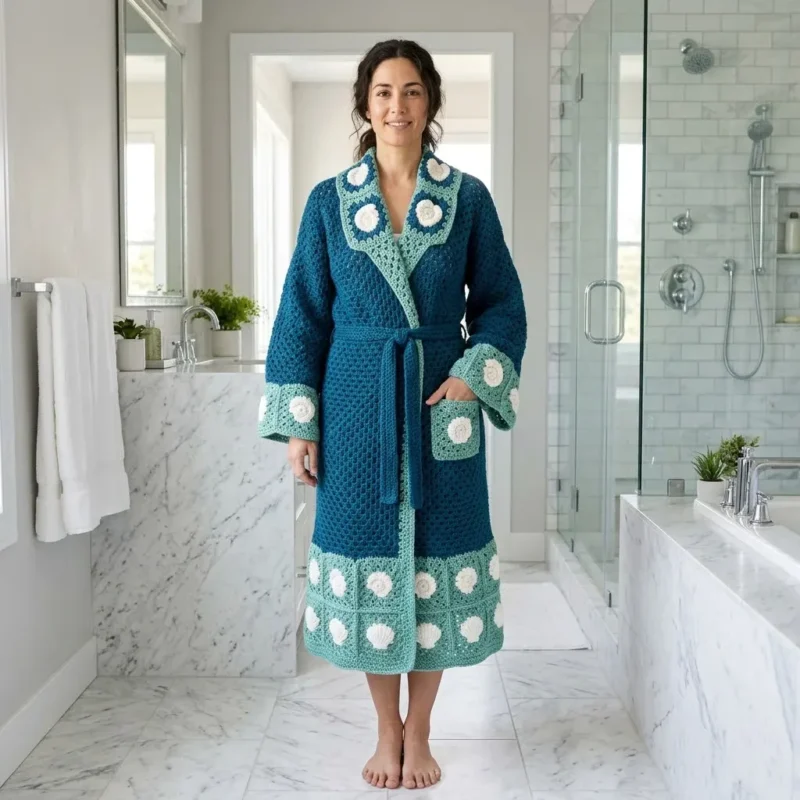
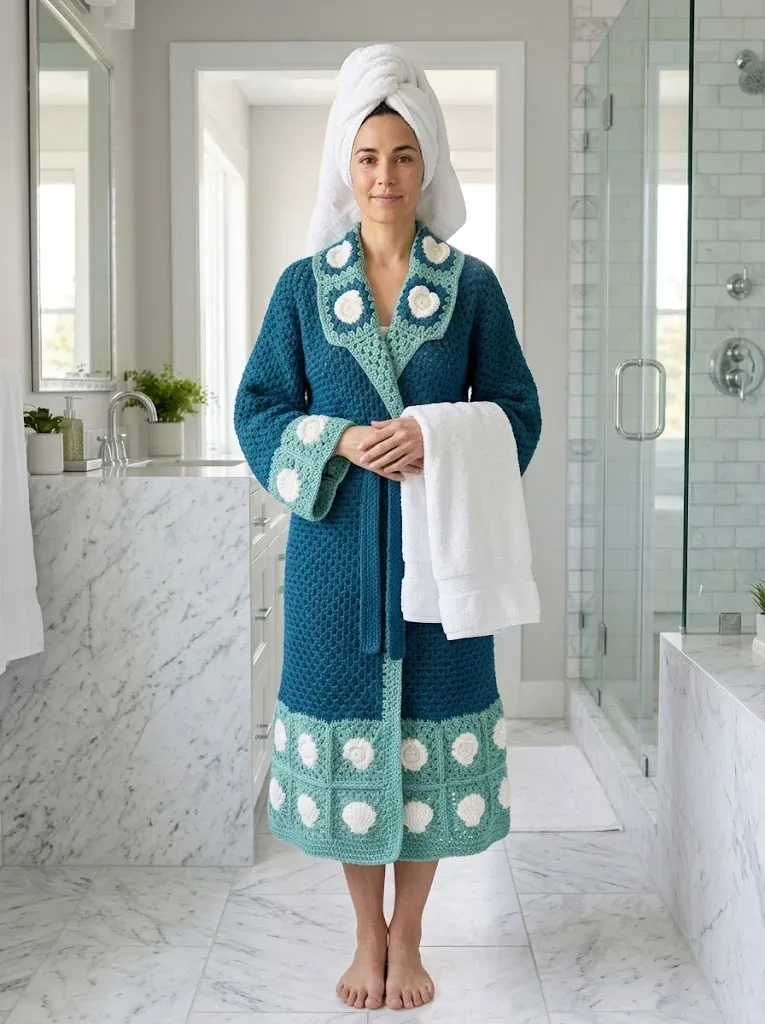
A floor-length crochet robe in granny cluster stitch, trimmed with floral squares in teal and cream.
- Level
- Intermediate
- Time
- 10-14 hours
- Hook
- 5.0 mm
- Yarn
- Worsted
Pattern highlights
- Start by making the floral squares, one flower per square, until you have enough for the collar, hem, cuffs, and pockets.
- Shape the back armholes with short rows instead of binding off and starting a new piece.
- Work the front panel the same way, then shape both the armholes and the neckline as you go.
- Build the sleeves, then block all the squares flat before joining anything together.
- Seam the panels together, then stitch the floral squares around the collar, hem, cuffs, and pockets.
About This Pattern
Most of what crosses my desk fits in a lap. Baby squares, tiny jumpsuits, a clutch the size of a hand. This robe does not. It is the first full garment I have logged in a while. It is built from the same floral granny square I would use on something small. But it scales up, wrapping around a whole body instead of a lap. A notebook needs the occasional big entry.
The construction mixes two different crochet logics. The flower squares start with a magic ring center in cream. They open into chain-3 petals, then join into collar, hem, cuff, and pocket pieces. The body panels skip rounds entirely and work flat instead. They use a granny cluster stitch, shaped with short rows at the armholes and neckline. Two techniques, one robe.
What comes out the other end is a robe with real drape. It is not a stiff granny-square blanket with sleeves. Deep teal and seafoam carry the panels. Cream sits at the center of each flower before the other colors take over. Twenty-four cream-centered blooms edge the collar, hem, cuffs, and pockets. It reads more like a kimono than a throw with arms stuck into it.
Worth knowing
Here's what hooks me on this one. Each flower square starts the same way: magic ring, cream center, twelve double crochets closed tight. Then the petals bloom outward in chain-3 loops, skipping a stitch between each sc. Twenty-four of those squares end up doing real work, trimming the collar, hem, cuffs, and pockets. The panels are their own satisfaction. A granny cluster stitch, worked flat, builds fabric with drape instead of stiffness. Armhole and neckline shaping happen through short rows, not separate pieces sewn on after. Three colors, deep teal, seafoam, and cream, stop the robe from reading as one flat block. It is fussy in places, simple in others. That balance is the appeal.
Common mistakes
- Magic ring pulled too loose Tug the tail firmly before you start the petal round. A loose center leaves a visible hole at the heart of every flower.
- Miscounting skipped stitches in petals Count carefully before each sc in the petal round. Skipping the wrong number throws off the whole six-petal shape.
- Swatching in the wrong stitch Swatch in the granny cluster pattern, not plain double crochet. The gauge only matches if you test the actual stitch pattern.
- Losing count during armhole shaping Mark the cluster count before you start the short rows. It is easy to drift a cluster off without a marker.
- Skipping the blocking step for squares Block every square to size before joining it to the robe. Unblocked squares pull the collar and hem out of shape.


Intermediate
Progress Tracker
0 of 0 rounds
Tap a round to tick it off — your place is saved on this device.
The kit
- for Your Crochet Robe
Yarn
- Color A (Deep Teal): 1400 yards of worsted weight yarn (#4 medium)
- Color B (Seafoam): 600 yards of worsted weight yarn (#4 medium)
- Color C (Cream): 200 yards of worsted weight yarn (#4 medium)
Hook
- Size H/8 (5.0 mm) crochet hook, or size needed to obtain gauge
Notions
- Yarn needle for weaving ends
- Scissors
- Stitch markers
- Measuring tape
- Gauge Information
Gauge
- 14 stitches and 8 rows = 4 inches in granny cluster stitch pattern
Granny Square Gauge
- Each floral square measures 5 inches by 5 inches after blocking
- To check your gauge, chain 20 and work 10 rows of the granny cluster pattern. Measure the center section. If your swatch is too big, try a smaller hook. If it is too small, go up a hook size.
- Stitch Abbreviations and Definitions
- sp = space: The gap or hole created between stitch clusters.
- Floral Granny Square Pattern
You will need
6 squares for the collar 8 squares for the hem border 6 squares for the sleeve cuffs (3 per sleeve)
4 squares for the pockets (2 per pocket)
Round 1Flower Center With Color C (Cream), make a magic ring. Ch 3 (counts as first dc), work 11 dc into the ring. Sl st to top of beginning ch-3 to join. Pull the magic ring closed. (12 dc)
If magic rings intimidate you, no worries. You can ch 4 and sl st to form a ring instead, then work your 12 dc into that ring.
Round 2Petals Ch 1, sc in same st. *Ch 3, sk 1 st, sc in next st.* Repeat from * around, ending with ch 3, sl st to first sc. (6 ch-3 petals)Fasten off Color C. Weave in ends or leave a short tail to weave later.
Round 3First Border Join Color B (Seafoam) in any ch-3 space. Ch 3 (counts as dc), 2 dc in same sp, ch 1. *3 dc in next ch-3 sp, ch 1.* Repeat around. Sl st to top of beginning ch-3. (6 clusters of 3 dc each)
Round 4Square Formation Ch 3, 2 dc in same st (first cluster made), ch 1, 3 dc in ch-1 sp, ch 1. *In next cluster, work (3 dc, ch 2, 3 dc) for corner, ch 1, 3 dc in next ch-1 sp, ch 1.* Repeat around, working corners in every other cluster. Sl st to join. (4 corners, 8 side clusters)
Round 5Final Border Ch 3, 2 dc in same st, ch 1. Work 3 dc in each ch-1 sp along sides. At each corner ch-2 sp, work (3 dc, ch 2, 3 dc). Continue around. Sl st to join.Fasten off. Weave in ends. Block each square to 5 inches.Back Panel Instructions The back panel forms the foundation of your crochet robe. Work it flat in rows.With Color A (Deep Teal), ch 74.
Part 5
Round 1Dc in 4th ch from hook (skipped chains count as first dc), dc in next ch. *Sk 2 ch, 3 dc in next ch.* Repeat from * across to last 3 ch. Sk 2 ch, dc in last ch. Turn. (24 clusters plus edge stitches)
Round 2Ch 3 (counts as dc throughout), 2 dc in first st. *Sk 2 dc, 3 dc in sp before next cluster.* Repeat across. Dc in top of turning ch. Turn.Repeat Row 2 until piece measures 36 inches from beginning, or desired length to underarm.
Back Armhole Shaping
Next Row: Ch 3, 2 dc in first st. Work in pattern across, stopping 3 clusters before the end. Dc in next sp. Turn, leaving remaining stitches unworked. (18 clusters)
Continue in pattern on center stitches for 9 more inches.
Fasten off.
Front Panel Instructions (Make 2)
Each front panel is worked separately, then joined to the back at the shoulders.
With Color A, ch 38.
Part 6
Round 1Dc in 4th ch from hook, dc in next ch. *Sk 2 ch, 3 dc in next ch.* Repeat across to last 3 ch. Sk 2 ch, dc in last ch. Turn. (12 clusters plus edge stitches)
Round 2Ch 3, 2 dc in first st. Work in pattern across. Dc in turning ch. Turn. Repeat Row 2 until piece measures 36 inches, matching the back panel.
Front Armhole and Neckline Shaping
Armhole Row: At armhole edge, sl st across first 3 clusters. Ch 3, work in pattern across. Turn. (9 clusters)
Continue for 3 inches even.
Begin Neck Shaping: Decrease 1 cluster at neck edge every other row 3 times while continuing armhole edge straight.
Continue until front measures same as back to shoulder. Fasten off.
Sleeve Instructions (Make 2)
Sleeves are worked from the top down for easy length adjustment.
With Color A, ch 56.
Part 7
Round 1Dc in 4th ch from hook, dc in next ch. *Sk 2 ch, 3 dc in next ch.* Repeat across. Turn. (18 clusters)Work even in granny cluster pattern for 16 inches.Switch to Color B for the cuff.Work 2 inches in pattern with Color B.Fasten off, leaving a long tail for seaming.(18)
Round 1Sc in 2nd ch from hook, sc in each ch across. Turn. (199 sc)
Round 2Ch 1, sc in each st across. Turn.
Rows 3 through 5: Repeat Row 2. Fasten off. Weave in ends. If you want a more substantial belt, work additional rows until the belt is about 1.5 to 2 inches wide.
Finishing Touches
Take your time with these final steps. They make the difference between a homemade look and a handmade treasure.
Weave in all remaining ends. Use your yarn needle to weave each tail through several stitches on the wrong side, then double back. Trim close to the fabric.
Block your finished robe. Lay it flat on a blocking mat or clean towel. Spray lightly with water and pat to shape. Allow to dry completely.
Notions
Yarn needle for weaving ends Scissors Stitch markers Measuring tape Gauge Information
Getting your gauge right matters for wearable projects like this crochet robe pattern. Take time to check it before diving in.
Gauge: 14 stitches and 8 rows = 4 inches in granny cluster stitch pattern Granny Square Gauge: Each floral square measures 5 inches by 5 inches after blocking
To check your gauge, chain 20 and work 10 rows of the granny cluster pattern. Measure the center section. If your swatch is too big, try a smaller hook. If it is too small, go up a hook size.
Stitch Abbreviations and Definitions
Let me walk you through every stitch you will use in this pattern. Even if you know these already, a quick refresher never hurts.
ch = chain: Yarn over, pull through loop on hook. This creates your foundation and is used for spacing.
sl st = slip stitch: Insert hook, yarn over, pull through both loops at once. Used for joining and moving across stitches invisibly.
sc = single crochet: Insert hook, yarn over, pull up a loop (2 loops on hook), yarn over, pull through both loops. Creates a short, tight stitch.
dc = double crochet: Yarn over, insert hook, yarn over, pull up a loop (3 loops on hook), yarn over, pull through 2 loops, yarn over, pull through remaining 2 loops. Creates a taller stitch with nice drape.
3-dc cluster = three double crochet cluster: Work 3 dc into the same stitch or space. This creates the classic granny stitch grouping. sk = skip: Pass over the indicated number of stitches without working into them. sp = space: The gap or hole created between stitch clusters.
Floral Granny Square Pattern
You will need 24 floral granny squares total for this crochet robe. Make all of them before starting the body panels. This is a great take-along project, perfect for making squares while watching your favorite show.
From the collection
Finishing
- Weave in every yarn end on the squares and panels before blocking anything.
- Block each floral square flat until it settles at the five-inch square the pattern calls for.
- Seam the back and front panels at the shoulders and sides. Then stitch the squares around the collar, hem, cuffs, and pockets.
Why it works
Each floral square starts from a magic ring center in cream. The outer colors join in only after that core is closed.
The back and front panels are worked flat in rows, not rounds. That lets the armhole and neckline shaping happen as short rows.
Petals form from chain-3 loops over skipped stitches, so the open look comes from spacing, not extra stitches.
What it becomes
- Wear it as a lounge layer over pajamas on a cool morning.
- Keep it by the bath for a soft robe that drapes instead of sticking.
- Use it as a light cover-up at home over a simple tank and leggings.
Original pattern: https://bunnypatterns.com/teal-ocean-wave-crochet-robe-free-pattern/
FAQ
How many floral squares does this robe need in total?
Six squares go on the collar, eight on the hem border. Six more cover the sleeve cuffs, and four finish the pockets. That totals twenty-four squares before you even start the panels.
Do I need to match the gauge exactly for this robe to fit?
Yes, the granny cluster gauge keeps the panels the right width. Swatch first since a half hook size can change the whole drape.
Can I use a different yarn for the robe body?
I would stick with something that drapes, like a soft acrylic or cotton blend. Stiff yarn will not flow the way this robe wants to.
Why are the back and front panels worked in rows instead of rounds?
Working flat lets the pattern shape the armholes and neckline with short rows. A round panel would not allow that kind of stepped shaping.