
Free Pattern
Step-by-Step
Crochet
AmigurumiA fluffy cat plushie you can crochet in a weekend
A step-by-step guide to crocheting a fluffy cat plushie with rounded ears and a stuffed body.
- Level
- Intermediate
- Time
- 4-6 hours
- Yarn
- Worsted
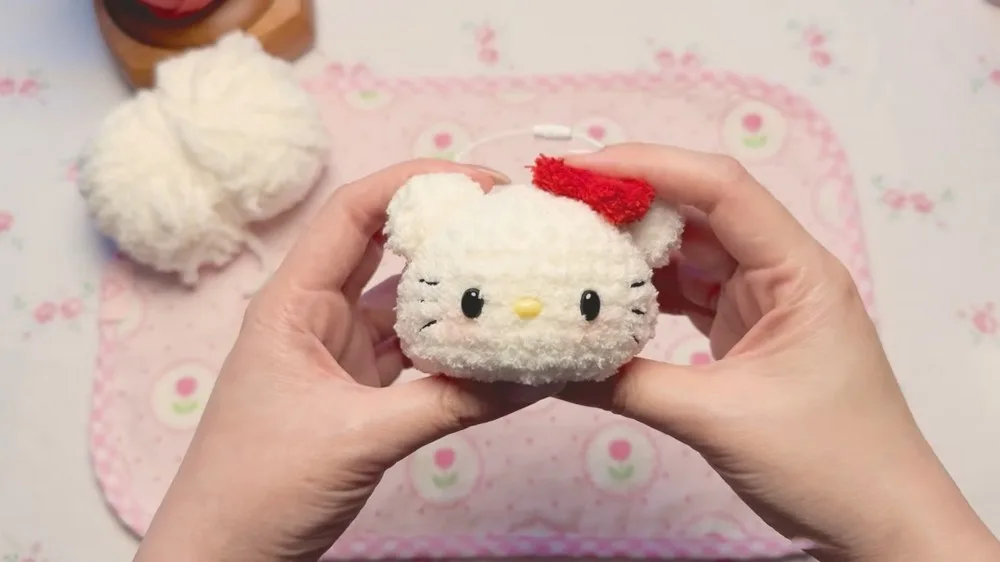
Pattern highlights
- Start the body with a magic ring, then increase steadily to shape the base.
- Join each round with a slip stitch and chain rather than spiraling continuously.
- Once increases finish, work even rounds to build up the body's height.
- Make the ears separately, starting each with its own magic ring and increase round.
- Stuff the body firmly before the final decrease rounds close the opening.
- Work invisible decreases steadily so the top closes smooth instead of pointed.
- Attach the eyes, nose, and whiskers, then add blush once everything is stuffed and closed.
About This Pattern
This one settles into the amigurumi shelf, the corner for small stuffed animals rather than blankets or wearables. A body, a pair of ears, a stuffing stage. Three parts is a modest ask for a finished toy. It sits closer to the beginner end of my collection until the invisible decreases appear. That's where it starts to feel like a real shaping exercise instead of a straight cylinder.
Everything starts from a magic ring, the usual amigurumi opener that closes tight with no visible gap. Each round joins with a slip stitch and a chain, rather than spiraling continuously. That makes the rounds stack in visible rings instead of blending into each other. The shaping is plain math — increase rounds, then several even rounds, then invisible decreases working back down. That last part matters: an invisible decrease keeps the top of the head smooth instead of pointed.
What comes off the hook is a rounded body topped with two small ears. It's stuffed firm enough to hold its shape but soft enough to squeeze. Acrylic eyes or felt give it a face, and a little blush warms up the cheeks. It's not a large piece — a handful of rounds per part. But it reads as a finished, huggable object rather than a practice swatch. That's the payoff of small amigurumi.
Worth knowing
What I like here is the shaping. It's a spiral effect without an actual spiral. Each round closes with a slip stitch and a chain. That means I count rings instead of guessing where a round began. The increase pattern is tidy — a full round, then one spaced apart, then two, then three. Each step widens the circle evenly. Coming back down, the invisible decrease does the real work. It pulls stitches together from behind, so the top closes without a visible ridge. The ears repeat the same logic in miniature — increase, then a paired increase-and-plain repeat. It's satisfying watching two identical little shapes come from the same short instructions.
Common mistakes
- Magic ring left too loose Pull the tail tight before the first round, or stray gaps show at the very center.
- Losing count on increase rounds Use a stitch marker at the round's start and count stitches before joining with the slip stitch.
- Invisible decrease worked like normal SC Grab through the front loops of both stitches only, not through all four, or the decrease shows.
- Skipping the join at round's end Every round needs its slip stitch and chain — skip it and the spiral drifts off-round.
- Under-stuffing before the top closes Push polyfill down early; once the decrease rounds shrink the opening, there's no room left to add more.


Intermediate
Progress Tracker
0 of 0 rounds
Tap a round to tick it off — your place is saved on this device.
The kit
- Yarn (fluffy yarn recommended)
- Crochet hook (size depends on yarn)
- Stitch marker
- Tapestry needle
- Polyfill
- Acrylic eyes and nose (optional)
- Felt (optional)
Body
Magic ring: Create a magic ring.
Round 18 SC, SL St, ch.
Round 28 inc, SL St, ch. For Round 3: 1 SC, 1 inc, repeat 8 times, SL St, ch.
Round 42 SC, 1 inc, repeat 8 times, SL St, ch.
Round 53 SC, 1 inc, repeat 8 times, SL St, ch. For Rounds 6-12: SC in each st around, SL St, ch.
Round 133 SC, 1 invisible decrease, repeat 8 times, SL St, ch.
Round 142 SC, 1 invisible decrease, repeat 8 times, SL St, ch. For Round 15: 1 SC, 1 invisible decrease, repeat 8 times, SL St, ch.
Ears
Magic ring: Create a magic ring.
Round 15 SC, SL St, ch. For Round 2: 5 inc, SL St, ch.
Round 32 SC, 1 inc, 2 SC, repeat 2 times, SL St, ch.
Stuff
Stuff the body with polyfill.
Round 168 invisible decreases, SL St, ch. Hide yarn: Hide the yarn with a tapestry needle.
Assembly
Step 1Attach:: Attach the eyes, nose, and whiskers.
Step 2Blush:: Add blush to the cheeks.
From the collection
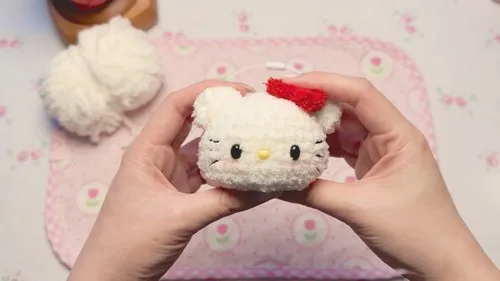
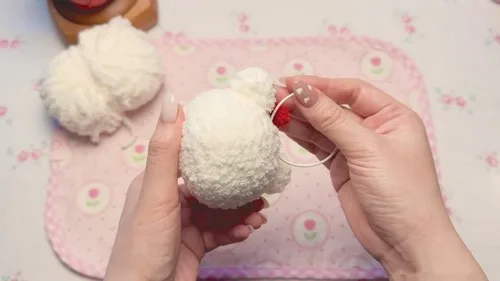
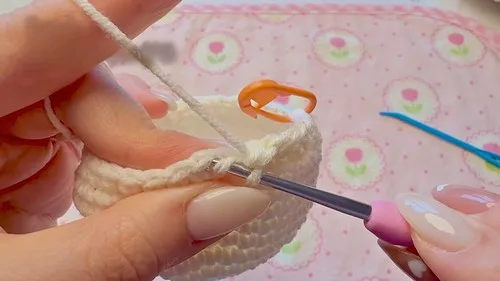
Finishing
- Weave in loose ends as each part finishes, before parts get sewn together.
- Stuff the body firmly, working polyfill down before the last decrease rounds pull the opening shut.
- Attach the ears, then add the eyes, nose, whiskers, and a touch of blush last.
Why it works
The increases build in stages — first every stitch, then spaced one, two, and three stitches apart. That gradual spacing is what turns a flat circle into a dome instead of a cone.
Every round ends with a slip stitch and a chain instead of a continuous spiral. That join makes each round countable, which matters when the decreases need to line up evenly.
The ears are made as their own small piece, with a shorter increase-then-repeat structure than the body. Working them separately means they get sewn on rather than shaped as part of the main spiral.
What it becomes
- A shelf companion for a desk or a bookshelf, sitting next to other small amigurumi.
- A soft toy for a child's room, paired with a stuffed pillow or a quiet reading nook.
- A handmade gift for a fellow crafter, paired with a small drawstring bag you've also made.
Original pattern: https://crocheteverything.com/how-to-crochet-hello-kitty-plushie/
FAQ
Can I use any yarn, or does it need to be fluffy?
Fluffy yarn is recommended for that soft finished texture, but any worsted-weight yarn works structurally. Just expect a smoother, less plush surface with a plain yarn.
How much should I stuff the body?
Stuff it firmly enough to hold its round shape without going lumpy or overfull. Add polyfill in small handfuls, checking the shape as you go before the decrease rounds close it.
Why does the pattern chain and slip stitch at the end of every round?
That join marks where each round starts and ends, instead of spiraling continuously. It keeps the increases and decreases lined up correctly from round to round.
Do I need safety eyes, or can I use felt?
Either works — the materials list both acrylic eyes and felt as options. Felt gives a softer, more hand-stitched look; acrylic eyes read as more polished.