
Free Pattern
Step-by-Step
Crochet
AmigurumiGray tabby cat amigurumi in a bow sweater
A seated gray tabby cat amigurumi wears a raglan sweater finished with a pink satin bow.
- Level
- Intermediate
- Time
- 4-6 hours
- Hook
- 5.0 mm
- Yarn
- Worsted
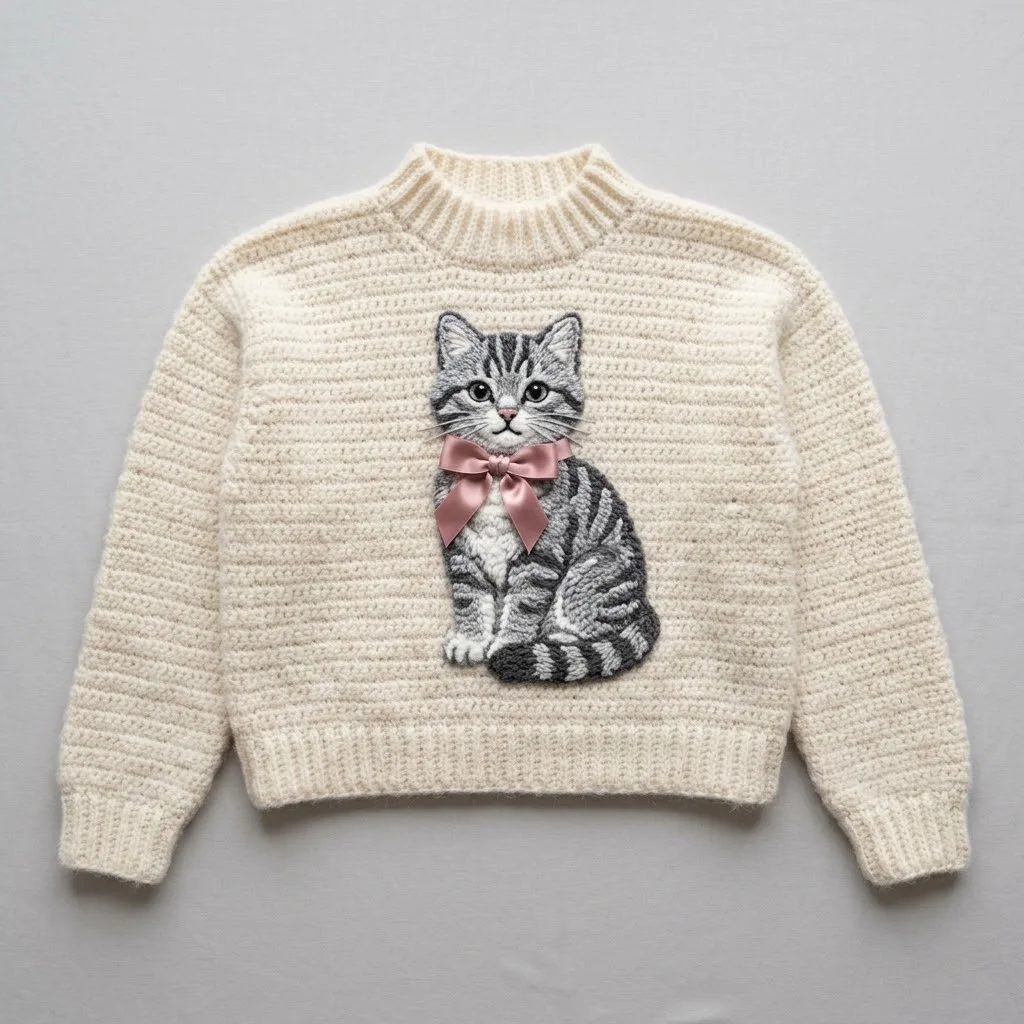
Pattern highlights
- Start the sweater body and work the main raglan shaping, decreasing evenly until the shoulders narrow into sleeves.
- Shape the sleeve caps separately, working back and forth with the back-loop-only decreases that match the body.
- Work the lower body decreases that pull the cat into its seated position instead of a straight tube.
- Crochet the ears separately on the smaller hook so the appliqué detail stays tighter than the body.
- Seam the raglan sections together using the long tails left for that purpose.
- Tie the pink satin ribbon into a bow and attach it at the front of the sweater.
About This Pattern
I file this gray tabby cat under the toys-that-wear-clothes shelf, next to the baby dresses and plushies I've logged this month. It sits beside a snake plushie and a couple of purses in my notes, proof that one collection can hold both wearables and stuffed animals. What makes this one different is the sweater construction borrowed straight from garment patterns, raglan shaping included. I like when a toy pattern steals tricks from clothing instead of staying in its own lane.
The body works in half double crochet through the back loop, which gives the sweater a ribbed, stretchy texture instead of a flat one. Raglan shaping appears twice, once for the sleeve caps and once lower on the body, both using the same sl st and hdc2tog-blo combination. A separate sitting-position shaping section pulls the lower body in with single crochet decreases. Two hook sizes keep the proportions honest, a bigger one for the body, a smaller one for the appliqué ears.
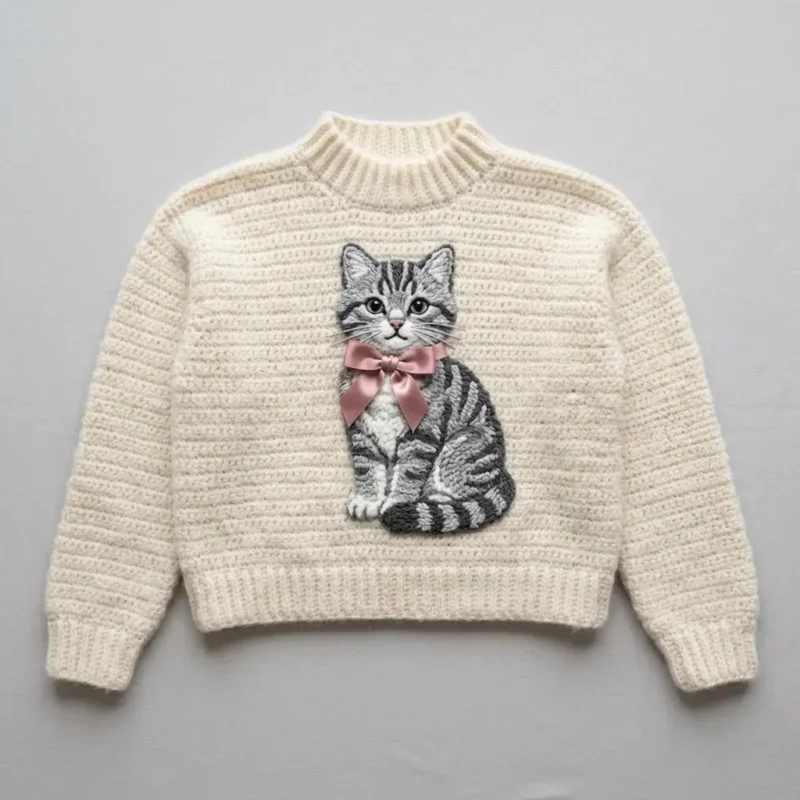
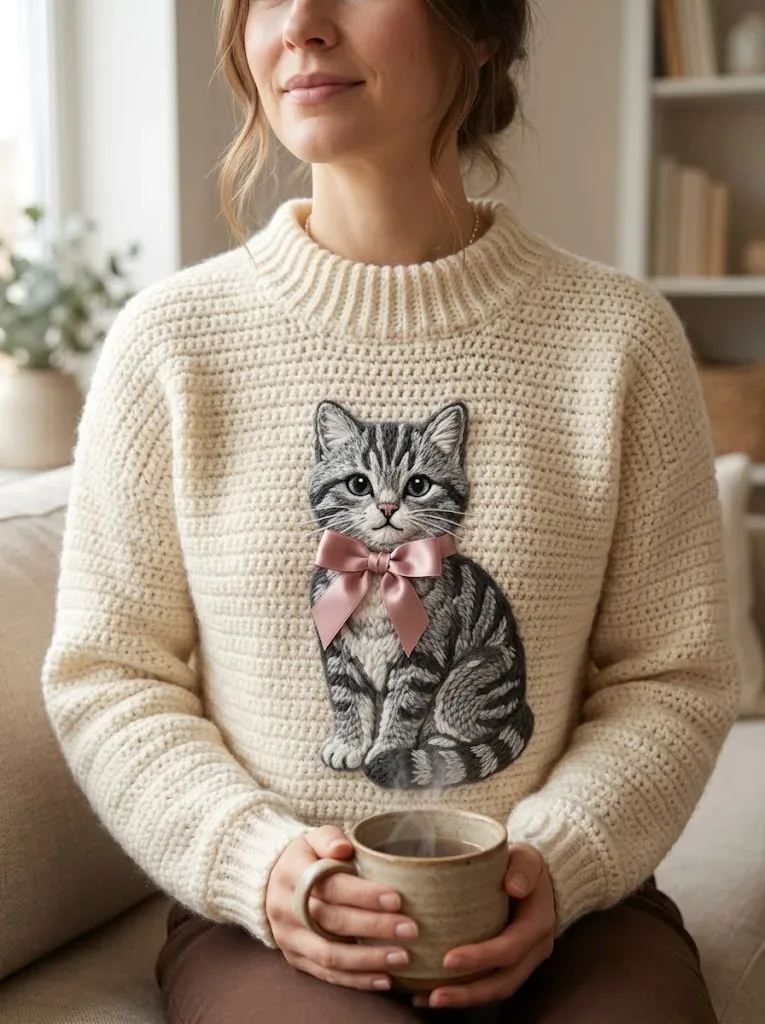
What comes off the hook is a seated gray tabby in a cream sweater, ears already shaped into their own small appliqué piece. The raglan seams give the shoulders a real garment shape instead of a tube with arms stuck on. A pink satin ribbon ties into a bow at the front, the only non-yarn material in the whole build. It reads more like a dressed toy than a sweater pattern wearing a cat.
Worth knowing
The satisfaction here is in the raglan math. Decreasing two stitches every row through both sets of raglan shaping, sleeve cap and body, forces you to pay attention instead of counting on autopilot. Working through the back loop the whole way gives the sweater a texture you can feel the difference in, even before blocking. I like that the sitting position isn't an afterthought stitched on later; it's built into the decrease rows themselves. The appliqué ears on a smaller hook mean two gauges living in one piece, which is a small technical flex for a pattern this size. And then there's the ribbon, no crochet involved, just tied on at the end, which feels like a small reward after all that counting.
Common mistakes
- Working into both loops instead of back loop Check every hdc-blo and sc round for the back-loop-only instruction, since skipping it flattens the ribbed texture the whole sweater depends on.
- Losing track of raglan decrease count Count stitches after every hdc2tog-blo row, since the sections repeat for many rows and one missed decrease throws off the shoulder slope.
- Skipping the unworked stitches at raglan edges Leave the stated stitches unworked at each raglan edge as instructed, since that gap is what creates the angled shoulder line.
- Rushing the sitting position shaping Work the single crochet decreases evenly on both sides, or the seated cat will lean instead of sitting straight.


Intermediate
Progress Tracker
0 of 0 rounds
Tap a round to tick it off — your place is saved on this device.
The kit
- Main color (cream/off-white): 800 to 1000 yards of worsted weight yarn, category 4
- 5.0mm (H/8) crochet hook for the sweater body
- 4.0mm (G/6) crochet hook for the appliqué details
- Tapestry needle for weaving ends and seaming
- Scissors
- One pink satin ribbon approximately 18 inches long and 1 inch wide for the bow
Sleeve Cap Raglan Shaping
Round 1Ch 2, turn, sl st in first 6 sts, hdc-blo across to last 6 sts, leave remaining unworked. (48 sts)
Round 2Ch 2, turn, hdc2tog-blo, hdc-blo to last 2 sts, hdc2tog-blo. (46 sts)Rows 3 through 20: Repeat Row 2. (10 sts remain) Fasten off, leaving a long tail for seaming.
Shaping the Sitting Position
Round 31Ch 1, turn, sc2tog, sc to last 2 sts, sc2tog. (22 sts)Rows 32 through 40: Repeat Row 31, decreasing 2 sts each row. (4 sts remain) Fasten off.
Raglan Shaping
Round 71Ch 2, turn, sl st in first 6 sts, hdc-blo in next 78 sts, leave remaining 6 sts unworked. (78 sts)
Round 72Ch 2, turn, hdc2tog-blo over first 2 sts, hdc-blo to last 2 sts, hdc2tog-blo. (76 sts)Rows 73 through 96: Repeat Row 72, decreasing 2 stitches each row. (28 sts remain after Row 96)Fasten off and weave in ends.
Hook
5.0mm (H/8) crochet hook for the sweater body 4.0mm (G/6) crochet hook for the appliqué details
Notions
Tapestry needle for weaving ends and seaming Stitch markers Scissors Measuring tape One pink satin ribbon approximately 18 inches long and 1 inch wide for the bow
Optional: fabric glue for securing bow
Raglan Shaping
Work Rows 71 through 96 exactly as Back Panel. (28 sts remain)
Fasten off and weave in ends.
Ears
Fasten off, leaving a long tail.
From the collection
Finishing
- Weave in the tails left after each raglan and shaping section before seaming anything.
- Seam the raglan shoulders and sleeve caps together using those same tapestry-needle tails.
- Tie and attach the pink satin ribbon bow last, once the sweater is fully seamed.
Why it works
Both raglan sections leave six stitches unworked at each end before decreasing, which is what angles the shoulder line.
The sleeve cap and the lower raglan shaping both decrease two stitches every row, so the shoulder slope stays consistent across the whole sweater.
The sitting position shaping decreases two stitches per row in single crochet, a sharper decrease rate than the hdc raglan sections, which pulls the lower body in faster than the shoulders taper.
What it becomes
- A shelf piece next to other amigurumi animals, like the rainbow snake plushie, for a little zoo.
- A soft gift for a cat lover who'd rather display a tabby than feed a real one.
- A photo prop for nursery or craft-room shelves, paired with the mustard circle purse or blush chain bag for color contrast.
FAQ
Can I substitute a different ribbon for the bow?
Yes, any satin or grosgrain ribbon close to the stated 18 inches and 1 inch width will tie the same way. Just keep it narrow enough to sit flat against the sweater front.
Why does the pattern use two different hook sizes?
The 5.0mm hook keeps the sweater body loose enough to drape like fabric. The 4.0mm hook tightens the ear appliqués so they hold their shape instead of flopping.
What does working through the back loop actually change?
It leaves a visible ridge of front loops exposed, which reads as a ribbed texture. It's a texture choice, not a shaping one, so skipping it won't change the fit, just the look.
Is the sitting position built into the body or added after?
It's built in. The shaping happens through single crochet decreases worked directly into the body, not as a separate attached piece.