
Free Pattern
Step-by-Step
Crochet
AmigurumiHoney bear amigurumi in standing and sitting versions
A classic yellow bear amigurumi pattern with standing and sitting leg options.
- Level
- Intermediate
- Time
- 4-6 hours
- Hook
- 4 mm
- Yarn
- Worsted
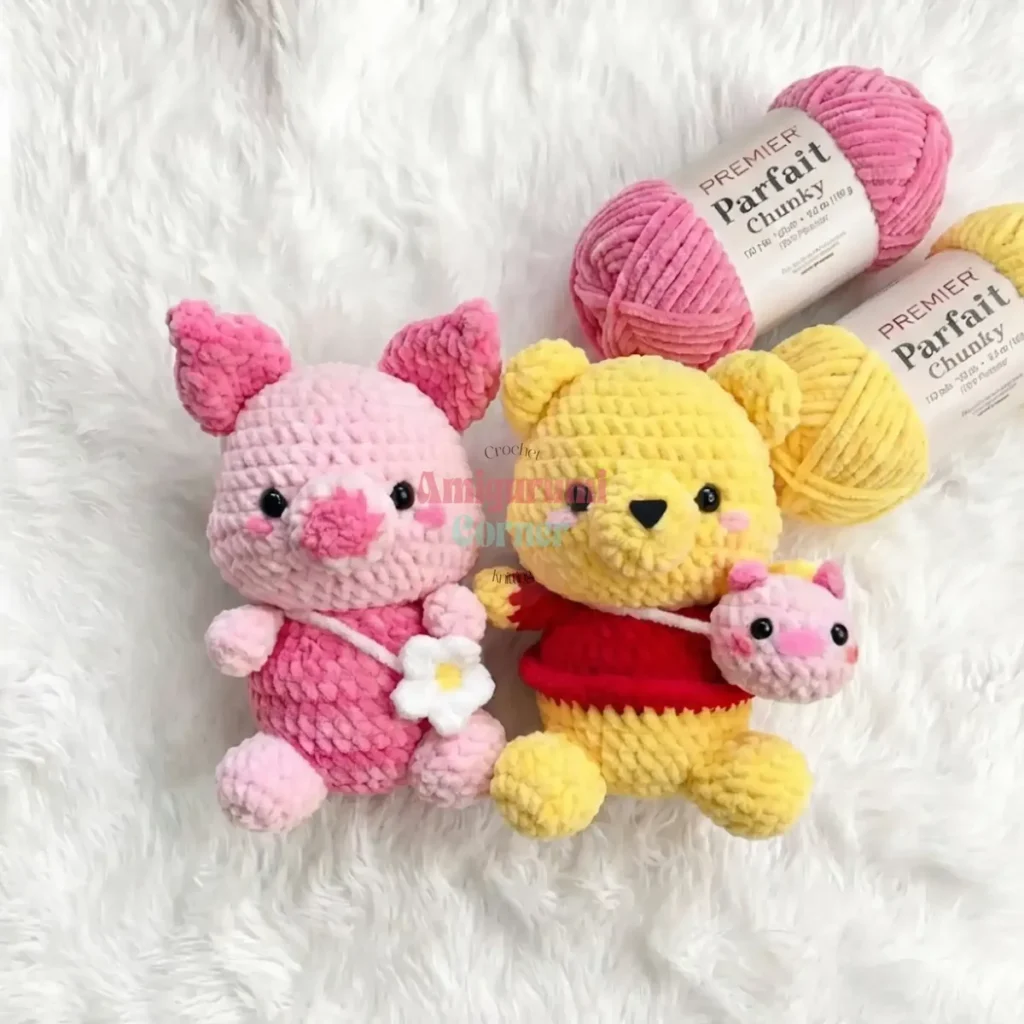
Pattern highlights
- Start with the head, working rounds outward from a magic ring until it's fully shaped.
- Crochet the snout separately, then fasten off with a long tail for sewing.
- Make two ears with one increase round each, then set them aside for later.
- Choose your body: work the standing version with its own first leg worked flat, or the sitting version with separate legs.
- Crochet two arms to match whichever body you picked.
- Stuff each piece as you go, shaping the head and body for that signature chubby look.
- Sew the snout, ears, and arms into place, then finish with safety eyes and facial details.
About This Pattern
This one sits in the storybook-animal drawer of my collection, next to every bear I've made that wasn't quite allowed to say its real name. A honey-loving bear in a red shirt tends to land there. It's a familiar shape worked from scratch, piece by piece, with no shortcuts through the snout or ears.
The techniques are the amigurumi basics done carefully: magic ring starts, increases spaced to build a round head, a flat-worked piece for the first leg before it joins the body. The snout and ears are small enough to finish in one sitting, which makes the head feel like a win before the body even starts.
What comes out the other end is a yellow bear with a snout, two ears, and a choice of standing or sitting legs. It's soft, it's chubby in the right places, and it holds still enough to wear a little red shirt without complaint.
Worth knowing
I like a pattern that gives you a decision partway through — standing or sitting — instead of locking you in from round one. The snout worked separately and sewn onto the head rows is satisfying in a small-parts-add-up way. Shaping the ears with just one increase round each keeps them proportional without fuss. The first leg worked flat before joining into the body is the kind of construction detail that tells you someone thought about how a standing bear needs to balance. And there's real payoff in placing the safety eyes last, after the head is stuffed, because that's the moment the bear actually looks back at you.
Common mistakes
- Snout placed off-center Pin it to rows 10-13 of the head before sewing and check it from the front, not just from above.
- Ears sewn too high or low Line them up with rows 4-7 of the head on both sides before committing to the stitching.
- First leg mismatched to the body Count the increase round on the first leg carefully since it's worked flat before joining, not continued seamlessly.
- Eyes placed before stuffing Stuff the head first, then place the safety eyes — the distance between them changes the expression once it's filled.
- Uneven stuffing in the body Stuff generously but shape with your fingers as you go so the body doesn't end up lumpy or lopsided.


Intermediate
Progress Tracker
0 of 0 rounds
Tap a round to tick it off — your place is saved on this device.
The kit
- Crochet hook: 4mm
- Pro Tip: Use a larger yarn and hook to make a bigger bear, or smaller yarn and hook for a miniature version.
Yarn
- Himalaya Dolphin Baby (less than 1 skein per color needed)
- Yellow – 80302
- Red – 80352
- Pink – 80303/80319
- Darker pink – 80309
- Brown – 80337
- Beige – 80365
- Alternative yarn brands: Yarn Art, Premier Parfait (US availability)
- Stitch marker
- Scissors
- Craft glue
- Fiberfill stuffing
- 12mm safety eyes (or black felt for safety)
- 9mm safety eyes for piggy
- Tapestry needle
- Pink and black felt (for facial details)
Head (Yellow)
Round 1Mr 8sc (8)
Round 28inc (16)
Round 3(sc, inc)*8 (24)
Round 4(3sc, inc)*6 (30)
Round 52sc, inc, (4sc, inc)*5, 2sc (36)
Round 6(5sc, inc)*6 (42)
Rounds 7–1042sc (42)
Round 1111sc, inc, 3-hdc into one stitch, 16sc, 3-hdc into one stitch, inc, 11sc (48)
Round 1248sc (48)
Round 133sc, dec, (6sc, dec)*5, 3sc (42)
Round 14(5sc, dec)*6 (36)
Round 152sc, dec, (4sc, dec)*5, 2sc (30)
Round 16(3sc, dec)*6 (24)
Round 17(2sc, dec)*6 (18)Fasten off and cut the yarn. Insert 12mm safety eyes between rows 10-11, spacing them 6 stitches apart. Stuff the head fully to create that signature chubby Pooh shape. Use pink yarn to sew small circles beside the eyes for adorable rosy cheeks.
Snout (Yellow)
Round 1Mr 8sc (8)
Round 28inc (16)
Round 316sc (16)Fasten off, leaving a long tail for sewing. Attach the snout to rows 10-13 of the head. Use a plastic nose or cut a small triangle from black felt and glue it onto the snout center.
Ears (Yellow) – Make 2
Round 1Mr 6sc (6)
Round 26inc (12)
Rounds 3–412sc (12)Fasten off with a long tail and sew the ears onto rows 4-7 of the head.
Standing Body (Yellow)
First Leg:
Round 1Mr 5sc (5)
Round 25inc (10)
Rounds 3–410sc (10)Fasten off and cut yarn.Second Leg: Repeat to Row 4, but don't cut the yarn. Chain 3 and join to the first leg with a sc.
Round 510sc (first leg) + 3sc (first side of chains) + 10sc (second leg) + 3sc (other side of chains) (26)
Round 6(3sc, inc)*6, 2sc (32)
Rounds 7–932sc (32)
Round 10Red 32sc (32)
Round 11BLO 32sc (32)
Round 1232sc (32)
Round 13(14sc, dec)*2 (30)
Round 1430sc (30)
Round 15(3sc, dec)*6 (24)
Round 16(2sc, dec)*6 (18)Fasten off with a long tail for attaching to the head. Stuff the body fully for that huggable chubby appearance. Using red yarn, work in the front loops only of Row 11: (sc, inc)*16 to create the decorative shirt edge.
Sitting Body (Yellow)
Round 1Mr 8sc (8)
Round 28inc (16)
Round 3(sc, inc)*8 (24)
Round 4(3sc, inc)*6 (30)
Round 5(4sc, inc)*6 (36)
Rounds 6–836sc (36)
Round 9Red 36sc (36)
Round 10BLO 36sc (36)
Round 1136sc (36)
Round 12(4sc, dec)*6 (30)
Round 13(3sc, dec)*6 (24)
Round 14(2sc, dec)*6 (18)Fasten off with a long tail. Stuff completely. Using red yarn in the front loops of Row 10: (sc, inc)*18 for the shirt edge.
Legs for Sitting Version (Yellow) – Make 2
Round 1mr 8sc (8)
Round 28inc (16)
Rounds 3–416sc (16)
Round 54sc, 4dec, 4sc (12)
Round 612sc (12)Fasten off and sew to rows 4-7 of the sitting body.
Arms (Yellow) - Make 2
Round 1mr 4sc (4)
Round 24inc (8)
Round 38sc (8)
Rounds 4–7red 8sc (8)Stuff lightly with fiberfill. Fasten off and sew between rows 15-16 of standing body or rows 13-14 of sitting body.
Tail (Yellow)
Round 1mr 5sc (5)
Round 25inc (10)
Round 310sc (10)Fasten off and sew to rows 7-9 of standing body or rows 3-5 of sitting body.
Piggy Head (Pink)
Round 1Mr 7sc (7)
Round 27inc (14)
Round 3(Sc, inc)*7 (21)
Rounds 4–621sc (21)
Round 7(Sc, dec)*7 (14)
Round 87dec (7)Stuff the head before closing. Weave in ends. Insert 9mm plastic eyes between rows 4-5, 3 stitches apart. Cut an oval from pink felt and glue between the eyes for the snout.
Piggy Ears (Darker Pink) – Make 2
Round 1Chain 4, starting in second chain from hook: slst, hdc-inc, sc into last chain.Leave long tail and sew to row 2 of piggy head.
Honey Pot (Brown)
Round 1Mr 7sc (7)
Round 27inc (14)
Round 3(sc, inc)*7 (21)
Round 421sc (21)
Rounds 5–6Beige 21sc (21)
Round 7Brown (sc, dec)*7 (14)
Round 8BLO yellow 14sc (14)
Round 97dec (7)Stuff completely. Weave in ends. For the pot's edge, work in front loops of Row 8 with brown yarn: (sc, inc)*7.
Honey Drip Detail Honey Drip Detail:
Using yellow yarn, chain 5. Starting in second chain from hook: sc, (ch 3, second ch from hook 2sc), 2sc, (ch 4, second ch from hook 3sc), sc. Sew this piece to the honey pot edge for a realistic dripping honey effect.
Assembly
Step 1Stuffing Technique: Stuff the head and body generously to achieve that signature cuddly, chubby Pooh appearance. Shape as you stuff to maintain proper proportions.
Step 2Eye Placement: Position safety eyes carefully before securing. The distance between them significantly affects the expression.
Step 3Facial Features: Take time with the cheeks and snout placement—these details bring the character to life.
Step 4Shirt Edge: The red shirt's decorative edge should sit naturally at the color change line. Make sure it lies flat and even.
Step 5Final Touches: Attach all pieces securely with matching yarn. Hide knots inside the stuffed pieces for a professional finish.
From the collection
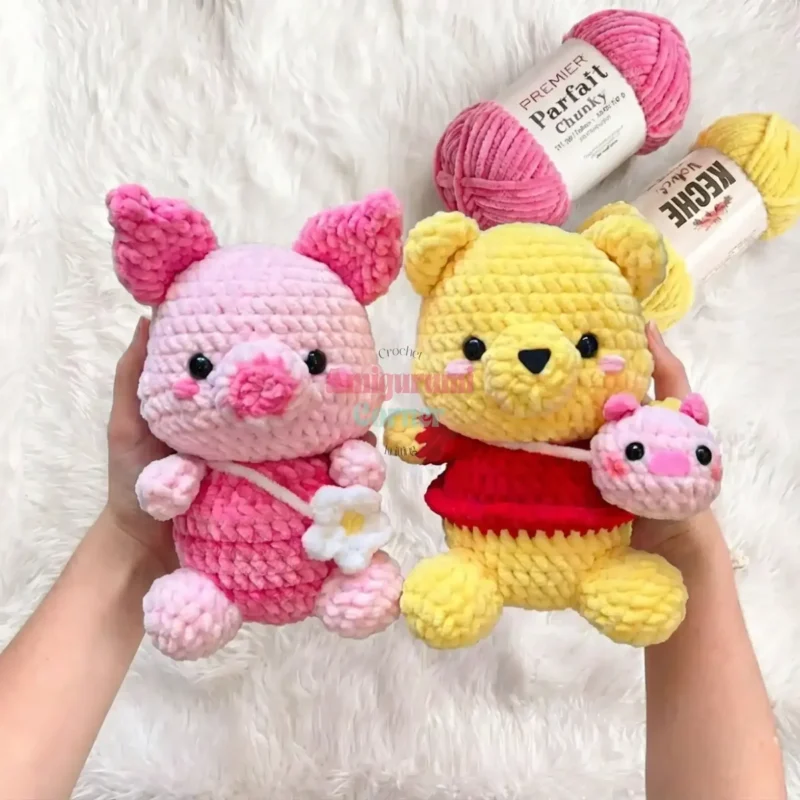
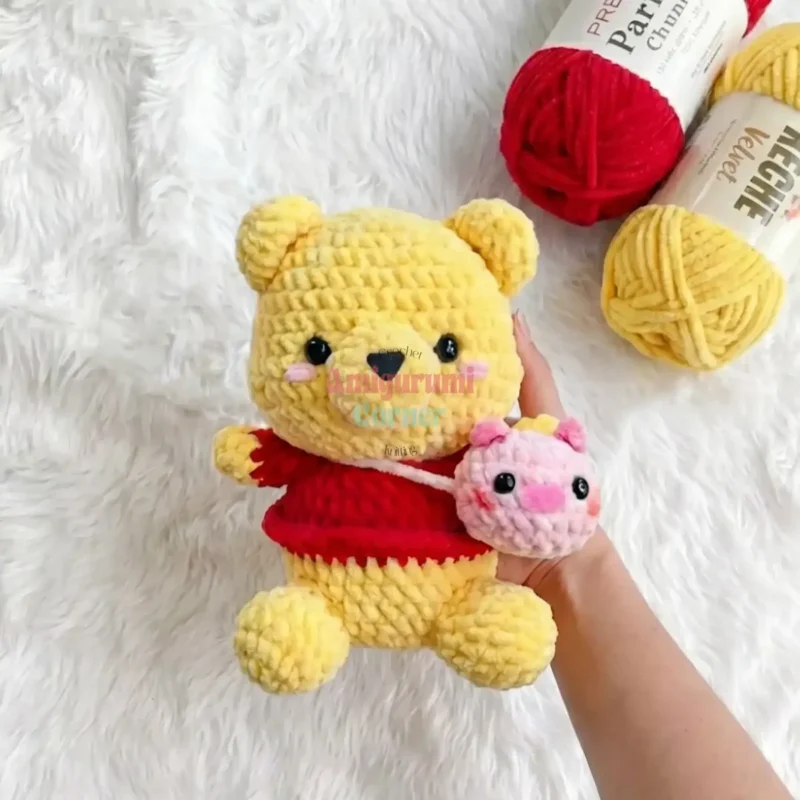
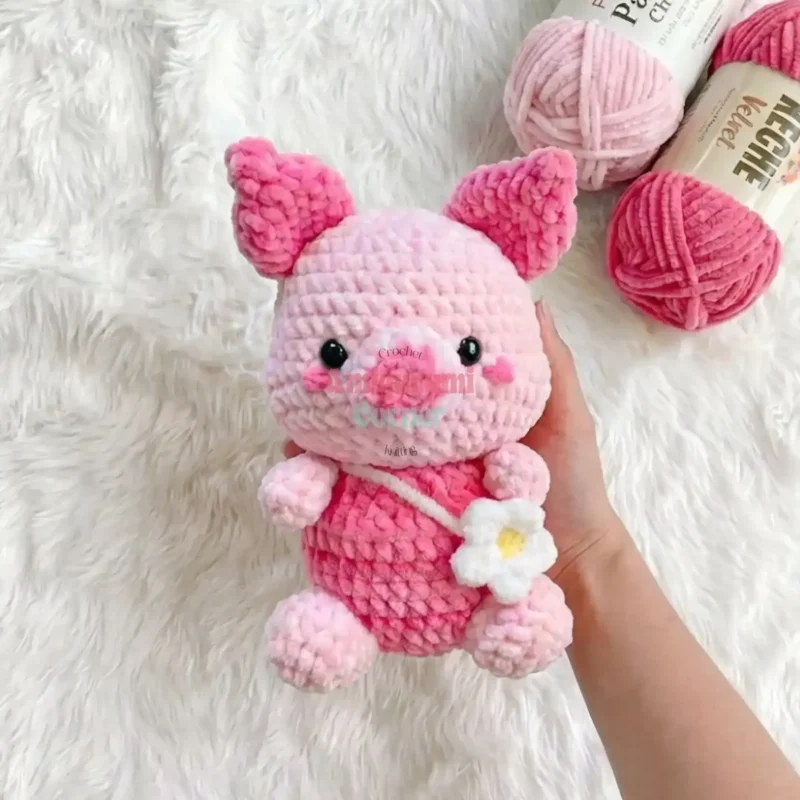
Finishing
- Weave in all loose ends from the head, snout, ears, body, and arms before assembly.
- Stuff the head and body generously while shaping, keeping that chubby Pooh-style proportion in mind.
- Position and secure the safety eyes, then sew on the snout, ears, and arms, finishing with felt facial details.
Why it works
The head begins with a magic ring of 8 stitches, then doubles to 16 with a full increase round before any shaping decreases happen.
The snout is worked as its own small piece and sewn onto rows 10-13 of the head rather than built in, which keeps the decrease rows for the face clean.
The standing body starts with a first leg worked flat from a 5-stitch magic ring, a separate piece joined later rather than continued in the round.
What it becomes
- A nursery shelf companion that pairs well with other soft amigurumi animals already in the room.
- A handmade gift for a child who already owns the storybook version and would like a plush counterpart.
- A photo-prop bear for craft fair displays, sitting alongside other Himalaya Dolphin Baby amigurumi pieces.
Original pattern: https://amigurumicorner.com/free-winnie-the-pooh-crochet-pattern-standing-sitting-bear/
FAQ
What size will my finished bear be?
Using a 4mm hook and Himalaya Dolphin Baby yarn, your bear will be approximately 8-10 inches tall in sitting position and 10-12 inches in standing position. You can make him larger by using bulkier yarn with a bigger hook, or smaller with lighter yarn and a smaller hook.
Can I use different yarn brands for this pattern?
Yes! While the pattern specifies Himalaya Dolphin Baby, you can substitute with Yarn Art Dolce, Premier Parfait, or any similar chenille or plush yarn. Just maintain the same weight and adjust your hook size to match the yarn's recommended gauge for best results.
How do I create the invisible decrease mentioned in the pattern?
Insert your hook into the front loop only of the next two stitches, yarn over and pull through both front loops (you'll have 2 loops on hook), then yarn over and pull through both loops. This technique creates a much neater decrease that's less visible in the finished piece.
What's the difference between the standing and sitting body patterns?
The standing body has separate legs built into the body construction and creates a free-standing figure. The sitting body has a rounded bottom with separately attached bent legs, giving the bear a permanent sitting position. Choose based on how you want to display your finished bear.