
Free Pattern
Step-by-Step
Crochet
GarmentsLacy shell stitch crochet vest in bohemian style
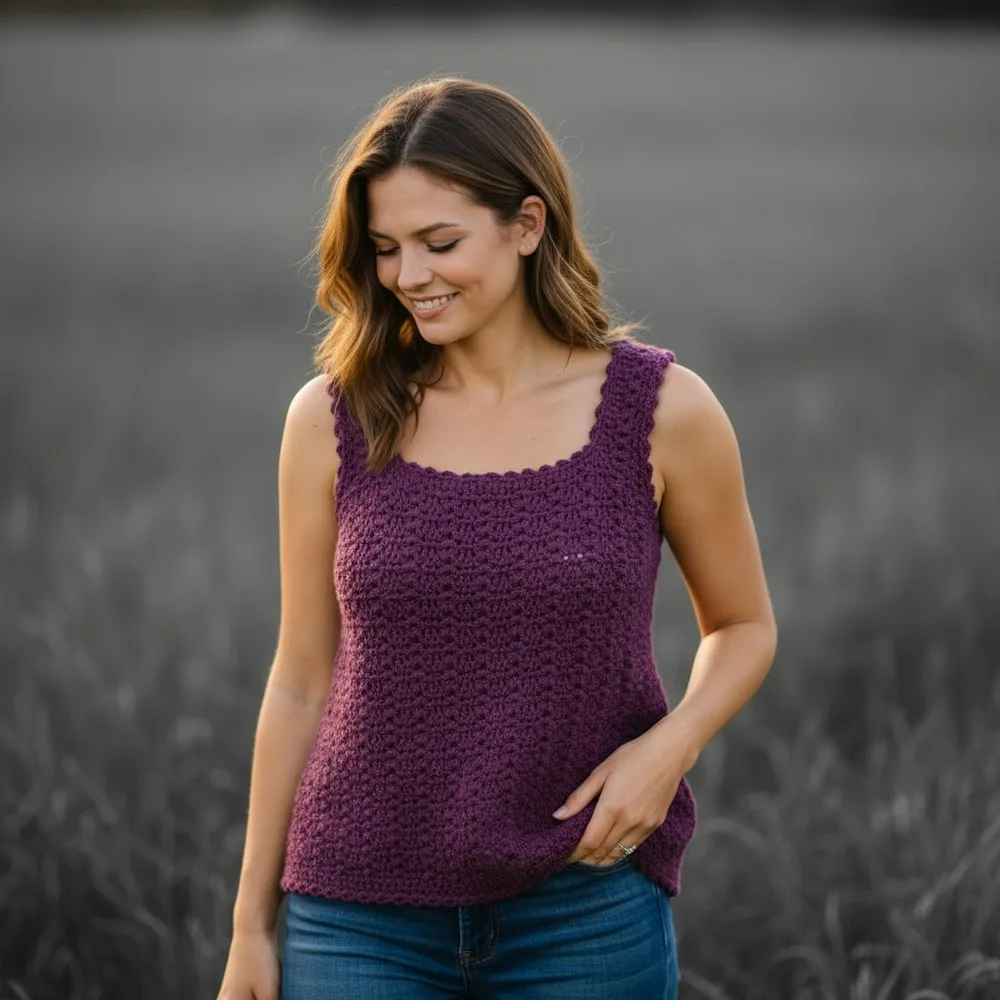
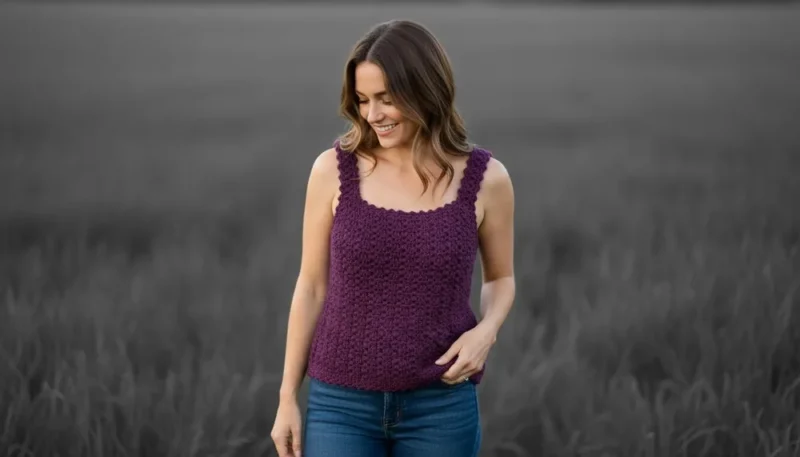
A shell-stitch crochet vest with picot edging, worked in two flat panels and seamed.
- Level
- Intermediate
- Time
- 6-9 hours
- Hook
- 4.0 mm
- Yarn
- Worsted
Pattern highlights
- Chain a wide foundation and work a single crochet base row to set the panel width.
- Build rows of the shell repeat, alternating shells and single dc, to grow the lace body.
- Shape the armholes and neckline gradually as the panel rows continue upward.
- Make a second identical panel from the same foundation for the back.
- Crochet two straps separately in the shell pattern to the desired shoulder length.
- Seam the panels together at the shoulders and sides using the yarn needle.
- Finish the neck, arm, and hem edges with picot and single crochet trim.
About This Pattern
I keep a shelf for pieces that earn their keep, not just their looks. This vest belongs there. It sits between my lace doilies and my sturdier garment notes — open enough to breathe, structured enough to wear. Every collection needs one project that proves lace can leave the coaster drawer and become clothing.
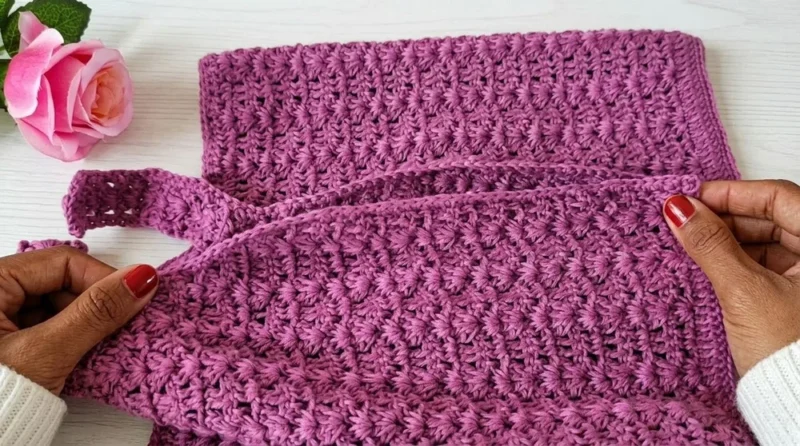
The build is honest work: chain, single crochet, double crochet, and the shell repeat that gives this piece its rhythm — (2 dc, ch 1, 2 dc) shells broken by single dc. Picot edging finishes the raw parts. Nothing exotic, just familiar stitches asked to do a new job across two matching panels.
What comes off the hook is a wearable vest, two panels seamed at the shoulders and sides, with straps and a lace body. It reads as effortless. It is not accidental — every shell placement and every decrease along the armhole was decided in advance, even if the fabric looks like it happened by chance.
Worth knowing
There is something satisfying about a shell repeat that never gets old — (2 dc, ch 1, 2 dc) into the same space, over and over, until the fabric develops its own breathing rhythm. I like that this pattern trusts two techniques completely instead of piling on ten. Shell stitch does the lace work. Picot edging does the finishing. The armhole and neck shaping ask you to actually shape a garment, not just crochet a rectangle, which keeps the project from going flat. And because the two panels are identical, you learn the pattern once and then simply repeat what you already know. That repetition is where the calm sets in.
Common mistakes
- Losing count inside the shell repeat Mark the ch-1 space of each shell as you go. It is easy to drift a stitch over an open lace row.
- Uneven shell placement between panels Count shells across the row before moving on, since the front and back panels must match for seaming.
- Rushing the armhole decreases Work the gradual decreases exactly as rowed rather than compressing them, or the armhole will pull tight.
- Skipping a swatch for gauge Check gauge with the 4.0mm hook first. Shell fabric stretches, so a loose gauge changes the finished width fast.
- Picot edging pulling the hem in Keep tension relaxed on the ch 3 of each picot so the trim lies flat instead of cupping the edge.


Intermediate
Progress Tracker
0 of 0 rounds
Tap a round to tick it off — your place is saved on this device.
The kit
- Medium weight cotton or cotton-blend yarn (quantity depends on size, typically 350–500g for a standard adult)
Crochet hook
- 4.0mm or size needed for gauge
Tools
- Large eye yarn needle for seaming and weaving ends
- Scissors
- Stitch markers (optional)
Part 4
Round 1Dc in same place; (2 dc , ch 1 , 2 dc ) in next ch-1 space; repeat across strap width.Work in this pattern for about 11 rows , or until the strap is 12 cm (4.7 in) long .Fasten off .Repeat for the other shoulder to make two straps.
4. Finishing Body & Edges Step 8: Make Second Panel Make a second identical panel following steps 1–7 for the back of your top.
Step 9: Join Panels With right sides (RS) facing , align panels.
Use a yarn needle or sc/whip stitch to seam side edges from armhole (row 19) down to bottom hem.
Seam shoulder tops, joining strap ends.
Leave armholes and neck opening unseamed.
5. Edging Step 10: Work Edging Around Openings Attach yarn at neck, armhole, or hem.
Work sc evenly around the opening of each armhole and neck for a neat finish.
Step 11: Picot Edging for Hems and Sides Along bottom and side seams:
Work 2 sc , ch 3 , sl st into first ch (picot made), 3 sc , ch 3 , sl st into first ch (repeat) .
Continue this pattern all around.
Fasten off and securely weave in all ends .
Assembly & Finished Size
Your crochet top will measure about 41 cm across and 49 cm from shoulder to hem , with 12 cm straps .
Shell fabric stretches ; for a looser fit, increase foundation chain and add more rows as desired.
Panel construction makes for easy adjustments and sizing.
Neatly weave in all tails on the wrong side for a clean finish.Ftop Conclusion
You’ve now completed your elegant lacy shell crochet vest! Thanks to its simple panel construction, motifs, and easy shaping, you’ve created a fashionable, lightweight garment suited for warm days or layering. Wear your top proudly or share it as a thoughtful handmade gift. Continue to explore motif patterns and make variations—your crochet wardrobe has only just begun.
Right side
Special Stitches Shell: (2 dc, ch 1, 2 dc) all in the same designated stitch or space Picot: ch 3, sl st into first ch made
Step-by-Step Pattern 1. Foundation & Body Panel Step 1: Make Foundation Chain Ch 115. (This is the width and should measure approximately 41 cm or 16″.)
Step 2: Row 1 (WS) — Single Crochet Foundation Ch 1 (does not count as a stitch), sc in each ch across. (115 sc)
Turn.
Step 3: Row 2 Ch 1 , sc in each st across (115 sc) .
Turn .
Step 4: Row 3 — Start Shell Motif Ch 3 (counts as dc , here and throughout this section).
Dc in the next 16 sts (17 dc total, including turning ch ).
Turn.
Step 5: Row 4 — First Shell Pattern Row Ch 3 , turn .
Dc in first st , skip next 2 sts .
(2 dc , ch 1 , 2 dc ) in next st (makes a shell), skip 2 sts , dc in next st ; repeat from * to end of row.
At the end, your row should alternate between shells and single dc stitches across.
Rounds 5–19Continue Shell Pattern Each row: Ch 3 , turn . (2 dc , ch 1 , 2 dc ) in ch-1 space of previous row’s shell, dc in next dc ; repeat to end.Repeat for a total of 16 motif rows (your panel should now be about 37 cm tall).
2. Armhole & Neck Shaping (Rows 20–28)
Step 6: Begin Armhole Decreases
Round 20Ch 3 , turn . Skip the first ch-1 space (first shell), continue shell pattern up to the last shell, skip last ch-1 space , dc in turning ch or last st at the end of row.
This removes one shell motif at each side, starting the curve of the armhole and neckline.
Rounds 21–28Continue Decreasing Each row: Continue shell pattern, skipping an extra shell at both the beginning and end of each new row.Repeat for a total of 8 decrease rows.
Your panel will now be narrower at the top for armholes and neck.
3. Straps (Make Two)
Step 7: Attach Straps at Shoulder Corners At each top corner (shoulder area), attach yarn and ch 3 .
Assembly
Step 1Your crochet top will measure about 41 cm across and 49 cm from shoulder to hem , with 12 cm straps .
Step 2Shell fabric stretches ; for a looser fit, increase foundation chain and add more rows as desired.
Step 3Panel construction makes for easy adjustments and sizing.
Step 4Neatly weave in all tails on the wrong side for a clean finish.Ftop
From the collection
Finishing
- Weave in every tail on the wrong side before seaming, so nothing shows through the open shells.
- Seam the two panels at the shoulders and sides with the yarn needle, matching rows as you go.
- Work the picot and single crochet edging around the neck, arm, and hem openings to close out raw edges.
Why it works
The front and back panels are worked flat and identically, which means the shaping only needs to be solved once.
Armhole and neck decreases are worked gradually across rows rather than in a single sharp turn, giving the fit a soft curve instead of a notch.
Straps are made as separate shell-stitch pieces and joined at finishing, which lets the shoulder length adjust without reworking the body panels.
What it becomes
- Layer it over a fitted tank or t-shirt for an open-work top with warmth underneath.
- Wear it as a light throw-on piece over a sundress for cooler evenings.
- Give it as a handmade layering piece for someone who already lives in simple basics.
Original pattern: https://redagapeblog.com/modern-free-crochet-vest-pattern/
FAQ
Can I make the vest longer or shorter than the pattern states?
Yes, the panel length adjusts by adding or removing rows of the shell repeat. The straps can also be lengthened or shortened to fit the shoulder.
Do I need to be experienced with garment shaping?
You should be comfortable with chaining, single and double crochet, and basic seaming. The shell stitch and picot edging themselves are easy to master.
Why are the two panels made identically?
The front and back use the same shaping so the piece can be seamed at the shoulders and sides without extra pattern math. It also means you only learn the shaping once.
What happens if my gauge does not match?
Since shell fabric stretches, a looser gauge widens the finished vest. Adjust the foundation chain and row count to bring the size back where you want it.