
Free Pattern
Step-by-Step
Crochet
AmigurumiLittle Cactus Amigurumi with Pot and Flowers
A crochet cactus amigurumi worked in one piece, from pot to bloom, with tiny stitched eyes.
- Level
- Intermediate
- Time
- 4-6 hours
- Hook
- 1.75 mm
- Yarn
- Fingering
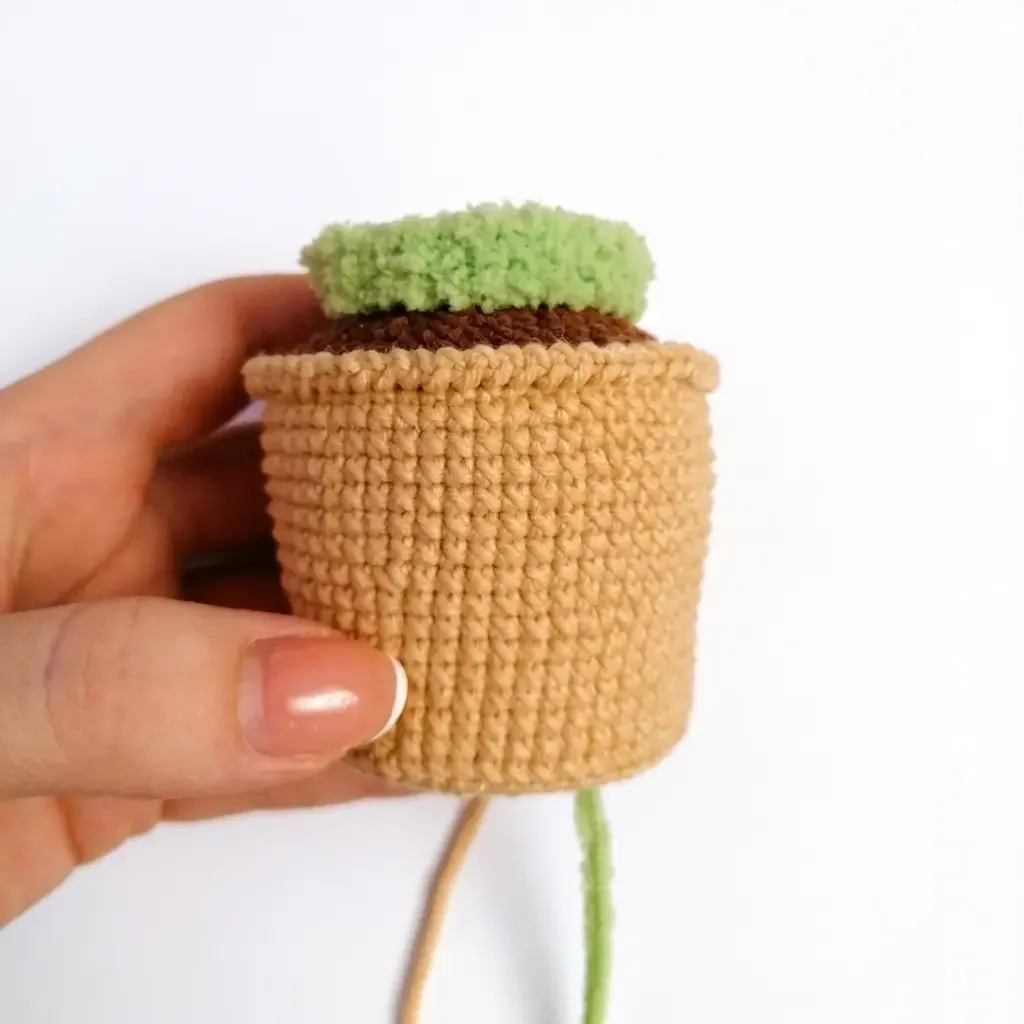
Pattern highlights
- Start at the base of the pot and work upward in a continuous spiral, using a stitch marker to track rounds.
- Change to plush green yarn for the cactus body while working the same spiral, then add two small arms separately.
- Crochet the white and dark eye pieces separately, then whipstitch the pupils onto the white bases before sewing them on.
- Make small and large flowers in the round using different hook sizes, then attach them to the top of the cactus.
- Add painted or embroidered highlights to the eyes and embroider eyelashes for the final facial details.
About This Pattern
This cactus amigurumi belongs with the tabletop crowd — the little houseplants and potted succulents that never need watering. I keep a shelf for pieces like this, ones that pretend to be plants but are really just an excuse to work spirals and flowers in one sitting. It fits somewhere between a beginner's first amigurumi and a collector's fussier pieces, thanks to the pot, soil, body, and separate flowers all built from the same continuous spiral.
The finished piece stands on its own plastic-reinforced base, cactus rising straight out of a terracotta pot with two small arms and a scattering of flowers on top. It is small enough for a windowsill, sturdy enough to survive being picked up and turned over by curious hands. The plush green yarn gives the body a texture that reads as fuzzy rather than prickly, which I appreciate in something meant to be handled.
Worth knowing
What I love here is the pot-to-cactus transition — one continuous spiral, no seam, just a front-loop-only round marking where soil ends and plant begins. It is a tidy piece of construction, the kind that makes you feel clever for noticing it while crocheting. The three-part eyes are their own small satisfaction: a white disc, a whipstitched pupil, a dab of paint for the highlight. Two hook sizes for the flowers — one for the small bloom, one for the large — mean you get two flower sizes from a single pattern without extra math. And working with plush yarn on the body, after fine cotton on the pot and eyes, is a nice change of texture halfway through.
Common mistakes
- Losing track of the round start Working pot-to-cactus in a continuous spiral without joins makes it easy to lose your place. Keep the stitch marker moving up every round without exception.
- Skipping the front-loop-only round Round 30's front-loop-only stitches create the ridge that separates soil from cactus. Working into both loops there erases the visual break entirely.
- Overstuffing the plush cactus yarn Plush yarn hides gaps less forgivingly than smooth cotton. Stuff evenly and check for lumps before closing the top.
- Rushing the two-part eyes The white base and dark pupil are separate pieces, not embroidered circles. Whipstitch the pupil on neatly, since any wobble in placement is very visible on a small eye.
- Mixing up hook sizes between flowers The small and large flowers use different hooks and yarn weights on purpose. Keep track of which hook goes with which flower so the sizes stay distinct.
- Working the pot too loosely Fingering-weight cotton on a 1.75 mm hook should produce a dense fabric with no visible gaps between stitches; if you can see gaps, drop down a hook size so the pot holds its shape once stuffed.


Intermediate
Progress Tracker
0 of 0 rounds
Tap a round to tick it off — your place is saved on this device.
The kit
- Yarn — Pot: Cotton yarn, color terracotta/orange (e.g., YarnArt Jeans #07), fingering weight
- Yarn — Soil: Cotton yarn, color brown (e.g., YarnArt Jeans #70), fingering weight
- Yarn — Cactus: Plush/fluffy yarn, color green (e.g., Himalaya Baby Soft #73628)
- Yarn — Flowers: Cotton yarn, color of your choice (e.g., YarnArt Jeans #35), fingering weight
- Yarn — Eyes: Very fine cotton yarn (e.g., Coco cotton or YarnArt Jeans split in half), in black, white, and light blue
- Hook Size 1 (1.75 mm) — for pot, flowers, and eye details
- Hook Size B-1 (2.5 mm) — for cactus body
- Hook Size 1 (1.0 mm) — for small flower and eyes
- Small piece of plastic (for pot base reinforcement)
- Hot glue gun (optional, for securing plastic base)
- Fiberfill stuffing
- Yarn needle / tapestry needle
- Stitch marker
- Scissors
- White acrylic paint (for eye highlights, or embroider with white yarn)
Pot
Round 16 sc in MR. (6)
Round 2inc in each st around. (12)
Round 3sc, inc repeat 6 times around. (18)
Round 4sc, inc, 2 sc, inc repeat 5 times, sc. (24)
Round 53 sc, inc repeat 6 times around. (30)
Round 62 sc, inc, 4 sc, inc repeat 5 times, 2 sc. (36)
Round 75 sc, inc repeat 6 times around. (42)
Round 83 sc, inc, 6 sc, inc repeat 5 times, 3 sc. (48)
Round 9sc in BLO in each st around. (48)
Rounds 10–14sc in each st around. (48)
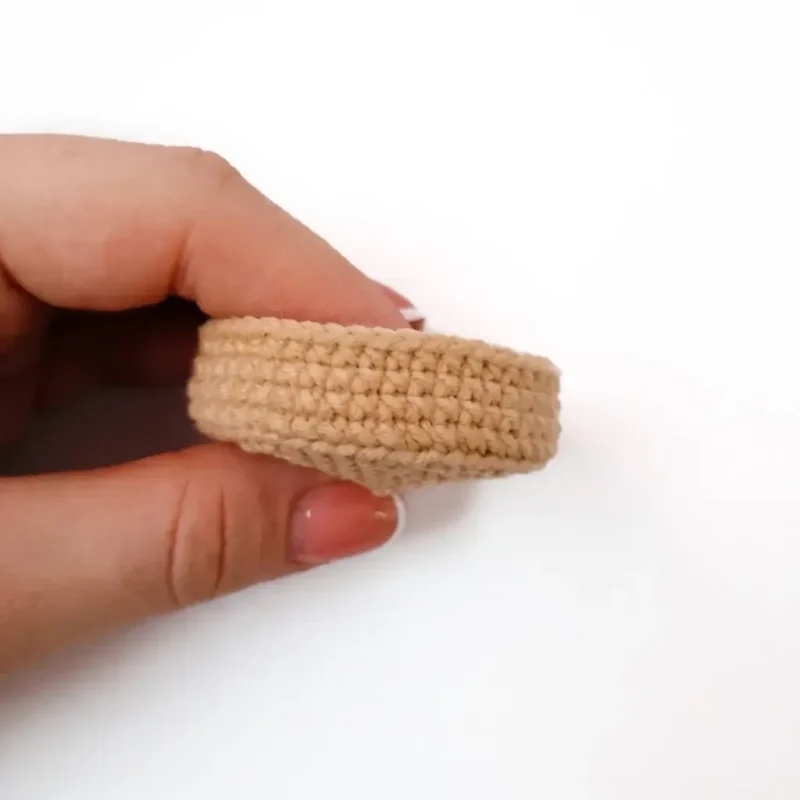
At this point, hot-glue the plastic base to the bottom of the pot on the inside. Let it dry fully before continuing.
Round 1511 sc, inc repeat 4 times around. (52)
Round 16sc in each st around. (52)
Round 176 sc, inc, 12 sc, inc repeat 3 times, 6 sc. (56)
Rounds 18–20sc in each st around. (56)
Round 2113 sc, inc repeat 4 times around. (60)
Rounds 22–24sc in each st around. (60)Switch to brown yarn (soil color).
Round 25Working in BLO: 4 sc, dec, 8 sc, dec repeat 5 times, 4 sc. (54)
Round 267 sc, dec repeat 6 times around. (48)
Round 273 sc, dec, 6 sc, dec repeat 5 times, 3 sc. (42)
Round 285 sc, dec repeat 6 times around. (36)
Round 292 sc, dec, 4 sc, dec repeat 5 times, 2 sc. (30)Switch to plush/fluffy green yarn and change hook to B-1 (2.5 mm).
Cactus Body
These rounds continue directly from the pot — the cactus grows up from the soil section.
Round 30Working in FLO: sc in each st around. (30)
Rounds 31–32sc in each st around. (30)
Round 339 sc, inc repeat 3 times around. (33)
Rounds 34–35sc in each st around. (33)
Round 3610 sc, inc repeat 3 times around. (36)
Round 37sc in each st around. (36)
Round 3811 sc, inc repeat 3 times around. (39)
Round 3912 sc, inc repeat 3 times around. (42)
Round 40sc in each st around. (42)
Round 4113 sc, inc repeat 3 times around. (45)
Round 4214 sc, inc repeat 3 times around. (48)
Rounds 43–50sc in each st around. (48)Begin stuffing the cactus firmly. Continue adding stuffing as you close the top.
The invisible decrease makes a real difference on the cactus: insert your hook under the front loop only of the first stitch, then under the front loop only of the next stitch, yarn over and pull through both front loops, yarn over and pull through the remaining 2 loops. This eliminates the telltale bump that a standard decrease leaves behind. Stuff progressively rather than all at once — once you pass Round 51 and begin decreasing, the opening closes quickly, so add fiberfill a little at a time.
Round 516 sc, dec repeat 6 times around. (42)
Round 525 sc, dec repeat 6 times around. (36)
Round 534 sc, dec repeat 6 times around. (30)
Round 543 sc, dec repeat 6 times around. (24)
Round 552 sc, dec repeat 6 times around. (18)
Round 56sc, dec repeat 6 times around. (12)
Round 57dec 6 times around. (6)Pull the opening closed. Fasten off and weave in the end.
Small Cactus Arms (Make 2)
Round 16 sc in MR. (6)
Round 2inc in each st around. (12)
Rounds 3–7sc in each st around. (12)Fasten off. Leave a long yarn tail for sewing. Do not stuff these pieces — or stuff very lightly if you prefer a rounder arm.
Eyes — White Part (Make 2)
Use hook size 1.0 mm and fine white cotton yarn.
Round 16 sc in MR. (6)
Round 2inc in each st around. (12)
Round 3sc, inc repeat 6 times around. (18)
Round 4sc, inc, 2 sc, inc repeat 5 times, sc. (24)
Round 55 sc, inc repeat 4 times around. (28)Fasten off. Leave a long yarn tail for sewing.
Eyes — Dark Pupil/Iris Part (Make 2)
Use hook size 1.0 mm and fine black cotton yarn.
Round 16 sc in MR. (6)
Round 2inc in each st around. (12)
Round 33 sc, inc repeat 3 times around. (15)Switch to light blue yarn.
Round 48 sc. (8)Fasten off. Leave a long yarn tail for sewing.
Flowers
Small Flower (Use hook size 1.0 mm and YarnArt Jeans yarn split in half)
Large Flower (Use hook size 1.75 mm and full-weight YarnArt Jeans yarn)
Both flowers are worked the same way — only the hook and yarn weight differ.
Foundation: ch 5, join with sl st to form a ring.
Round 1ch 1, work 9 sc into the ring, sl st to first sc to join. (9)
Round 2ch 3, work (2 tr, ch 2, 2 tr) all into the next st, ch 3, sl st into the following st repeat 5 times around. (5 petals made)Fasten off. Leave a tail for sewing.(5)
Assembly
Step 1Sew the dark pupil/iris piece onto the center of the white eye piece for each eye, using the yarn tail and a whipstitch around the edge.
Step 2Add eye highlights using white acrylic paint — dab a small dot onto each eye once assembled — or embroider a tiny highlight with white yarn.
Step 3Position both finished eyes on the upper front of the cactus body (approximately between Rounds 44–47) and sew them on firmly using the yarn tails.
Step 4Embroider the eyelashes above each eye and a small curved mouth between them using fine black yarn.
Step 5Sew the two small cactus arms onto the sides of the cactus body at your preferred height, using the long yarn tails. Secure tightly so they hold their position.
Step 6Sew or hot-glue the flowers to the top of the cactus and/or onto the arms as desired.
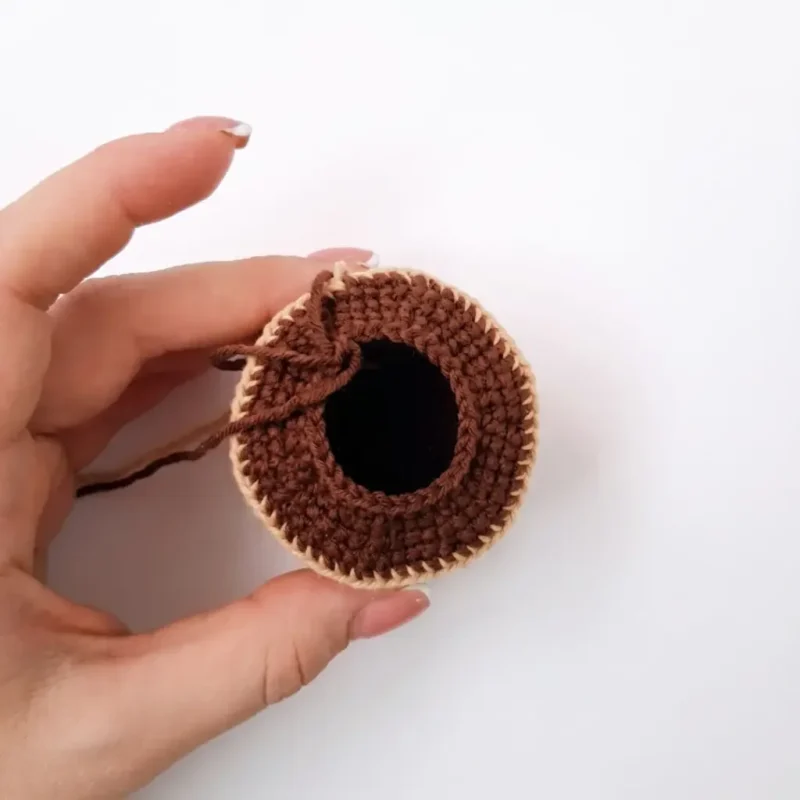
Step 7Join beige/cream yarn to Round 25 of the pot (the front loops that were left unworked when you switched to brown) and work an edging of ch 1, sl st into each front loop around. Fasten off and weave in the end. This creates a tidy ridge where the soil meets the pot rim.
Step 8Weave in all remaining yarn tails securely.
From the collection
Finishing
- Weave in every yarn tail as you finish each small piece — pot, arms, eyes, and flowers all have their own ends to secure.
- Stuff the cactus body and pot firmly enough that no fiberfill peeks through the stitches, especially through the plush cactus yarn.
- Sew the finished eyes onto the upper front of the cactus body, then add the flowers and eyelash embroidery last.
Why it works
The pot and cactus body are worked in one continuous spiral, with no slip-stitch join between rounds, so the piece has no seam between soil and plant.
Small arms and both eye pieces are crocheted separately from the main spiral, then sewn on afterward rather than shaped into the body itself.
Gauge is not critical for this pattern, but work tightly enough that no stuffing shows through the stitches — the pot especially needs a dense fabric to hold its cylindrical shape once stuffed and finished.
What it becomes
- A desk or windowsill accent that never needs watering, sitting well next to real succulents.
- A shelf piece for a collection of amigurumi plants, paired with other potted crochet houseplants.
- A small gift for a plant lover who kills real cacti, paired with a handwritten care-free note.
Original pattern: https://amigurumiarts.com/cactus-amigurumi-crochet-pattern-with-pot/
FAQ
Do I need to join each round of the pot and cactus body?
No. The pattern notes say to work in a continuous spiral and use a stitch marker instead. Joining would create a visible seam that isn't meant to be there.
Can I use a different yarn weight for the flowers?
The pattern gives one hook and yarn for the small flower and a different pair for the large one. Sticking to the specified sizes keeps the two flowers visibly different in scale.
How are the eyes attached to the face?
Each eye is two crocheted pieces — a white base and a dark pupil — whipstitched together first. Then you sew the finished eye onto the upper front of the cactus body and add painted or embroidered highlights.