
Free Pattern
Step-by-Step
Crochet
AmigurumiLittle Curled-Tail Seahorse: An Easy Amigurumi Design
Learn to crochet an adorable seahorse graphique with magic rings, simple shaping, and oceanic colors—a fun 7-round amigurumi project for beginners.
Level BeginnerTime 2-3 HoursHook 2.5 mmYarn DK
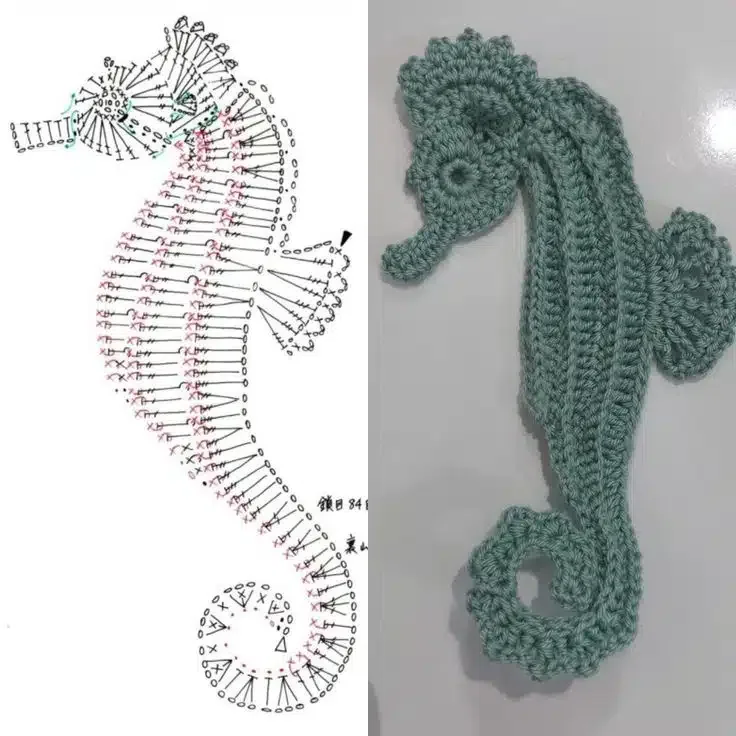
Pattern highlights
- Start the head section with a magic ring to create a clean, gap-free center for your seahorse.
- Work the early rounds with increases to gradually widen the shape into the seahorse's head and neck.
- Add stuffing gradually as each section closes up, keeping the fill even and firm but not overly tight.
- Continue shaping through the remaining rounds to form the tapering, curled tail section.
- Use surface crochet stitches on top of the base fabric to add fin lines and decorative texture.
- Weave in all yarn tails securely with a tapestry needle once the final round is complete.
- Give the finished seahorse a light steam or gentle block if the cotton yarn feels stiff after assembly.
About This Pattern
This Seahorse Crochet Graphique pattern turns a handful of simple rounds into an adorably curled little sea creature, worked up using magic rings and basic shaping instead of complicated colorwork charts. It's an approachable entry point into amigurumi and graphique-style design, making it perfect for beginners who love ocean themes, or for experienced makers looking for a quick palate cleanser between bigger projects. The compact scale means you'll see real progress after just a few rounds, which keeps the momentum fun and satisfying from cast-on to finish.
You'll be working with core amigurumi techniques here: starting each piece in a magic ring, shaping the body through rounds of increases and decreases, and using surface crochet touches to bring in details like the seahorse's curled tail and delicate fin lines. Because the sample is just 7 rounds, this is very approachable for someone newer to amigurumi shaping, while still offering enough shaping variety to feel genuinely satisfying to make. Expect to spend somewhere between one and two focused sessions to complete a single seahorse, depending on your stitch speed and how much time you spend on finishing details.
The finished seahorse is small and huggable—ideal as a standalone plush, a charm on a mobile, or a sweet addition to an ocean-themed nursery shelf. Worked in oceanic shades like aqua, coral, sand, or navy DK-weight cotton yarn, it has a soft, tactile, slightly nubby texture that feels lovely in small hands. Its size and personality make it a wonderful quick handmade gift for a baby shower, a beach-lover friend, or anyone who could use a tiny, cheerful reminder of the sea on their desk or windowsill.
Variations
I adore how this seahorse graphique manages to feel special without demanding hours of concentration. Starting each piece in a magic ring gives you that clean, gap-free center every amigurumi maker craves, and the increase/decrease rounds do all the heavy lifting to create that signature curved seahorse silhouette—no complicated charts required. There's something deeply satisfying about watching a flat little ring transform into a dimensional creature round by round. The surface crochet details are my favorite part; adding those fin lines and subtle texture on top of the base shape feels like the moment your seahorse truly comes to life. I also love how forgiving this pattern is for color experimentation—swap in coral, aqua, or sandy neutrals and each version feels like its own little ocean personality. Because it's only 7 rounds, it's the perfect 'one more project' pattern to squeeze in before bed, and it never feels like a slog. Whether you're making one as a gift or a whole pod of seahorses for a mobile, this pattern rewards patience and precision in equal, easy measure.
Common mistakes
- Starting the magic ring too loosely, leaving a visible hole at the center of the first round.
- Pull the tail firmly after your first round of stitches and check that the ring closes completely before moving forward—snug it down twice if needed.
- Losing track of stitch count during increase and decrease rounds, causing the seahorse's curve to look lopsided.
- Place a stitch marker at the start of each round and count your stitches before moving to the next round, especially right after shaping rounds.
- Working surface crochet details too tightly, which pulls and distorts the base fabric underneath.
- Keep your surface crochet stitches relaxed and check periodically that the base shape still lies flat and smooth as you go.
- Using a hook size that doesn't match the yarn weight, resulting in either gappy stitches or overly tight, hard-to-work fabric.
- Stick to the recommended 2.5mm–4.0mm range for DK or cotton yarn, and do a quick swatch to confirm your gauge feels snug enough to hide stuffing.
- Forgetting to weave in ends before assembling or displaying the finished seahorse, leaving loose tails that can unravel over time.
- Weave every tail through several stitches in different directions using a tapestry needle, then trim close to the fabric for a clean finish.
- Rushing through the decrease rounds without noticing the curled tail shape starting to form, leading to a flat or twisted finish.
- Slow down on shaping rounds and periodically hold the piece up to check that the characteristic seahorse curl is developing as expected before continuing.


Beginner
Progress Tracker
0 of 0 rounds
Tap a round to tick it off — your place is saved on this device.
Materials
Yarn
- Cotton or DK yarn in oceanic shades (aqua, coral, sand, navy)
Hook
- Typically 2.5 mm to 4.0 mm
- Graph paper or digital chart (for mosaic or tapestry crochet)
Tools
- Tapestry needle
- Scissors
Sample Beginner Seahorse Graphique
- Round 1Chain 10, then single crochet into the 2nd chain from the hook and continue across (9 sc)
- Round 2Chain 1, increase, single crochet in the next 7 stitches, increase (11 sc)
- Round 3Chain 1, single crochet in every stitch across
- Round 4Chain 1, decrease, single crochet in the next 7 stitches, decreaseRow 5 - 8: rep row 3
- Round 9Chain 1, single crochet in the next 5 stitches, then turn to begin the curling tail
- Round 10Chain 1, single crochet 2 together, single crochet in the next 3 stitches
- Round 11Chain 1, single crochet 2 together, single crochet in the next 1 stitchRow 12: ch 1 , sc2tog → finish This simple seahorse silhouette gives a starting point for further detailing.
Discover beautiful seahorse crochet graphiques with charts, ideas, and techniques.
How useful was this post?
Click on a star to rate it!
Average rating 3.4 / 5. Vote count: 14 No votes so far! Be the first to rate this post.
Important notes
💡 Use a hook one size smaller than usual (aim for the 2.5mm–3.5mm range) to keep your stitches tight enough that stuffing won't peek through the fabric.
💡 Place a stitch marker at the beginning of every round—this tiny habit makes it so much easier to track increases and decreases across just 7 rounds.
💡 Stuff lightly and evenly as you go rather than waiting until the end—it's much easier to shape the curve of the seahorse body gradually.
💡 Save your yarn tails from color changes; they're perfect for adding small surface crochet accents like fin lines without needing to start new yarn.
💡 Block your finished seahorse gently with a light steam or damp cloth if the cotton yarn feels stiff after stuffing—it softens the fibers and helps the curve hold its shape.
More photos
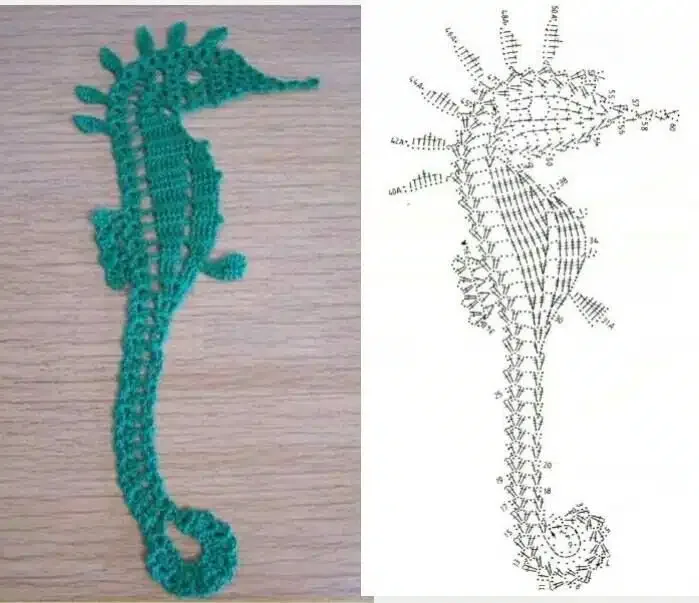
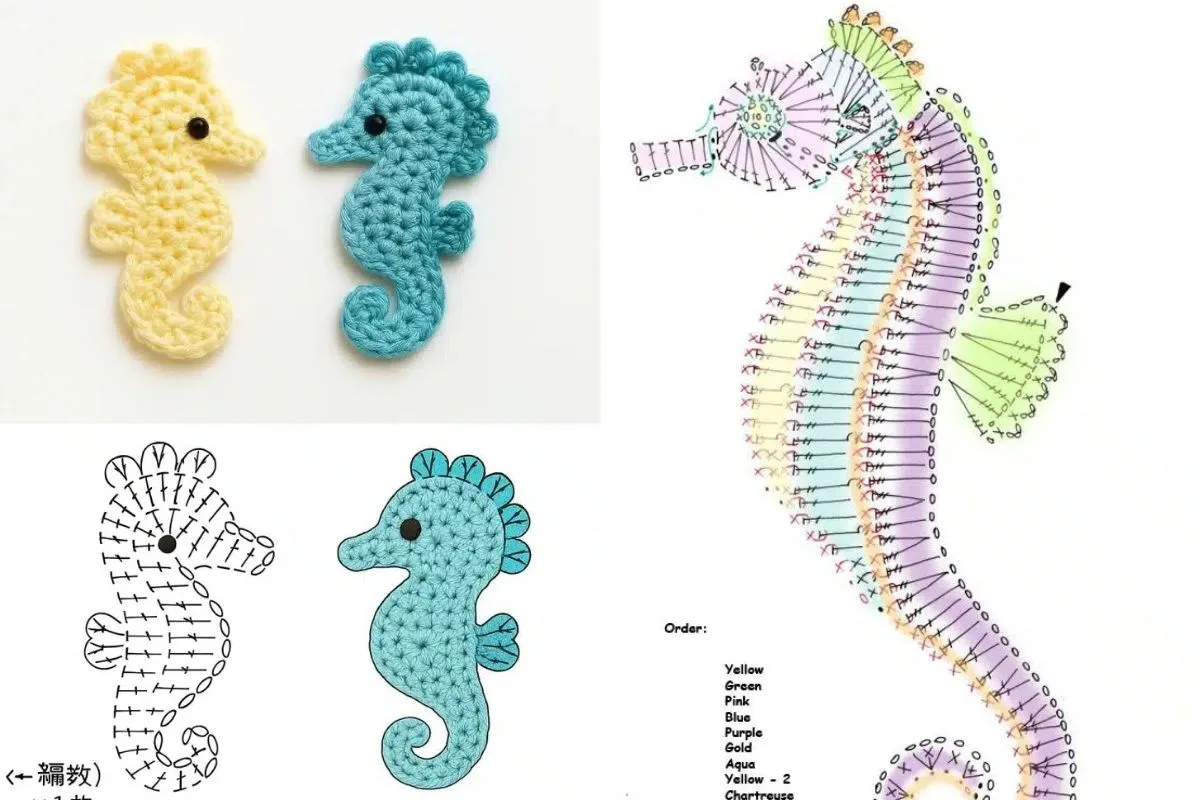
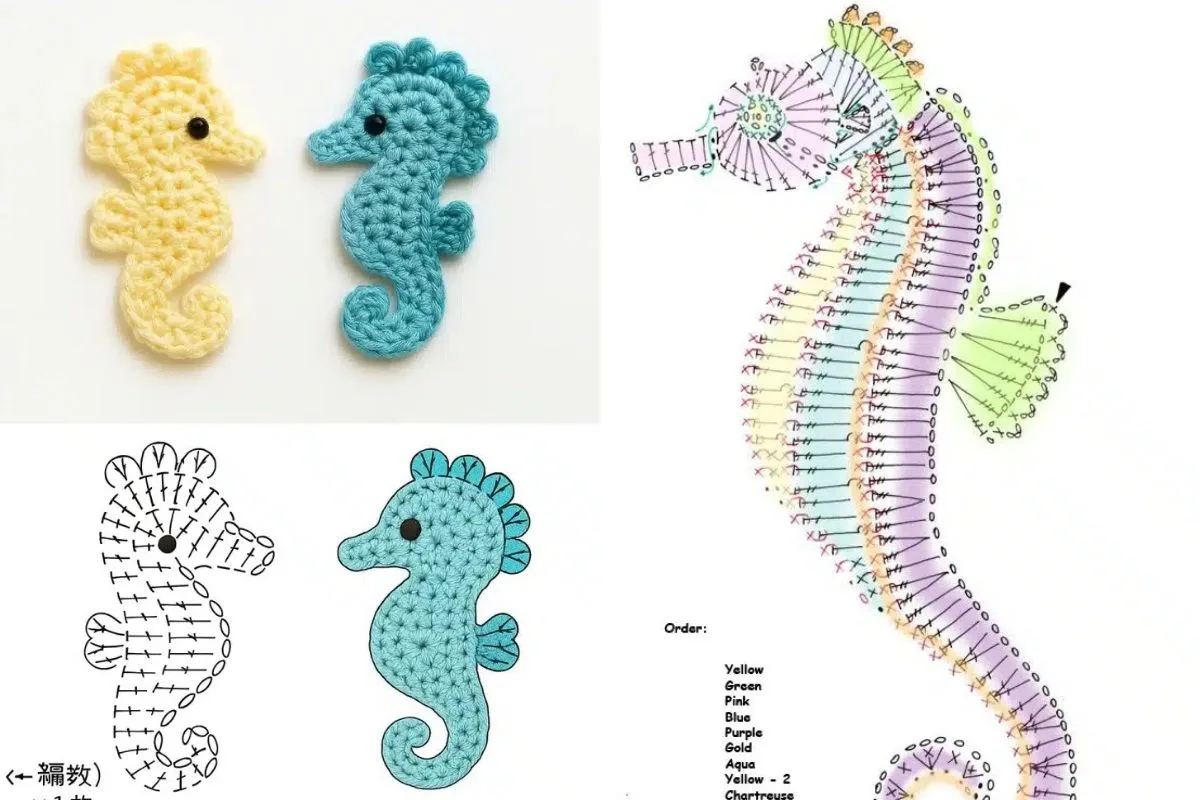
FAQ
What yarn weight works best for this seahorse graphique?
DK-weight cotton or cotton-blend yarn is ideal for crisp stitch definition and a slightly structured feel. Worsted weight can work too if you prefer a chunkier, more huggable finished seahorse.
Do I need to know tapestry or mosaic crochet to make this pattern?
No, this particular seahorse sample relies on magic rings, increases, decreases, and surface crochet rather than full tapestry charting. It's a great low-pressure introduction to graphique-style amigurumi design.
How much yarn do I need for one seahorse?
Since this is a small 7-round amigurumi piece, a single small skein or even leftover scraps in your oceanic color palette should be more than enough. Keep a few color options on hand if you want to add contrast details.
What size hook should I use?
Anywhere in the 2.5mm to 4.0mm range works well depending on your yarn weight and desired tightness. Smaller hooks create denser fabric that holds stuffing better, so lean smaller if you're unsure.
Can I make this seahorse without safety eyes?
Absolutely—embroidered French knots or small surface crochet stitches make lovely eye alternatives, especially for a piece intended for young children. This also keeps the project entirely stitch-based with no extra notions required.