
Free Pattern
Step-by-Step
Crochet
AmigurumiLittle Pony Horse Crochet Amigurumi Pattern (9cm Mini Plush)
Make an adorable 9cm mini pony horse amigurumi with plush yarn, safety eyes, and a fuzzy mane. Beginner-friendly spiral rounds and easy assembly.
Level IntermediateTime 4-6 HoursHook 3.5 mmYarn Worsted
Pattern highlights
- Begin each of the four legs flat in short turned rows, working just two rows per leg before setting them aside.
- Build the body in continuous spiral rounds over eight rounds, using a stitch marker to track the start of each round.
- Stuff the body gradually with hollow-fiber filling as you work, keeping the shape smooth and evenly rounded.
- Crochet the head separately in eight spiral rounds, shaping it to fit proportionally with the small body.
- Insert the trapezoid safety eyes into the head before closing it up, testing placement carefully on such a small scale.
- Embroider the facial details onto the head using the cotton-blend brown yarn and a wide-eye needle.
- Assemble the pieces by shaping the eye indentations and embroidering the eyelids, eyebrows, and harness, then attach the head to the body.
- Finish by adding the fuzzy mane and tail with the textured cocoa yarn, trimming and fluffing for a soft finish.
About This Pattern
This Little Pony Horse amigurumi is a tiny plush treasure that stands just 9cm tall, making it one of the most charming mini animal patterns you can add to your collection. Worked in soft plush yarn with a beige body and brown accent details, this little pony captures all the sweetness of a real foal in a huggable, palm-sized form. It's perfect for amigurumi collectors, pony lovers, and anyone who wants a quick, satisfying project that still results in a genuinely adorable finished piece.
The pattern combines two core amigurumi techniques: continuous spiral rounds for the body and head, and short turned rows worked flat for the four legs. You'll practice trapezoid safety eye placement, embroidered facial details using cotton-blend yarn, and a fun textured mane and tail made from fuzzy Mink-style yarn. This is a great project for confident beginners ready to level up, or intermediate crocheters looking for a fast, low-commitment make — expect around 4 to 6 hours total from first magic ring to final mane stitch.
The finished pony is soft, squeezable, and full of personality, with its little legs, rounded body, and gently sculpted head giving it a realistic yet whimsical foal-like silhouette. At just 9cm tall, it's an ideal size for shelf displays, keychains, bag charms, or slipping into a gift box. Whether you're making one for a nursery, a pony-obsessed friend, or your own amigurumi herd, this little horse is guaranteed to melt hearts the moment it's finished.
Variations
One of my favorite things about this little pony is how easy it is to customize! Try swapping the beige and brown color scheme for a palomino look with YarnArt Dolce in golden tan and a cream mane, or go bold with a lavender body and silver-gray mane for a fantasy-pony vibe. A jet-black body with a white blaze embroidered on the face (using the same cotton-blend technique from the pattern) makes a striking Friesian-inspired version. If you want a rainbow pony collection, work the mane and tail in variegated Mink-style yarn for an instant color-shift effect without changing the body pattern at all. For size changes, working the same round counts with a slightly larger hook (like a 4mm instead of 3.5mm) and a heavier worsted yarn will naturally scale the pony up a bit while keeping proportions intact; conversely, a smaller hook with the same plush yarn will shrink it into an even tinier micro-pony perfect for earrings or charms. You could also skip the safety eyes and embroider tiny closed eyelashes instead for a sleepy, newborn-foal look — lovely for baby shower gifts. For a seasonal twist, add a small crocheted flower crown or a fabric bandana around the neck using scrap yarn. Left-over cocoa Mink yarn from the mane works beautifully doubled up for a fluffier forelock if you want extra texture. However you customize it, this little pattern is flexible enough to become a whole herd of personalized, one-of-a-kind ponies.
I adore this pattern because it proves that big charm can come in a tiny 9cm package. Working the legs flat in short turned rows is such a satisfying contrast to the continuous spiral rounds of the body and head — it keeps the project feeling fresh instead of repetitive. Using plush yarn like Himalaya Dolphin Baby gives the pony an incredibly soft, huggable texture right off the hook, and the trapezoid safety eyes add so much personality the moment they're inserted. I especially love embroidering the tiny brown facial details with YarnArt Jeans yarn — it's a small step that transforms a plain head into an expressive little face. And don't even get me started on the fuzzy Mink yarn mane and tail; it's the finishing touch that makes this pony feel truly special. This is one of those quick, joyful makes where every round brings you closer to something genuinely cute, and I think you'll find the whole process just as delightful as I did.
Common mistakes
- Losing track of the spiral round
- Place a stitch marker in the first stitch of every round and move it up each time you complete a round — this makes it easy to see exactly where you are at a glance.
- Working the legs in continuous rounds
- Remember the legs are worked flat with turning chains, not in the round like the body — turn your work at the end of each row just as you would for a flat swatch.
- Stuffing too firmly or too loosely
- Use small pinches of hollow-fiber fiberfill and add it gradually, checking the shape after each addition since a 9cm piece shows stuffing irregularities much more than a larger amigurumi.
- Placing the safety eyes too far apart
- Insert the eyes loosely first, then use a pin to test placement from multiple angles before pushing the washers on — on such a small head, even a few millimeters makes a big difference to the expression.
- Using regular worsted yarn
- Stick with a plush yarn like Himalaya Dolphin Baby or a suggested substitute (YarnArt Dolce, Wolans Bunny Baby, Lavita Yarn Velur) to get the soft, velvety texture this pattern is designed around.
- Rushing the mane and tail attachment
- Cut your Mink yarn strands to consistent lengths before attaching and distribute them evenly along the head and body seam, adding a few extra strands in thin spots for a fuller, more realistic mane.


Intermediate
Progress Tracker
0 of 0 rounds
Tap a round to tick it off — your place is saved on this device.
Materials
- Plush yarn — Brown: Himalaya Dolphin Baby 80337 (100% polyester, 100 g / 120 m) — approx. 1–2 g; substitutes include YarnArt Dolce, Wolans Bunny Baby, or Lavita Yarn Velur
- Plush yarn — Beige: Himalaya Dolphin Baby 80317 (100% polyester, 100 g / 120 m) — approx. 11 g
- Cotton-blend yarn — Brown (for embroidery): YarnArt Jeans 70 (55% cotton, 45% polyacrylic, 50 g / 160 m)
- Textured yarn — Cocoa (for mane and tail): YarnArt Mink 332 (100% polyester, 50 g / 75 m) — approx. 1–2 g; any textured yarn may be substituted
Hook
- E-4 / 3.5 mm
- Strong thread and wide-eye needle (for eye indentation)
- Long knitting needle or skewer, 25–30 cm (for marking head placement)
Tools
- Fiberfill / polyfill stuffing (hollow-fiber recommended)
- Trapezoid safety eyes, 10 mm — 2 pieces
- Stitch markers or locking pins
- Yarn needle / tapestry needle
- Scissors
- Straight pins (for blocking placement during assembly)
Legs (make 4)
Work in brown plush yarn. Do not stuff. Legs will be joined into the body during Round 3 of the Body.
- Round 1Ch 2, starting in the 2nd ch from hook: 6 sc. (6)
- Round 26 sc; sl st to close. (6)Cut yarn, secure, and weave end inside the piece. Make 4 legs total.
Body (make 1)
Work in beige plush yarn. Stuff continuously as you crochet, stopping after Round 8.
- Round 1Ch 6, starting in the 2nd ch from hook: 1 inc, 3 sc, 3 sc in same st, continue along the other side of the foundation chain: 4 sc. (12)
- Round 2(1 sc, 3 sc in same st, 3 sc, 3 sc in same st) repeat 2 times. (20)
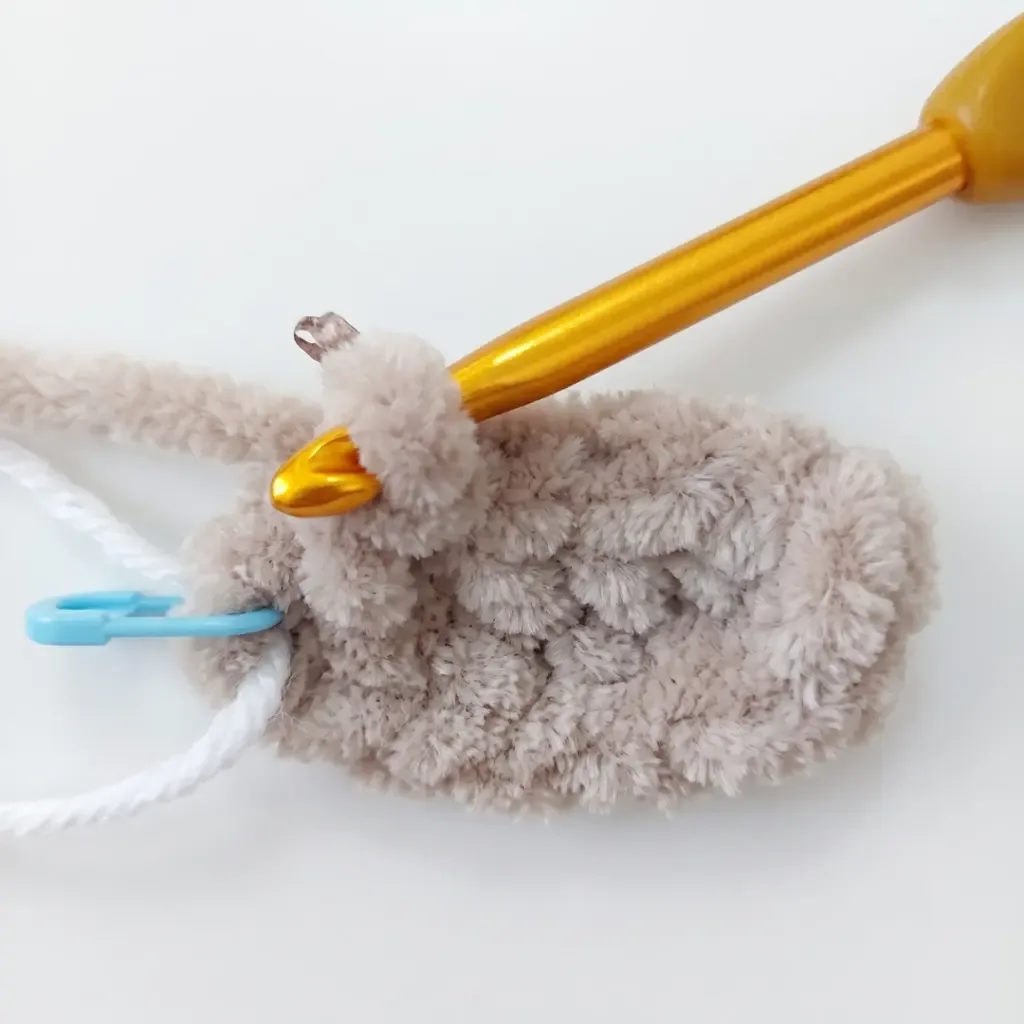
- Round 3(leg join round): Work this round in BLO of Round 2. 2 sc, (place one leg against the body, work 3 sc catching both sides of the leg and the body stitches together, then 1 sc in body only) repeat 2 times, 2 sc, (place one leg against the body, work 3 sc catching both sides of the leg and the body stitches together, then 1 sc in body only) repeat 2 times. (20)
- Round 4-520 sc. (20)
- Round 62 dec, 12 sc, 2 dec. (16)
- Round 73 dec, 4 sc, 3 dec. (10)
- Round 89 sc. (9) Stop 1 stitch before the end of the round — do not work the final stitch.
- Round 9Fold the piece in half from the back side. Work 5 sc through both layers to close. (5)Cut yarn, secure, and weave end inside the piece.
Head (make 1)
Work in beige plush yarn. Stuff as you go.
- Round 1Ch 4, starting in the 2nd ch from hook: 1 inc, 1 sc, 3 sc in same st, continue along the other side of the foundation chain: 2 sc. (8)
- Round 27 sc. Stop 1 stitch before the end of the round — do not work the final stitch. The new round begins at the underside of the head. (7)
- Round 32 sc, 4 inc, 2 sc. (12)
- Round 44 sc, 1 hdc inc, 2 hdc, 1 hdc inc, 4 sc. (14)Insert safety eyes between Rounds 3 and 4 now. Count along Round 3 for eye placement: leave 3 stitches between the two eye posts, and 1 stitch between the inner edges of the eyes.
- Round 5(ear round): 7 sc; for first ear: ch 3, starting in the 2nd ch from hook: 1 sl st, 1 sc, 1 sc in the stitch at the base of the chain; 2 sc along the head; for second ear: ch 3, starting in the 2nd ch from hook: 1 sl st, 1 sc, 1 sc in the stitch at the base of the chain; 5 sc. (16 head sts + 4 ear sts + 6 ch for ears)
- Round 614 sc. Stop 2 stitches before the end of the round. (14) Do not cut yarn.
- Round 7(head-to-body join): Place the head against the right side of the neck opening at the belly side. Work 5 sc through both the head and neck edges together. Continue on the head only: (1 dec, 1 sc) repeat 3 times, 1 dec. (12)Add fiberfill to the head now.
- Round 86 dec; sl st to close. (6)Close the opening with a tapestry needle: cut yarn leaving a long tail, thread it through each remaining stitch around the edge from outside to inside, pull tight to close, and secure with a stitch through the first and last loops. Weave all ends inside.
Optional: sew the lower legs lightly to the body using a strand of brown plush yarn to keep them positioned neatly.
Mane (make 1)
Work in YarnArt Mink cocoa, E-4 / 3.5 mm hook, worked in flat rows (turned rows).
- Row 1Ch 12, starting in the 2nd ch from hook: 11 sc. (11)
- Row 2Turn, ch 1; starting in the 2nd ch from hook: 11 sc. (11)
If your tension is tight, work one additional row for a fuller mane. Cut yarn leaving a long tail for sewing. Attach as described in the Assembly section.
Assembly
- Step 1Eye indentation (tacking): Using a strong thread and a long needle, enter the back of the head leaving a long tail. Bring the needle out at Point 1 (between Rounds 3 and 4), in at Point 2 (between Rounds 2 and 3), out at Point 3 (between Rounds 2 and 3), and in at Point 4 (between Rounds 3 and 4). Exit at the back of the head at your starting point. Pull the thread firmly to create gentle indentations beneath the eyes, tie off, and hide the ends inside the head.
- Step 2Embroider the eyelids: Thread a yarn needle with YarnArt Jeans in brown. Mark Points 1–4 along Rounds 3–4 of the head, approximately 1 stitch away from each eye. Enter from the back of the head, exit at Point 1, in at Point 2, out at Point 3, in at Point 4, and exit at the back. Tie off and hide ends inside.
- Step 3Embroider the eyebrows: Using the same brown Jeans yarn, mark Points 1–4 between Rounds 4 and 5 of the head. Allow 2 stitches (measured along Round 4) between Points 2 and 3, and 1 stitch between Points 1–2 and Points 3–4. Work the same entry and exit method as the eyelids. Tie off and hide ends inside.
- Step 4Harness: Cut a length of brown YarnArt Jeans approximately 35 cm long. Wrap it around the muzzle between Rounds 1 and 2, leaving long ends, and tie a small knot at the side. Use one end to wrap over the top of the head and thread it through the yarn on the opposite side of the muzzle, then tie a knot. Tuck all ends inside the head.
- Step 5Mane: Pin the finished mane piece between Point 1 (Round 4 on the head) and Point 2 (Round 7 on the body). Sew it down using the long yarn tail left from the mane. Tie off and hide ends. Brush and distribute the mane evenly between the ears, pulling a little forward to create a forelock if you like.
- Step 6Tail: Fold each of the 6 cut lengths of YarnArt Mink (approx. 15 cm each) in half. Use a hook to pull each folded loop through its marked point on the back body (between Rounds 5 and 6 for Points 1–4, and between Rounds 4 and 5 for Points 5–8, with 1 stitch between each). Pass both tails through the loop and pull to secure. Divide the tail strands into two halves and tie them together in a knot. Trim to your preferred length.
- Step 7Weave in all remaining ends.
Important notes
💡 Use a 3.5mm (E-4) hook consistently throughout — since this pony is so small, even a slight hook size change will noticeably affect the finished proportions.
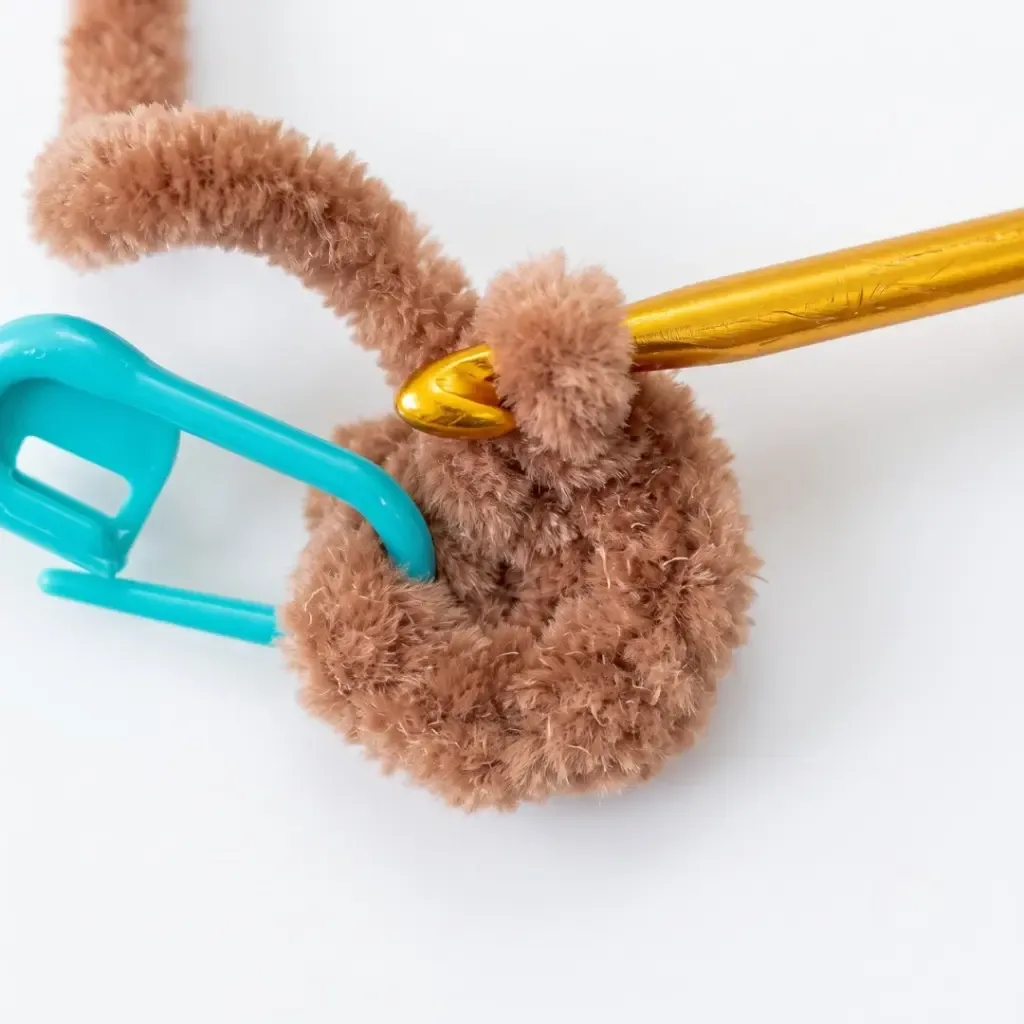
💡 Keep your stitch marker moving with every round on the body and head since these pieces are worked in continuous spiral rounds with no joining stitch to guide you.
💡 Stuff in small amounts as you go rather than all at once at the end, especially in the legs and head, to keep the tiny shapes smooth and evenly rounded.
💡 When embroidering the facial details with the cotton-blend brown yarn, use a wide-eye needle and work slowly since the small scale means tiny stitches make a big visual difference.
💡 Use the long knitting needle or skewer as suggested to mark head placement before attaching it to the body — this keeps your pony's head centered and prevents a lopsided look.
💡 Trim your Mink yarn mane and tail strands after attaching them and give them a gentle finger-fluff to blend the fibers for a soft, natural texture.
💡 This pattern is written in US crochet terminology.
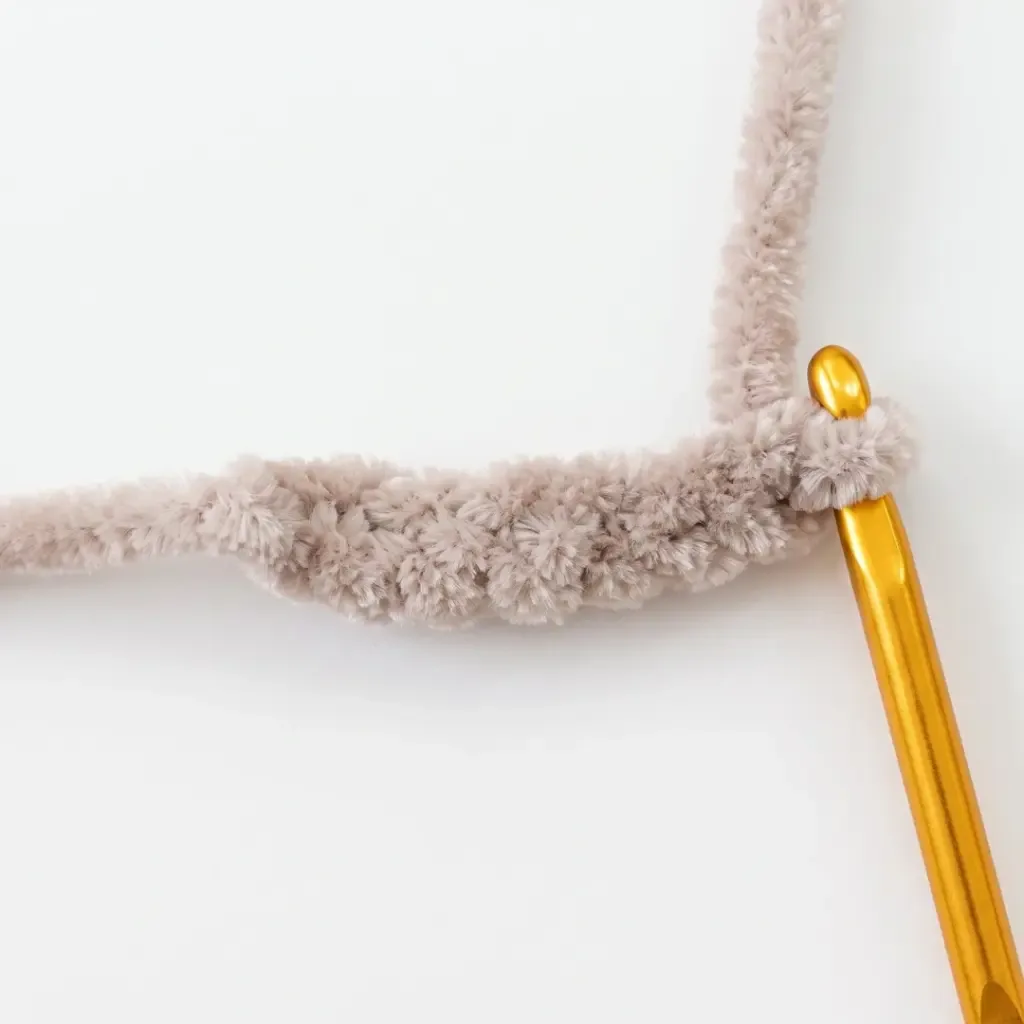
💡 When working with plush yarn, single crochet stitches form a distinctive "V" shape — use this as your guide for inserting the hook correctly.
💡 Gauge is not critical for this project; finished size will vary slightly with yarn and tension. The sample pony measures 9 cm tall and 5 cm wide.
More photos
FAQ
What size hook do I need for this pony pattern?
You'll need a 3.5mm (E-4) crochet hook for the entire pattern, including the legs, body, and head. Sticking with this size keeps the finished pony at its intended 9cm height.
Can I use regular acrylic yarn instead of plush yarn?
You can, but the finished texture will be firmer and less soft than the intended look. For the best huggable, velvety result, use a plush yarn like Himalaya Dolphin Baby or one of the suggested substitutes.
Is this pattern good for a beginner amigurumi maker?
It's best suited for confident beginners or intermediate crocheters, since it involves both continuous spiral rounds and flat turned rows for the legs. If you've made a few amigurumi before, you'll pick up the techniques quickly.
How do I keep the legs even since there are four of them?
Work all four legs using the same round-by-round instructions and count your rows carefully as you turn, since they're worked flat rather than in the round. Using a stitch marker or locking pin to mark row counts on each leg helps keep them uniform.
What are the safety eyes made from and are they necessary?
The pattern calls for 10mm trapezoid safety eyes, which snap into place with a backing washer for a secure, child-safe finish. You could substitute embroidered eyes if preferred, though the safety eyes give the pony its distinctive expressive look.