
Free Pattern
Step-by-Step
Crochet
AmigurumiMini velvet crochet dinosaur pattern for beginners
A small velvet crochet dinosaur worked in the round, sized for gifts or keychains.
- Level
- Intermediate
- Time
- 4-6 hours
- Hook
- 3.5 mm
- Yarn
- Worsted
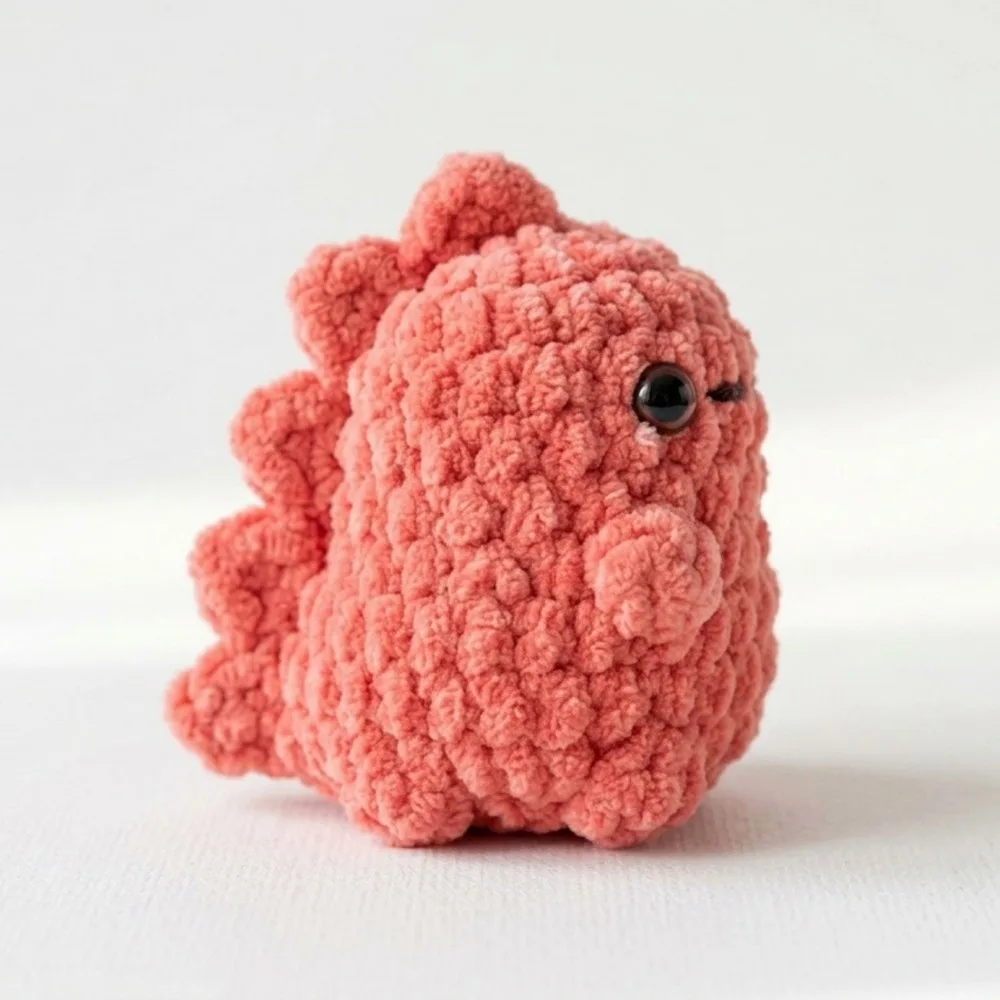
Pattern highlights
- Start the head and body with a magic ring, building single crochet rounds upward from six stitches.
- Mark the start of each round with contrasting yarn or a stitch marker so you don't lose your place.
- Work steadily through the ten rounds, checking velvet stitches stay snug rather than loose.
- Chain a separate tail piece in short segments, keeping it flexible rather than stiff.
- Insert and secure the plastic eyes before closing the body, then stuff firmly.
- Sew the tail to the back center of the body once the main piece is closed.
- Embroider a small mouth and add arms, feet, or keychain hardware as you like.
About This Pattern
Every collector's notebook needs a small file of quick makes, and this one belongs there. It is a single head-and-body piece with a separate tail, nothing more. I keep it filed next to other keychain-scale amigurumi, the ones you finish in an evening and still feel proud of.
The techniques here are basic on paper: a magic ring start, single crochet worked in rounds, a chained tail attached at the end. Velvet yarn is the real variable. It hides stitch definition, so the shaping has to be trusted rather than seen, which changes how you work even simple rounds.
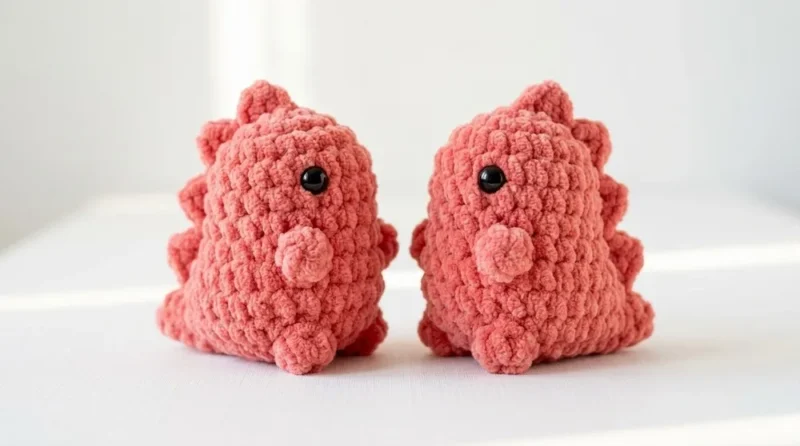
The finished object is small on purpose. A rounded body holds the stuffing, a short chained tail gives it motion, and plastic eyes give it a face. It reads as a toy or a bag charm depending on what hardware you add at the end.
Worth knowing
This is a pattern that rewards patience with an unglamorous fiber. Velvet yarn swallows stitch detail, so working it well means slowing down and feeling for tension rather than reading it. The magic ring start keeps the base tight, which matters more here than usual since gaps show as stuffing leaks, not just loose loops. The tail is its own small satisfaction: a chained segment worked separately, then sewn on, so you get to shape it by feel rather than by count. It is a short make, but every part asks for a little more care than its size suggests. That trade — small piece, real attention — is what makes it worth sitting down for.
Common mistakes
- Losing track of rounds in velvet Velvet yarn hides stitch definition, so mark the start of every round from the very first one. Don't rely on counting stitches by sight.
- Stitches left loose Loose velvet stitches leave gaps that let stuffing escape. Work each single crochet snug and check tension as you go, not after the round is done.
- Eyes not secured well enough If this toy is for a child, reinforce the safety eye backs beyond the standard closure. A lighter can help seal the backing safely if your hardware calls for it.
- Tail attached before stuffing Sew the tail on after the body is closed and stuffed, not before. Attaching it early makes it harder to shape the stuffing evenly.
- Skipping the mouth embroidery order Embroider the mouth after the eyes are placed, using them as a guide for where the face sits. Doing it first can leave the features misaligned.


Intermediate
Progress Tracker
0 of 0 rounds
Tap a round to tick it off — your place is saved on this device.
The kit
Yarn
- Velvet yarn in your preferred color (e.g. Himalaya Dolphin Baby)
Hook
- 3.5mm crochet hook (adjust for your yarn thickness if needed)
Safety Eyes
- 8mm or 10mm (black plastic)
Stuffing
- Polyester fiberfill
Accessories
- Different color yarn or stitch marker for marking rounds
Notions
- Yarn needle, scissors
Optional
- Lighter for safely securing safety eyes; keychain hardware
Start with Head/Body
Step 1: Make a slip knot. Ch 3 .
Step 2: Insert your hook into the middle chain to form a “magic ring”: Or use a classic magic ring technique.
Step 3:
Round 1Work 6 sc into the ring. (6 sts) Step 4: Mark the end of your round using a contrasting thread or stitch marker.
Step 5:
Round 2Inc in each st around: 2 sc in each st . (12 sts) 6:
Round 3Work [1 sc, inc] around (1 sc in next st, 2 sc in next st; repeat). (18 sts) 7:
Rounds 4–6Sc in each st around for 3 rounds . (18 sts each round) You should now be at the end of Rnd 6.
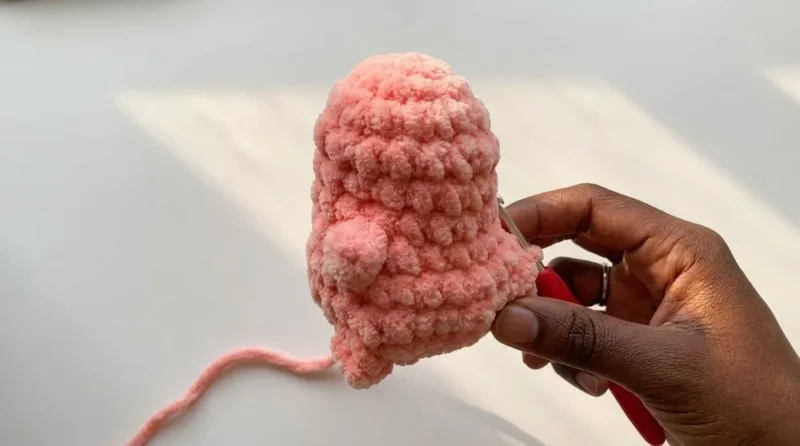
Round 7Inc in first st (2 sc in same st). Sc in next st (1 sc). Repeat: [bobble st, sc] for small arms: To make a bobble stitch:Yarn over, insert hook into stitch, pull up a loop, yarn over, pull through 2. Repeat this process three times in the same stitch (for a total of 4 loops). Yarn over and pull through all 4 loops on hook.Continue alternating increase and bobble stitches to form “little buns” (arms or bumps).
Round 8Work 14 sc straight. (14 sts) Placement for eyes: insert safety eyes between stitches 4–5 stitches apart.
10:
Round 9Sc in each st around. (20 sts) 11:
Round 10Inc 2 times at start ([2 sc in each of next 2 sts]). Sc in remaining sts. 12: Attach safety eyes securely. For added security, slightly melt the back with a lighter if you wish (adult supervision required).
13:
Round 11Begin decreases and bobble stitches alternately ([sc, bobble st, dec, sc, bobble st, dec]).Repeat the decrease pattern to gently shape the bottom.
14:
Round 12Work decreases all around to close the body. [sc, dec] to end of round. 15: Stuff body firmly but not excessively.16: Continue decreasing until only a few stitches remain; fasten off, leaving a tail for sewing.Using crochet hook or yarn needle, weave tail through remaining stitches and pull tight to close.
Tail
17: With yarn, ch 3 .
18: Insert hook into first chain; pull up and make 4 chains total.
Stp 19: Repeat chaining and joining to form a flexible tail, up to 7 segments.
Stp 20: Fasten off, leaving a tail to sew. Pin and sew the tail to the back center of the body.
Assembly
Step 1Embroider a small mouth with black yarn under eyes.
Step 2Sew tail, secure arms and feet as bobble stitches if not already included in the rounds.
Step 3Attach keychain hardware (optional).
From the collection
Finishing
- Secure the safety eye backs firmly, especially if this dinosaur will end up in a child's hands.
- Stuff the head and body firmly with polyester fiberfill before closing the final round.
- Pin and sew the finished tail to the back center of the body, then weave in all loose ends.
Why it works
The body starts from a magic ring of 6 single crochet, the standard base for a rounded amigurumi shape.
Round markers are placed deliberately from round 1, since working in a continuous spiral with velvet yarn makes round ends hard to see by eye.
The tail is built as a separate chained piece, not part of the body rounds, so it can be sewn on at whatever length and angle you choose.
What it becomes
- Clip it to a backpack or bag as a keychain charm using the optional hardware.
- Give it as a small handmade gift alongside a card, no wrapping required.
- Keep it on a shelf with other mini amigurumi as a quick collection piece.
Original pattern: https://redagapeblog.com/adorable-free-crochet-baby-dinosaur-pattern/
FAQ
Can I use a different yarn instead of velvet?
Yes, though the pattern is written with velvet yarn like Himalaya Dolphin Baby in mind. Adjust your hook size to match whatever fiber you choose.
Is this safe for a young child?
It can be, but secure the safety eye backs extra well if a child will handle it. Consider embroidering the eyes instead if it's for an infant.
How long should I make the tail?
The pattern lets you adapt the tail's length and thickness to your preference, up to seven chained segments. Sew it to the back center of the body once you're happy with the shape.
Why does the pattern insist on marking rounds?
Velvet yarn obscures stitch definition, making it hard to spot where a round begins by eye. A contrasting stitch marker keeps your count accurate throughout the ten rounds.