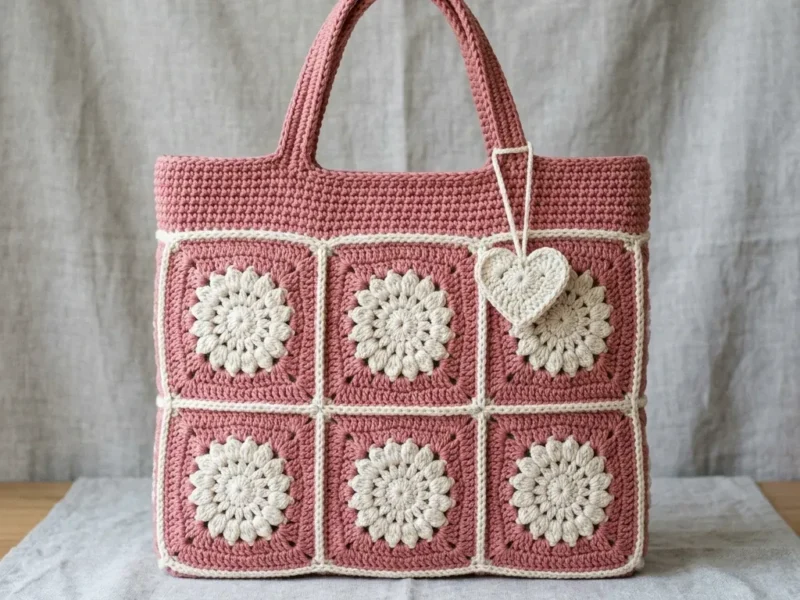
Free Pattern
Step-by-Step
Crochet
BagsPanel-built crochet bag with a textured waistcoat stitch
A panel-built cotton crochet tote with textured stitching and firm, structured sides.
- Level
- Intermediate
- Time
- 4-6 hours
- Hook
- 4.5 mm
- Yarn
- Medium (worsted)
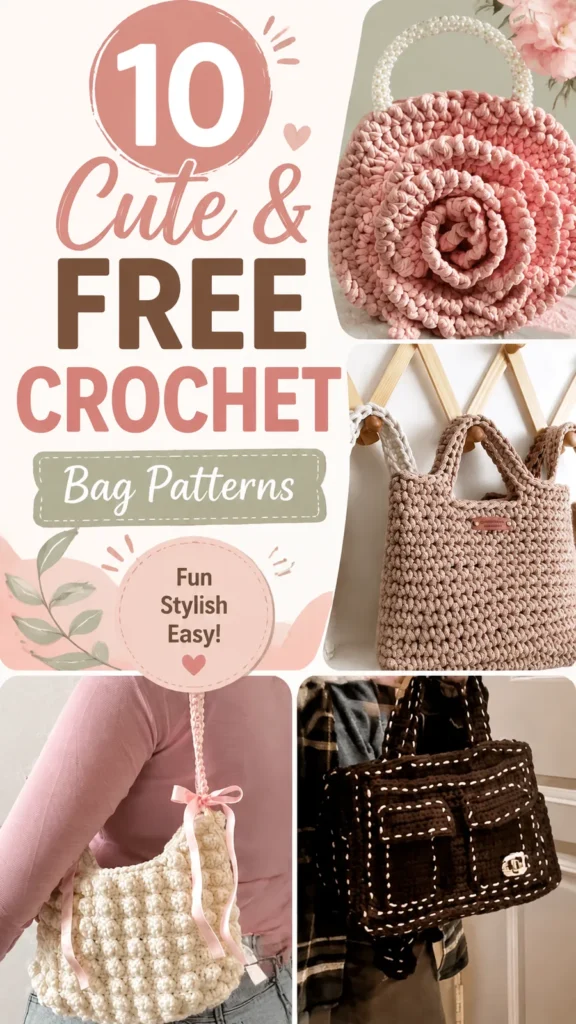
Pattern highlights
- Chain and work two identical flat panels in dense single crochet for the body.
- Narrow each panel top into a long strip to form the handles directly.
- Chain and work one long flat strip in single crochet for the side and bottom gusset.
- Work the textured back-loop-only stitch consistently across panels for the raised look.
- Pin and sew the gusset strip around the panel edges to shape the sides and base.
- Add the fabric lining and magnetic snap closure once the shell is assembled.
- Steam or damp-block the finished bag to square off the corners.
About This Pattern
Every notebook needs a bag entry eventually. This one earns its place for being built, not just worked in rounds. Two flat panels, a long gusset strip, handles grown right out of the panel tops. It is closer to sewing with yarn than to the usual amigurumi spiral.
The texture carries the design. A waistcoat-style stitch worked through the back loop only gives those horizontal ridges, dense and a little stubborn under the hook. Firm tension matters more here than in almost anything soft I have logged. This is a fabric built to hold its own weight.
What comes off the hook is a soft rectangular handbag, flat-bottomed, side seams defined by that gusset strip. With lining and a magnetic snap added, it stops being a sample swatch and starts being something you would actually carry a phone and keys in.
Worth knowing
I like a project that teaches a stitch by making me need it. The back-loop-only single crochet here is not decorative, it is structural, and you feel that the moment the fabric stiffens under your hook. Building the body from two flat panels instead of one continuous round is satisfying in a different way: less mystery, more carpentry. The long gusset strip is almost meditative, repeat row after repeat row until it hits length, no shaping to second-guess. Then the handles grow straight out of the panel tops, which means no separate strap pattern to fuss over. It is a bag built like a small construction project, and cotton yarn makes every stitch of that structure visible.
Common mistakes
- Loosening tension on the textured rows Back-loop-only single crochet relaxes fast if you ease up. Keep the same firm tension across every row, not just the first few.
- Mismatched panel lengths Count rows on both panels as you go instead of eyeballing length. Lay them side by side before joining the gusset.
- Gusset strip cut short Measure the strip against both panel edges before fastening off. A strip that is too short will pull the base out of square.
- Skipping a swatch check for yarn choice A soft or splitty cotton will not give the structure this bag needs. Test a small swatch for firmness before committing to a full skein.
- Sewing the gusset with a mismatched seam path Pin the strip in place around the base corners first. Sewing straight through without pinning tends to shift the base off-center.
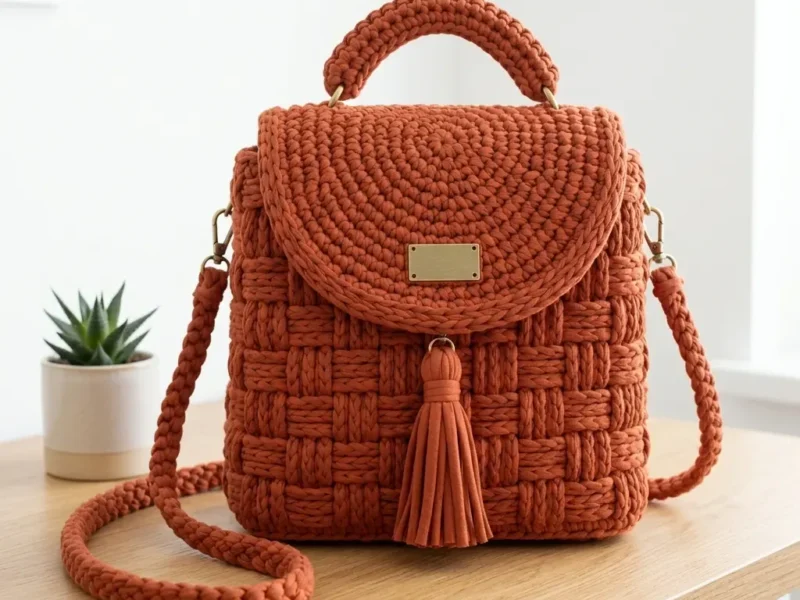
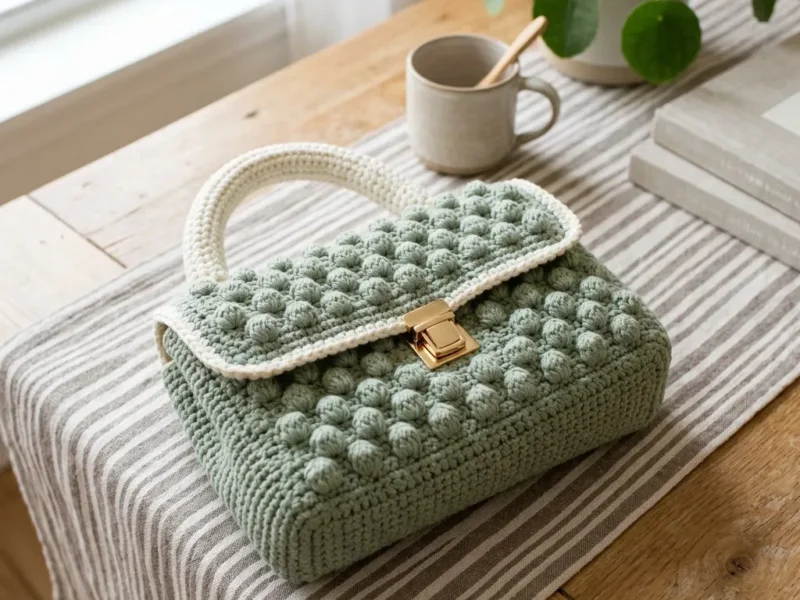
Intermediate
Progress Tracker
0 of 0 rounds
Tap a round to tick it off — your place is saved on this device.
The kit
- Medium weight cotton yarn, approximately 350 yards (320 meters)
- 4.5 mm crochet hook (US 7)
- Yarn needle
- Scissors
- Stitch markers
Optional
- fabric lining and magnetic snap closure
Body Panels
Make 2 identical panels.
Ch 51.
Round 1Sc in the second ch from hook and across. Turn. (50 sts)Ch 1, sc across. Turn. (8 sts) Repeat Row 2 until the handle measures approximately 18 inches (46 cm).Step by step: Fasten off and create the second handle.
Round 2Ch 1, sc blo in each stitch across. Turn. (50 sts)
Round 3Ch 1, sc in each stitch across. Turn. (50 sts)
Round 4Ch 1, sc blo in each stitch across. Turn. (50 sts) Repeat Rows 3 and 4 until the panel measures approximately 9 inches (23 cm) tall. You should have about 44 rows total.Fasten off and weave in ends.
Side and Bottom Gusset
Create one long strip for the sides and base.
Ch 9.
Round 1Sc in second ch from hook and across. Turn. (8 sts)
Round 2Ch 1, sc across. Turn. (8 sts) Repeat Row 2 until the strip measures approximately 31 inches (79 cm).Fasten off, leaving a long sewing tail.
Special Stitch
Textured single crochet: Work single crochet stitches through the back loop only to create visible horizontal texture. Keep tension firm and even for a structured fabric.
Optional Border
Join yarn at the top edge of the bag.
Round 1Work one round of single crochet evenly around the opening.
Round 2Join with a slip stitch.Fasten off and weave in ends.
Assembly
Step 1After assembly, gently shape the crochet bag by laying it flat and adjusting the corners. Light blocking with steam or a gentle damp method can help smooth the stitches and create a professional finish.
Step 2Wash gently according to the yarn label instructions.
Step 3Allow the bag to dry flat to maintain its shape.
Step 4Avoid overfilling to protect the handles.
Step 5Store in a dry place away from moisture.
Finishing
- Weave in every yarn tail from the panels and gusset strip before any sewing begins.
- Sew the gusset strip to both panel edges using the long tail left for that purpose.
- Fit the fabric lining, install the magnetic snap, then steam or damp-block the shell to set its shape.
Why it works
The body panels start as a wide chain and stay a flat rectangle through all rows, no increases or decreases listed, so the shape comes from the gusset seam rather than from shaping within the panel.
The handles are worked by narrowing the stitch count at the top of each panel and continuing those rows straight up, which is why they are grown from the body instead of crocheted separately.
The gusset is a single long flat strip rather than two short side pieces plus a base, so one continuous seam defines both the sides and the bottom in one pass.
What it becomes
- An everyday purse for a wallet, phone, keys, and sunglasses on a regular errand run.
- A casual tote for a few essentials, paired well with simple knitwear or denim.
- A handmade gift for someone who likes a structured bag over a slouchy one.
Original pattern: https://duniarecipe.com/cute-crochet-bag-aesthetic-ideas-handmade-bag-patterns-diy-inspiration/
FAQ
Can I make this bag bigger without changing the whole pattern?
Yes. The notes say to increase the starting chain in multiples of one stitch and add more rows for height. The panel-based construction makes that adjustment straightforward.
Why is the gusset worked as one long strip instead of separate pieces?
One continuous strip means a single seam defines both the sides and the base. It keeps the join simpler and avoids extra corner seams.
Does the yarn choice really matter for this bag?
It matters a lot here. A firm medium-weight cotton holds the textured stitch and resists stretching once the bag is filled.
What does the back-loop-only stitch actually do for the finished bag?
It raises horizontal ridges across the fabric, giving that woven look. It also tightens the fabric slightly, which helps the panels hold their shape.