
Free Pattern
Step-by-Step
Crochet
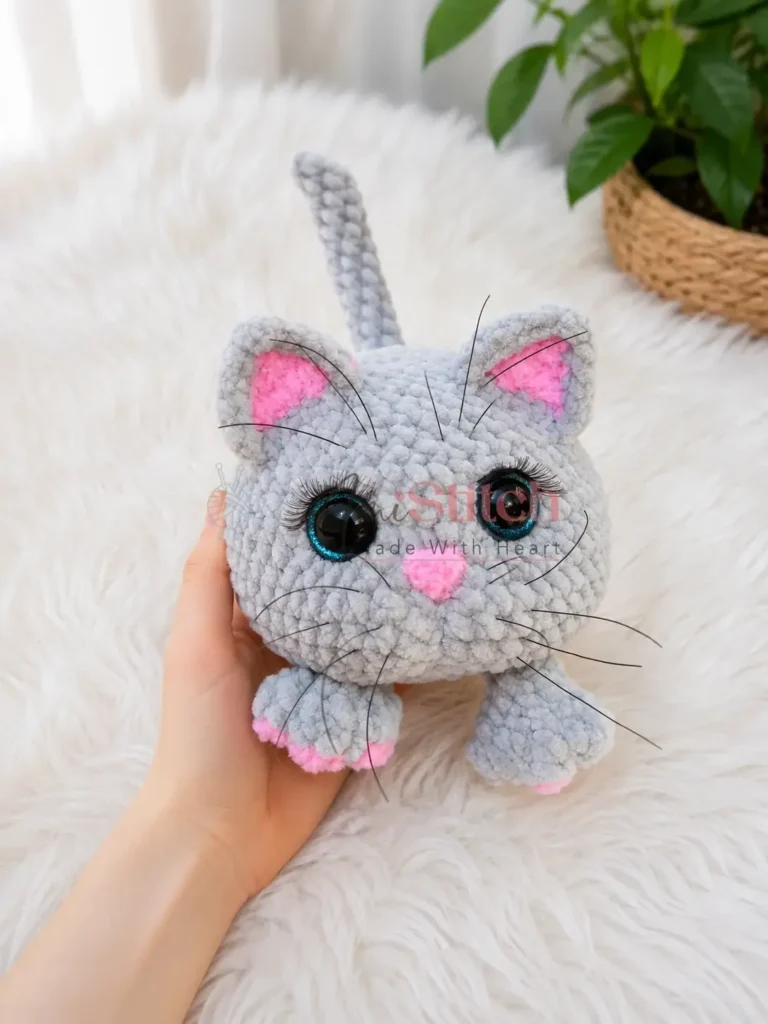
AmigurumiA plush amigurumi cat with tacked facial features
A super bulky plush yarn amigurumi cat with cinched eyes and a soft embroidered muzzle.
- Level
- Intermediate
- Time
- 4-6 hours
- Hook
- 4.0 mm
- Yarn
- Super Bulky
Pattern highlights
- Start the head and body from an oval foundation chain, working the first round around both sides of it.
- Keep working the body in a continuous spiral, letting the increases build the rounded shape without any joining.
- Work the outer and inner ears flat in turning rows, shaping each one down to a single stitch.
- Crochet four legs and four paw pads separately, then set all the small parts aside before assembly.
- Stuff the body, then use the cinching yarn to tack the eyes and shape the muzzle before attaching anything else.
- Sew on the nose, legs, ears, and tail, then finish the face with safety eyes and optional lashes.
About This Pattern
I keep a shelf for the plush-yarn crowd, the amigurumi that feel more like little cushions than toys. This cat belongs there. It is built from super bulky yarn, so the stitches read big and soft instead of fussy and tight. In a collection full of thin-fiber minis, it is the one piece that invites touching first and admiring second.
The construction is a study in contrast. The head and body grow from an oval foundation chain in one continuous spiral, which is the standard amigurumi trick for an elongated shape without seams. The ears, by comparison, are worked flat in turning rows — a small flat panel folded into something dimensional. Two hook sizes keep the tail looser than the body, which I always find a little satisfying to plan around.
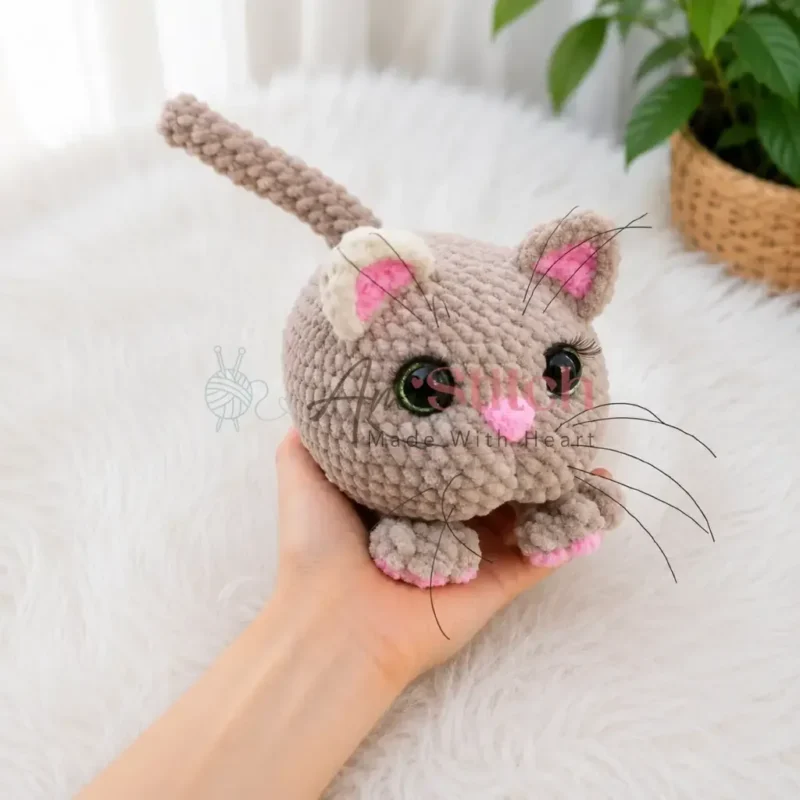
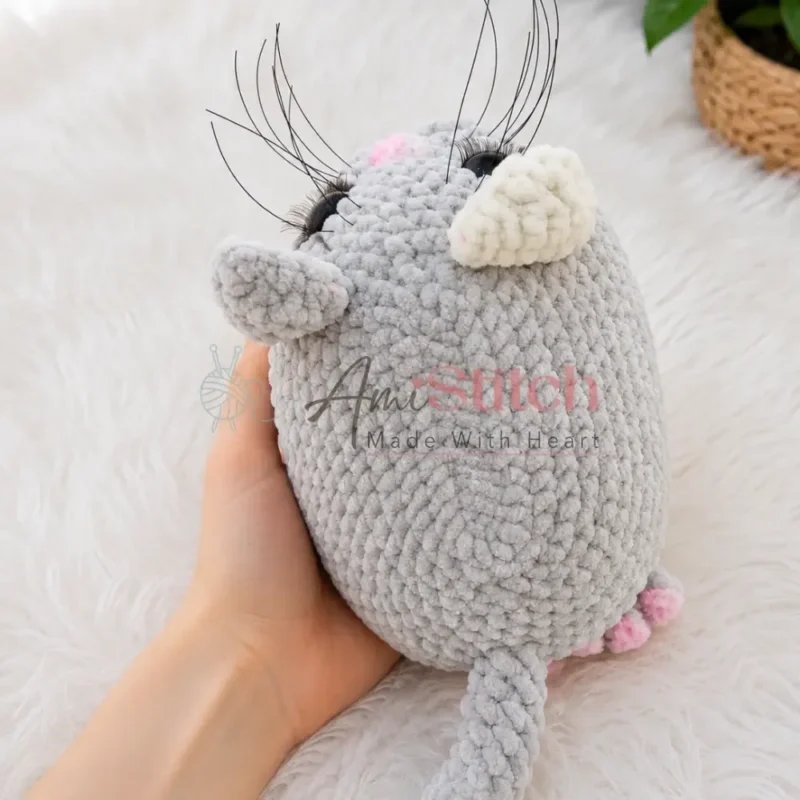
What comes off the hook is a seated cat with a cinched muzzle, tacked eyelids, and a soft nose sewn on separately. The paw pads and inner ears are worked in an accent color, so the finished piece has real contrast built in, not painted on after. It sits, it does not stand — a good quiet object for a shelf.
Finished size: the plush, oval body stretches to approximately 17 cm using the listed super bulky yarn and hook sizes — a confident intermediate project thanks to the oval-construction technique.
Common mistakes
- Losing the oval chain shape Count stitches on both the front and back side of the foundation chain before starting round 2. If the two sides do not match the pattern's count, the whole oval skews.
- Grabbing the wrong hook for the tail The tail uses the larger H-8 hook on purpose, for a looser fabric than the body. Check your hook before casting on each part, not just once at the start.
- Over-tightening the eye cinching Pull the black cinching yarn just enough to create an indent, then stop. Too much tension puckers the fabric around the eye instead of shaping it.
- Dropping the stitch marker mid-round In a continuous spiral there is no slip stitch to mark the round's start, so losing the marker means losing your place. Move it up every single round, without exception.
- Turning the ear decreases too early Each ear row shrinks by working the decrease at a specific point in the row, not just anywhere. Read the stitch sequence before each row rather than estimating by eye.


Intermediate
Progress Tracker
0 of 0 rounds
Tap a round to tick it off — your place is saved on this device.
The kit
- Main yarn (body color): Himalaya Dolphin Baby or equivalent super bulky plush yarn — approx. 75 g in your chosen body color (e.g., cream, gray, or caramel)
- Accent yarn (ears, nose, paw pads): Alize Softy or equivalent super bulky soft yarn — small amount in pink or your chosen accent color
- Cinching yarn (for indentations/tacking): YarnArt Jeans or equivalent fingering/sport weight yarn — in a color matching the body
- Embroidery yarn (eyelids): YarnArt Jeans — black
Hook sizes
- US G-6 / 4.0 mm — main body, ears, paws
- US H-8 / 5.0 mm — tail
- US B-1 / 2.5 mm and US C-2 / 3.0 mm — Alize Softy pieces (nose, paw pads, inner ears)
Safety eyes
- 20 mm, black or colored — 2
Lashes
- doll lashes, approx. 1 cm — 2 strips (optional)
Waterproof adhesive
- for attaching lashes (a gel-type craft glue works well)
- Toothpick or thin stick: for applying glue
Whiskers
- thin nylon thread or beading line
- Lighter, scissors, and tweezers
- Stuffing / fiberfill: approx. 55 g
- Yarn needle / tapestry needle: wide-eye, for sewing and attaching parts
- Stitch marker
Head & Body (make 1)
Begin at the base of the body. Use body color yarn and US G-6 / 4.0 mm hook.
Round 1Ch 14, starting in the 2nd ch from hook: inc, 11 sc, 3 sc in last ch, then work 12 sc along the back side of the foundation chain. (28)
Round 2inc 3 times, 9 sc, inc 5 times, 9 sc, inc 2 times. (38)
Round 31 sc, inc repeat 3 times, 9 sc, 1 sc, inc repeat 5 times, 9 sc, 1 sc, inc repeat 2 times. (48)
Round 42 sc, inc repeat 3 times, 9 sc, 2 sc, inc repeat 5 times, 9 sc, 2 sc, inc repeat 2 times. (58)
Round 5sc in each st around. (58)
Round 63 sc, inc repeat 3 times, 4 sc, inc, 4 sc, 3 sc, inc repeat 5 times, 4 sc, inc, 4 sc, 3 sc, inc repeat 2 times. (70)
Rounds 7–14sc in each st around. (70) Work 8 rounds even.
Round 15dec, 3 sc repeat 4 times, 10 sc, dec, 3 sc repeat 5 times, 10 sc, dec, 3 sc. (60)
Round 16sc in each st around. (60)
Round 17dec, 2 sc repeat 5 times, 6 sc, dec, 2 sc repeat 5 times, 6 sc, dec, 2 sc repeat 2 times. (48)
Rounds 18–19sc in each st around. (48) Work 2 rounds even.
Round 20dec, 1 sc repeat 4 times, 9 sc, dec, 1 sc repeat 5 times, 9 sc, dec, 1 sc. (38)
Round 21sc in each st around. (38)Insert safety eyes (with lashes attached, if using) between Rounds 14 and 15, spaced 5–6 stitches apart. Begin stuffing the body firmly now.
Round 22dec 4 times, 11 sc, dec 3 times, 11 sc, dec. (30)
Round 23sc in each st around. (30)Finish stuffing the body completely. Cut yarn, leaving a long tail for closing. Close the opening by working through the front loops only of each stitch. Add any final stuffing as needed while closing. Pull tight and weave in the end securely.
Tail (make 1)
Use body color yarn and US H-8 / 5.0 mm hook. Work in a continuous spiral.
Round 16 sc in MR, or ch 2 and work 6 sc in the 2nd ch from hook. (6)
Rounds 2–19sc in each st around. (6) Work 18 rounds even.
Round 20sc in each st around, sl st to join. (6)Cut yarn, leaving a tail for sewing. Do not stuff.
Outer Ear (make 2)
Use body color yarn and US G-6 / 4.0 mm hook. Work in flat turning rows.
Round 1Ch 7, starting in the 2nd ch from hook: 6 sc, ch 1, turn. (6)
Round 2sk first st, starting in the 2nd st: 3 sc, dec, ch 1. (4)
Round 3sk first st, starting in the 2nd st: 1 sc, dec, ch 1. (2)
Round 4dec. (1)
Do not cut yarn — you will use this tail for the edging step below.
Inner Ear (make 2)
Use Alize Softy (pink) and US C-2 / 3.0 mm hook. Work in flat turning rows.
Round 1Ch 10, starting in the 2nd ch from hook: 9 sc, ch 1, turn. (9)
Round 2sk first st, starting in the 2nd st: 6 sc, dec, ch 1. (7)
Round 3sk first st, starting in the 2nd st: 4 sc, dec, ch 1. (5)
Round 4sk first st, starting in the 2nd st: 2 sc, dec, ch 1. (3)
Round 5sk first st, dec, ch 1. (1)Cut yarn and pull the last loop through to fasten off.
Ear Assembly: Place the inner ear on top of the outer ear, aligning both pieces. Using the remaining yarn from the outer ear and a US C-2 / 3.0 mm hook, work sc edging around both layers together, catching the edges of both pieces as you go to join them. Cut yarn, leaving a long tail for attaching to the head. Thread this tail through to the base of the ear (where the turning rows began) — this edge is the side that gets sewn onto the body. Make the second ear the same way.
Leg (make 4)
Use body color yarn and US G-6 / 4.0 mm hook. Work in a continuous spiral.
Round 1Ch 6, starting in the 2nd ch from hook: inc, 3 sc, 3 sc in last ch, 4 sc along back of foundation chain. (12)
Round 2sc in each st around. (12)
Round 33 sc, dec, 4 sc, dec, 1 sc. (10)
Round 43 sc, dec, 3 sc, dec. (8)
Round 52 sc, dec, 2 sc, dec. (6)
Round 65 sc. Do not finish the round.Stuff lightly up to approximately Round 4 — the leg should feel soft and pliable, not firm. Fold the leg flat and work 3 sc through both layers to close. Cut yarn, leaving a long tail for sewing on.After attaching, use the cinching yarn (YarnArt Jeans in body color) to work 2 small tacking stitches on each leg to create the toe indentations.
Large Paw Pad (make 4)
Use Alize Softy (pink) and US C-2 / 3.0 mm hook.
Round 1Ch 2, work 6 sc in the 2nd ch from hook. (6)Fasten off and leave a yarn tail for sewing. Sew one large pad onto each leg. Embroider smaller toe pads around the large pad using a few stitches of the pink yarn.
Nose (make 1)
Use Alize Softy (pink) and US C-2 / 3.0 mm hook.
Round 1Ch 2, work 3 sc in the 2nd ch from hook. (3)Work a round of sc edging all the way around the nose piece to add dimension, being careful to maintain the triangular shape. Fasten off, leaving a yarn tail for sewing.
Assembly
Step 1Cinch the eyes and muzzle. Using black YarnArt Jeans, work the eye tacking stitches first to create the characteristic indented look. Then use the body-colored cinching yarn to shape the muzzle area.
Step 2Sew on the nose. Position the nose centrally on the muzzle and sew it down using the yarn tail. Knot securely and weave in the end.
Step 3Sew on the legs. Attach all four legs to the underside of the body, spacing front and back pairs approximately 5 rows apart from each other. Use the yarn tails and a whipstitch, pulling firmly so the seam sits flush.
Step 4Sew on the tail. Position the tail between Rounds 7 and 11 on the back of the body. Sew securely using the yarn tail.
Step 5Sew on the ears. Attach the ears between Rounds 17 and 22, spaced approximately 5 stitches apart on either side of the top of the head. Angle them very slightly outward — a gentle tilt gives this cat that classic feline personality. Sew through the base of each ear and into the body, pulling firmly.
Step 6Embroider the eyelids (optional). Using black YarnArt Jeans, embroider a curved line just above each eye for a sleepy, soft expression.
Step 7Add the whiskers. Thread beading line or thin nylon thread through the muzzle area, trim to your desired length, and seal the cut ends carefully with a lighter flame to prevent fraying. Use tweezers to position them.
Step 8Attach the lashes (optional). Apply a small amount of waterproof gel adhesive to the lash strip using a toothpick. Press onto the upper edge of each safety eye and hold gently until set.
Step 9Weave in all remaining ends.
From the collection
Finishing
- Weave in every yarn end as each small part comes off the hook, before any part gets stuffed.
- Stuff the head and body firmly, then close the opening before attaching legs, tail, or ears.
- Tack the eyelids and cinch the muzzle with the designated yarns, then glue on the safety eyes and lashes last.
Why it works
The body starts from a chain of 14, worked around both sides, which is why the first round nearly doubles in stitch count — that oval start is what gives the body its elongated base instead of a round one.
Rounds 2 through 4 place their increases in clusters at each end of the oval rather than spread evenly, which is what pushes the shape outward at the front and back while the sides stay narrower.
The ears are worked flat in turning rows instead of in the round, and each row removes stitches through a decrease until only one remains — a shape that only makes sense built flat, then set onto a curved head.
What it becomes
- A shelf piece for a plush-amigurumi collection, next to other soft, oversized stitch work.
- A photo prop for close-up fiber-craft shots, where the super bulky texture reads well on camera.
- A handmade gift for someone who collects soft sculpture rather than wearable crochet.
Original pattern: https://amistitch.com/lapusik-the-crochet-cat-chubby-snuggly-and-17-cm-of-pure-joy/
FAQ
Can I use a different super bulky yarn than the ones listed?
Yes, any super bulky plush yarn should behave similarly for the body, and any fingering or sport weight works for the cinching. Just keep the hook sizes matched to the yarn's drape, not just its label.
Why does the tail use a different hook than the body?
The H-8 hook keeps the tail's fabric looser than the G-6 body, which helps it hang rather than stand stiff. It also goes unstuffed, so the looser gauge matters more here.
How do I get the indented eye look shown in the pattern?
That comes from the eye tacking stitches worked in black yarn before the eyes are glued on. It is a cinching technique, not a stuffing trick, so it happens before the safety eyes go in.
Does the tail need stuffing like the body and legs?
No. The pattern specifically leaves the tail unstuffed so it stays soft and flexible rather than firm.