
Free Pattern
Step-by-Step
Crochet
AmigurumiPlush bee amigurumi you can finish in one sitting
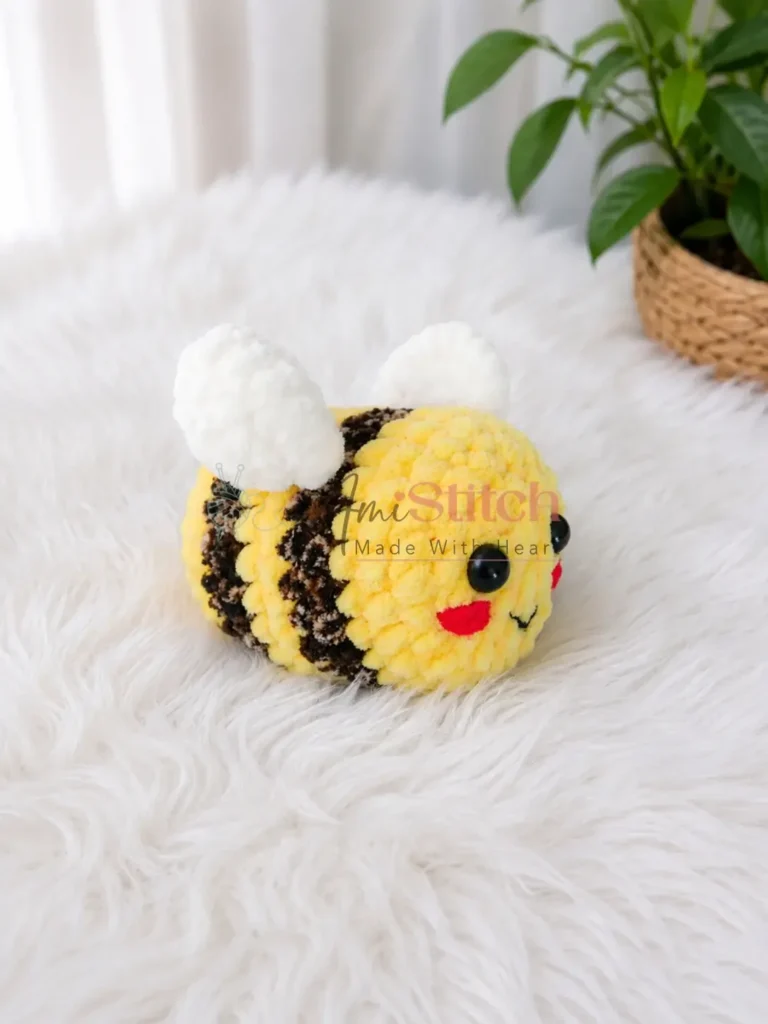
A small velvet-yarn bee worked in one spiral body with two flat wings sewn on after.
- Level
- Beginner
- Time
- 2-3 hours
- Hook
- 4.0 mm
- Yarn
- Bulky
Pattern highlights
- Start the body in yellow yarn, working single crochet increases in a continuous spiral with no joins.
- Set the body aside and crochet two flat wings separately in white yarn.
- Stuff the body firmly before closing the last opening with the tail.
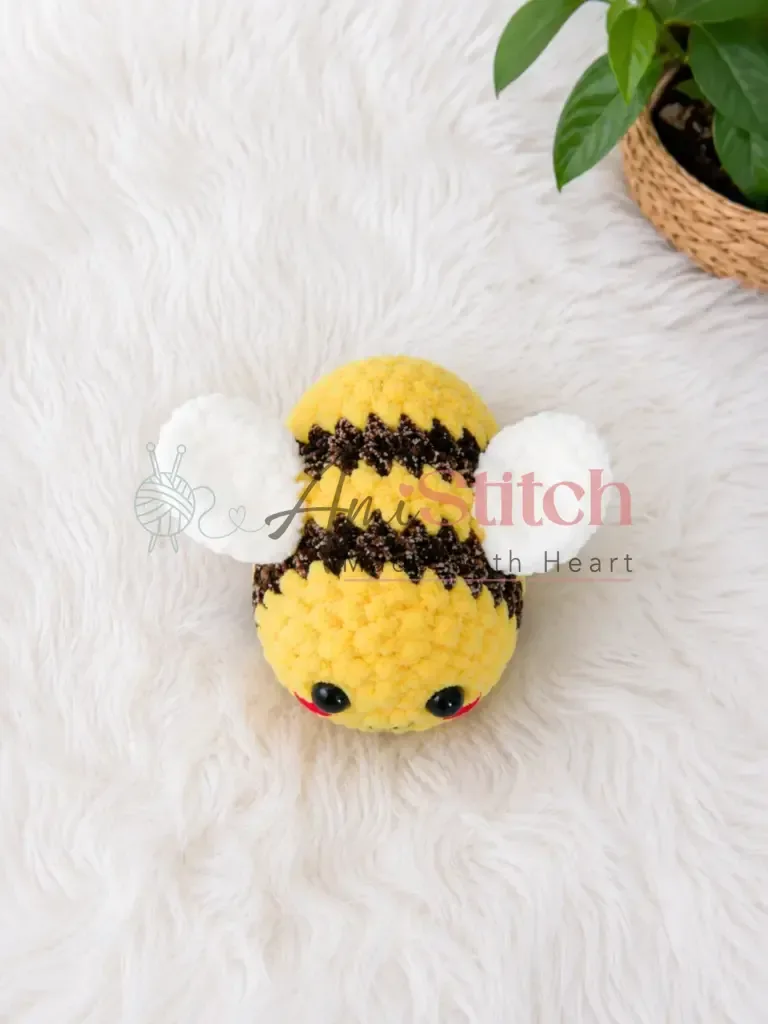
- Whipstitch both wings side by side onto the back, in the upper section.
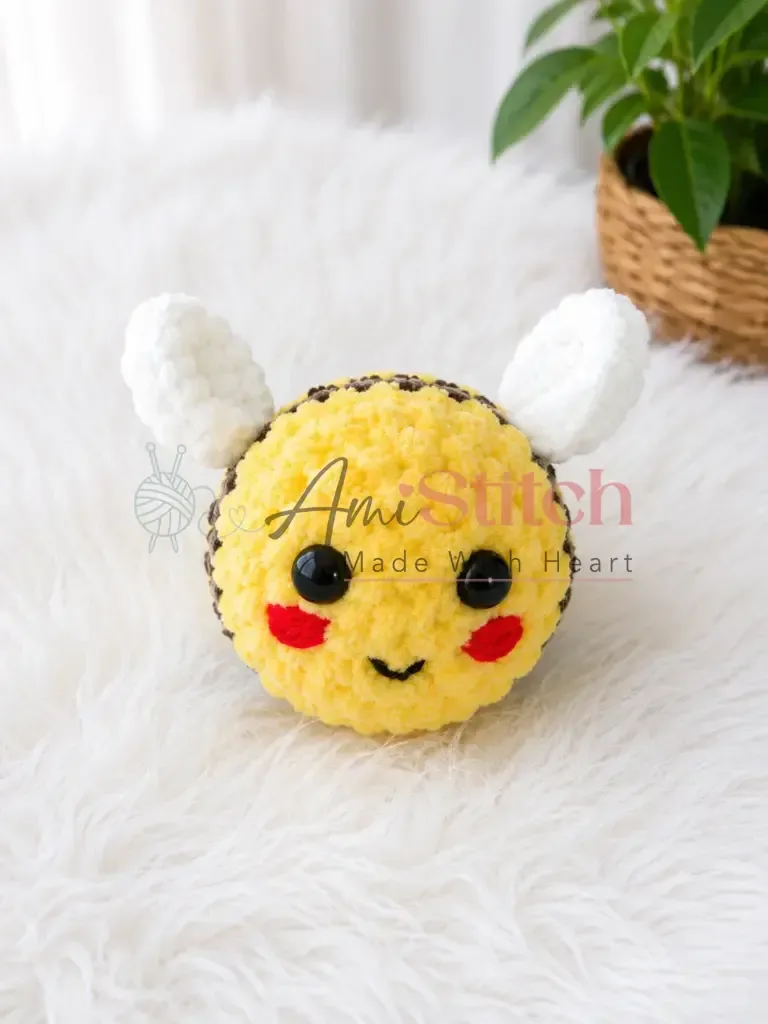
- Embroider the face last, stitching cheeks and mouth with contrasting lightweight yarn.
- Glue on the eyes once everything else is sewn and settled in place.
About This Pattern
I keep a shelf for the small stuff — pieces that don't take a weekend. This bee belongs there. It's sized for a keychain, not a cuddle toy, so it slots in next to my other quick amigurumi experiments. I like having one of these ready for last-minute gifts. Nothing about it demands a special yarn stash raid; small amounts of yellow, black, and white cover the whole project.
The body is worked in a continuous spiral, no joining, no turning chains, which keeps the surface smooth under velvet yarn. Increases build the round shape fast in the early rounds. The wings are flat, worked separately in white, which is the one part of this project that isn't amigurumi in the usual sense. Embroidery adds the face after stuffing, so the character arrives last.
What comes off the hook is small, dense, and a little glossy if you use chenille yarn. The fiberfill stays hidden under tight tension, so the shape holds without lumps showing. It's the kind of finished piece that looks like more work than it was. Clip it to a bag or set it on a shelf with its wings slightly spread.
Gauge isn't critical here, but finished size is: with the yarn and G-6 / 4.0 mm hook listed in the materials, this bee comes out to about 8 cm (roughly 3 inches). Keep your tension tight throughout so the fiberfill doesn't show through the stitches.
Worth knowing
What I like about this one is the spiral body — no seams, no visible joins, just a smooth climb from six stitches outward. The wings are the surprise: worked flat in white, they're the only non-amigurumi piece in the whole project, and sewing them on with a whipstitch feels like adding hardware to a small machine. Embroidering the face last means the bee doesn't exist until the very end, which is satisfying in a specific way. Chenille or velvet-style yarn does something plain worsted can't — it catches light and hides stitch definition, so even uneven tension reads as fuzzy rather than sloppy. It's forgiving work with a payoff that looks fussier than it is.
Common mistakes
- Losing the round marker Move the stitch marker up every round, since there's no join to mark the start. Skip this and you'll lose count fast in the spiral.
- Mismatched wing placement Pin both wings in place before stitching so they sit side by side and level. Sewing one at a time without checking leads to a crooked pair.
- Underfilled body Pack the fiberfill firmly before closing the opening. A soft body looks flat once the velvet yarn settles.
- Loose tension on plush yarn Keep stitches tight throughout, since fiberfill shows through slack stitches more on chenille than on standard worsted.
- Gluing eyes too early Add the eyes after the embroidery is finished, not before. Glue near loose working yarn makes the later stitching messy.


Beginner
Progress Tracker
0 of 0 rounds
Tap a round to tick it off — your place is saved on this device.
The kit
Yarn
- Bulky-weight plush or chenille yarn (such as a velvet-style yarn) in yellow and black — small amounts of each; white for the wings
Accent yarn
- Small amounts of red and black lightweight yarn for embroidering the cheeks and mouth
Hook
- US G-6 / 4.0 mm
Eyes
- Half-round flat-back craft gems or cabochons (size to suit your preference) — quantity: 2
Stuffing
- Polyester fiberfill
- Stitch marker
- Yarn needle / tapestry needle
- Scissors
- Craft glue (for attaching the eyes securely)
Body
Begin with yellow yarn.
Round 12 ch, 6 sc into 2nd ch from hook. (6)
Round 2inc in each st around. (12)
Round 3sc, inc repeat 6 times around. (18)
Round 42 sc, inc repeat 6 times around. (24)
Rounds 5–6sc in each st around. (24) Switch to black yarn after the last st of Rnd 6.
Rounds 7–8sc in each st around. (24) Switch to yellow yarn after the last st of Rnd 8.
Rounds 9–10sc in each st around. (24) Switch to black yarn after the last st of Rnd 10.
Rounds 11–12sc in each st around. (24) Switch to yellow yarn after the last st of Rnd 12.
Round 13sc in each st around. (24)Begin stuffing the body firmly now. Continue adding stuffing as you close the opening.
Round 142 sc, dec repeat 6 times around. (18)
Round 15sc, dec repeat 6 times around. (12)
Round 16dec 6 times around. (6)Fasten off, leaving a short tail. Weave in the end, closing the remaining opening as you go.
Wings (Make 2)
Make 2Use white yarn.
Round 12 ch, 6 sc into 2nd ch from hook. (6)
Round 2inc in each st around. (12)
If you prefer smaller wings, fasten off here and leave a long tail for sewing. For larger wings, continue to Rnd 3.
Round 3sc, inc repeat 6 times around, sl st to join. (18)Fasten off, leaving a long yarn tail for sewing.
Assembly
Step 1Stuff the body fully and close the opening securely by weaving the yarn tail through the remaining 6 stitches and pulling tight. Weave in the end.
Step 2Position both wings on the back of the body, side by side, in the upper section (approximately Rnds 5–8). Using the long yarn tail and a yarn needle, sew each wing in place with a whipstitch around the base. Pull the tail through to the inside of the body and weave in the end.
Step 3Using the black accent yarn and a yarn needle, embroider a small curved mouth on the front of the body in the lower facial area.
Step 4Using the red accent yarn, embroider two small circular or oval cheeks on either side of the mouth.
Step 5Position the flat-back gem eyes above the cheeks and mouth. Apply a small amount of craft glue to the back of each eye and press firmly into place. Allow to dry completely before handling.
Step 6Weave in all remaining yarn ends.
From the collection
Finishing
- Stuff the body fully, then close the opening by pulling the yarn tail through the last stitches.
- Whipstitch each wing to the upper back of the body, side by side, then weave in the tail.
- Embroider the cheeks and mouth with lightweight yarn, then glue the eyes on last.
Why it works
Round 1 starts with six single crochets into the second chain from the hook, the smallest base the shape allows.
Round 2 doubles that count with an increase in every stitch, so the piece widens fast in the first two rounds.
The wings include a stopping point right after the second round, letting the maker choose a smaller or larger wing without changing the body pattern.
What it becomes
- Clip it to a backpack zipper as a small, durable keychain charm.
- Set it on a shelf with other mini amigurumi for a collection display.
- Give it as a quick handmade gift for a kid's pencil case or lunch bag.
Original pattern: https://amistitch.com/plush-bee-amigurumi-free-crochet-pattern/
FAQ
Can I make the wings smaller?
Yes. The pattern lets you fasten off right after the second round for smaller wings, or keep going for larger ones.
Why is the body worked in a spiral instead of joined rounds?
It avoids a seam and keeps the surface smooth, which matters more on plush yarn where a seam would show as a ridge.
What yarn works best for this bee?
Bulky-weight velvet or chenille yarn gives the fuzzy look the pattern seems built for. Any bulky yarn will still hold the shape fine.
How do I keep the fiberfill from showing through the stitches?
Keep your tension tight throughout, since loose stitches on a piece this small let the stuffing peek through.
Can I use safety eyes instead of glued-on gems?
Yes — if you're making this bee for a child under three, safety eyes with a locking washer are the safer choice over craft glue gems. Insert them between Rounds 5 and 6 of the body before you finish stuffing and closing the opening, choosing a size around 9–12 mm for this scale of toy.
How do I keep color changes looking neat?
Change color on the very last yarn-over of the final stitch in the round before the new color begins, then carry the unused yarn loosely inside the body for a few stitches rather than cutting it at every stripe — this keeps edges clean and reduces the number of ends you need to weave in later.