Free Pattern
Step-by-Step
Crochet
Baby BlanketsRainbow sherbet granny squares make a cheerful baby blanket
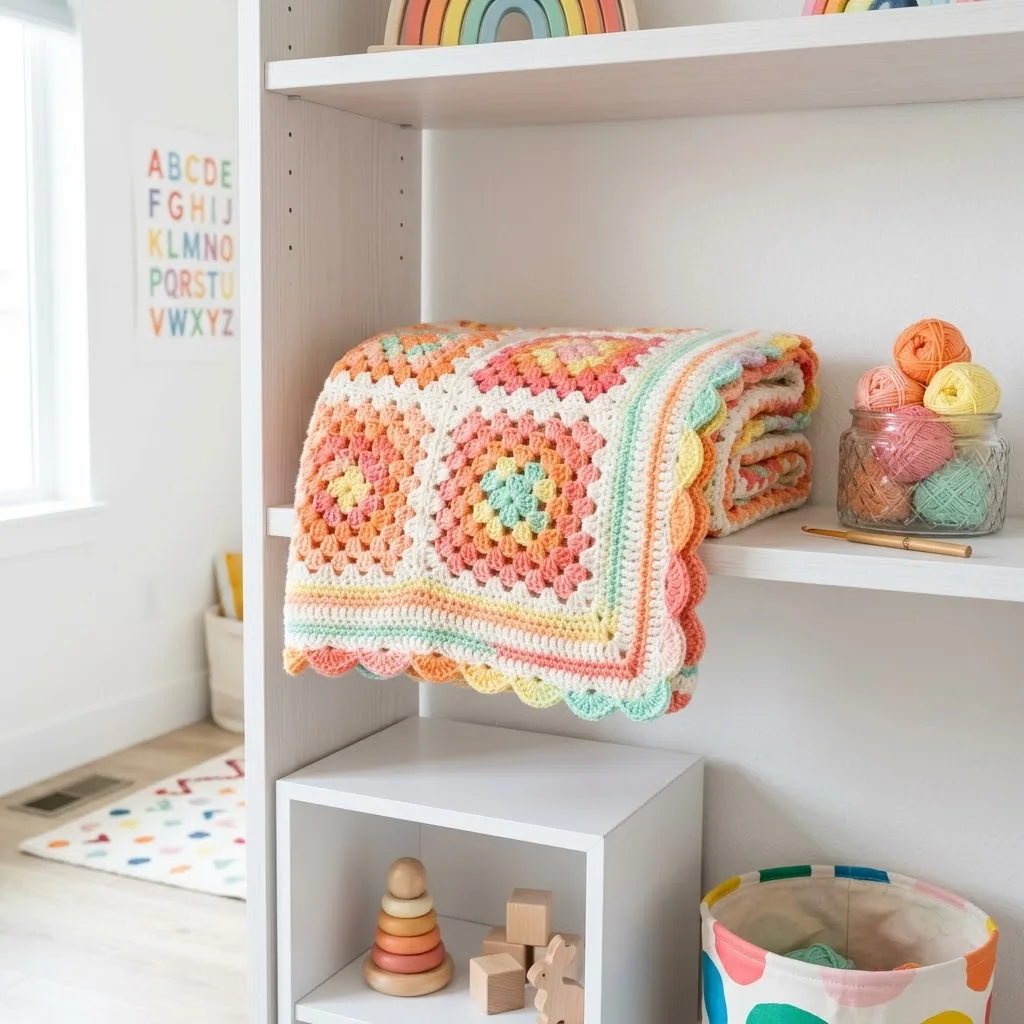
A worsted-weight granny square blanket joined in six colors with a cream and coral pink scalloped border.
- Level
- Beginner-Intermediate
- Time
- 6-8 hours
- Hook
- 5.0 mm
- Yarn
- Worsted
Pattern highlights
- Start each granny square with a small center ring, then build outward in color-change rounds.
- Finish each square at the cream round, then block it to its finished six-inch size.
- Join the finished squares together, then crochet a two-round border: a single crochet round in cream, followed by a coral pink scallop round for a wavy edge, with an optional extra light coral scallop row if you want it wider.
- Weave in every yarn end before setting the blanket aside to block flat.
About This Pattern
Granny squares sit at the root of most crochet collections, mine included. This blanket keeps that heritage going with six colors worked in classic rounds. I like how it leans on a stitch pattern older than most notebooks I own. A baby blanket built from squares feels like a small archive of color choices. Each square is its own tidy experiment before it joins the whole.
The construction leans on four basics: chain, slip stitch, double crochet, and a three-double-crochet cluster. That cluster is the real workhorse here, repeated into each square's corners and sides. Joining happens through slip stitches, flat and quiet, no fuss. A cream single crochet round and a coral pink scallop round finish the edges after the squares are joined, with an optional light coral scallop row for extra width. Nothing exotic, just old stitches doing steady work.
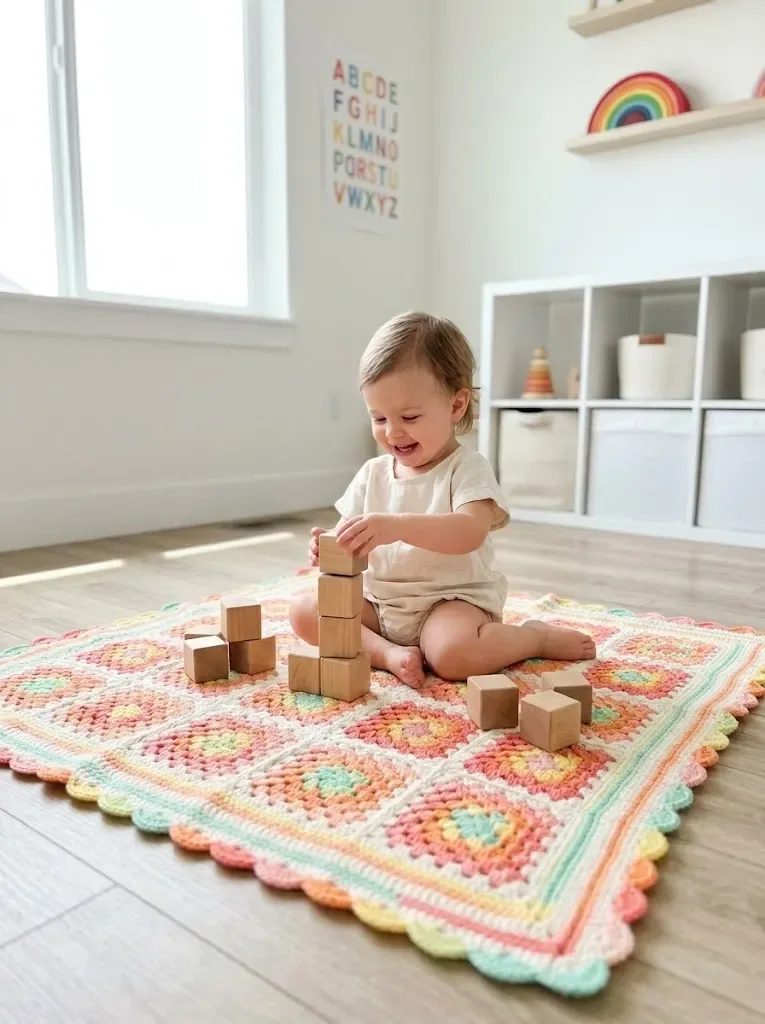
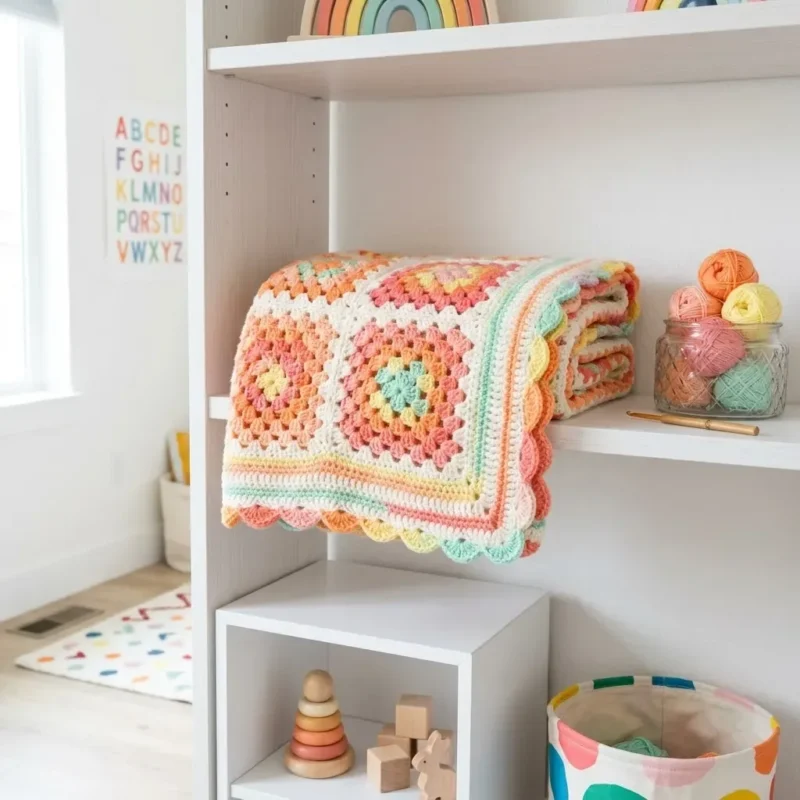
The finished piece is a patchwork of mint green, soft yellow, coral pink, and peach orange, settled against cream. Each square measures about 6 inches by 6 inches after blocking, so the math is easy to plan around. Six colors keep the palette busy without tipping into chaos. It reads like sherbet melting in a bowl, which I suppose is the point. A baby blanket, but one I'd leave out on a couch too.
Finished Dimensions: approximately 30 inches by 36 inches, a generous size for strollers, car seats, and tummy time. Skill Level: Beginner to Intermediate -- perfect if you are ready to move beyond basic scarves and dishcloths.
Worth knowing
What I like about this blanket is the rhythm. Each granny square is small enough to finish in one sitting, which makes the project feel like a string of little wins rather than one long slog. The double crochet clusters give texture without complexity -- just three stitches worked into the same space, repeated until the square takes shape. Joining squares with slip stitches keeps things flat and portable; no bulky seams to fight. The light coral border is the one unifying move, pulling six different colors into one frame. It's a satisfying project for using up worsted-weight leftovers, provided you have enough yardage in each shade. The payoff is a blanket that looks more complicated than it was to make.
Common mistakes
- Loose cluster stitches Keep tension even across all three double crochets in a cluster so corners don't bow. Uneven tension shows up fast across six colors.
- Skipping blocking before joining Block each square to size first. Unblocked squares rarely line up evenly once seamed.
- Joining with mismatched colors Keep slip stitch joins in one consistent color, like cream. Random join colors peek through the seams.
- Running out of border yarn Buy the full amount of Color E (cream) and Color C (coral pink) before starting the border, plus Color F (light coral) if you add the optional extra scallop row. Borders are unforgiving if you run short mid-round.
- Mixing fiber types across skeins Stick to one soft acrylic brand throughout for even wash and drape. Mixed fibers can pill or shrink differently.


Beginner-Intermediate
Progress Tracker
0 of 0 rounds
Tap a round to tick it off — your place is saved on this device.
The kit
- Worsted weight yarn (medium weight, category 4) in six colors
- Mint green, approximately 180 yards
- Soft yellow, approximately 180 yards
- Coral pink, approximately 200 yards
- Peach orange, approximately 200 yards
- Cream or off-white, approximately 350 yards
- Light coral for border, approximately 150 yards
- Soft acrylic or acrylic blend recommended, machine washable and dryable (e.g., Caron Simply Soft, Lion Brand Basic Stitch, or Red Heart Soft)
- Size H/8 (5.0mm) crochet hook, or size needed to obtain gauge
- Yarn needle for weaving ends
- Scissors
- Stitch markers (optional but helpful for first square)
- One completed granny square measures approximately 6 inches by 6 inches after blocking. Gauge matters for sizing. If your squares measure smaller, go up a hook size. Larger squares mean you should try a smaller hook.
Key Stitch Definitions
Chain (ch): The foundation stitch. Yarn over, pull through the loop on your hook. One chain made.
Slip Stitch (sl st): A flat joining stitch. Insert hook, yarn over, pull through both the stitch and the loop on your hook in one motion.
Double Crochet (dc): A taller stitch that creates the body of your squares. Yarn over, insert hook into stitch, yarn over and pull up a loop (three loops on hook), yarn over and pull through two loops (two loops remain), yarn over and pull through remaining two loops. One double crochet complete.
Cluster: In this pattern, a cluster means 3 double crochet stitches worked into the same space. They sit together as a group.
The Granny Square Pattern
You will make 30 identical squares for this blanket, arranged 5 across and 6 down. Work each square following these rounds exactly.
Round 1Center Ring with Color A With Color A, make a magic ring. If magic rings feel tricky, you can chain 4 and slip stitch to the first chain to form a ring instead.Ch 3 (this counts as your first dc throughout the pattern), 2 dc into the ring, ch 2 , *3 dc into ring, ch 2*. Repeat from * two more times. You now have four clusters of 3 dc separated by four ch-2 corner spaces.Sl st to the top of your beginning ch-3 to join the round.Stitch count: 12 dc total, 4 corner spaces Fasten off Color A. Weave in end or wait to weave all ends after completing the square.
Round 2Color B Join Color B with a sl st in any corner ch-2 space. Ch 3, 2 dc, ch 2, 3 dc all in the same corner space. This creates your first corner.Ch 1 , then work (3 dc, ch 2, 3 dc) in the next corner space. Repeat the ch 1 and corner sequence around until you reach your starting point.Sl st to the top of beginning ch-3 to join.Stitch count: 24 dc total (6 dc in each corner), 4 corner spaces, 4 side ch-1 spaces Fasten off Color B.
Round 3Color C Join Color C in any corner ch-2 space. Ch 3, 2 dc, ch 2, 3 dc in the corner space.Ch 1, 3 dc in the next ch-1 space along the side, ch 1 , then work the corner sequence in the next corner space.Continue around, working 3 dc clusters in each side space with ch 1 between them, and the corner sequence in each corner.Sl st to join.Stitch count: 36 dc total, 4 corner spaces, 8 side spaces Fasten off Color C.
Round 4Color D Join Color D in any corner space. Ch 3, 2 dc, ch 2, 3 dc in corner. Ch 1, 3 dc in each ch-1 space along the side (you will have 2 clusters along each side now), ch 1 , work corner in next corner space.Continue around.Sl st to join.Stitch count: 48 dc total, 4 corner spaces, 12 side spaces Fasten off Color D.
Round 5Color E – Cream Border Join Color E in any corner space. Ch 3, 2 dc, ch 2, 3 dc in corner.Ch 1, 3 dc in each ch-1 space along the side (3 clusters per side now), ch 1 , work corner.Continue around entire square.Sl st to join.Stitch count: 60 dc total, 4 corner spaces, 16 side spaces Fasten off and weave in all ends for this square.
Your completed square should measure approximately 6 inches on each side. Make 29 more squares following the same color sequence.
Joining Your Granny Squares
Once all 30 squares are complete, it is time to connect them. I recommend the flat slip stitch join for beginners because it creates a neat seam that lies flat.
Arranging Your Squares
Lay out all squares in a 5 by 6 grid. The image shows squares arranged with alternating color centers for visual variety. Rotate some squares so different colors face different directions. Play with the arrangement until you love how it looks.
Flat Slip Stitch Join Method Step 1: Hold two squares with right sides facing you, edges aligned.
Step 2: Join Color E in the corner spaces of both squares by inserting your hook through both corner ch-2 spaces at once.
Step 3: Ch 1, then sl st through both layers in each stitch and space across the edge.
Step 4: When you reach the next corner, fasten off.
Tip: Work loosely here. Tight joining creates puckering.
Join all squares in rows first, then join the rows together. This keeps your seams aligned.
Adding the Scalloped Border
The border frames your blanket beautifully and hides any joining inconsistencies along the edges. This creates that lovely wavy edge visible in the finished blanket.
Border Round 1Color E Join Color E in any corner space of the blanket. Work one round of single crochet (sc) around the entire blanket, placing 3 sc in each corner space and 1 sc in each stitch and space along the sides.Sl st to join. Do not fasten off.
Border Round 2Color C Change to Color C. Ch 1, sc in first st.*Skip 2 stitches, 5 dc in next stitch (this creates the scallop), skip 2 stitches, sc in next stitch.* Repeat from * around the entire blanket, adjusting slightly at corners to keep the scallops lying flat.Sl st to join. Fasten off.
Border Round 3Optional Second Scallop Row For an extra wide border like shown in the image, join Color D or Color F and repeat the scallop pattern, working into the top of each scallop from the previous round.
From the collection
Finishing
- Weave in every color change end before the squares leave your lap.
- Block each square to its finished six-inch measurement before joining.
- Add the cream single crochet round and coral pink scallop border last, once all squares are seamed together.
- Weave in all remaining ends. Thread each tail onto your yarn needle and weave through several stitches on the back of your work, weaving in one direction then reversing for extra security, and trim close to the fabric.
- Block your blanket. For acrylic yarn, wet blocking works well: soak the blanket in lukewarm water for 15 minutes, then roll it in a towel.
Why it works
Each square works in rounds, not rows, so corners grow through repeated clusters rather than shaping.
The three-double-crochet cluster does the corner increasing; it's the only increase in the whole square.
The border is worked as its own two-round layer -- a cream single crochet round topped with a coral pink scallop round -- added once every square is already joined. An optional extra scallop row in light coral makes the border wider.
What it becomes
- A stroller blanket light enough for mild afternoons, paired with a solid-color car seat cover.
- A nursery accent folded over the crib rail, next to plain cream curtains.
- A baby shower gift that pairs well with a simple cream burp cloth set.
Original pattern: https://crochetwithmia.com/rainbow-sherbet-granny-square-baby-blanket-free-crochet-pattern/
FAQ
Can I use a different hook size?
Yes, but your squares may drift from the six-inch finished size. Go up a hook size if your squares come out small, or down if they run large.
How much yarn do I actually need?
Plan on roughly 180 to 200 yards for each of the four main colors and 350 yards for cream. The light coral border needs about 150 yards on its own.
Is this blanket machine washable?
That depends on your yarn choice, not the pattern itself. Pick a machine washable, dryer-safe acrylic since this is a baby item.
Why does the border use a different color?
The border uses two colors not found in any square: a cream single crochet round topped with a coral pink scallop round, plus an optional light coral scallop row for extra width. It pulls the six-color patchwork into a single frame.