
Free Pattern
Step-by-Step
Crochet
GarmentsRaised stitch crochet top with crossback straps
A textured crochet top with post stitches and adjustable crossback straps.
- Level
- Intermediate
- Time
- 4-6 hours
- Hook
- 3.0 mm
- Yarn
- Worsted
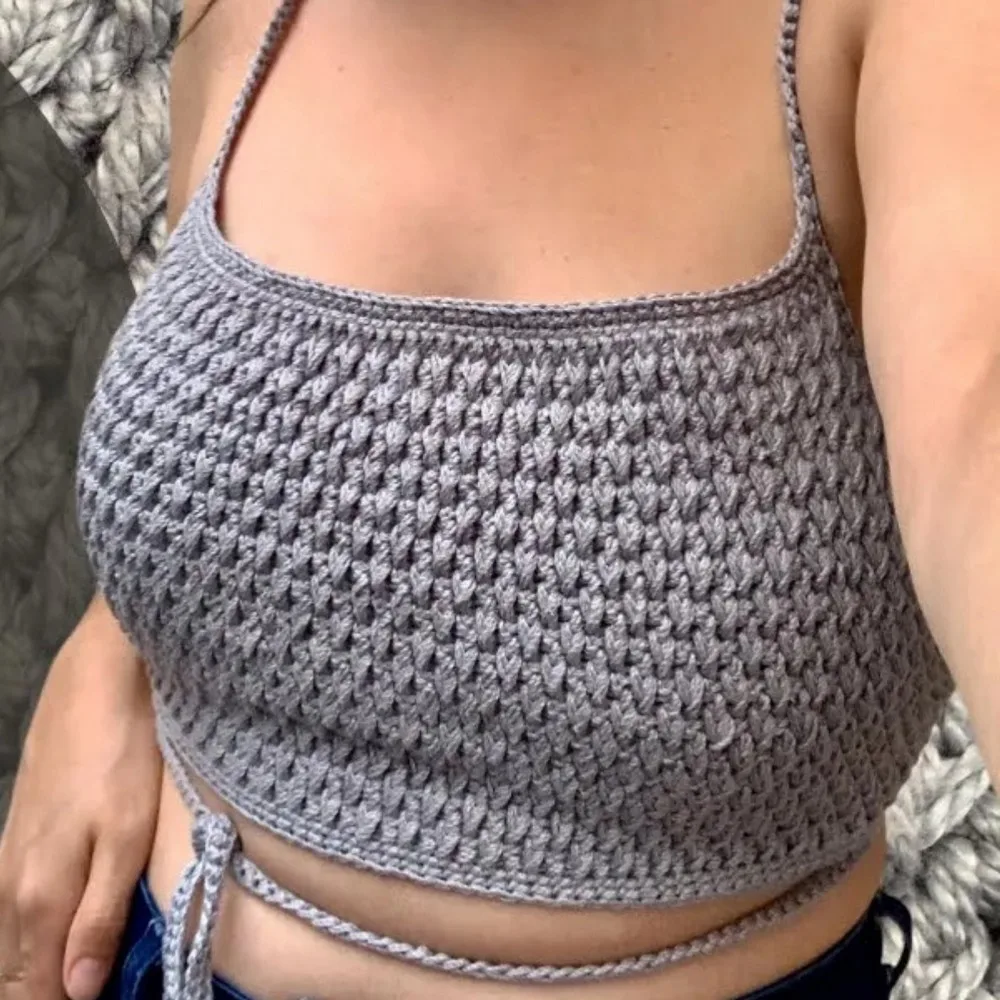
Pattern highlights
- Start with a foundation row of HDC worked across the starting chain.
- Add a single crochet stability row to steady the fabric before the texture begins.
- Increase into the first stitch of the relief section to shape the opening rows.
- Alternate a post stitch worked around the stitch two rows below with a plain HDC across the row.
- Repeat that alternating relief pattern for the remaining rows to build the ridged fabric.
- Work the long straps separately once the main body reaches its final row.
- Cross the straps at the back and thread them through the integrated waist loops.
About This Pattern
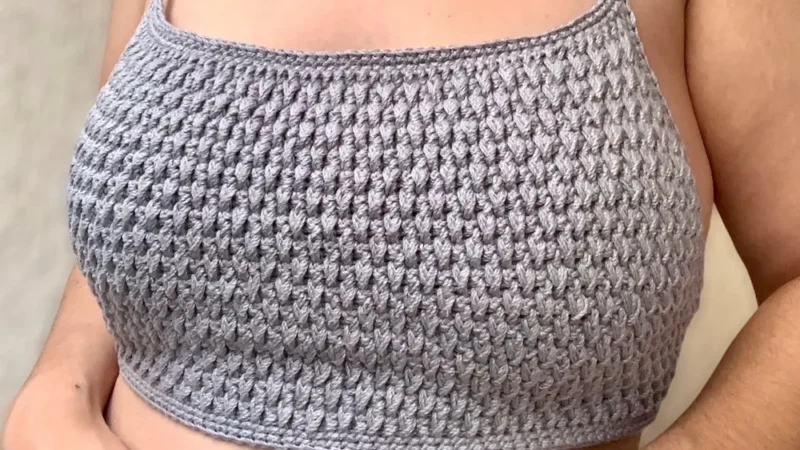
Every collection needs a piece that reads as texture before it reads as garment. This top is that piece. It is not lace, not cables, but a relief fabric built from post stitches that catch light in ridges. I like that it earns its interest from stitch placement alone, no color changes required.
The technique here is the relief HDC, worked around the post of a stitch two rows below, alternated with a normal HDC in the stitch base. A stability row of single crochet sits underneath to keep that relief texture from twisting the fabric. Simple stitches, used with intent, doing more work than they look like they should.
What comes off the hook is a fitted top with long straps that cross at the back and thread through loops at the waist. That crossback detail turns a plain rectangle of fabric into something with structure. The fit adjusts at the straps, which is the kind of practical touch I always notice.
Worth knowing
The satisfaction is in the relief rows. You alternate a post stitch with a plain HDC, and a ridged, almost ribbed texture builds itself row by row without any counting tricks beyond the pattern. Working the double strand of Anne yarn on a 3.0 mm hook gives the fabric enough body that the ridges actually stand up, instead of flattening into the background. The stability row underneath is a quiet piece of engineering, there to keep the whole thing from twisting sideways as the post stitches pull. And the crossback straps threading through waist loops mean the fit is not fixed at the cast-on. You get to decide, at the end, how snug it sits.
Common mistakes
- Skipping the stability row Work the single crochet row exactly as given before starting the relief section, or the post stitches will pull the fabric sideways.
- Inserting the post stitch in the wrong direction Insert the hook around the post of the HDC two rows below, from front to back, and check it matches the previous ridge before continuing.
- Losing the alternating rhythm Keep track of which stitch is relief and which is plain HDC as you go, since the pattern depends on that two-row alternation staying consistent.
- Splitting the double strand Keep both threads of Anne yarn held together and even in tension throughout, since a split strand shows immediately in the relief texture.
- Misjudging the increase placement Work the HDC increase into the same first stitch as stated, not spread across the row, so the shaping starts in the right spot.


Intermediate
Progress Tracker
0 of 0 rounds
Tap a round to tick it off — your place is saved on this device.
The kit
- Anne yarn used with a double strand (two threads held together). [ 01:11 ]
- 3.0 mm crochet hook. [ 01:11 ]
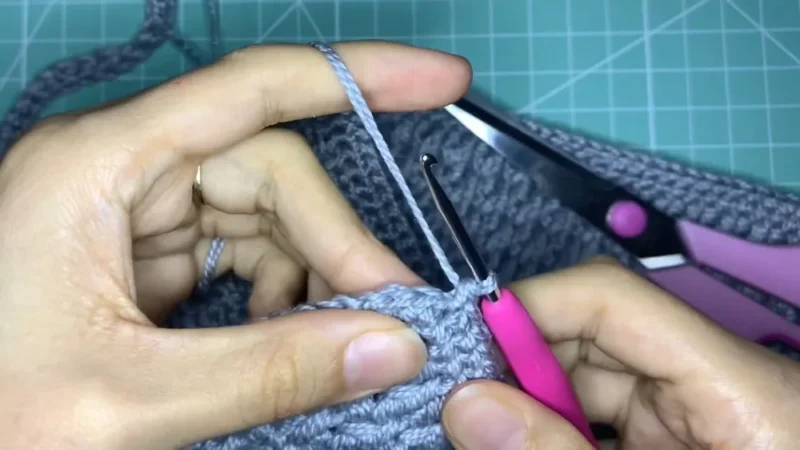
- Scissors and a tapestry needle for weaving in ends. [ 14:03 ]
- The design features long straps that cross over the back and thread through integrated loops at the waist, ensuring a secure and adjustable fit. [ 18:27 ]
Main Pattern
Round 1Foundation Work one Half Double Crochet (HDC) in each chain across. [ 01:50 ]
Round 2Stability Chain 1, turn. Work one Single Crochet (SC) in every stitch. This row acts as a base to prevent the relief stitches from warping the fabric. [ 03:00 ]
2. The Relief Rows (Increases)
Round 3Chain 2 (counts as 1 HDC). Work an HDC increase (2 HDC in the same first stitch). [ 03:41 ]The Pattern: Alternate between one Relief HDC (insert hook around the post of the HDC from two rows below) and one normal HDC in the SC base. [ 04:47 ]End of Row: Finish with an increase (2 HDC in the last stitch). [ 05:42 ]
Round 4Repeat the SC row (no increases unless specified for sizing). [ 06:00 ] 3. Alternating for Texture
To get the “staggered” relief look, in every new relief row, what was previously a “normal” stitch should now be a “relief” stitch, and vice-versa. [ 07:41 ]
Continue alternating between a Relief HDC row (with edge increases) and a flat SC row until the piece reaches the desired width across the chest. [ 01:04 ]
Finishing the Shape: Finish with 3 rows without increases to straighten the edges under the arms. [ 00:33 ]
4. Border and Loops Contouring: Work SC around the entire piece. [ 16:37 ]
Eyelets: On the side edges, create loops for the straps by chaining 2 and skipping stitches. These will be used to lace the top like a corset. [ 15:06 ]
Corners: In the top corners (where the straps will go), work 3 SC in the same stitch to create a smooth curve. [ 16:08 ]
5. The Straps At the top corners, chain a long cord (approx. 1.2m to 1.5m). [ 18:11 ]
Work one SC back into every chain to make the strap thicker and more comfortable. [ 18:52 ]
Tie the straps by crossing them over the back and threading them through the side eyelets. [ 18:36 ]
Tutor’s Suggestions
Stitch Tension: When working the relief HDC, pull the yarn up slightly to give the stitch height. If you pull too tight, the fabric will bunch up and become stiff. [ 04:07 ]
Counting: Always count your stitches at the end of the SC rows to ensure your increases are symmetrical. [ 13:28 ]
Alternative Stitches: While the tutor uses HDC for a faster result, you can use full Double Crochets for a more pronounced texture, though it will be less dense. [ 02:12 ]
Uses Summer Wear: Great for festivals, beach days, or casual outings.
Layering: Can be worn under an open button-down shirt for a chic look.
Conclusion
The Relief Stitch Cropped Top is a masterclass in how texture can elevate a simple garment. By mastering the “alternating relief” technique, you create a piece that looks store-bought but carries the heart of handmade craft. It is supportive, adjustable, and timeless.
Tip:
When working the final SC border, if you notice the edges are “wavy,” use a slightly smaller hook (like a 2.5 mm) for the border only. This will “pull in” the edges and give the top a professional, crisp finish! [ 21:51 ]
From the collection
Finishing
- Weave in every end with a tapestry needle, working along the back of the ridges so the tail stays hidden inside the relief texture.
- Thread the long straps through the integrated waist loops and cross them at the back before securing.
- Steam or lightly block the finished top to even out the post stitch rows without flattening the ridges.
Why it works
The single crochet row right after the foundation exists purely to stabilize the fabric before any post stitches are introduced.
The increase happens in the very first stitch of the relief section, which sets the shaping for the rows that follow.
The relief pattern alternates a post stitch worked two rows below with a plain HDC, so the texture builds on a two-row rhythm rather than every row.
What it becomes
- A warm-weather top worn on its own, paired with high-waisted pants or a skirt.
- A layering piece over a fitted camisole when the relief texture needs a plain background.
- A going-out top where the crossback straps do the styling work instead of jewelry.
Original pattern: https://redagapeblog.com/chic-crochet-raised-stitch-top-pattern/
FAQ
Why hold two strands of Anne yarn together?
The double strand gives the fabric enough body to hold the relief texture. A single strand on the same 3.0 mm hook would likely sit too thin for the ridges to stand out.
What does the stability row actually do?
It is a single crochet row worked before the relief section begins. It keeps the post stitches from warping the fabric as the texture builds.
Can I adjust the strap length for a different fit?
Yes, that is the point of the crossback design. The straps thread through the waist loops, so you set the fit when you tie them rather than when you crochet them.
What happens if I lose track of the relief pattern?
Count back two rows to find the stitch you should be working around, then resume the alternation. The ridges make it easy to spot where you left off.