Free Pattern
Step-by-Step
Crochet
Crochet FlowersSmall crocheted rose with layered petals and leaves
A small crocheted rose with rolled petals, two leaves, and a wire stem.
- Level
- Intermediate
- Time
- 4-6 hours
- Hook
- 2.25 mm
- Yarn
- DK
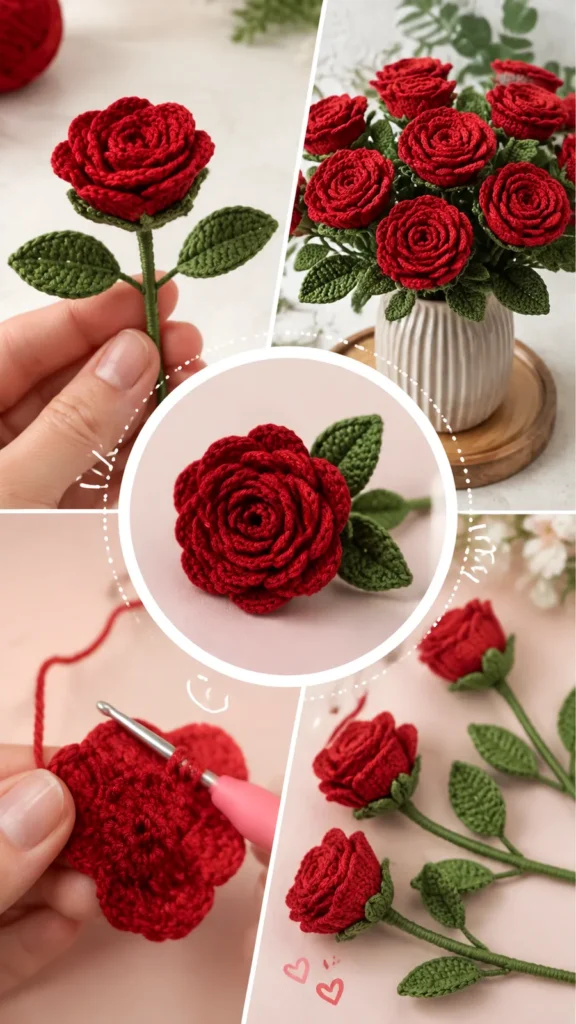
Pattern highlights
- Chain a long foundation row and work a single crochet base row across it.
- Build the second row with stitches that climb from sc to dc and back down, setting up the curl.
- Add a third row that increases through the outer section, flaring the strip's wide edge.
- Roll the finished strip into a spiral from the tight end and secure the base.
- Make the leaf separately, working around a short chain with a 5 dc point at the tip.
- Cover a length of floral wire or crochet a cord to form the stem.
- Attach the rolled rose and the two leaves to the top of the stem.
About This Pattern
I keep a shelf for small floral makes, the ones that don't need a vase or a watering can. This rose earns a spot there. It's built from parts, not worked in one continuous spiral, which makes it a good study piece for how a flower shape actually comes together.
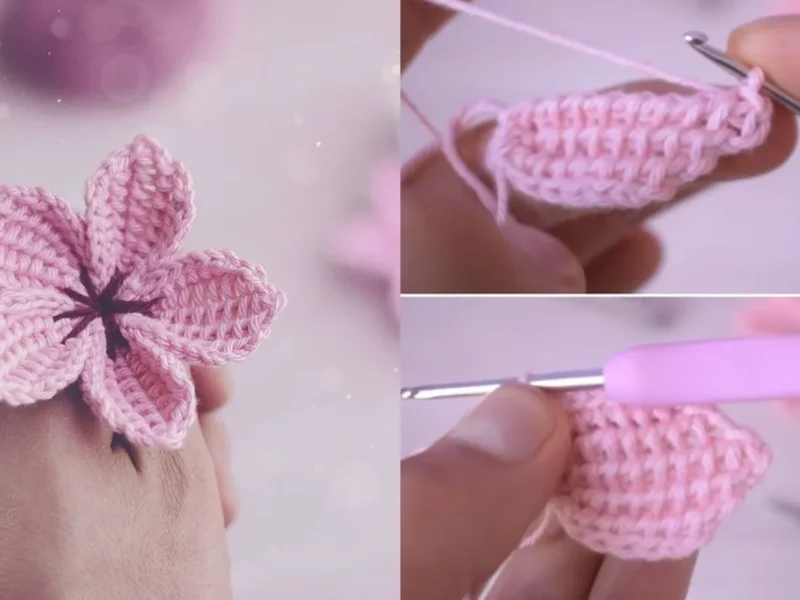
The trick here is the petal strip. Single crochet, half double crochet, and double crochet sit side by side in the same row, so the edge grows at different speeds. Short stitches hold the inner curl tight. Tall stitches flare the outer edge. Rolling does the rest.
What comes out the other end is a compact bloom with two leaves and a wire stem underneath it. It stands on its own or joins others in a cluster. No fading, no wilting, just yarn holding its shape.
Finished size runs approximately 3 inches tall x 2 inches wide (7.5 cm x 5 cm), with an approximate gauge of 24 single crochet stitches x 26 rows = 4 inches (10 cm), worked in US crochet terms.
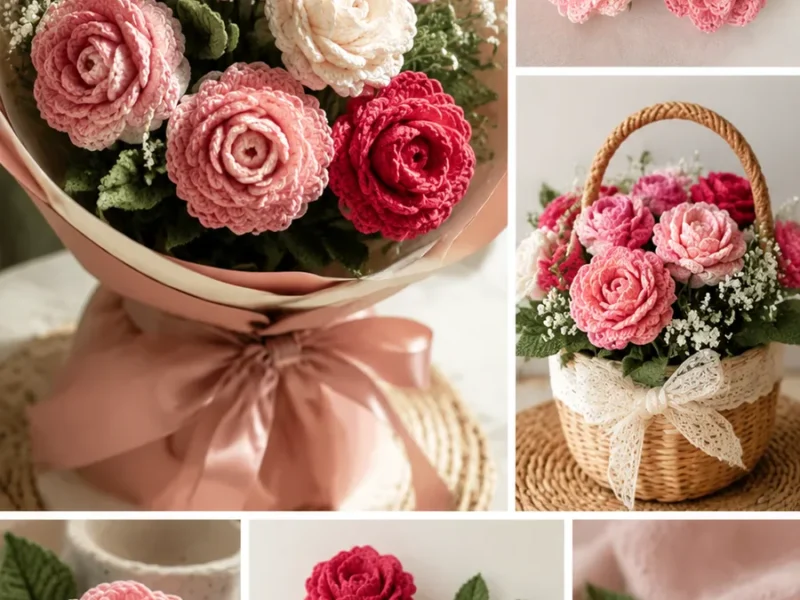
Use pastel shades for spring decorations or darker shades for elegant arrangements, and add more leaves for a fuller bouquet appearance.
Worth knowing
The satisfaction is in watching one flat strip become a rose. Row 2 sorts its stitches by height, sc at the edges, dc in the middle, so the row already wants to curl before you touch it. Row 3 adds increases to the outer section and the flare shows up fast. Rolling the strip and tacking the base is the moment it stops being a swatch and starts being a flower. The leaves are a quick contrast: a flat oval worked around a chain, shaped with 5 dc at the tip and a plain sc round to smooth the edge. Add a wire stem and the whole thing has weight and bend, like a stem should. It's a fast, forgiving build with a real payoff.
Common mistakes
- Petals Don't Curl Correctly If the rose does not naturally spiral, check your tension. Very loose stitches can create floppy petals, while extremely tight stitches can prevent shaping.
- Flower Looks Flat Layer the petals more tightly at the center and gently separate the outer rows after sewing. The final shaping creates the realistic rose effect.
- Leaves Lose Their Shape Blocking the leaves lightly and adding a small amount of shaping while drying can help them maintain their pointed oval form.
Intermediate
Progress Tracker
0 of 0 rounds
Tap a round to tick it off — your place is saved on this device.
The kit
- DK weight cotton yarn, approximately 35 yards (32 meters) red and 15 yards (14 meters) green
- 2.25 mm crochet hook (US B-1)
- Floral wire or thin craft wire for stem support
- Green yarn or floral tape for covering the stem
- Yarn needle
- Scissors
- Stitch marker
Rose Petal Strip
Use red yarn.
Ch 31.
Row 1Starting in the second chain from hook, work 1 sc in each chain across. Turn. (30 sts)
Row 2Ch 1, sc in first 5 sts, hdc in next 5 sts, dc in next 10 sts, hdc in next 5 sts, sc in last 5 sts. Turn. (30 sts)
Row 3Ch 1, sc in first stitch, 2 dc in next stitch, 2 dc in each of the next 8 stitches, sc in remaining stitches. (38 sts)Fasten off leaving a long yarn tail.
Leaf Pattern
Make 2Use green yarn.
Ch 8.
Round 1Starting in the second chain from hook, sc in next 2 chains, hdc in next 2 chains, dc in next 2 chains, 5 dc in last chain. Turn around the opposite side of the chain. Dc in next 2 chains, hdc in next 2 chains, sc in next 2 chains. Join with sl st. (20 sts)
Round 2Ch 1, sc around the leaf, placing 3 sc in the pointed end and 3 sc in the opposite end. Join with sl st. Fasten off.
Special Stitch Explanation
Petal Curve: A sequence of sc, hdc, and dc stitches creates different heights along the petal edge, allowing the strip to naturally curl when rolled.
Rolling the Rose
Place the shorter end of the petal strip at the center.
Roll the strip tightly into a spiral shape, keeping the lower edge aligned.
Use the yarn tail and yarn needle to stitch through the base several times.
Adjust the outer petals by gently opening the layers until the rose shape looks balanced.
Stem Construction
Cut a piece of floral wire approximately 5 inches (12.5 cm) long.
Wrap green yarn around the wire, securing the ends with yarn glue or tight stitches if desired.
Insert the covered wire into the base of the rose.
Attach leaves near the lower section of the flower using matching green yarn.
Assembly
Step 1Position the two leaves opposite each other beneath the rose bloom.
Step 2Sew firmly through the flower base and leaves.
Step 3Shape the petals and leaves with your fingers.
Step 4Secure all yarn ends and trim neatly.
Finishing
- After assembly, lightly shape the rose petals and leaves with your fingers. Cotton yarn responds well to gentle blocking, which can improve stitch definition and help the flower keep its form.
- Store finished crochet roses away from moisture and dust. If cleaning is needed, gently spot clean with mild soap and allow the flower to air dry completely.
Why it works
The petal strip is worked flat, in rows, because a spiral only forms once the strip is rolled by hand, not while crocheting.
Row 2's stitch heights run sc-hdc-dc-hdc-sc, placing the tallest stitches at center so the strip curves more at the outer edge than the inner one.
The leaf's increases sit at both chain ends, 5 dc at the tip and extra sc at each point in the final round, which is what gives the oval its two curved ends instead of straight sides.
What it becomes
- A single rose clipped to a gift bow, paired with plain wrapping paper so the flower stands out.
- A cluster of three or four roses glued or sewn onto a hair clip or headband.
- A small bouquet of these roses set in a bowl alongside other crocheted flowers for a no-water centerpiece.
Original pattern: https://duniarecipe.com/crochet-rose-flower-accessories-handmade-floral-crochet-ideas-patterns/
FAQ
Can I make this rose bigger?
Yes, the notes mention sizing up with thicker yarn and a larger hook, or adding extra stitches to the petal strip. Either approach keeps the same row structure, just scaled.
Do I need floral wire, or can I skip it?
The stem calls for floral wire or a crocheted cord, so you can choose either depending on whether you want a bendable stem. Wire gives it the ability to hold a pose.
Why does the petal strip use three different stitch heights?
The mixed sc, hdc, and dc heights are what make the strip curl naturally once rolled. Without that variation, the strip would roll into a flat disc instead of a layered bloom.
Is this a good pattern for a beginner?
It's listed as easy intermediate, and the stitches themselves are basic. The part that takes practice is rolling and securing the spiral neatly.