
Free Pattern
Step-by-Step
Crochet
AmigurumiA tiny amigurumi horse pattern for your shelf
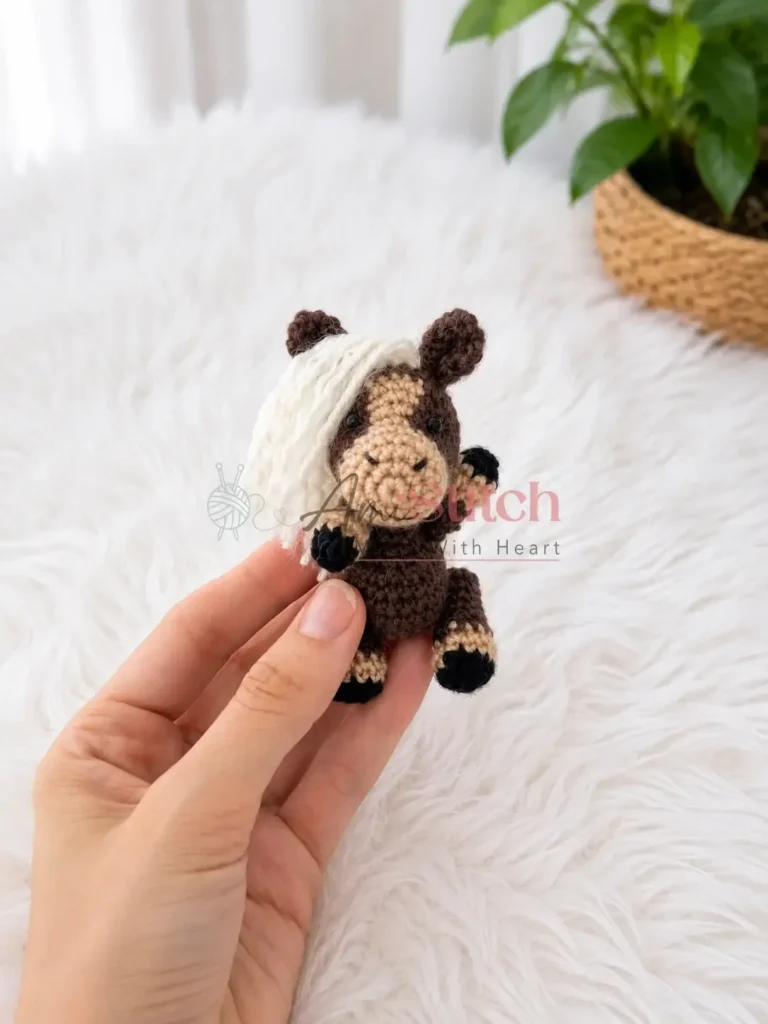
A small crochet horse pattern worked in fingering weight, finished at about eight centimeters tall.
- Level
- Intermediate
- Time
- 4-6 hours
- Hook
- 1.5 mm
- Yarn
- Fingering
Pattern highlights
- Make the ears separately in Brown yarn, then set them aside to attach once the head is finished.
- Build the body in the same spiral technique, letting it widen gradually from the magic ring upward.
- Work both legs and both arms as matching pairs, keeping tension even so the horse stands symmetrically.
- Pin the ears onto the head first, checking spacing before sewing anything down permanently.
- Sew the head to the body with a whipstitch, aligning the open edges all the way around.
- Finish by embroidering the face details and attaching the mane and tail in the accent color.
About This Pattern
A pattern like this lands in the small-amigurumi drawer of my notebook, the shelf for pieces under four inches. The Mini Amigurumi Horse fits there neatly, built from head, body, ears, legs, and arms worked separately then joined. It's the kind of project I reach for between bigger projects, something to finish in an evening. Four colors keep it simple without feeling plain, and the scale makes it a good traveling project, small enough for a pocket in a project bag.
Technique-wise, it's a tidy lesson in continuous spiral construction, no joins, no visible seams mid-round. The head carries a Gold-to-Brown color block across Rounds 6–9 that shapes the muzzle, while a back-loop-only round on the legs marks a crisp ridge between each hoof and leg. Increases follow the familiar amigurumi doubling pattern, six to twelve to eighteen, which keeps each part symmetrical. Ears and arms share the same five-round structure, so once you've made one small piece, the rest come quickly.
Finished, the horse stands about eight centimeters tall, barely bigger than a thumb. Fingering weight yarn keeps the stitches small and the proportions convincing for something this size. The fourth accent color goes to the mane and tail, the one flourish against three working colors. It's dense enough with fiberfill to sit upright on a shelf, sturdy enough to survive a child's grip, delicate enough to feel collectible.
Worth knowing
What I like here is the color-block trick on the head, Gold set against Brown across Rounds 6–9, a clean way to mark the muzzle without any embroidery shortcuts later. The increase sequence across body, legs, and arms follows the same doubling pattern throughout, so your hands learn it once and repeat it with less counting each time. Working in continuous spiral keeps the surface smooth, no seam line to fight when you're stuffing something this small. And the scale itself is satisfying: eight centimeters tall, four colors, eight small parts assembled into one animal that actually reads as a horse, not an abstraction.
Common mistakes
- Losing the round marker Continuous spiral has no natural stopping point. Keep a stitch marker in the first stitch of every round.
- Underfilled limbs Arms and legs are small and collapse without enough fiberfill. Stuff firmly before closing the last few stitches.
- Ears sewn off-center Pin both ears and step back before committing to stitches. Even a small shift throws the whole face sideways.
- Eyes placed too early or late Safety eyes go in during the head rounds, before stuffing closes the opening. Fit them while you still have easy access from the inside.


Intermediate
Progress Tracker
0 of 0 rounds
Tap a round to tick it off — your place is saved on this device.
The kit
Yarn
- Fingering weight (approx. 380 m / 100 g) in 4 colors — Brown, Gold, Black, and a fourth accent color for the mane and tail
Hook
- US Steel 6 / 1.5 mm
Safety eyes
- 3 mm, × 2
Stuffing
- Polyfill / fiberfill
- Stitch markers
- Yarn needle / tapestry needle
- Straight pins (for positioning parts before sewing)
- Scissors
Finished size
- Approx. 8 cm (3 in) tall
Head
Begin with Gold yarn.
Round 16 sc in MR. (6)
Round 2inc in each st around. (12)
Round 3sc, inc repeat 6 times around. (18)
Rounds 4–5sc in each st around. (18)Switch to Brown. Do not cut Gold yarn — leave it attached to pick up later.
Round 6Brown: 8 sc; Gold: 2 sc; Brown: 8 sc. (18)
Round 7Brown: 7 sc, inc; Gold: inc, inc; Brown: inc, 7 sc. (22)
Round 8Brown: 7 sc, inc, sc; Gold: 4 sc; Brown: sc, inc, 7 sc. (24)
Round 9Brown: 3 sc, inc repeat 2 times, 2 sc; Gold: sc, inc, 2 sc; Brown: sc, inc, 3 sc, inc repeat 2 times. (30)Cut Gold yarn and weave in end. Continue with Brown only.
Rounds 10–12sc in each st around. (30)
Round 133 sc, dec repeat 6 times around. (24)
Round 142 sc, dec repeat 6 times around. (18)Attach safety eyes between Rnds 7 and 8, with 6 sts between them. Stuff the head firmly.
Round 15sc, dec repeat 6 times around. (12)
Round 16dec 6 times around. (6)Cut yarn, weave in end, and pull tail through to the inside.
Ears (make 2)
Brown yarn.
Round 16 sc in MR. (6)
Round 2sc, inc repeat 3 times around. (9)
Round 32 sc, inc repeat 3 times around. (12)
Round 4sc in each st around. (12)
Round 52 sc, dec repeat 3 times around. (9)
Flatten the ear and whipstitch the opening closed. Leave a long yarn tail for sewing onto the head.
Body
Brown yarn.
Round 16 sc in MR. (6)
Round 2inc in each st around. (12)
Round 3sc, inc repeat 6 times around. (18)
Round 42 sc, inc repeat 6 times around. (24)
Rounds 5–7sc in each st around. (24)
Round 8dec 6 times, sc, dec repeat 4 times. (14)
Rounds 9–11sc in each st around. (14)
Round 125 sc, dec repeat 2 times. (12)
Round 13sc in each st around. (12)Leave a long yarn tail for sewing. Stuff the body firmly.
Legs (make 2)
Begin with Black yarn.
Round 16 sc in MR. (6)
Round 2inc in each st around. (12)Switch to Gold yarn.
Round 3BLO: sc in each st around. (12)
Round 4sc in each st around. (12)Switch to Brown yarn.
Round 5sc in each st around. (12)
Round 62 sc, dec repeat 3 times around. (9)
Rounds 7–10sc in each st around. (9)Stuff the leg firmly. Pull the opening closed, fasten off, and weave end inside.
Arms (make 2)
Begin with Black yarn.
Round 16 sc in MR. (6)
Round 2sc, inc repeat 3 times around. (9)Switch to Gold yarn.
Rounds 3–4sc in each st around. (9)Switch to Brown yarn.
Round 5sc, dec repeat 3 times around. (6)
Rounds 6–7sc in each st around. (6)Stuff lightly. Pull the opening closed, fasten off, and weave end inside.
Assembly
Step 1Flatten each Ear and pin it into position on Rnds 12–13 of the Head , with 5 sts between the two ears. Sew each ear on securely using the yarn tail.
Step 2Embroider the smile and nostrils onto the muzzle (Gold section) using a length of thin black yarn. Safety eyes should already be in place from the Head instructions.
Step 3Sew the Head to the Body , aligning the base of the head with the top opening of the body. Use the yarn tail from the body and whipstitch all the way around for a secure join.
Step 4Attach the Arms one round below the head-to-body seam, one on each side. You can sew them on directly, or use a thread-joint method (a length of yarn threaded through both arms and the body) to allow the arms to move freely.
Step 5Attach the Legs between Rnds 4 and 5 of the Body , one on each side. Use the same sewing or thread-joint method as for the arms.
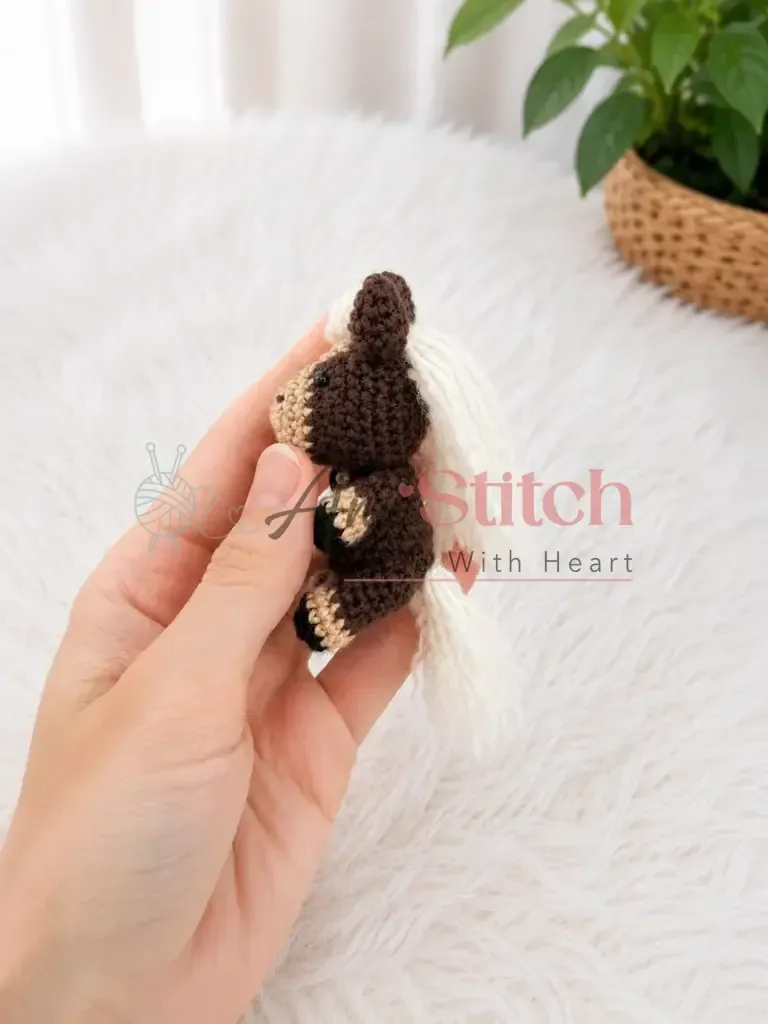
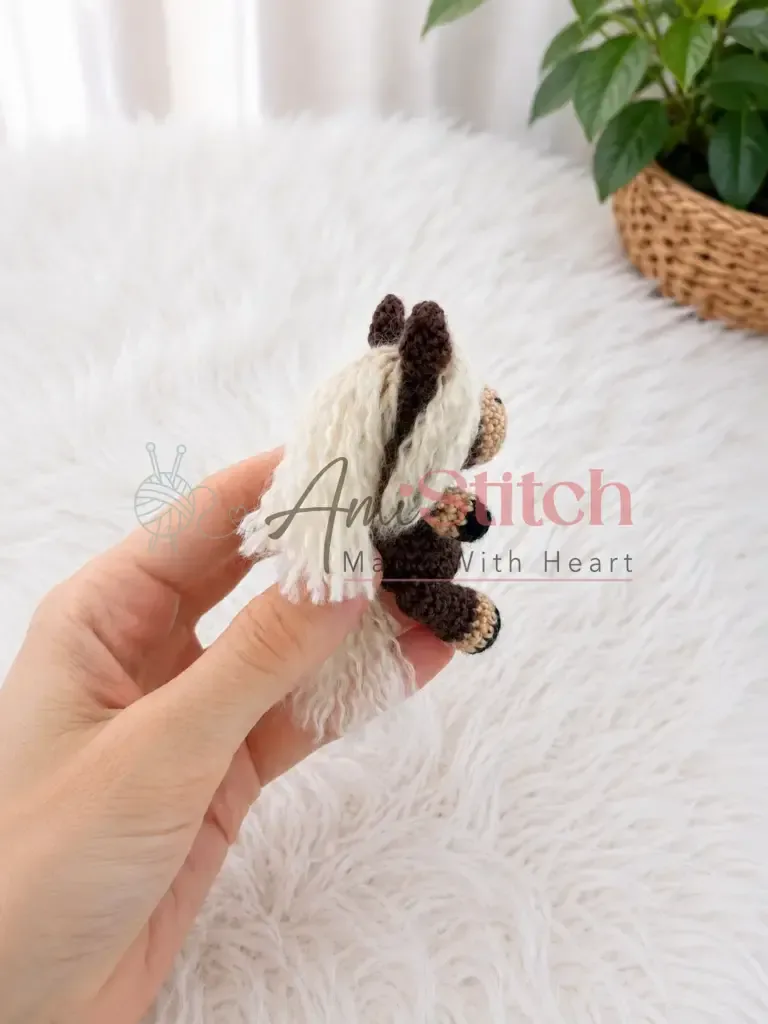
Step 6For the mane and tail , cut lengths of yarn to your desired thickness. Using your crochet hook, pull individual strands through the stitches of Rnds 12–14 of the Head (between the ears) to form the mane, and through Rnds 4–5 at the back of the Body to form the tail. Fold each strand in half as you pull it through so it is anchored at the midpoint. Trim to an even length. For a fluffier look, gently brush the strands with a stiff brush to separate the fibers.
Step 7Weave in all remaining ends.
From the collection
Finishing
- Cut and weave in the Gold yarn tail on the head after Round 9, once the Brown-only rounds begin, before moving to the next part.
- Stuff each piece firmly as you close it, since loose fiberfill shows through fingering weight stitches.
- Pin ears and limbs in place with straight pins before sewing, so both sides land even.
Why it works
The head alternates Gold and Brown across Rounds 6–9 to block in the muzzle, while the legs use a back-loop-only round where Gold meets Black to create a crisp ridge between hoof and leg.
Body, ears, and arms all begin with a six-stitch magic ring and double on the second round, the standard amigurumi start for every part.
Assembly relies on whipstitching the head to the body around the full opening, which hides the join inside the seam rather than leaving a visible edge.
The pattern is written in US crochet terminology throughout.
Gauge isn't critical for this project — what matters is a tight, even tension so the stuffing doesn't show through the stitches.
What it becomes
- A shelf piece for a small-scale animal collection, standing alongside other fingering weight amigurumi.
- A desk companion sized to sit next to a mug or a stack of pattern notebooks.
- A swap or trade piece for other crocheters building out a mini animal set.
Original pattern: https://amistitch.com/free-mini-amigurumi-horse-crochet-pattern/
FAQ
Can I use a different yarn weight for this mini horse?
This pattern is designed for fingering weight yarn with a 1.5 mm hook to produce a firm, dense fabric at the 8 cm finished size. Using a heavier yarn will result in a larger horse and a looser fabric that may show stuffing. If you substitute yarn, adjust your hook size accordingly and expect the finished dimensions to change.
Do I need to join at the end of each round?
No. Every part is worked in a continuous spiral, so you skip joins entirely and rely on a stitch marker to track the round.
Will the 3 mm safety eyes fit safely in such a small piece?
Yes, 3 mm safety eyes are specifically chosen for this scale. Insert them from the outside between Rnds 7 and 8, before completing the final decrease rounds on the head, while the opening is still large enough to reach inside.