
Free Pattern
Step-by-Step
Crochet
AmigurumiA tiny stackable penguin to crochet in thread
A mini amigurumi penguin worked in thread, with color-change rounds and a stackable shape.
- Level
- Beginner
- Time
- 2-4 hours
- Hook
- 3 mm
- Yarn
- Thread (lace weight)
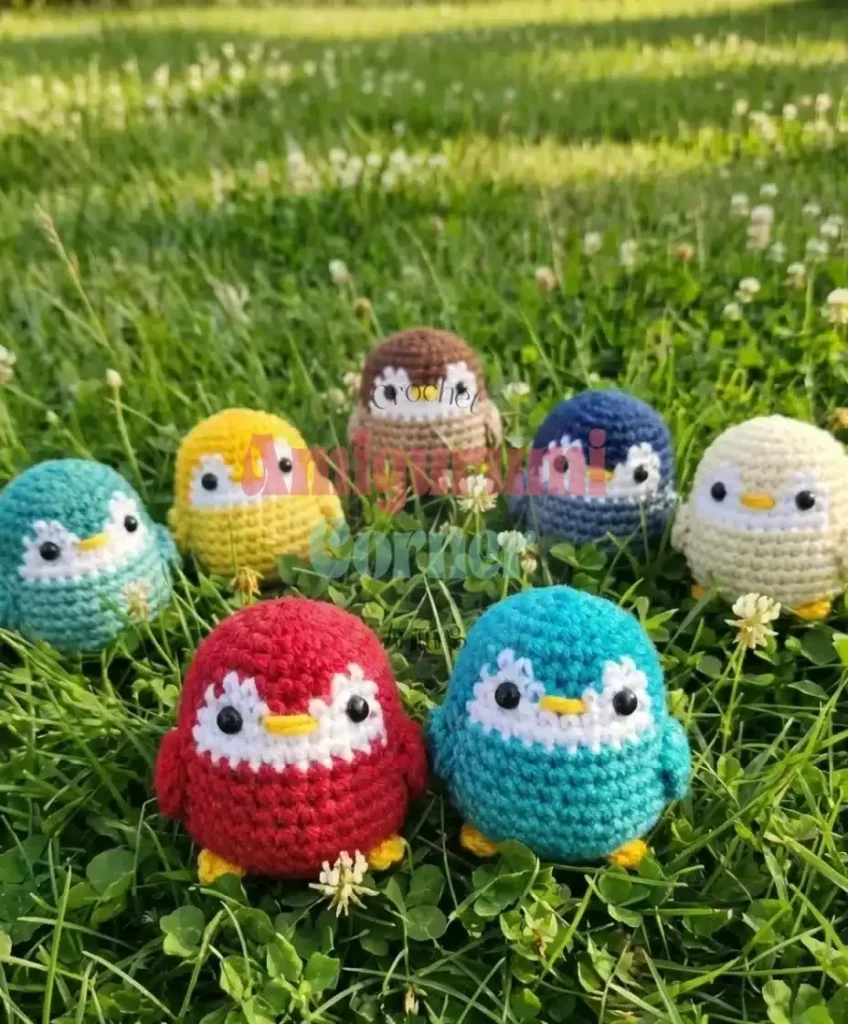
Pattern highlights
- Begin the head with a magic ring and build up through increase rounds to shape the face.
- Insert the safety eyes and stitch on the beak before the head rounds close.
- Start the body separately, increasing again before settling into even rounds for the stack.
- Make the tail, feet, and flippers as small separate pieces in their own colors.
- Stuff each part, then sew the flippers, feet, and tail onto the body at the marked rounds.
About This Pattern
A tiny penguin earns its spot on my shelf of pocket-size amigurumi. I collect pieces that stack, nest, or clip onto something else, and this one does all three. It's built in thread rather than yarn, which puts it closer to a charm than a cuddly toy. Mini stackable designs like this test how much shaping a pattern can pack into a few rounds. This one answers with a surprising amount of detail for something barely an inch tall.
Finished, this penguin stands about an inch tall. It's worked in a dark and light shade, plus white and yellow. It's small enough to hang from a keychain or sit in a row with other mini amigurumi. The safety eyes and embroidered beak give it a face despite the scale. At 2cm, there's no room for sloppy tension. The result is a sturdy little charm, not a fragile one.
Pattern Notes: finished at 2cm (about 1 inch) tall when worked with a 1.10mm hook and Monaco Mercerized Cotton Thread, this pattern is rated suitable for beginners and uses US crochet terminology, worked in continuous rounds.
Worth knowing
What I like here is how much shaping happens in so few stitches. The head's increase rounds build a round face fast. Round five then handles the white patches in one line, no seams, no extra ends. Safety eyes go in before the head closes, so I'm working blind for a round or two. That keeps me honest about tension. The tail is just two rounds, barely a flourish, but it still needs tight stitches to hold shape. Making the tail, feet, and flippers as separate pieces lets me color-block without juggling yarn mid-round. Sewing them on afterward, lined up at specific rounds, is what finally makes this penguin look assembled.
Common mistakes
- Inserting eyes too early Wait until rounds six and seven are worked before placing the safety eyes. Going earlier shifts the face proportions.
- Loose magic ring at start Pull the magic ring tail tight before working the first round. A loose ring leaves a visible hole at the top of the head.
- Tail stitched too loosely Keep tension tight through the tail's two rounds. It's too small for stuffing to hide any gaps.
- Guessing flipper and foot placement Mark the rounds for flippers and feet before sewing, since there's no row counter at this scale. A pin or thread marker saves the resewing.


Beginner
Progress Tracker
0 of 0 rounds
Tap a round to tick it off — your place is saved on this device.
The kit
Monaco Mercerized Cotton Thread in
- White
- Two shades of your chosen color (darker shade A and lighter shade B)
- Yellow (for beak and feet)
- Safety eyes (3mm) – 2 pieces
- Toy stuffing
- Embroidery/sewing threads in black
- Keychain attachment (optional)
- 1.10mm crochet hook
- Stitch marker
- Tapestry/sewing needle
- Scissors
- Glue
Head – Start in Color A
Color Guide: Color A represents the darker shade of your chosen color, while Color B represents the lighter shade. You'll create a beautiful two-tone effect!
Important Gauge Tip: Use a slightly smaller crochet hook than the suggested size for your yarn and crochet tightly. This helps color switches on the face look more seamless and professional.
Round 1Do 6 sc in magic ring (6)
Round 2inc in each st around [6 times] (12)
Round 3(inc, sc in next st) x 6 (18)
Round 4(inc, sc in next 2 st) x 6 (24)
Round 5sc in next 8 st, s2white, sc in next 2, s2colorA, sc in next 3, s2white, sc in next 2, s2colorA, sc in next 9 st (24)
Round 6sc in next 3, inc, sc in next 3, sc in next st, s2white, sc in same st, sc in next 3, s2colorA, inc, s2white, sc in next 3, sc in next, s2colorA, sc in same st, (sc in next 3, inc) x 2 (30)
Rounds 7–8sc in next 9, s2white, sc in next 10, s2colorA, sc in next 11 (30)
Tail – Make in Color B
Round 14sc in magic ring (4)
Round 2(inc, sc) x 2 (6)Cut thread and leave long tail for sewing.
Body (Start of Body)
Round 9s2colorB sc in each st around (30)
Round 10sc in each st around (30)
Round 11(inc, sc in next 4 st) x 6 (36)
Rounds 12–14sc in each st around (36)Assembly Note: Insert safety eyes between rows 6 & 7. Sew the beak with yellow yarn between the eyes.
Round 15(dec, sc in next 4 st) x 6 (30)
Round 16(dec, sc in next 3 st) x 6 (24)
Round 17(dec, sc in next 2 st) x 6 (18)Stuffing Note: Stuff body firmly at this point.
Round 18(dec, sc in next st) x 6 (12)
Round 19dec in each st around (6)Cut thread and sew close.
Feet – Make 2 in Yellow
Leave long tail before you start your chain for sewing.
Row 1Ch 2, hdc in 2nd ch from hookCut thread and leave long tail for sewing.
Flippers – Make 2 in Color B
Leave long tail before you start your chain for sewing.
Row 1Ch 5, skip the 2nd ch from hook and dc into the 3rd ch from hook, dc again in the next ch, tc in the last chCut thread and leave long tail for sewing.
Assembly
Step 1Follow these steps to bring your mini stackable chubby penguin to life:
Step 2Attach the Flippers: Sew the flippers to the sides of the penguin between rounds 10 & 11. Position them right before or after where the white part of the face is located. Secure firmly with sewing thread.
Step 3Add the Feet: Sew the feet between rounds 14 & 15. Align them in the space between the eye and the flipper for proper positioning. Secure with sewing thread.
Step 4Attach the Tail: Sew the tail between rounds 13 & 14 at the back of the penguin. Use the color switch point at the back as a reference for proper alignment.
Step 5Final Touch: Your penguin is complete! The sewing thread doesn’t need to exactly match your yarn since the pieces are too small for it to be noticeable.
From the collection
Finishing
- Weave in the starting tail from the head's magic ring before adding stuffing.
- Stuff the head and body firmly, pushing filling evenly before closing each piece.
- Sew the tail, feet, and flippers on last, lining each up at its marked round.
Why it works
The head increases every round from round one through round four, then holds steady for the face rounds.
Color changes in round five happen within the round, not between rounds, so white patches sit mid-face.
The tail is worked in just two rounds, since it's a small appendage, not a full shaped piece.
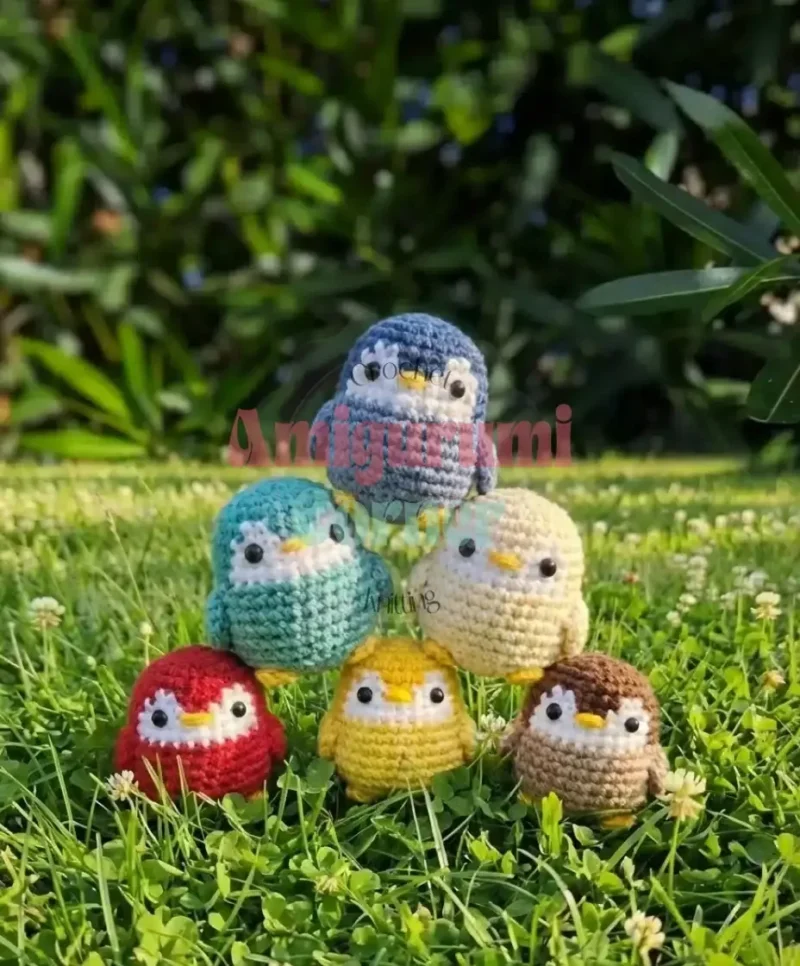
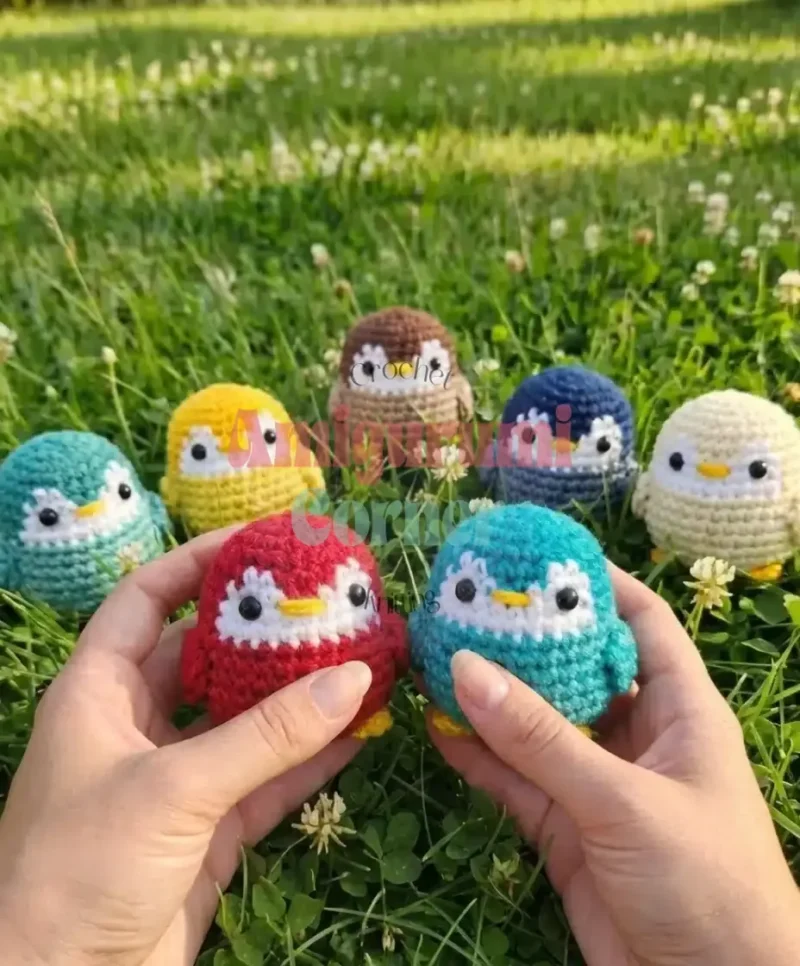
Popular color combinations for this pattern include classic black and gray, royal blue and sky blue, purple and lavender, pink and light pink, and teal and mint green, swap the two shades to build a whole penguin colony.
What it becomes
- Clip it to a keychain or bag zipper as a tiny charm that travels well.
- Line it up on a shelf with other mini amigurumi for a stacked display.
- Use it as a stitch marker or zipper pull on a knitting project bag.
Original pattern: https://amigurumicorner.com/mini-stackable-chubby-penguin-crochet-pattern-tiny-amigurumi-for-beginners/
FAQ
What hook size does this pattern call for?
A 1.10mm hook, meant for thread rather than yarn. That's what keeps the finished penguin close to its stated size.
Can I use regular yarn instead of thread?
You can, but the penguin will grow well past the size stated for this pattern. Stick with a similarly fine fiber if you want it to stay stackable with the others.
Why does the tail only have two rounds?
It's a small flat piece, not a full head or body shape. Two increase rounds give it just enough curve to sit flush against the back.
When should I insert the safety eyes?
Between rounds six and seven of the head, per the assembly note. Insert them any later and the stitches get harder to pierce.