Free Pattern
Step-by-Step
Crochet
Blankets & ThrowsFree Cloud Stitch Blanket Crochet Pattern for Cozy Texture
Learn the Cloud Stitch with this free crochet blanket pattern featuring puffy clusters, easy repeats, and cozy worsted cotton texture anyone can master.
Level IntermediateTime 4-6 HoursHook 5.0 mmYarn Worsted
Pattern highlights
- Chain an even number of stitches to set your foundation width, then place markers every 10 to 20 stitches to track your count.
- Work Row 1 by working a single crochet in the 2nd chain from the hook and in each chain across, then chain 1 and turn to establish the base fabric.
- Work Row 2 by slip stitching into the first stitch, then alternating a Cluster Stitch and a slip stitch across the row to start forming the signature puffy bumps.
- Let the cluster stitch prop open the stitches beneath it, which makes hooking into the following row's slip stitches much easier.
- Keep your tension relaxed through the cluster rows so each cloud puffs up nicely instead of flattening against the fabric.
- Work Row 3 with a single crochet in every stitch across (into each cluster and each slip stitch), then repeat Rows 2 and 3 until your blanket reaches the desired length, always finishing on a Row 3 for a neat, tidy edge.
- Check your stitch markers periodically to confirm your count has stayed even and consistent across the width.
- Fasten off and weave in your ends with a yarn needle once your rows are complete for a clean, finished edge.
About This Pattern
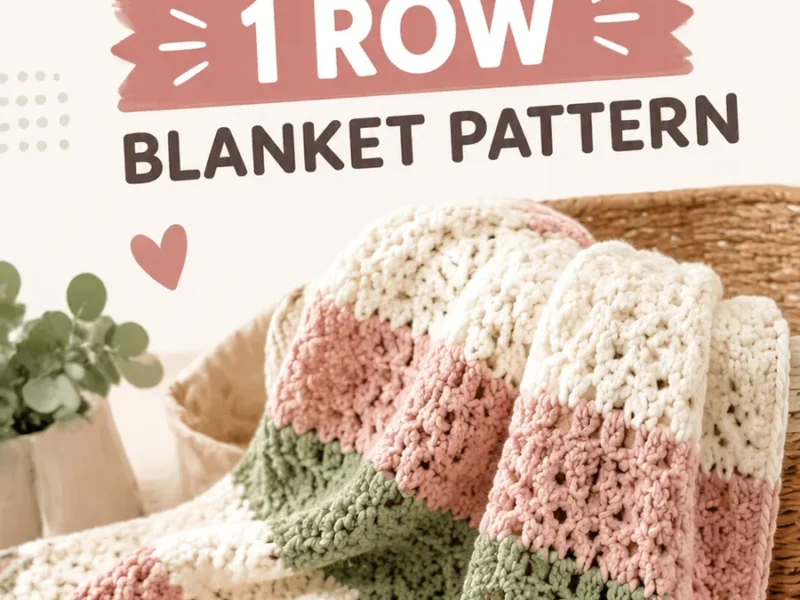
The Cloud Stitch Blanket is built entirely around one gorgeously puffy repeat that creates rows of soft, rounded bumps across the fabric. It's the kind of texture that photographs beautifully and feels even better under your fingers, making it a favorite for crocheters who want a statement piece without a complicated stitch dictionary. Whether you're making a lap blanket for the couch or a thoughtful handmade gift, this pattern delivers maximum visual impact from a surprisingly simple technique.
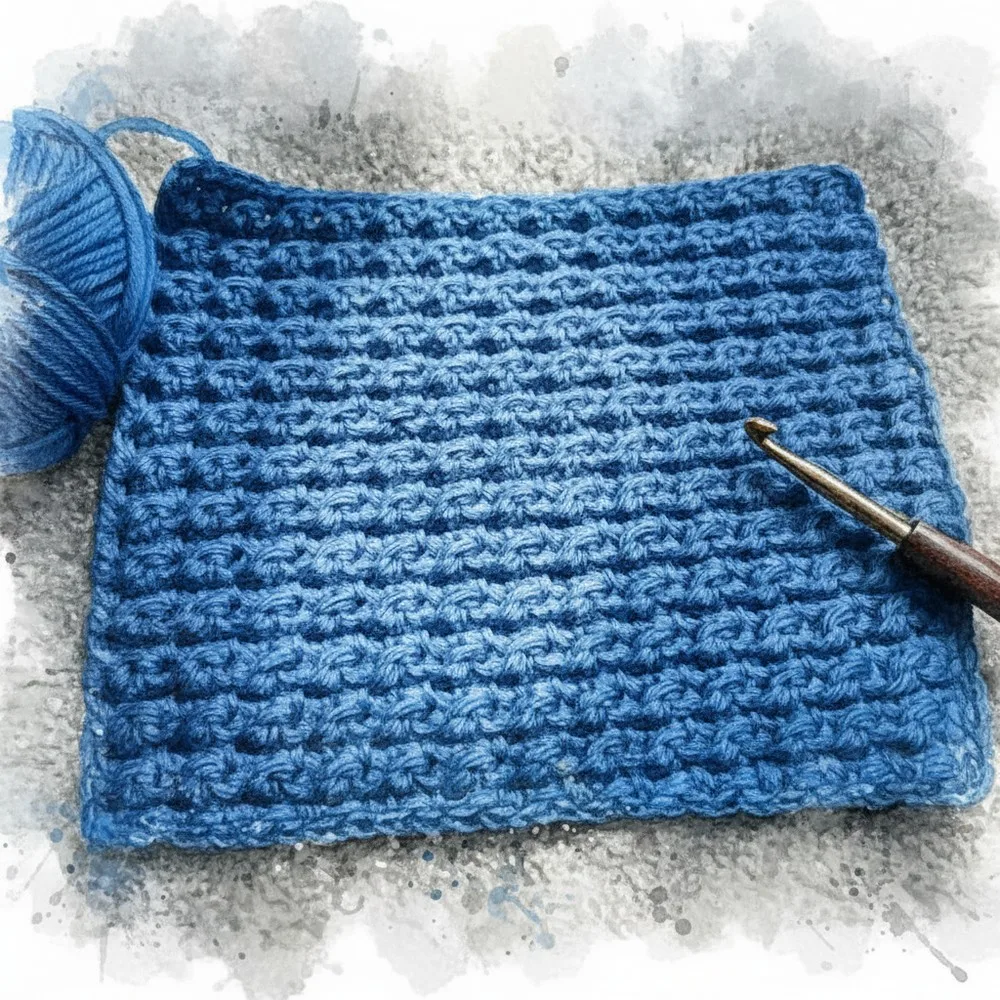
This pattern leans on two main techniques worked in alternating rows: a cluster stitch that forms the signature cloud-like bumps, and slip stitches that anchor and define each row. Because the cluster naturally props open the stitches beneath it, hook insertion stays easy even as the texture builds up. Comfortable beginners and confident intermediates alike can expect to finish a good-sized swatch or full blanket in a relaxing weekend or two of stitching.
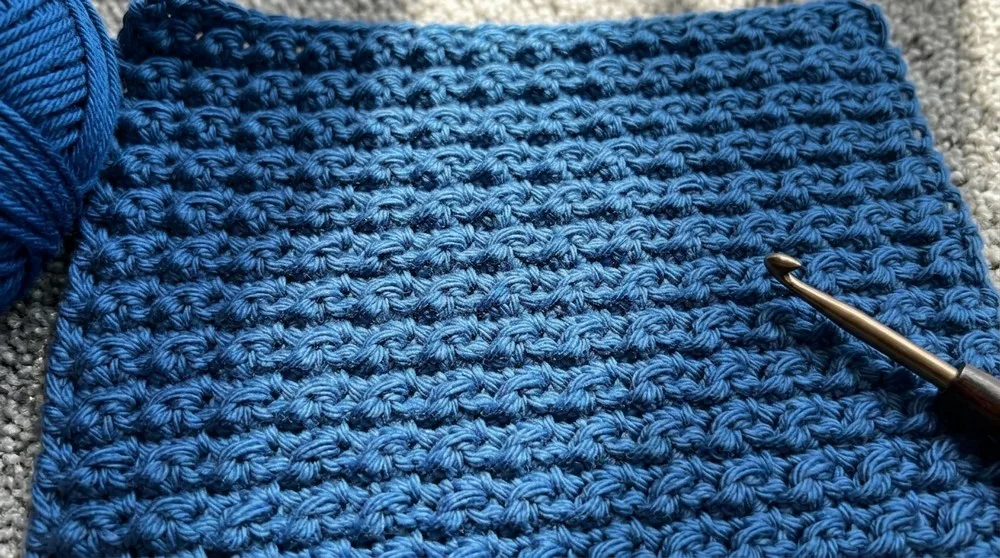
Finished pieces have a plush, dimensional surface that looks almost quilted, with soft clouds of texture repeating in tidy rows. Worked in cotton, the stitch definition really pops, giving the blanket a crisp, sculptural quality, while a worsted weight acrylic or blend softens the look into something extra snuggly. Either way, this is a blanket that feels special enough to give away and cozy enough to keep for yourself.
Variations
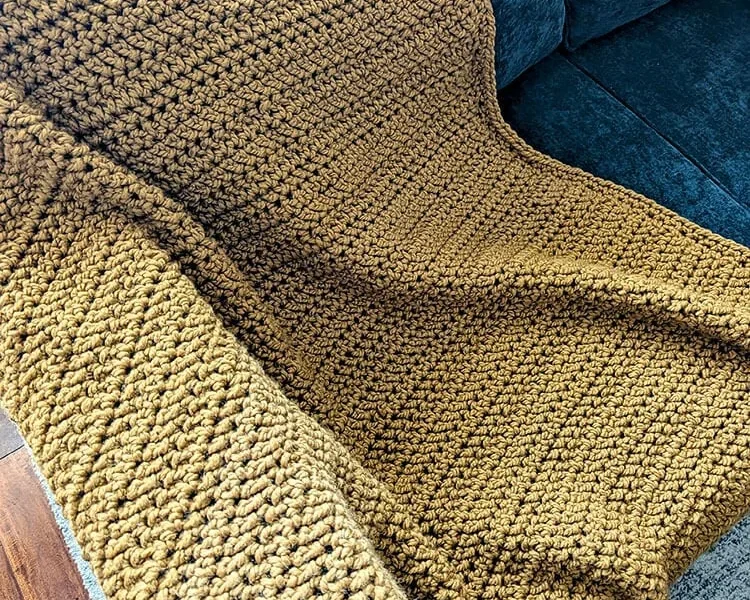
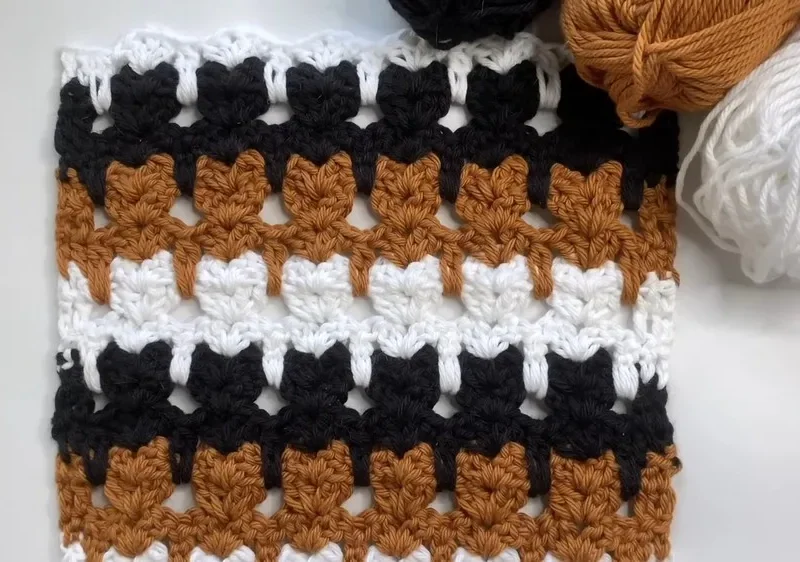
This pattern is a playground for color and yarn experimentation. Try a soft ombre effect by working a few rows each in dusty rose, blush pink, and cream — the clusters will read like puffy clouds drifting across a sunset sky. For a nursery version, swap in a baby-weight yarn like Pound of Love in pale yellow or mint, and simply work more foundation stitches (in multiples of your even-number base) to size the blanket down to a crib-friendly width. Want it extra dramatic? Use a variegated cotton like Mandala Baby in a cool blue-gray palette so each cloud cluster shows subtle color shifts without any extra color-change work on your part. If you're after a heavier, more rustic throw, substitute a chunky cotton-acrylic blend and size up to a 6.0mm or 6.5mm hook — just remember your slip stitches will need extra room, so keep your tension nice and relaxed. For a seasonal spin, alternate two colors every few rows to create wide horizontal stripes of clouds, which looks especially charming in a nursery or reading nook. You can also shrink the whole concept down: work a much shorter foundation chain and fewer rows to whip up matching cloud stitch dishcloths or coasters as a fun way to test your tension before committing to full blanket size. Finally, consider working the entire piece in a single richly saturated color, like a deep terracotta or forest green cotton, to let the sculptural cluster texture itself be the star rather than a color pattern.
I fell for this pattern the moment I saw how those little cloud clusters catch the light — each bump looks hand-sculpted, but it's really just one satisfying repeat worked over and over. There's something so meditative about alternating the cluster row with the slip stitch row; your hands find the rhythm fast, and before you know it you've got rows and rows of texture stacking up. I also love that the cluster stitch actually makes the slip stitches easier to work into, not harder — it props the stitches open so your hook glides right in, which is a small detail that makes a big difference when you're working a large project like a blanket. Using cotton yarn was a revelation for me; every single cloud stands out crisp and defined in a way that fuzzier yarns just can't match. It's forgiving enough for a confident beginner but textured enough to keep an experienced stitcher engaged, and that balance is exactly why I keep coming back to this one.
Common mistakes
- Losing track of stitch count
- Place a stitch marker every 10 or 20 stitches as suggested, then simply count markers instead of individual stitches to catch mistakes early.
- Starting with an odd number of foundation chains.
- Double-check your starting chain is an even number before beginning row one, since the whole repeat depends on that even count lining up correctly.
- Fighting to insert the hook into tight slip stitches.
- Remember the cluster stitch is designed to prop those stitches open, so if insertion still feels hard, size up your hook slightly or consciously loosen your tension on the slip stitch row.
- Working the cluster stitch too tightly
- Keep your tension relaxed specifically during the cluster stitch rows so each bump has room to puff up rather than lying flat against the fabric.
- Mixing up which row is the cluster row
- Use a removable stitch marker or a sticky note to track which of the two alternating rows you just completed, especially if you set the project down between sessions.
- Choosing a fuzzy or heavily textured yarn for a first try.
- Stick with a smooth worsted cotton like Pima Cotton for your first attempt so you can clearly see each cluster and slip stitch while you're still learning the rhythm.
Intermediate
Progress Tracker
0 of 0 rounds
Tap a round to tick it off — your place is saved on this device.
Materials
Yarn
- Worsted weight cotton yarn (e.g., Lion Brand Pima Cotton)
Hook
- 5.0 mm (US H/8)
Optional
- Stitch markers, scissors, yarn needle
Foundation
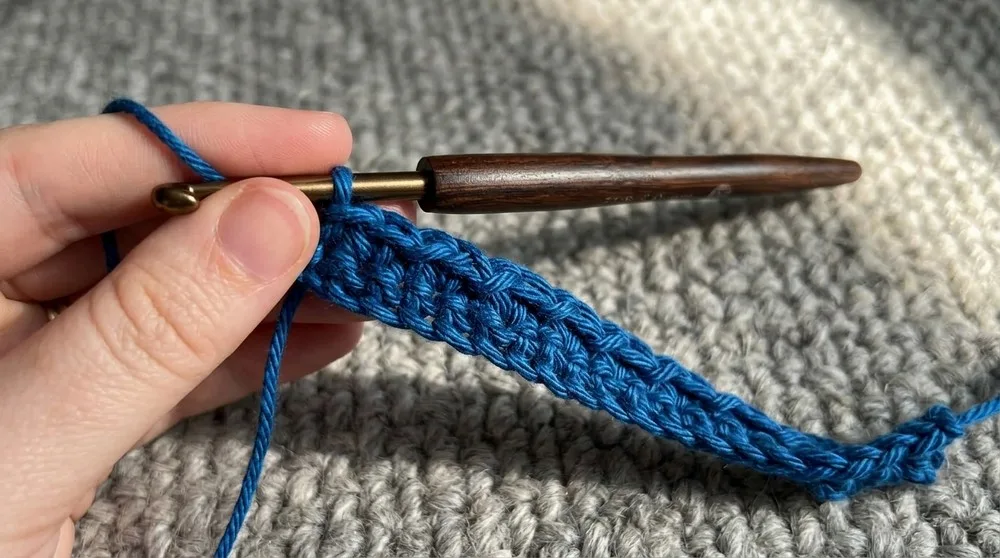
Ch any even number (e.g., for sample: ch 20).
- Row 1Sc in 2nd ch from hook and in each ch across. Ch 1, turn.Step by step Cluster Stitch (see Special Notes): (yo, insert hook in st, yo, pull up a loop, yo, pull through two loops) — 2 loops on hook. Insert hook in same st, yo, pull up a loop — 3 loops on hook. Yo, pull through all three loops. All sl st and sc are made in standard fashion, unless otherwise noted. Texture forms on one side only — the “right side.”
- Row 2Sl st in first st. Cluster Stitch in next st (see “Special Notes”), sl st in next st; rep from * across.End with sl st in final st.Ch 1, turn.
- Row 3Sc in first st (the previous row’s sl st). Sc in each st across (work into every cluster and every sl st).Ch 1, turn.Pattern Repeat Repeat Rows 2–3 for desired length. Always end with a Row 3 (sc row) for a neat edge. Fasten off, weave in ends.
Important notes
💡 Grab your stitch markers before you even start your foundation chain — placing one every 10 or 20 stitches makes it far easier to catch a miscount before it snowballs across the whole row.
💡 If you find yourself wrestling to insert your hook into a slip stitch, don't force it — size up to a slightly larger hook or consciously loosen your grip, since tight tension is almost always the culprit.
💡 Cotton yarn like Pima Cotton will make every single cloud cluster pop with crisp definition, so reach for it if you want that sculptural, dimensional look in your finished piece.
💡 Because the pattern is built on an even-number foundation chain, always recount your starting chain twice before diving into row one — it saves a lot of frustrating unraveling later.
💡 Let the cluster stitch do its job — it's specifically designed to prop open the stitches below it, so trust the structure and your hook insertions on the following row will feel much smoother.
💡 A 5.0mm (US H/8) hook is the sweet spot for worsted weight yarn in this pattern, but feel free to adjust up or down slightly depending on how tightly or loosely you naturally crochet.
💡 The cloud texture only forms on one side of the fabric — the “right side” — so keep track of which face is facing you as you work.
💡 Be sure to chain 1 and turn at the end of every row for consistent edges and even tension throughout the blanket.
More photos
FAQ
Can I use acrylic yarn instead of cotton for this blanket?
Absolutely — any worsted weight fiber will work for this pattern. Cotton simply shows off the cluster stitch definition a bit more crisply, while acrylic will give you a softer, fuzzier finished look.
Why does my foundation chain need to be an even number?
The cloud stitch repeat is built on pairs of stitches, so an even number ensures the pattern lines up evenly across the entire row. Starting with an odd count will throw off your repeat by the end of the row.
My slip stitches feel really tight and hard to work into — what am I doing wrong?
This is a common experience, not a mistake on your part. Simply size up to a slightly larger hook or intentionally loosen your tension, since the cluster stitch is meant to help prop the stitches open for easier insertion.
How many stitch markers do I actually need?
It depends on the width of your blanket, but placing one every 10 or 20 stitches along your foundation row is a great rule of thumb. This lets you count in small, manageable chunks rather than losing your place across a long row.
What size hook works best for a worsted weight cotton version?
A 5.0mm (US H/8) hook pairs well with worsted weight cotton for this pattern. If your stitches feel too tight or too loose compared to the intended texture, you can adjust up or down half a size.