Free Pattern
Step-by-Step
Crochet
Blankets & ThrowsHerringbone stitch chunky blanket to crochet at home
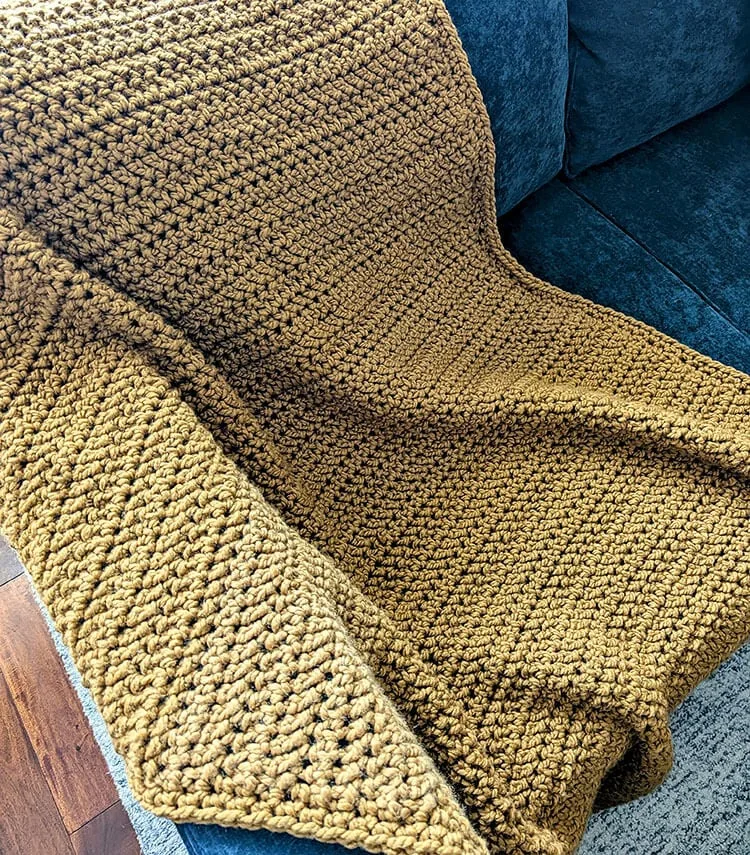
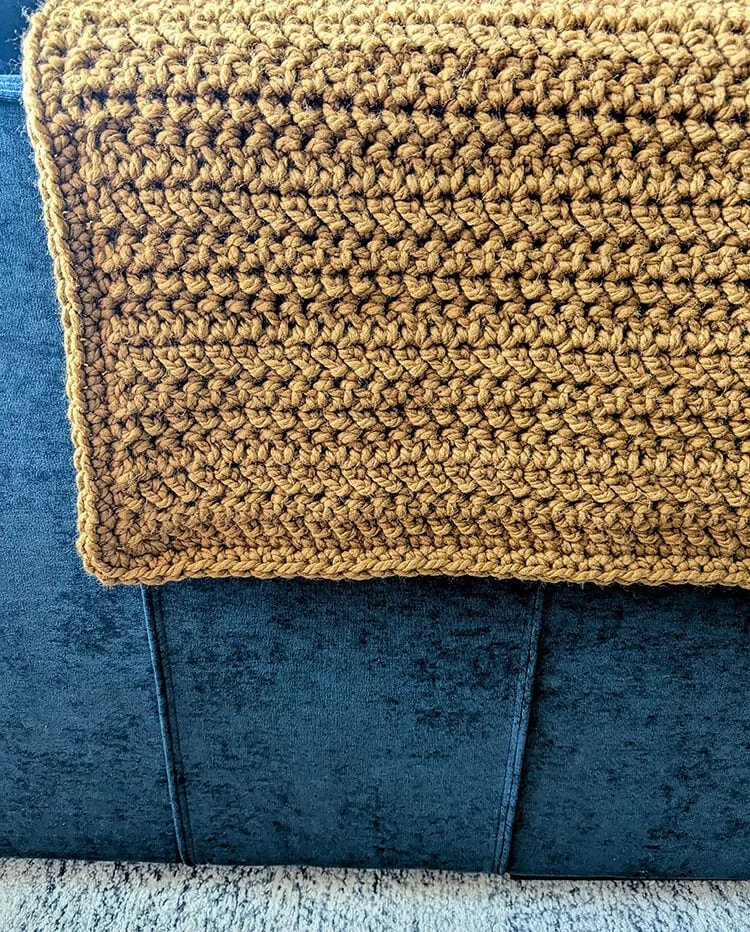
A chunky herringbone blanket worked flat, finished with a simple single crochet border.
- Level
- Intermediate
- Time
- 10-14 hours
- Yarn
- Chunky
Pattern highlights
- Chain across to set the width, then work the first row of herringbone half double crochet into it.
- Work a second hhdc row, then shift into herringbone double crochet for the next two rows.
- Alternate between the hhdc rows and the HBdc rows until the panel reaches your desired length.
- Keep chaining 1 and turning after every row to carry the straight edges upward.
- Without fastening off, pick up the border and single crochet once around the whole panel.
- Stack three stitches into each corner on both border rounds to keep the edges flat.
- Finish the second border round with a slip stitch, then fasten off and weave in ends.
About This Pattern
This one lands in the stack of weekend throws, somewhere between a baby blanket and a true bed-size afghan. The sizing guide that comes with it places it as a toddler blanket, 40 by 60 inches, though the chain count is yours to adjust. I keep it filed next to other herringbone projects — it is the kind of pattern you reach for when you want texture without a chart. Simple structure, satisfying result.
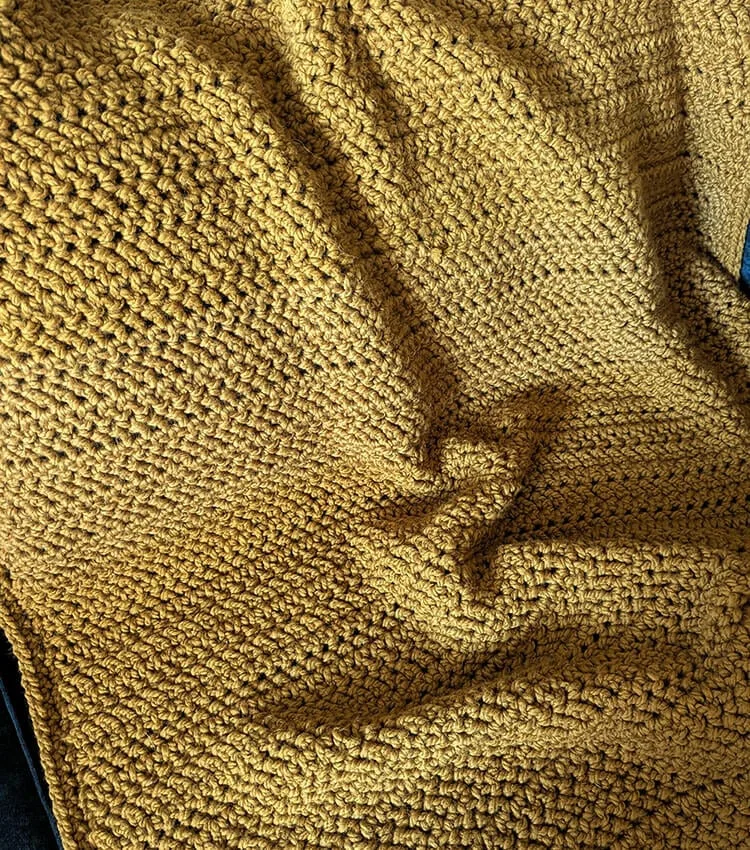
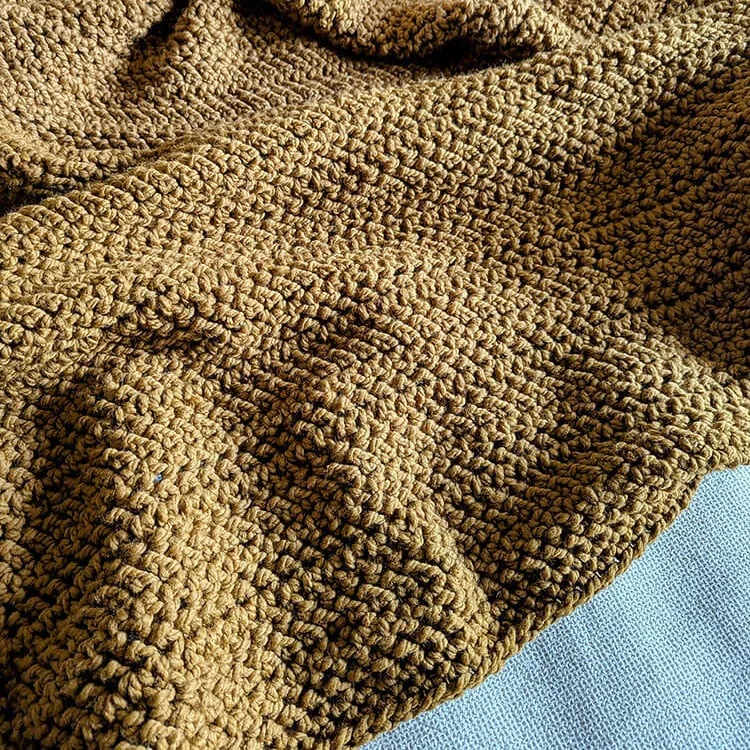
The body is built from herringbone half double crochet and herringbone double crochet, worked in alternating sets of rows. That alternation is what gives the fabric its ridged, almost woven look, rather than a flat slab of plain stitches. Every row turns with a chain 1, so the edges stay straight as the piece grows. It is a two-stitch vocabulary, but the rhythm between them does the real work here.
What comes off the hook is a rectangular panel, finished at 40 by 60 inches for the toddler-size version. A two-round single crochet border wraps the whole thing, with extra stitches stacked into each corner to keep it lying flat. No shaping, no seams — just one long panel and a border holding the edges in. It reads as substantial without being fussy.
Blanket Sizing Guide: Baby Blanket – 36 x 36 inches. Toddler Blanket – 40 x 60 inches. Lapghan – 36 x 48 inches. Throw Blanket – 48 x 60 inches. Twin Bed – 65 x 90 inches. Double Bed – 84 x 90 inches.
Worth knowing
There is something hypnotic about herringbone stitch once the rhythm clicks — hhdc, then HBdc, then back again. Each row looks almost knitted, with a diagonal lean that plain hdc never gives you. I like that the pattern asks for patience rather than skill: the stitches repeat in blocks, so you are not re-reading instructions every row. The single crochet border is the quiet hero. Three stitches at each corner keep a flat panel from curling, and the second round locks that shape in for good. For a project this size, the payoff is a blanket with real heft and visible texture, not just yardage used up. It is a straightforward make that still looks like it took skill.
Common mistakes
- Adding a chain 2 instead of chain 1 Both hhdc and HBdc rows in this pattern turn with a single chain. A chain 2 will throw off your edge alignment.
- Uneven corner stitches on the border Count out exactly three single crochet stitches per corner on both rounds, or the edge will ripple or pull tight.
- Overcrowding the border sides The side stitch count along the border is not critical here. Space stitches evenly instead of packing them in tight.
- Skipping the closing slip stitch Close the second border round with a slip stitch to the next stitch before fastening off, or the round won't sit flush.
- Counting the turning chain as a stitch The initial chain 1 does not count as a stitch. Don't work into it or add it to your stitch count at the start of the next row.
- Losing the first or last stitch of a row If you find it difficult to identify the first or last stitch of the row, using stitch markers can be very helpful in keeping track.
Intermediate
Progress Tracker
0 of 0 rounds
Tap a round to tick it off — your place is saved on this device.
The kit
- Size (approximate): 40” x 60”
- Gauge (4in x 4in): Approximately 7 stitches and 6 rows
- Size Adjustment: If you wish to modify the width of your blanket, start with a longer or shorter chain, using any quantity of chains. Continue by following the crochet pattern until your blanket is the desired length, bearing in mind your yarn requirements for any size adjustments.
Add the Border
Round 1With your yarn still attached, chain 1 and work single crochet (sc) around the entire blanket. At each corner, place three stitches in the same corner stitch to ensure a smooth edge. Once you return to the starting corner, place an additional three stitches in that corner to complete the round.
Note: When crocheting along the sides, it may be difficult to see your stitches. Do your best to evenly space them; exact stitch count is not critical here.
Round 2Continue working sc around the blanket, placing three stitches in each corner again. When you reach the original corner one final time, place three stitches, slip stitch to the next stitch, fasten off your work, and weave in any ends.
Main Pattern
FoundationTo begin, chain 70.(70)
Round 1Place 1 herringbone half double crochet (hhdc) in the third chain from the hook and continue with 1 hhdc in each chain across the row. After completing the row, chain 1 and turn your work. (This will give you 68 stitches)
Round 2Work 1 hhdc in the first stitch and continue with 1 hhdc in each stitch across the row. After finishing, chain 1 and turn your work.
Rounds 3–4Work 1 herringbone double crochet (HBdc) in the first stitch and in each stitch across the row. After each row, chain 1 and turn.
Rounds 5–6Repeat Row 1, working 1 hhdc in the first stitch and in each stitch across. Chain 1 and turn after finishing each row.Continue alternating between Rows 3-6 until your blanket reaches a length of 60 inches or your preferred length. Do not fasten off just yet; we will be adding a border to finish the blanket.
From the collection
Finishing
- Weave in the tail left from the border's final slip stitch before trimming it close.
- Check the long sides of the border for stray ends, since stitches there are easy to miss.
- Block the finished panel lightly if the corners need coaxing flat before it goes into use.
Why it works
The panel is worked flat in rows, not joined rounds, which keeps the herringbone texture reading in one consistent direction.
The body alternates hhdc rows with HBdc rows rather than repeating one stitch, which is what builds the ridged surface.
The border's extra three stitches at each corner compensate for the panel being a flat rectangle, stopping the fabric from cupping at the corners.
What it becomes
- Drape over the foot of a bed sized for a twin or guest room, paired with solid-color sheets.
- Keep folded on the arm of a couch for cooler evenings in a reading nook.
- Use at toddler size as a stroller or car blanket, paired with a simple matching lovey.
FAQ
Can I make this blanket a different size?
Yes. Start with any number of chains for the width you want, then work the main pattern until you reach your preferred length. Just budget extra yarn if you size up.
What is the difference between hhdc and HBdc in this pattern?
hhdc is herringbone half double crochet, used in rows 1, 2, 5, and 6. HBdc is herringbone double crochet, used in rows 3 and 4, and it gives a slightly taller row.
Why does the border need extra stitches at the corners?
The panel is a flat rectangle, so the corners need extra single crochet stitches to turn without pulling the fabric tight. Three stitches per corner, on both rounds, keeps the edge lying flat.
Do I need to count stitches exactly along the sides of the border?
No. The pattern notes that exact counts along the sides are not critical, since stitches can be hard to see there. Just space them evenly as you go.