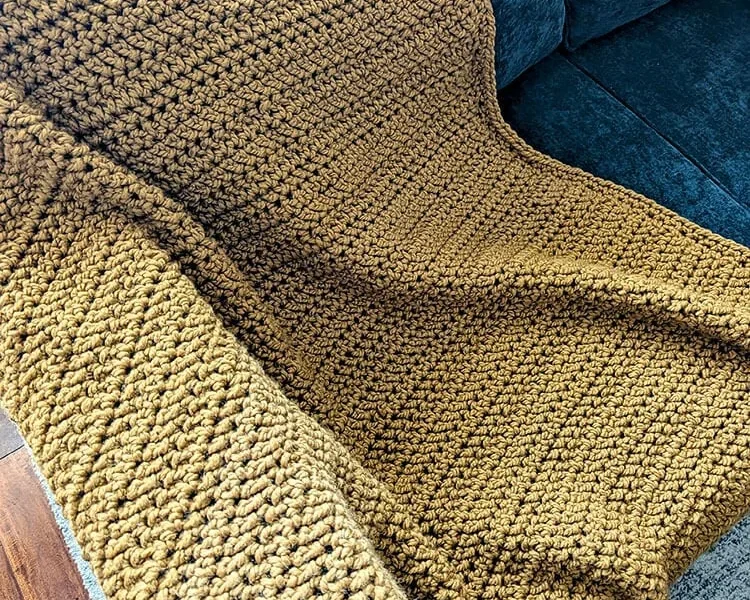
Free Pattern
Step-by-Step
Crochet
Blankets & ThrowsStriped bulky throw blanket with textured stitch repeat
A bulky striped throw blanket built from single and extended crochet rows.
- Level
- Intermediate
- Time
- 4-6 hours
- Hook
- 7.0 mm
- Yarn
- Bulky
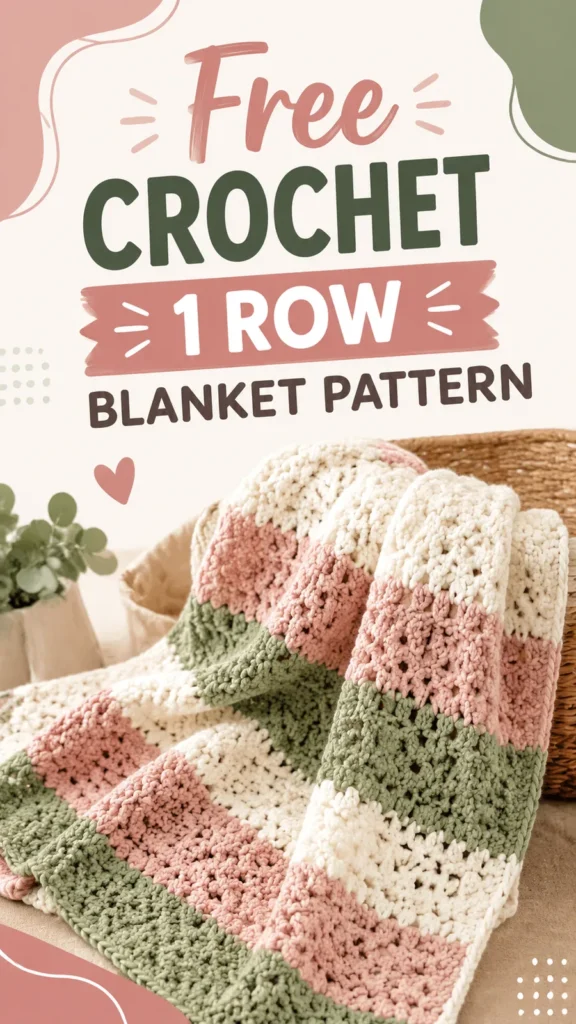
Pattern highlights
- Chain a long foundation row and work single crochet across to set your stitch count.
- Alternate extended single crochet rows with plain single crochet rows to build the textured surface.
- Continue alternating color sections the same way until the throw reaches your desired length.
- Work two rounds of single crochet around all four edges, adding extra stitches at each corner.
- Fasten off, weave in every end, and block lightly if you want crisper corners.
About This Pattern
Every notebook of mine needs one honest workhorse blanket, and this is it. No lace, no cables, just a row repeat that builds height fast. I keep coming back to patterns like this when I want proof of progress after one evening.
The technique here is the pairing of single crochet with extended single crochet, alternated row by row. That one extra yarn-over in the esc adds height and a faint ridge, which is how the surface gets its raised texture without any fancy stitch dictionary entry.
The finished object is a rectangular throw worked flat from the bottom edge up, then framed with two rounds of single crochet around all four sides. Wide color sections in Color A and Color B give it that soft, sectioned stripe look rather than thin bands.
Finished size is approximately 50 x 60 inches (127 x 152 cm), with a gauge of about 10 stitches and 8 rows in a 4 x 4 inch (10 x 10 cm) square worked in the pattern stitch.
Feel free to swap in your own favorite color pairing. Neutral tones, pastel shades, or seasonal colors all work well in place of the cream and blush shown here.
Worth knowing
I like a project where the texture does the talking. Alternating plain single crochet with extended single crochet rows is a small change, but it builds a surface with real depth, almost quilted. There is no shaping to track, no chart to misread, just a steady row count climbing toward a finished rectangle. The color change at Row 13 is the only moment that asks for attention, and it rewards you with a clean, wide stripe instead of a fussy thin one. Working bulky yarn on a 7.0 mm hook also means the rows go fast, so the texture builds visibly within a single sitting. It is a satisfying blanket to watch grow.
Common mistakes
- Confusing esc with regular sc Extended single crochet has an extra yarn-over-and-pull-through step before closing the stitch. Check your row height against the previous row if the count feels short.
- Losing stitches at the turn Count your stitches after every row and compare against the count given in the pattern. A single missed edge stitch compounds over many rows.
- Skipping the corner increases Forgetting the 3 sc in each corner during the border rounds leaves the throw curling instead of lying flat. Mark each corner stitch before you start the round.
- Uneven tension between stitch types Single crochet and extended single crochet pull differently, so keep your yarn tension consistent row to row. Swatch a few rows first if your gauge looks uneven.
Intermediate
Progress Tracker
0 of 0 rounds
Tap a round to tick it off — your place is saved on this device.
The kit
- Bulky weight yarn in Color A: approximately 1,200 yards (1,097 meters)
- Bulky weight yarn in Color B: approximately 1,200 yards (1,097 meters)
- 7.0 mm (US K-10.5) crochet hook
- Yarn needle for weaving ends
- Scissors
- Blocking mats and pins if desired
Main Pattern
Foundation Row: With Color A, chain 126.
Row 1Starting in the second chain from hook, work 1 sc across. Turn. (125 sts)Row 2: Ch 1, work 1 esc in each stitch across. Turn. (125 sts)
Row 3Ch 1, work 1 sc in each stitch across. Turn. (125 sts)Rows 4-12: Repeat Rows 2 and 3 five times. End with Row 3. (125 sts)Row 13: Change to Color B. Ch 1, work 1 esc in each stitch across. Turn. (125 sts)Rows 14-24: Repeat Rows 2 and 3 five times using Color B. End with Row 3. (125 sts)Rows 25-96: Continue alternating Color A and Color B every 12 rows until the blanket reaches approximately 60 inches (152 cm) long. Always maintain 125 stitches across each row.Final Row: Work one row of sc using the current color. Fasten off, leaving a long tail for weaving.
Border Instructions
Join Color A in any corner.
Round 1Ch 1, work sc evenly around the blanket edges. Place 3 sc in each corner. Join with a sl st to the first sc.
Round 2Ch 1, work sc around again, placing 3 sc in each corner stitch. Join with a sl st.Fasten off and weave in all ends.
Special Stitch
Extended Single Crochet (esc): Insert hook into indicated stitch, yarn over and pull up a loop, yarn over and pull through one loop, yarn over and pull through remaining two loops.
Assembly
Step 1To keep your crochet throw blanket looking beautiful, choose a washable yarn whenever possible. Follow the yarn label instructions for cleaning and drying. Most acrylic and acrylic-blend blankets can be gently machine washed, but always confirm the recommended care before washing.
Step 2Blocking is optional for bulky blankets but can help smooth the edges and improve the overall shape. Lay the blanket flat, gently adjust the corners, and allow it to dry naturally.
Finishing
- Fasten off after the final border round and weave in all yarn ends with a yarn needle.
- Check both color-change points along the side edges for any loose tails before trimming with scissors.
- Block the finished throw if desired, laying it flat and easing the corners square before it air-dries.
- Avoid stretching the bulky yarn too aggressively while blocking, since the thick, slightly raised texture is part of the blanket's charm.
Why it works
Each row begins in the first stitch of the previous row, which keeps the stitch count constant across the whole piece rather than tapering it.
The fabric is worked flat in turned rows because the stripe sections depend on clean color changes at a row's end, which is simpler to control than working in the round.
The two border rounds are joined with a slip stitch and gain three single crochet stitches at each corner, which squares off the rectangle after all those straight rows.
The width is controlled by the starting foundation chain and the length by the number of rows, so the pattern scales easily: use around 80 chains for a smaller baby blanket, or increase the foundation chain for a larger bed-size blanket. A larger hook gives a softer drape, while a smaller hook makes a firmer fabric.
What it becomes
- Drape it over the back of a couch as a textured layer that pairs well with plain throw pillows.
- Use it as a bedroom accent at the foot of the bed alongside solid-color bedding.
- Give it as a handmade gift for a housewarming or birthday, paired with a simple card.
Original pattern: https://duniarecipe.com/easy-free-crochet-afghan-patterns-simple-throw-blanket-ideas/
FAQ
Can I substitute a different bulky yarn?
Yes, any category 5 bulky yarn works as long as it is washable. Acrylic or a wool blend both give the cozy thickness this pattern is built around.
What does extended single crochet actually change?
The esc stitch adds one extra yarn-over-and-pull-through step compared to a regular sc. That extra loop adds height, which is what creates the raised, textured rows.
Why are the stripe sections so wide?
Each color section repeats the esc-and-sc row pair several times before the color change. That repetition is what gives the wide horizontal bands instead of thin stripes.
Do I need to block this blanket?
Blocking is optional for a bulky-yarn throw like this one. It mainly helps square off the corners after the border rounds, so it is worth doing if your edges look uneven.