
Free Pattern
Step-by-Step
Crochet
AmigurumiCrochet amigurumi cat pattern for a plush 32 cm toy
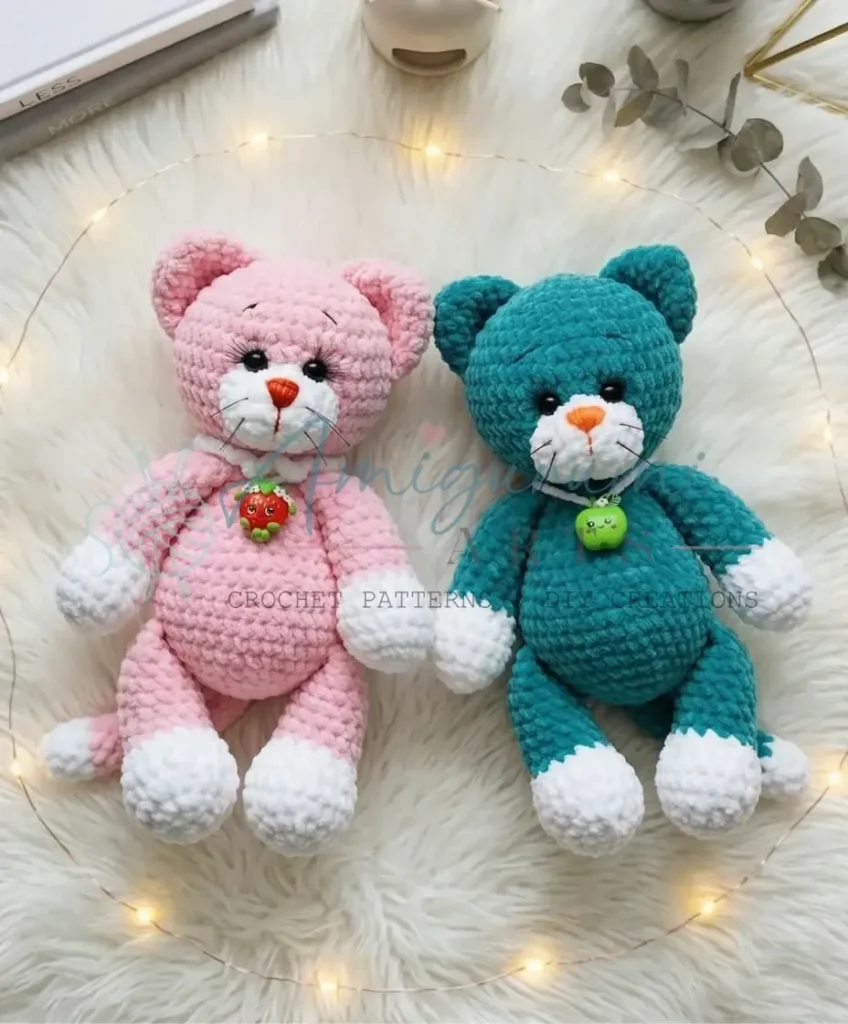
A 32 cm crochet amigurumi cat worked in spiral rounds with a white muzzle and ears.
- Level
- Intermediate
- Time
- 4-6 hours
- Hook
- 4.0 mm
- Yarn
- Bulky
Pattern highlights
- Start with the upper arms and tail, worked in white or main color from a magic ring.
- Make the lower legs from a flat chain-5 oval that rounds into a spiral foot.
- Build the body and head as separate continuous spirals before joining them.
- Stuff each piece firmly as you close it, since nothing is stuffed after assembly.
- Whipstitch the head, ears, and muzzle onto the body and face with the long tails.
- Finish with bead safety eyes, stick-on eyelashes, and the small charm collar.
About This Pattern
Every collection needs a cat eventually. Mine was overdue. This one lands at 32 cm, plush and round, built from bulky chenille-style yarn that does most of the softening work for you. It sits with amigurumi animals that lean cuddly over cute, the kind made to be held rather than displayed on a shelf out of reach.
The techniques here are the familiar amigurumi toolkit, but doubled up on hooks. A 4.0 mm hook carries the body, limbs and tail, while a smaller 3.0 mm hook tightens up the ears and muzzle so the face doesn't look loose next to bulky-yarn fur. The lower legs start flat-ish, from a chain oval, before rounding into a spiral.
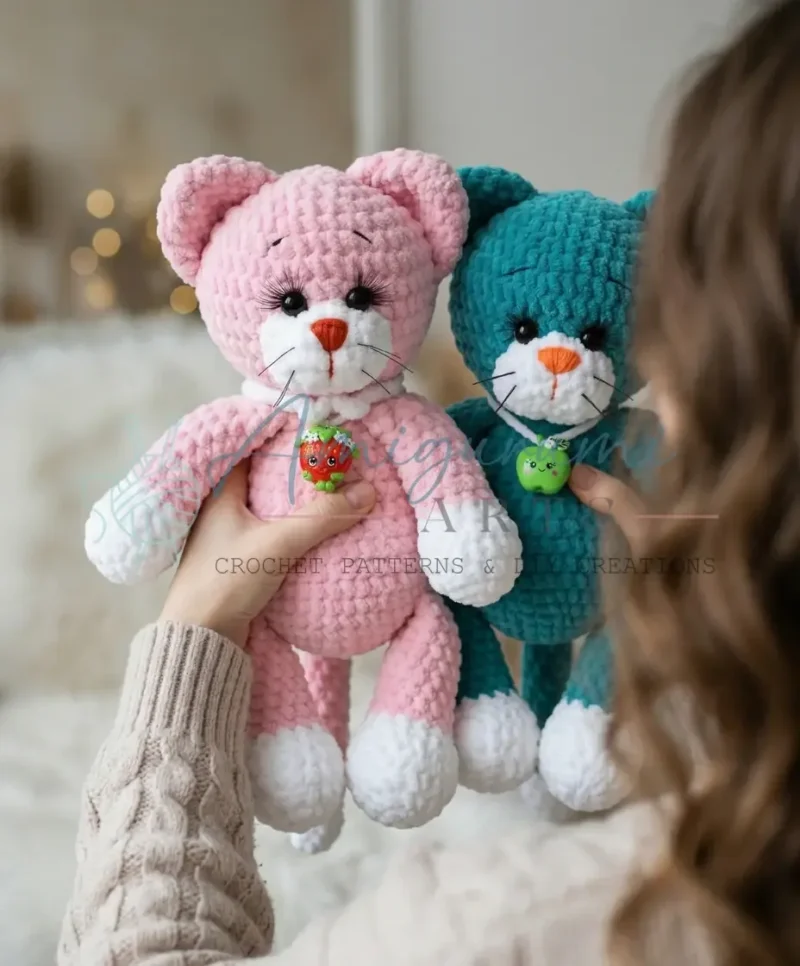
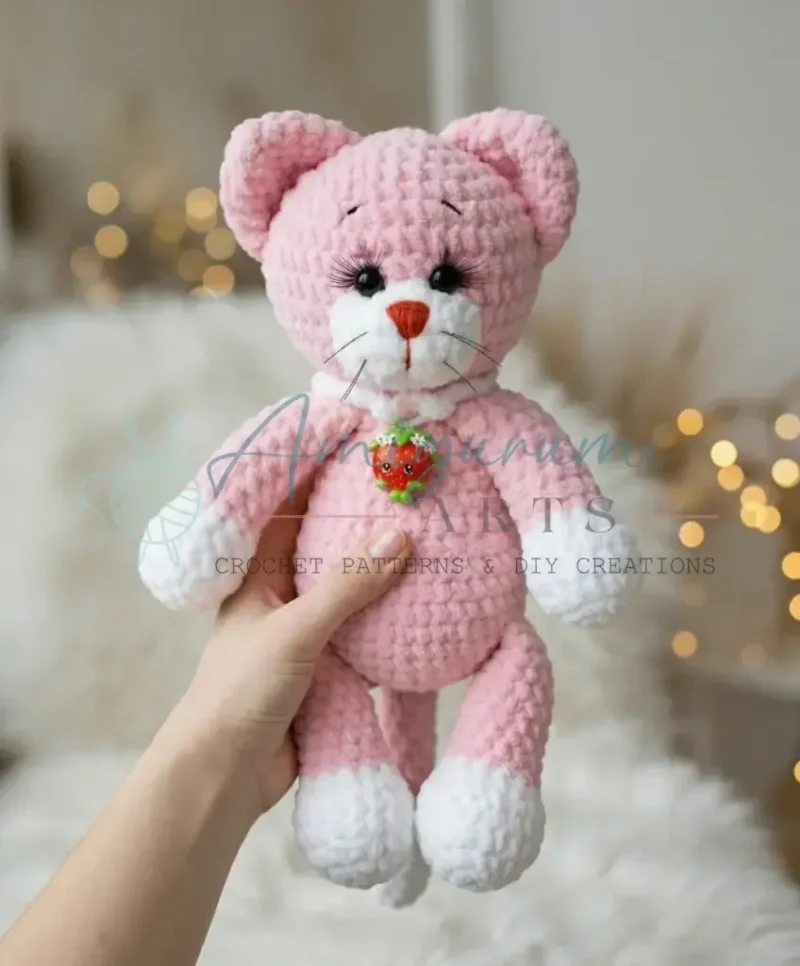
Finished, it's a seated cat with a white muzzle, white lower legs, bead safety eyes, and a small collar with a charm. Thirty-two centimeters puts it solidly in lap-toy territory. It wants fiberfill, a yarn needle, and patience with a tapestry needle for the whipstitch assembly at the end.
Common mistakes
- Losing the spiral round marker Drop a stitch marker at the start of every round and move it up each time. Without it, spiral rounds drift and the piece spirals visibly off-center.
- Skipping the back-loop-only row on the legs Work that one round through the back loop only, not both loops. It's what creates the ankle ridge; working it like the others erases the detail.
- Stuffing too late Stuff firmly as each piece closes, not after it's fully sewn shut. Trying to pack fiberfill through a tiny closed opening afterward is a losing fight.
- Rushing the flat oval start on the legs Keep the stitch count honest around the chain-5 foundation on both sides. An uneven oval here throws off every increase round that follows.


Intermediate
Progress Tracker
0 of 0 rounds
Tap a round to tick it off — your place is saved on this device.
The kit
Yarn
- Bulky-weight plush yarn (such as Dolphin Baby or any similar chenille/velvet plush), two colors — one main color and white; approximately one full skein total
Hook size
- US G-6 / 4.0 mm (main hook) and US D-3 / 3.0 mm (for ears and muzzle)
Decorative ribbon
- approximately 30 cm (12 inches) for the collar
- Small charm or pendant for the collar
- Button (for collar clasp)
- Yarn needle / tapestry needle
- Scissors
- Stitch marker
Tools
- Safety eyes (bead style): 8 mm or 10 mm — 2 pieces
- Fiberfill stuffing
- Stick-on or glue-on eyelashes
Upper Arms (make 2)
Begin with white yarn.
Round 16 sc in MR. (6)
Round 2Inc in each st around. (12)
Round 3(1 sc, inc) × 6. (18)
Round 4Sc in each st around. (18)
Round 5(1 sc, dec) × 6. (12)
Round 6Sc in each st around. (12)Change to main color yarn. Begin stuffing — pack the lower paw section firmly.
Rounds 7–15Sc in each st around. (12) [9 rounds total](12)
Round 16Fold the piece flat. Working through both layers, sc across — 6 sc through both walls. Fasten off and weave in ends.
Tail
The tail may be worked entirely in main color, or you can introduce a stripe of white yarn — your choice.
Round 16 sc in MR. (6)
Round 2Inc in each st around. (12)
Rounds 3–15Sc in each st around. (12) [13 rounds total](12)
Round 16(1 sc, dec) × 4. (8)
Round 17Sc in each st around. (8)
Round 18Fold piece flat. Working through both layers, sc across — 4 sc through both walls. Fasten off and weave in ends.
Lower Legs (make 2)
Begin with white yarn.
Round 1Ch 5. Starting in the 2nd ch from hook: inc, 2 sc, 3 sc in last ch; working back along the other side of the foundation chain: 2 sc, 3 inc, 2 sc, inc. This point becomes the start of the next round. (approximately 18 sts)
Round 22 inc, 4 sc, 2 inc, 6 sc around. (18) (Note: counts include both sides of the oval)
Round 31 sc, 2 inc, 6 sc, 3 inc, 6 sc. (23)
Round 4Sc in each st around working through back loop only (BLO) . (23)
Round 5Sc in each st around. (23)
Round 63 dec, 17 sc. (20)
Round 72 dec, 16 sc. (18)Stuff the foot/lower leg section firmly now. Change to main color yarn.
Rounds 8–15Sc in each st around. (18) [8 rounds total](18)
Round 16(1 sc, dec) × 6. (12)
Lightly stuff the upper leg.
Round 17Sc 3, then fold piece flat and work through both layers — 6 sc through both walls. Fasten off and weave in ends.
Body
Round 16 sc in MR. (6)
Round 2Inc in each st around. (12)
Round 3(1 sc, inc) × 6. (18)
Round 4(2 sc, inc) × 6. (24)
Round 5(3 sc, inc) × 6. (30)
Round 6(4 sc, inc) × 6. (36)
Round 7(5 sc, inc) × 6. (42) Attach both lower legs and the tail into this round as you work.
Round 8(6 sc, inc) × 6. (48)
Rounds 9–11Sc in each st around. (48) [3 rounds total](48)
Round 12(6 sc, dec) × 6. (42)
Round 13Sc in each st around. (42)
Round 14(5 sc, dec) × 6. (36)
Round 15(4 sc, dec) × 6. (30)
Round 16(3 sc, dec) × 6. (24)
Round 17Sc in each st around. (24)Begin stuffing the body now.
Round 18(2 sc, dec) × 6. (18)
Round 19Sc in each st around. (18) Attach both upper arms into this round as you work.
Round 20(1 sc, dec) × 6, sl st to join. (12)Fasten off and weave in ends. Finish stuffing through the remaining opening before closing completely.
Head
Round 16 sc in MR. (6)
Round 2Inc in each st around. (12)
Round 3(1 sc, inc) × 6. (18)
Round 4(2 sc, inc) × 6. (24)
Round 5(3 sc, inc) × 6. (30)
Round 6(4 sc, inc) × 6. (36)
Round 7(5 sc, inc) × 6. (42)
Round 8(6 sc, inc) × 6. (48)
Rounds 9–11Sc in each st around. (48) [3 rounds total](48)
Round 12(6 sc, dec) × 6. (42)
Round 13(5 sc, dec) × 6. (36)
Round 14(4 sc, dec) × 6. (30)Optional: For a rattling toy, place a small plastic Easter egg or Kinder-style capsule filled with a few dry buckwheat kernels or beads inside the head at this point before continuing to close.
Round 15(3 sc, dec) × 6. (24)
Round 16(2 sc, dec) × 6. (18)
Round 17(1 sc, dec) × 6. (12)
Round 18Dec × 6. (6)
Round 19Dec × 3. (3)Fasten off, pull yarn tail through remaining stitches to close, and weave in end.
Ears (make 2)
Use US D-3 / 3.0 mm hook.
Round 16 sc in MR. (6)
Round 2Inc in each st around. (12)
Round 3(1 sc, inc) × 6. (18)
Round 4(2 sc, inc) × 6. (24)
Round 5(3 sc, inc) × 6. (30)
Round 6Fold the piece flat. Working through both layers, sc across the top — 15 sc through both walls.Fasten off, leaving a long tail for sewing. Weave in short end.
Muzzle
Use US D-3 / 3.0 mm hook.
Round 1Ch 5. Starting in the 2nd ch from hook: 2 sc in same st, 2 sc, 3 sc in last ch; working back along the other side: 2 sc, inc. (11)
Round 22 inc, 2 sc, 3 inc, 3 sc, inc. (17)
Rounds 3–4Sc in each st around. (17)Sl st to join at end of Rnd 4. Fasten off, leaving a long tail for sewing.
Collar
Use US G-6 / 4.0 mm hook.
Foundation: Ch 25, ch 2 (counts as first dc).
Round 11 dc in 2nd ch from hook, 10 dc; [first picot point]: ch 3, sl st in same st; 1 sc, ch 3, sl st in same st; 1 sc, ch 2, sl st in same st; 1 sc, ch 3, sl st in same st; 1 sc, ch 3, dc in same st; 10 dc.At the end, ch 3 for a button loop, then sl st into the very first chain of the foundation. Fasten off and weave in ends. Sew button onto the opposite end to finish the clasp.
Assembly
Step 1Attach the head to the body — position the head centered on top of the body opening and sew in place using the yarn tail and a tapestry needle with whipstitch all the way around.
Step 2Sew on the ears — pin both ears to the top of the head symmetrically, then sew firmly using the long yarn tails.
Step 3Position and attach the muzzle — center the muzzle on the lower half of the face and sew around the entire edge.
Step 4Add the eyes — insert your 8 mm or 10 mm bead safety eyes just above the muzzle, spacing them evenly on either side of center. If using glue-on beads, allow adhesive to cure fully before continuing.
Step 5Embroider the nose — using a contrasting yarn or embroidery floss, work a small triangle or Y-shape over the top center of the muzzle.
Step 6Embroider the brows — work two small curved stitches above the eyes.
Step 7Attach lashes — apply stick-on or glue-on lashes just above each eye.
Step 8Add whiskers — cut lengths of stiff thread or fishing line and draw them through the muzzle with a needle, trimming to your preferred length.
Step 9Finish the collar — thread the decorative ribbon through or around the collar, attach the charm, and tie or fasten it around the cat’s neck. Secure the collar button clasp.
Step 10Weave in all remaining ends thoroughly.
From the collection
Finishing
- Weave in all yarn ends with a tapestry needle before assembly, leaving the long construction tails free.
- Stuff each piece firmly with fiberfill as you close the final rounds, since the pattern doesn't stuff after the fact.
- Whipstitch the head, ears, and muzzle into place using the saved yarn tails, then attach the eyes, eyelashes, and collar last.
Why it works
The lower legs begin with a chain-5 oval worked around both sides, the same method used for flat amigurumi feet, before the increases taper off and the piece continues as a closed spiral.
A back-loop-only round on the lower legs creates a visible ridge, which functions as the ankle line without any separate shaping round.
Every main piece is worked in a continuous spiral with a stitch marker tracking the round start, except the one-round collar, which is worked flat as a strip.
Written in US crochet terminology throughout; stitch counts are given at the end of each round in parentheses.
Gauge is not critical for this project; finished size will vary slightly with yarn and tension. Using the specified yarn and hook sizes produces a toy approximately 32 cm (12.5 inches) tall.
Safety note: if making this toy for a child under 3, replace bead safety eyes with embroidered eyes and omit the small charm.
What it becomes
- A keepsake toy for a nursery shelf, paired with other amigurumi animals in the same yarn family.
- A handmade gift that pairs naturally with a small knit blanket or a set of wooden toys.
- A soft mascot for a craft fair table, displayed alongside other plush chenille-yarn makes.
FAQ
Can I skip the second, smaller hook?
You could, but the ears and muzzle will sit looser against the bulky body yarn. The pattern uses the 3.0 mm hook specifically to tighten those small detail pieces.
Why does the lower leg start with a chain instead of a magic ring?
The chain-5 foundation creates a flat oval base, which gives the foot its shape before the rounds build up and taper into a leg. It's the same method used for flat amigurumi feet generally.
Does the tail have to be striped?
No, the pattern notes the tail can be worked entirely in main color or with a white stripe, your choice. Either way the round count stays the same.
What size safety eyes should I use?
The pattern calls for 8 mm or 10 mm bead-style safety eyes, two pieces total. Either size works; it's a matter of how large you want the face to read.