
Free Pattern
Step-by-Step
Crochet
AmigurumiCrochet elf amigurumi pattern for shelf decor
A crochet elf amigurumi worked in single crochet rounds, with safety eyes and embroidered details.
- Level
- Intermediate
- Time
- 4-6 hours
- Hook
- 4 mm
- Yarn
- Worsted
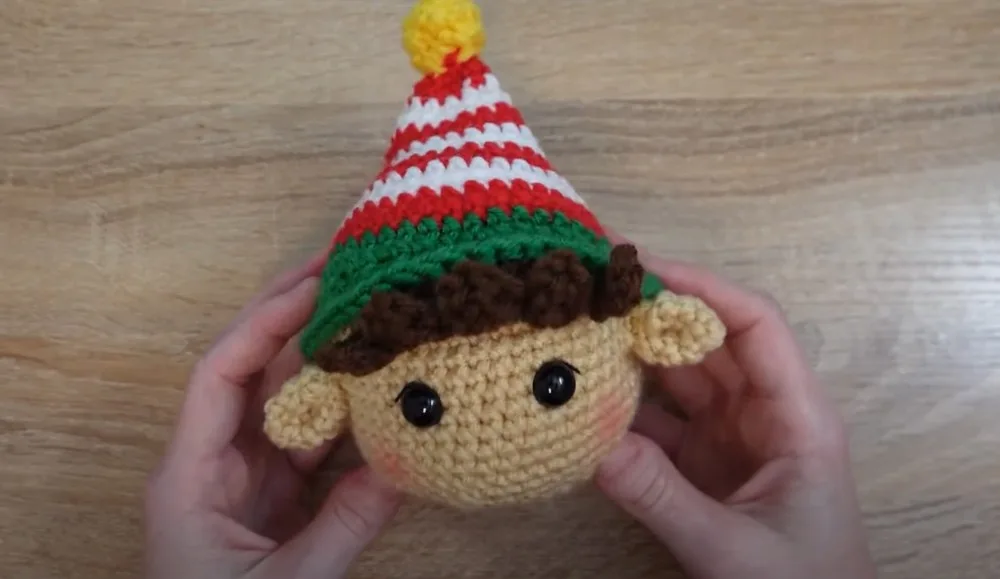
Pattern highlights
- Begin the head with a magic ring in flesh tone yarn and work continuous single crochet rounds.
- Increase steadily over the following rounds to shape the head before stuffing it.
- Insert the safety eyes into the head partway through, before the last rounds are worked.
- Close the head by gathering the final round through its front loops and pulling tight.
- Start the hat from its own magic ring in yellow, joining each round with a slip stitch.
- Work the hair and ears, then attach every piece and add the eyelash and blush details.
About This Pattern
This elf joins the shelf of small crocheted characters I keep adding to, one head at a time. It is not a quick coaster or a granny square; it asks for patience through nineteen rounds of shaping before you even reach the face. I like patterns that make you build a whole personality from single crochet, and this one does that with a hat, hair, and a pair of ears still to come.
The construction leans on two core techniques: a continuously worked magic ring for the head, and a joined, slip-stitched round for the hat. That contrast matters. The head grows in a spiral with no seam, while the hat's joined rounds give it a defined edge to sit against the skull. Closing the head by gathering front loops is the kind of finishing trick that looks fussier than it is.
What comes out the other end is a stuffed flesh-tone head topped with a yellow-and-red hat, brown hair, small ears, and a face finished by hand. The eyelash floss and blush are added after the crochet is done, so the doll's expression is really decided last. It is a small object with a lot of decisions packed into it.
Common mistakes
- Losing track of the round marker Move the stitch marker up into the first stitch of each new round as you go, especially through the long stretch of increase rounds.
- Stuffing only at the very end Add fiberfill gradually as you approach the final rounds so the head keeps a round shape instead of a lumpy one.
- Placing safety eyes too late Insert the eyes before you close the head; once the front loops are gathered shut you cannot fit the eye backs through.
- Pulling the joined hat rounds too tight Keep an even, relaxed tension on the slip stitch joins so the hat brim doesn't pucker or curl.
- Sloppy color change from yellow to red Weave in the yellow end and start red cleanly at a round's start so the color break sits in a straight line.


Intermediate
Progress Tracker
0 of 0 rounds
Tap a round to tick it off — your place is saved on this device.
The kit
- Worsted weight yarn in colors: flesh tone for the head, white, yellow, red, green, brown for the hair, and black for the eyelash details.
- 4mm crochet hook
- Safety eyes (or embroidery options for eyes)
- Yarn needle
- Stitch markers
- Fiberfill for stuffing
Optional
- blush for cheeks, greeting card for gifting
Magic Ring
Make a magic ring with flesh tone yarn.
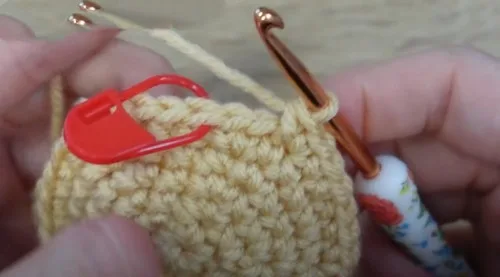
Round 16 single crochets in the magic ring. Place a marker in the first stitch for the beginning of the round.Round 2: Make 2 single crochets in each stitch around (12 stitches total).
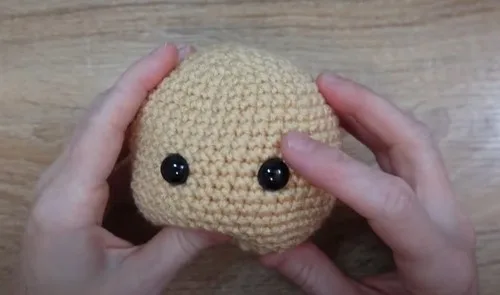
Round 3-19Single crochet in each stitch around. During rounds, increase stitches accordingly to shape the head (specific increases not detailed in the input text).Insert safety eyes between the 14th and 15th rounds after round 19.Finish round 19 and proceed to add stuffing.Continue to decrease in subsequent rounds until the head closes.
Starting with Yellow Yarn
Repeat magic ring.
Round 16 single crochets in the magic ring. Transition to joined rounds with slip stitches at the end of each round.Increase stitches to widen the hat through rounds, switching to red after a few rounds of yellow.
Closing the Head
Use a yarn needle to sew through the front loops of the last round and pull tight to close. Weave in the end.
Working with Red Yarn
Continue increasing in the red yarn.
After achieving the desired width and height, switch to white yarn for a few rounds for added design contrast.
Finish the hat shaping with green yarn following a similar increasing pattern.
Secure and weave in all ends.
Hair
Attach brown yarn to the unused loops from one of the rounds (details about specific round unspecified in the input).
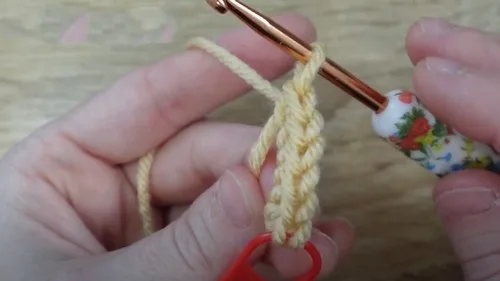
Chain and half double crochet back into the chain, creating strands. Attach each strand securely.
Ears (Not Detailed in Input)
Assume similar to head texture. Make two ears, shape, and attach under the hat on each side of the head.
Assembly
Step 1Ensure all parts are securely attached, all ends are woven in, and the doll is neatly finished.
Step 2youtube
From the collection
Finishing
- Stuff the head firmly through the open rounds before working the closing round.
- Gather the last round through its front loops and pull tight, then weave in that end.
- Weave in every remaining end from the head, hat, and hair before attaching the pieces and adding eyelash floss and blush.
Why it works
The head is worked in continuous rounds from a magic ring, which leaves no seam running up the back of the skull.
The hat is joined at the end of each round with a slip stitch instead of worked as a spiral, giving it a defined edge to meet the head.
The head closes by drawing a needle through the front loops of the final round, gathering the opening shut without a separate seam.
What it becomes
- Add it to a growing shelf of small amigurumi characters as another figure in the lineup.
- Use it as a desk companion that pairs well with a mug or a small potted plant nearby.
- Set it beside a wrapped gift as a handmade topper instead of a store-bought bow.
Original pattern: https://crocheteverything.com/crochet-elf-bauble-pattern/
FAQ
Can I embroider the eyes instead of using safety eyes?
Yes, the materials list gives embroidery as an alternative to safety eyes. Either way, work the eye detail before you close the head.
How much yarn do I actually need for each color?
The pattern doesn't give exact yardage for flesh tone, yellow, red, or brown. Keep a spare skein of the head color on hand since it covers the most rounds.
The ears aren't fully detailed, what do I do?
The source doesn't spell out the ear construction, so I'd use a small amigurumi ear method you already know, worked in the flesh tone yarn. Keep them small so they sit in scale with the head.