Free Pattern
Step-by-Step
Crochet
Home DecorCrochet lantern cover with flowers and butterfly trim
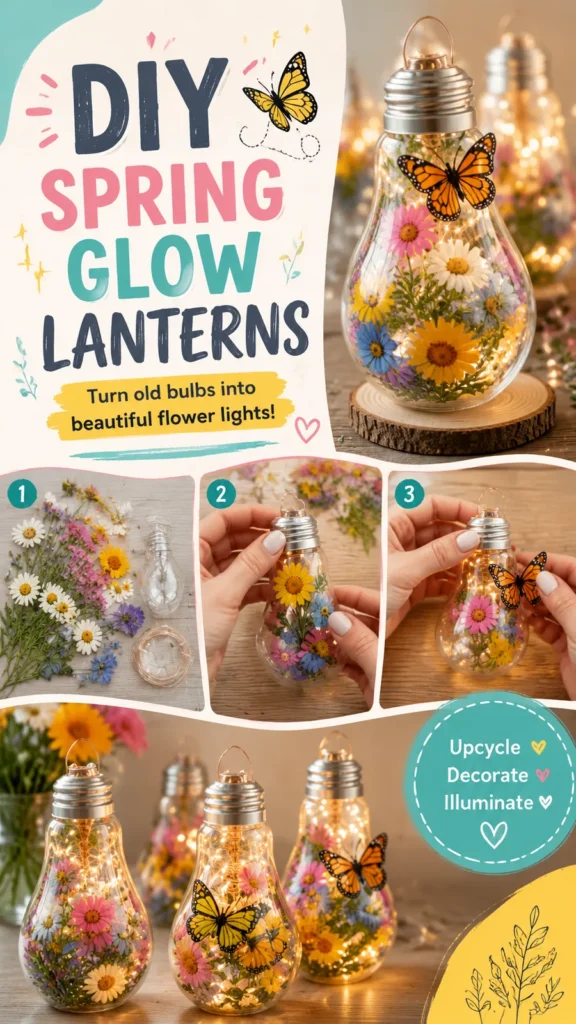
A soft crochet lantern cover decorated with layered flowers and butterfly appliques.
- Level
- Intermediate
- Time
- 4-6 hours
- Hook
- 3.5 mm
- Yarn
- Worsted
Pattern highlights
- Begin the lantern base with a magic ring, then build upward through joined increase rounds.
- Work even single crochet rounds to shape the sides before narrowing the top.
- Set the body aside and crochet the flat flower rounds separately from a small ring.
- Shape a small leaf from a short chain using stitches that climb from slip stitch to double crochet.
- Form butterfly wings from chained loops filled with double crochet shells, layering a second color over the first.
- Insert fiberfill or a decorative insert into the body to hold its rounded shape.
- Attach the flowers, leaves, and butterflies wherever you like once the pieces are finished.
About This Pattern
A lantern-shaped cover sits a little apart from my usual amigurumi shelf. It isn't a toy. It's closer to a soft vessel, part basket, part sculpture. Botanical bulb covers like this turn up often in craft collections. This one skips the wiring and glass, keeping only shape and whimsy. Once stuffed, the body holds its own weight and sits confidently on a shelf.
The body starts as a magic ring and grows through joined increase rounds. Each round adds stitches evenly until the sides go even, then taper near the top. Dense single crochet keeps the fabric tight enough to hold its lantern shape. Flowers and butterflies are worked flat and separately, each starting from its own small ring or loop. Petals come from shell stitches worked right into the ring, no counting rows.
Finished, it looks like a rounded little jar dressed for spring. Layered flowers and small butterfly appliques sit wherever you decide to place them. Nothing about the surface is fussy, so the decorations do the talking. A cotton yarn body gives clean stitch definition under all that trim. It reads as a keepsake object, not a toy built for handling.
Worth knowing
What I like here is the contrast between plain and fussy. The lantern body is dense single crochet, round after joined round, almost meditative. Then the flowers show up, little shell-stitch rings worked flat, fast, and bright. Butterfly wings use the same shell idea but doubled, one color layered over another for depth. The leaf strip climbs from slip stitch to double crochet along one chain, curving like a real leaf. None of these parts are hard alone; the satisfaction is in assembling them. Placement is yours, so no two lanterns need match. It's a good project for using up odd scraps of flower-colored yarn.
Common mistakes
- Losing the increase pattern Place a stitch marker at the round's start and recount after each increase round.
- Working single crochet too tight Keep tension even so the body stays flexible enough to shape and stuff later.
- Skipping the round join Slip stitch into the first stitch every round so rows stay level, not spiraled.
- Forcing the leaf curve Let the stitch-height change do the shaping; ease the curve gently by hand instead of steaming hard.
- Steaming flowers directly Hover the steam above the petals instead of pressing, so the shell texture survives.

Intermediate
Progress Tracker
0 of 0 rounds
Tap a round to tick it off — your place is saved on this device.
The kit
- Worsted weight cotton yarn in main color, approximately 120 yards (110 meters) for the body plus small amounts for decorations
- Small amounts of yarn in flower colors
- Small amount of green yarn for leaves
- Small amount of black and accent colors for butterfly details
- 3.5 mm (US E-4) crochet hook
- Yarn needle
- Scissors
- Stitch marker
- Fiberfill stuffing or a small decorative insert for shaping
Lantern Body Pattern
The lantern body is worked in joined rounds. The turning chain does not count as a stitch. Join each round with a slip stitch into the first single crochet unless instructed otherwise.
Round 1Make a magic ring. Work 6 sc into ring. Join with sl st. (6 sts)
Round 2Ch 1. Inc in each stitch around. Join. (12 sts)
Round 3Ch 1. (Sc in next stitch, inc in next stitch) repeat around. Join. (18 sts)
Round 4Ch 1. (Sc in next 2 sts, inc in next stitch) repeat around. Join. (24 sts)
Round 5Ch 1. (Sc in next 3 sts, inc in next stitch) repeat around. Join. (30 sts)
Rounds 6–14Ch 1. Sc in each stitch around. Join. (30 sts)
Round 15Ch 1. (Sc in next 3 sts, dec over next 2 sts) repeat around. Join. (24 sts)
Round 16Ch 1. (Sc in next 2 sts, dec over next 2 sts) repeat around. Join. (18 sts)
Round 17Ch 1. (Sc in next stitch, dec over next 2 sts) repeat around. Join. (12 sts)
Round 18Ch 1. Dec around. Join. (6 sts) Fasten off, leaving a long tail. Use the tail to close the opening securely.
Crochet Flower Applique Pattern
Make 5 to 7 flowers in different colors. Start with a magic ring.
Round 1Ch 2, work 10 hdc into ring. Join with sl st. (10 sts)
Round 2In each stitch work (sl st, ch 2, 2 dc, ch 2, sl st). Repeat around to create petals.Fasten off and weave in ends.
Leaf Pattern
Row 1Ch 7. Starting in second chain from hook, work sl st, sc, hdc, dc, hdc, sc.Fasten off and shape slightly with fingers.
Butterfly Applique Pattern
Round 1Ch 6 and join with sl st to form a small loop. Work 4 dc, 2 ch, 4 dc into loop. Join.
Round 2Repeat with a second color around the first layer to create larger wings.Add a short chain stitch body and two tiny chain antennae. Fasten off and secure all ends.
Assembly
Step 1Lightly block the lantern body to create an even rounded shape.
Step 2Arrange flowers around the lower half and sides of the lantern.
Step 3Sew flowers securely using matching yarn.
Step 4Add leaves between flowers for a garden effect.
Step 5Attach butterflies near the upper section using small stitches.
Step 6Weave in all remaining ends.
Finishing
- Weave in every end from the body, flowers, leaves, and butterflies before assembly.
- Insert fiberfill or a decorative filler into the body so it holds its rounded shape.
- Shape the completed lantern by gently smoothing the fabric with your hands. A light steam block can help flatten flowers and create a polished appearance, but avoid pressing directly on textured details.
- care, spot clean with mild soap and allow the piece to air dry completely. Store away from moisture and direct sunlight to preserve the yarn colors.
Why it works
Increases land in the first several rounds, adding evenly until the sides go straight.
The slip stitch join at the end of each round keeps rows level, not spiraled.
Flowers and butterfly wings start flat from a ring or loop, not a continuous round.
What it becomes
- A shelf display piece, paired with other textile lanterns or dried botanicals.
- A handmade gift, boxed with ribbon for someone who collects yarn decor.
- A windowsill accent set beside other soft botanical crochet pieces.
FAQ
Can I use acrylic yarn instead of cotton for this lantern?
Yes, acrylic works fine here. It's softer and more budget-friendly, though cotton holds the flower shapes with cleaner stitch definition.
Does this lantern need an actual light bulb inside?
No, it's a textile cover, not a wired light fixture. Fiberfill or a decorative insert gives it shape instead.
How do I keep the joined rounds from looking twisted?
Slip stitch into the first single crochet at the end of every round. That keeps each row level instead of spiraling upward.
Can I change where the flowers and butterflies go?
Yes, they're made separately and attached afterward. Placement is entirely up to you.