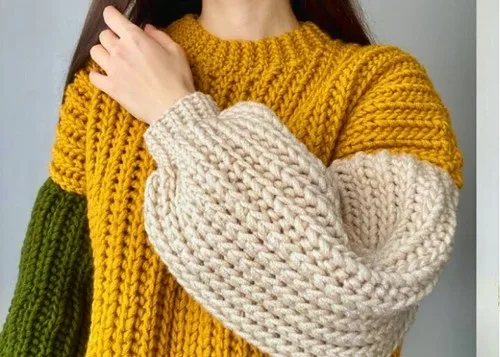
Free Pattern
Step-by-Step
Crochet
SweatersAn easy two-color spiral sweater with a squared yoke
A two-color spiral sweater that grows from a ring into a squared yoke, then seams into sleeves.
- Level
- Intermediate
- Time
- 4-6 hours
- Hook
- 5.0 mm
- Yarn
- Worsted
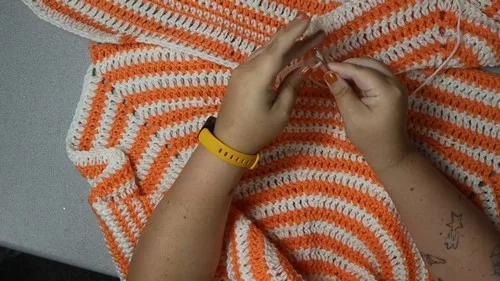
Pattern highlights
- Begin with a ring in two colors, letting Color 1 lead every round from the start.
- Build each round with a marked increase and growing single double crochet sections between increases.
- Work this plain spiral growth through Round 12 before any corners appear.
- Turn three increase points into corners starting at Round 13 with a chain-2 shell stitch.
- Repeat the corner shell through Round 18, filling edges with double, half double, and single crochet.
- Sew shoulder seams first, then set sleeves at a marked midpoint before closing side seams.
About This Pattern
I keep a shelf for pieces that start as a dot and end up wearable. This spiral sweater belongs there. It begins the way a lot of round yokes do, with a tiny ring and a pair of colors trading turns. What sets it apart is the pivot partway through: the circle stops being a circle and squares off into corners. I like a pattern that changes its mind on purpose. It sits between amigurumi logic and garment construction, a rare combination to find in one project.
The technique list reads simple but adds up. Two colors alternate every round, Color 1 always leading, so the color change itself becomes part of the rhythm. Each new color section opens with a double crochet increase and a stitch marker, then builds single double crochets between increases, adding one more each round. Rounds 13 through 18 do the real trick, turning three tracked increase points into corners with a chain-2 gap. It is bookkeeping work, but satisfying bookkeeping.
What comes off the hook is a flat panel shaped like a square with a hole worn as a neckline, destined to fold into a top. Assembly is three seams: shoulders, sleeves set in at a marked midpoint, then side and sleeve seams closed with the cuff tail. For size small the shaping stops at Round 18; larger sizes keep adding plain corner rows. It is a sweater built more like a motif than a garment, which is the whole appeal.
Worth knowing
The satisfaction here is watching a spiral earn its corners. Rounds 1 through 12 feel like amigurumi math, color 1 and color 2 trading the lead, increases tracked with a marker so the stitch count never slips. Then Round 13 flips the logic: the same increase points become corners, marked with a double crochet, chain 2, double crochet shell. Rounds 14 through 18 repeat that shell while filling in with double crochet, half double crochet, and single crochet sections, which is a tidy way to square a circle without ripping anything out. The seaming at the end is almost a formality after that. Three steps, long tails already in place, and the sweater is just there. I like a project that does its hardest thinking in the middle, not the finish.
Common mistakes
- Losing track of the marked stitch Move the stitch marker up the moment you place each round's increase, not at the end of the round.
- Treating Round 13 like the rest The third regular increase becomes a corner there, worked as double crochet, chain 2, double crochet, not a plain increase.
- Skipping ahead past Round 18 for size small Stop shaping at the end of Round 18 for a small; continuing adds width meant for larger sizes.
- Setting sleeves without marking the midpoint Fold each sleeve and pin the midpoint to the shoulder seam first, or the sleeve will sit off-center.

Intermediate
Progress Tracker
0 of 0 rounds
Tap a round to tick it off — your place is saved on this device.
The kit
- Weight 4 acrylic yarn approximately 1400 yards for size L
- 5.0 mm hook for main panel
- Stitch markers
- Yarn needle
Squaring Off the Spiral Rounds 13 to 18
Round 13mark the third regular increase as a corner and work double crochet chain 2 double crochet in that stitchContinue working the same increases to the second corner and repeat corner stitch then double crochet to complete the section
Round 14work corners with double crochet chain 2 double crochet then double crochet to first increase and half double crochet to next corner then double crochet to corner repeat around
Round 15to 18 repeat corner stitch continue shaping using double crochet half double crochet and single crochet sections as establishedFor size small stop at end of Round 18
Assembly
Step 1Sew shoulder seams using long tail
Step 2Fold sleeve mark midpoint and pin to shoulder then sew sleeve to body
Step 3Fold sweater wrong sides together and use sleeve cuff tail to sew sleeve seam then down body side
From the collection
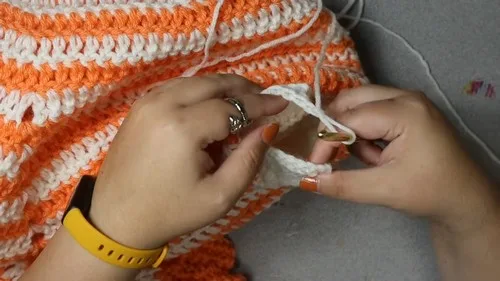
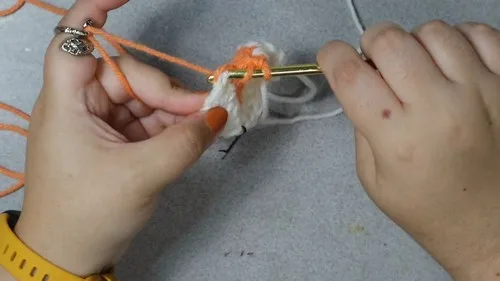
Finishing
- Weave in the tail from every color change before seaming, since a spiral this size carries a lot of ends.
- Sew the shoulder seams first using the long tail left at the corner.
- Pin each sleeve at its marked midpoint to the shoulder, then close the sleeve and side seam in one pass with the cuff tail.
Why it works
Each new color section starts with an increase and ends with a matching set of plain double crochets, keeping the two colors balanced in stitch count.
The marked first stitch of every round tracks where the next increase belongs, since the single double crochet count between increases grows by one each round.
Rounds 13 to 18 work with fixed corner points rather than a smooth spiral, turning the circle into a square panel.
What it becomes
- A relaxed top for layering over a tank in cooler months, paired with jeans or leggings.
- A stash-busting project for using up worsted weight yarn in two colors.
- A beginner garment project for someone ready to move from amigurumi rounds to a wearable.
Original pattern: https://crocheteverything.com/crochet-spiral-sweater-pattern-free-easy/
FAQ
Can I make this in more than two colors?
The pattern alternates two colors every round by design, since Color 1 always leads. You could swap colors each new section instead of repeating the same two, as long as the lead color stays consistent.
Why does Round 13 start the corners instead of continuing the spiral?
Round 13 the three regular increase points are far enough apart to work as true corners. Marking the third increase as a corner there is what turns the circle into a square panel.
How do I know when to stop the squared rounds for my size?
size small, the shaping stops at the end of Round 18. Medium and larger sizes continue with plain double crochet corner rows until the panel reaches the desired width.
What is the yarn needle used for if everything is crocheted?
Seaming. The shoulder, sleeve, and side seams are all sewn with long tails and a yarn needle after the panels are complete.