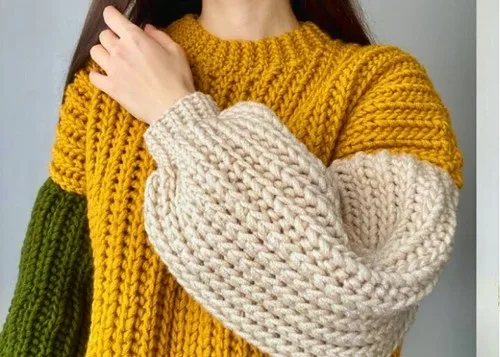
Free Pattern
Step-by-Step
Crochet
SweatersRibbed chunky sweater made from two simple stitches
A chunky crochet sweater built on ribbing and slip stitch, worked flat and seamed.
- Level
- Intermediate
- Time
- 4-6 hours
- Hook
- 6 mm
- Yarn
- Bulky
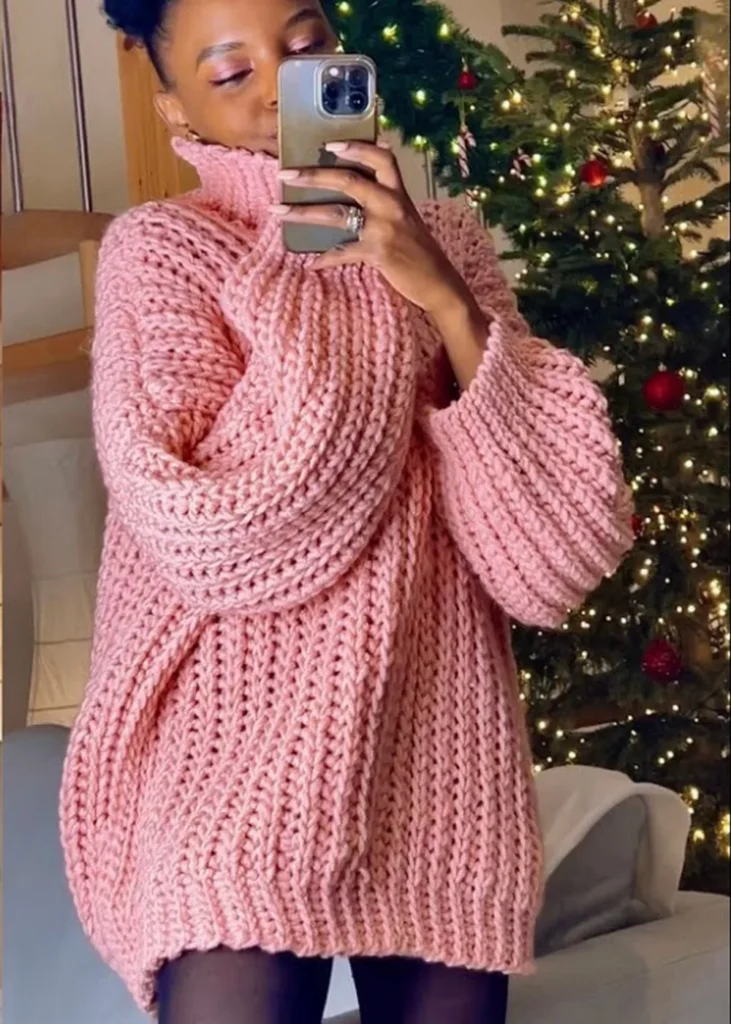
Pattern highlights
- Chain to match your own shoulder-to-hem measurement before working a single stitch.
- Work single crochet back and forth through the back loop only to build a ribbed panel.
- Chain and rib each sleeve separately using the slip stitch version of the pattern.
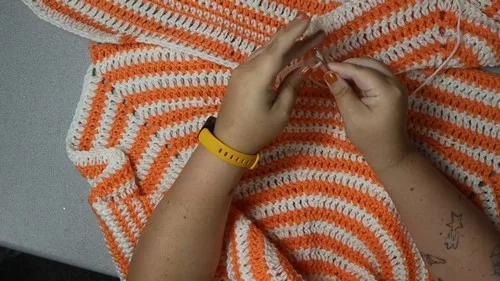
- Lay the sweater flat and pin the middle of each sleeve to its underarm seam.
- Slip stitch the sleeve to the seam, then join the rest through the front loop.
- Weave in every end and block if you want the ribbing to relax and even out.
About This Pattern
I keep a shelf for garments that teach a trick before they ask for a fitting. This one earns its spot. It is not fussy, it does not chart shaping, and it still ends up looking deliberate. That is the kind of project I want in a collection meant for people building confidence, not just yardage.
The whole thing runs on two stitches doing double duty. Single crochet and half double crochet get worked into the back loop only, row after row, until the fabric ridges up into a rib. Then that same yarn-over slip stitch — sometimes called a half double crochet slip stitch — takes over for the bulk of the body and both sleeves.
What comes out the other end is a long, straight panel folded into a sweater, plus two straight sleeve tubes seamed at the underarm. No waist shaping, no set-in sleeve curve. Just measured chains, ribbed texture, and a join that decides where the drape falls.
Common mistakes
- Working into both loops by habit Check every round for back loop only, since that is what creates the rib. Working both loops flattens the texture completely.
- Chaining without measuring first Measure shoulder to hem, and biceps to cuff, before you chain. The whole fit depends on that starting length.
- Joining the sleeve off-center Find the actual middle of the sleeve before attaching it to the underarm seam. An off-center join twists the sleeve when worn.
- Skipping the front loop on the final join The rest of the sleeve seam uses the front loop, not the back loop like the ribbing. Mixing them up leaves a lumpy seam line.
Intermediate
Progress Tracker
0 of 0 rounds
Tap a round to tick it off — your place is saved on this device.
The kit
Yarn
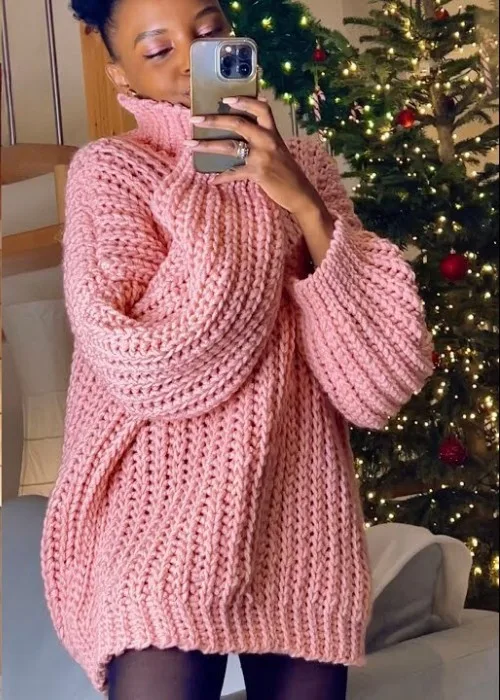
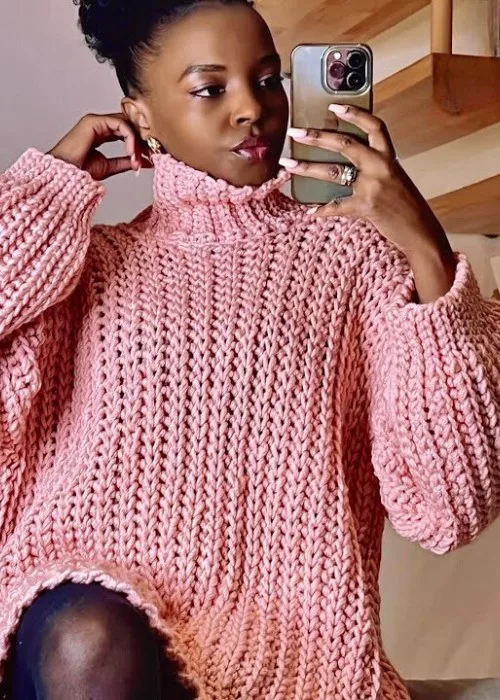
- Brava Bulky weight yarn (or similar) in desired color. Shown here in a yarn called "Durable Dare" in the color "rose blush".
Hook
- 6mm crochet hook (or 6.5mm or 7mm if you prefer tighter stitches)
Tools
- Tapestry needle
- Scissors
Body
Row 1Measure the desired length of your sweater from the top of your shoulder to where you want it to end; make a slip knot and chain the equivalent length of your measurement.
Row 2Skip the first chain and work 6 sc across.
Row 3Chain 1, turn; work 6 sc in the back loop of each stitch across.Repeat Rows 2 and 3 until the ribbing section reaches your desired length.
Row 4Yarn over, insert hook in the next stitch, pull through, yarn over, and pull through two loops (this stitch is called the "yarn over slip stitch" or "half double crochet slip stitch"); repeat this stitch across the row.
Row 5Chain 1, turn; work the same "yarn over slip stitch" in the back loop of each stitch across.Continue alternating between Rows 4 and 5 until you reach the desired length for the body.
Sleeves
Make 2Row 1Measure the desired length of your sleeves from your biceps to your cuff; chain the desired length for your sleeve.
Row 2Work the same ribbing pattern as for the body (slip stitch instead of single crochet).Continue working until you reach the desired width for your sleeve.Repeat for the second sleeve.
Assembly
Step 1Lay your sweater flat with the wrong side facing up.
Step 2Find the middle of each sleeve and attach it to the corresponding underarm seam of the sweater using slip stitches.
Step 3Join the rest of the sleeve to the body, working in the front loop of the stitches.
Step 4Repeat for the other sleeve.
Step 5Weave in all remaining ends.
Step 6Block the sweater if desired.
From the collection
Finishing
- Lay the piece flat, wrong side up, before joining anything.
- Slip stitch the center of each sleeve to its underarm seam, then finish the seam through the front loop.
- Weave in every loose end with the tapestry needle, then block the ribbing if you want it to sit flatter.
Why it works
The body starts in single crochet, then swaps to the yarn-over slip stitch — the fabric changes texture partway through by design, not accident.
Every round is worked back loop only, which is what stacks the rows into visible ribs instead of flat fabric.
Sleeves are worked as flat rectangles with the same rib, then curved into tubes only at assembly, when the seam does the shaping.
The underarm join starts at the sleeve's middle point, which centers the seam before the rest of the sleeve is attached along the front loop.
What it becomes
- A layering piece over a plain tee, where the ribbed texture does the visual work.
- A quick handmade gift for someone whose measurements I already know.
- A travel project — two stitches, no chart, easy to pick up between rows.
FAQ
Can I make this without following exact stitch counts?
Yes, the whole pattern is measurement-based rather than count-based. You chain to your own length and repeat rounds until the piece matches your body.
What is a yarn-over slip stitch exactly?
It is yarn over, insert the hook, pull through, yarn over, then pull through two loops. The pattern also calls it a half double crochet slip stitch.
Why are the sleeves worked flat instead of in the round?
Working flat keeps the same back-loop ribbing consistent with the body. The tube shape only forms once the seam is sewn during assembly.
Does the hook size change the fit?
The pattern suggests 6mm, 6.5mm, or 7mm, with the larger sizes giving looser stitches. A smaller hook in that range will tighten the ribbing and the overall drape.