Free Pattern
Step-by-Step
Crochet
SweatersA ribbed crochet sweater with a hand-knit look
This crochet sweater uses knit-like ribbing, puff sleeves, and a stretch-sewn collar.
- Level
- Intermediate
- Time
- 4-6 hours
- Hook
- 9 mm
- Yarn
- Super Bulky
Pattern highlights
- Start the back panel with a long chain and work rows in the modified half double crochet with slip-stitch ribbing edges.
- Decrease at the front neck edge several times, pause for a run of straight rows, then rebuild with chain increases.
- Work the puff sleeves on their own, moving between the two hook sizes to shape the ribbed cuffs.
- Make the ribbed collar strip, then seam the sleeves inside out and join the front and back panels at the shoulders.
- Turn the body right side out and sew the side seams from armpit to hem.
- Set the sleeves into the armholes, sew the seams on the outside, then sew the collar around the neckline with a slight stretch.
About This Pattern
This one sits in the sweater section of my notebook, next to the other pieces that borrow tricks from knitting. I keep a running list of crochet makes that fake a knit look, and this sweater earns its spot. The back loop slip stitch rows are the giveaway — they flatten the stitch definition into something closer to a knit purl bump. I filed it under 'texture experiments' before I'd even finished swatching.
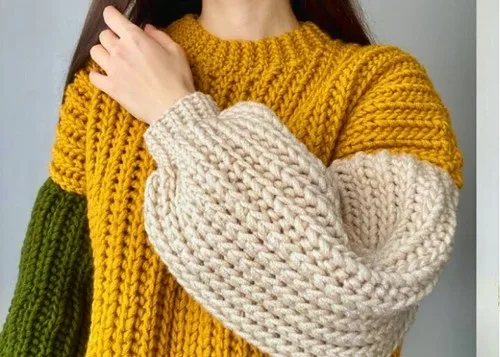
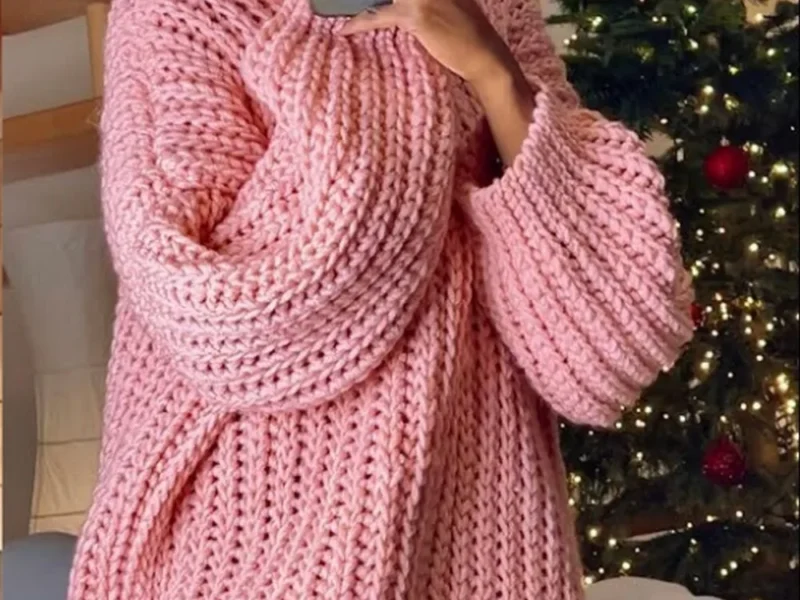
What comes off the hook is a chunky, long-sleeved sweater with a faint ribbed texture running through every row, not just the cuffs and hem. The puff sleeves add volume at the shoulder, and the ribbed collar strip gets sewn around the neckline with a slight stretch for a snug fit. It reads more like a worked knit sweater than a typical crochet garment, which is exactly the appeal here.
The pattern is beginner-friendly and easy to customize — adjust the row counts in the straight sections for a longer or shorter fit, and work it up in any colors you like.
Common mistakes
- Working into the wrong loop Check that ribbing rows are consistently back loop only, or the knit-like texture won't show up evenly.
- Mismatched cuff ribbing on sleeves Only change hooks every second time you reach the cuff edge, as the row pattern alternates on purpose.
- Front neck shaping drifting off-center Compare the front panel's row count to the back panel regularly while decreasing and increasing at the neck.
- Collar sewn too tight or loose Stretch the collar strip only slightly while pinning, then check it against the neckline before sewing the final seam.

Intermediate
Progress Tracker
0 of 0 rounds
Tap a round to tick it off — your place is saved on this device.
The kit
- 9 mm hook for body and sleeves
- 6 mm hook for sleeve ribbing
- 8 skeins yarn total
- Uses modified HDC or YO slip stitch in back loop
Body Panels Front and Back
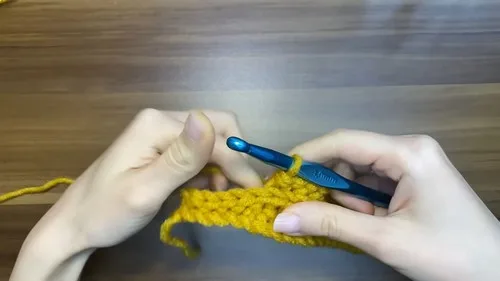
Make two pieces. Chain 59 for sweater length.
Row 1skip last chain Work main stitch until 5 stitches remain Work slip stitch in last 5 stitches for ribbingChain 1 turn. For rows starting at ribbing work slip stitch back loop for 5 stitches then main stitch for rest. For rows ending at ribbing work main stitch until 5 stitches remain then slip stitch in last 5. Continue until 60 rows completed for back panel.
Sleeves Puff Style
With 6 mm hook chain 6 for cuff width. Switch to 9 mm hook and chain 44 more (50 chains total).
Row 1work main stitch until 6 chains remain turn
Row 2work main stitch back loop to end
Row 3work main stitch to cuff then one slip stitch change to 6 mm hook work slip stitch back loop for 6 stitches
Row 4chain 1 turn slip stitch back loop for 6 stitches switch to 9 mm hook slip stitch back loop 7th then main stitch rest of rowRepeat pattern working cuff ribbing every second time you reach cuff edge. Continue to 48 rows total; make second sleeve.
Front Panel Neck Shaping
Work 21 straight rows same as back.
Row 22stop 3 stitches before end to form first neck decrease Repeat decrease section 4 timesWork 6 straight rows with no increase or decrease. For increases, chain 4 at the neck edge, turn, work 3 main stitches in the chains, then continue the row. Repeat the increase section 4 times. Continue straight until the panel has 60 rows total.
Collar Ribbing
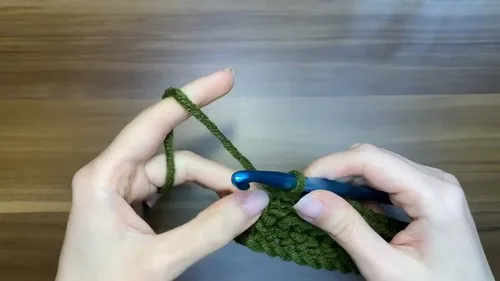
Collar StripMake slip stitch back loop strip approx 54 rows
Once the strip is complete, sew it around the neckline, stretching it slightly as you go for a neat, snug fit.
Assembly
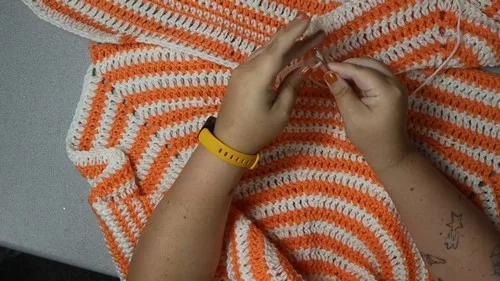
Step 1Seam sleeves inside out using yarn tail
Step 2Place front and back panels together sew shoulder edges
Step 3Turn body right side out sew sides from armpit to bottom
Step 4Attach sleeves to armholes sewing seams on outside
Step 5Sew collar around neckline, stretching slightly for a neat fit
From the collection
Finishing
- Weave in yarn tails along the seam lines before any sewing starts, since they're easiest to hide there.
- Make the ribbed collar strip separately (approx 54 rows), then sew it around the neckline with a slight stretch for a close fit.
- Block the finished sweater flat so the ribbing relaxes evenly and the knitted-look texture reads clearly.
Why it works
Both body panels are worked flat in rows rather than rounds, since they get seamed together afterward along the shoulders and sides.
Ribbing isn't a separate band — it's built into the first and last five stitches of every row, alternating main stitch with back loop slip stitch.
The front panel's neck shaping is symmetrical: four decrease repeats, six straight rows, then four increase repeats bring it back to the full row count.
What it becomes
- An everyday pullover for cooler days, worn over a plain t-shirt with jeans.
- A textured layering piece for anyone who likes the look of knitwear without knitting it.
- A gift for someone who collects hand-knit-style sweaters but prefers crochet construction.
Original pattern: https://crocheteverything.com/how-to-crochet-sweater-with-knitted-texture-look-pattern-free/
FAQ
Can I make the sweater longer or shorter?
Yes — the source notes that adjusting the row count is one of the easiest ways to customize this pattern. Add or remove rows from the straight sections of the body panels before you reach the neck shaping.
What does the back loop slip stitch actually do to the fabric?
Working into just the back loop flattens the stitch and pulls it slightly, which is what creates the knit-like rib along the ribbing edges. It's a small change in where you insert the hook, not a different stitch altogether.
Do the puff sleeves need stuffing or extra rows to get their shape?
No stuffing is involved — the pattern doesn't call for it. The volume comes from the stitch and row structure of the sleeve panel itself, worked over the rows given.