Free Pattern
Step-by-Step
Crochet
Home DecorHeart-Border Crochet Coaster Pattern With Puff Stitches
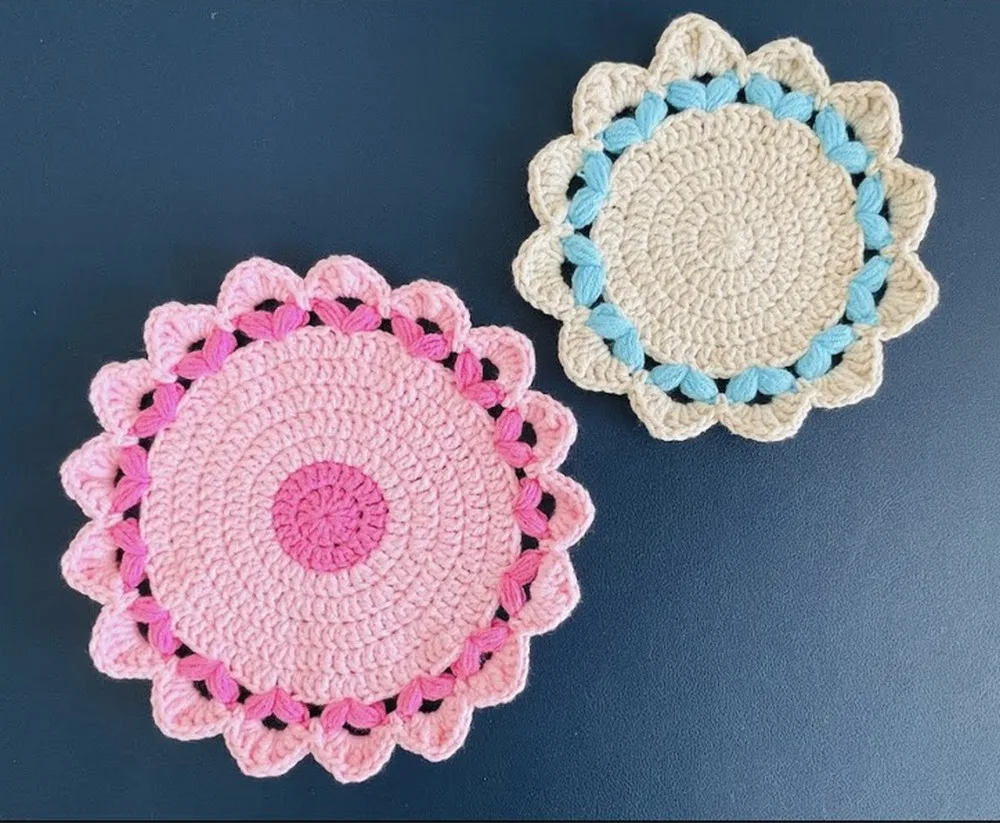
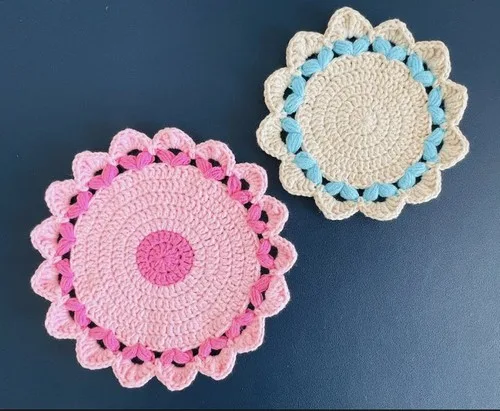
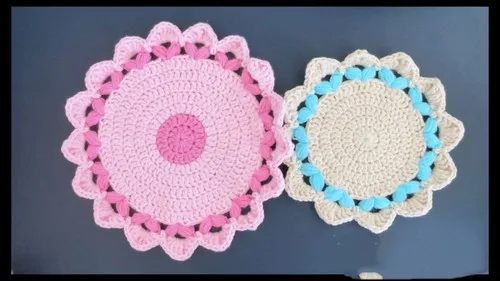
A round cotton coaster finished with a puff-stitch heart border, worked from a magic ring.
- Level
- Intermediate
- Time
- 2-4 hours
- Yarn
- DK
Pattern highlights
- Start with a magic ring and close it snug before building the first round of double crochet.
- Work double crochet increases round after round, adding twelve stitches each time as the circle grows.
- Keep increasing until the coaster reaches the size you want, checking that the count is a multiple of five.
- Build each heart from a puff stitch, a chain to anchor it, then a second puff stitch in the same hole.
- Skip four stitches before starting the next heart, repeating the pair all the way around.
- Finish once seventeen hearts sit evenly spaced around the coaster's edge.
About This Pattern
I keep coasters in a different drawer than the rest of my makes. They're small, fast, and honest about whether my gauge is behaved. This one belongs with the pieces I reach for when I want a weekend project that still teaches something. It's not a toy or a garment — just a flat circle with a job to do. That modesty is part of the appeal, and it's a fine place to practice reading increases before trying something bigger.
The build starts with a magic ring, which I like because it closes clean with no gap at the center. From there it's double crochet increases, round after round, the same twelve-stitch jump each time. That rhythm is the whole skill of the piece — read your stitches, place your increases, repeat. The payoff comes at the end, when a puff-stitch heart border takes over and the plain disk suddenly has a scalloped edge.
What comes off the hook is a round, slightly ruffled coaster with seventeen hearts looping its rim. It sits flat enough to hold a mug without wobbling, and sturdy enough from cotton to survive actual condensation. I think of it as tableware that happens to be handmade — useful first, decorative because it can't help it.
Worth knowing
The satisfaction here is in two different skills stacked on one piece. First the magic ring and the increase rounds — plain, steady, almost meditative, twelve new stitches showing up right where you expect them. Then the pivot: dark pink yarn, a puff stitch built from four pulled-up loops, and a heart shape that has to repeat seventeen times without drifting off count. I like that the pattern insists the final total land on a multiple of five — it's a built-in check, not just a suggestion. Finishing a round and having the math actually work is its own small win. The cotton yarn keeps every stitch visible, so there's nowhere to hide a loose increase.
Common mistakes
- Loose magic ring Pull the tail snug before working round one, or the center will show a visible hole later.
- Miscounting the twelve-stitch increase Count stitches at the end of each round, not mid-round, so a missed increase doesn't compound.
- Puff stitch loops pulled unevenly Pull each of the four loops to the same height before the final yarn over so hearts come out matching.
- Uneven spacing between hearts Recount the four skipped stitches each time rather than eyeballing the gap, especially near the end of the round.
- Final count not a multiple of five Count stitches before starting the border round; fix an earlier increase round rather than fudging the hearts.
Intermediate
Progress Tracker
0 of 0 rounds
Tap a round to tick it off — your place is saved on this device.
The kit
- Stitch marker
- Scissors
- Yarn needle
- Wrap the yarn around your left hand and secure the loop by placing your thumb on it.
Material
5 ply cotton yarn 3 mm crochet hook Stitch marker Scissors Yarn needle Starting (Magic Loop Method): Make a magic loop with the yarn tail in your right hand.
Wrap the yarn around your left hand and secure the loop by placing your thumb on it.
Insert your hook into the loop and make a knot to secure the ring.
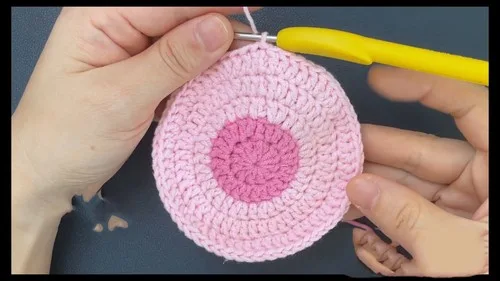
Round 1Start with 2 chains (does not count as first stitch). Work 12 double crochet (dc) into the magic ring.Pull the tail to close the ring tightly.Slip stitch (sl st) to the first dc to complete the round.
Round 2Start with 2 chains (does not count as first stitch). Work 2 dc into each stitch around (24 dc total).Sl st to the first dc to complete the round.Color Change and Round 3: Cut the yarn and pull it through the final loop.Attach a new color by hooking the new yarn from behind and securing it.Start with 2 chains (does not count as first stitch).Alternate the following pattern around: 1 dc in one stitch, 2 dc in the next (36 dc total).Sl st to the first dc to complete the round.(24)
Round 4Start with 2 chains (does not count as first stitch). The pattern for this round is: 1 dc in the next stitch, 1 dc in the following stitch, 2 dc in the next stitch. Repeat this pattern around (48 dc total).(48)
If you need to join new yarn during the project, simply hook the new yarn and continue crocheting as normal, weaving in the ends.
Sl st to the first dc to complete the round.
Rounds 5 to 7 (Optional for Bigger Size): Continue increasing stitches in the pattern established (increasing 12 stitches per round) to make the coaster larger.
The final stitch count at the end of the last round should be a multiple of 5.
Final Round (Heart-Shaped Border)
Attach dark pink yarn with 3 chains to start.
Round 1Work a puff stitch (yarn over, insert into the hole, pull up 4 times, yarn over, pull through all loops on the hook) followed by a chain to secure it.
Round 2Chain 4 and work another puff stitch into the same hole.Skip 4 stitches and repeat the heart pattern in the fifth stitch.Repeat the pattern for a total of 17 heart shapes around the coaster.
Round 3Sl st to join the round and tie off the yarn.
Last Round (Gives Definition to Hearts):
Round 4Start by attaching a light pink yarn in between the heart shape with a single crochet, then do a double crochet into the next hole.
Round 5Work around by wrapping the full chain of the heart shape with the double crochets and treble crochets to create a series of 3 double crochets, 3 treble crochets, and 3 double crochets (9 stitches total).(3)
Round 6Slip stitch to join the first stitch, tie off the yarn and weave in ends.
From the collection
Finishing
- Weave in the magic-ring tail first, since it's hardest to find once rounds stack up over it.
- Weave in the dark pink tail from the heart border last, running it through the back of a puff stitch to hide it.
- Block the coaster flat and slightly damp so the heart border lies open instead of curling toward the center.
Why it works
The coaster begins at a magic ring, so round one's twelve double crochet stitches sit with no center seam to disguise.
Every increase round adds twelve stitches, the same number set in round one, keeping the growth rate constant as the circle widens.
The heart border is worked as one final round in a new color, closing the increase pattern rather than continuing it.
What it becomes
- Under mugs and glasses at a table setting, paired with plain stoneware so the heart border stands out.
- Stacked as a small gift set with a few extra coasters worked in different border colors.
- Laid on a shelf or tray as a bit of texture among otherwise plain home decor pieces.
FAQ
Can I make the coaster bigger before starting the heart border?
Yes — the notes say to keep increasing twelve stitches per round for as many rounds as you like. Just stop on a round where the stitch count is a multiple of five, since the border depends on that.
Why does the final stitch count need to be a multiple of five?
The heart repeat uses a fixed stitch pattern, so the round has to divide evenly for seventeen hearts to close without a gap. If the math is off, the last heart won't match the rest.
Do I actually need a stitch marker for this pattern?
I'd keep one on hand, mostly to flag the start of each round while counting the twelve-stitch increases. It's listed in the materials for a reason.
Can I use a different yarn than 5 ply cotton?
You can, but cotton holds its shape under a mug better than most other fibers. A thicker yarn will also change how many rounds you need before the border fits.