
Free Pattern
Step-by-Step
Crochet
AmigurumiMagical Puff Amigurumi Crochet Pattern for a Fluffy Friend
Crochet a fluffy magical puff amigurumi with tan face, tiny ears, and soft feet. A cozy written pattern for an adorable textured plush toy.
Level IntermediateTime 4-6 HoursHook 4.5 mmYarn Worsted
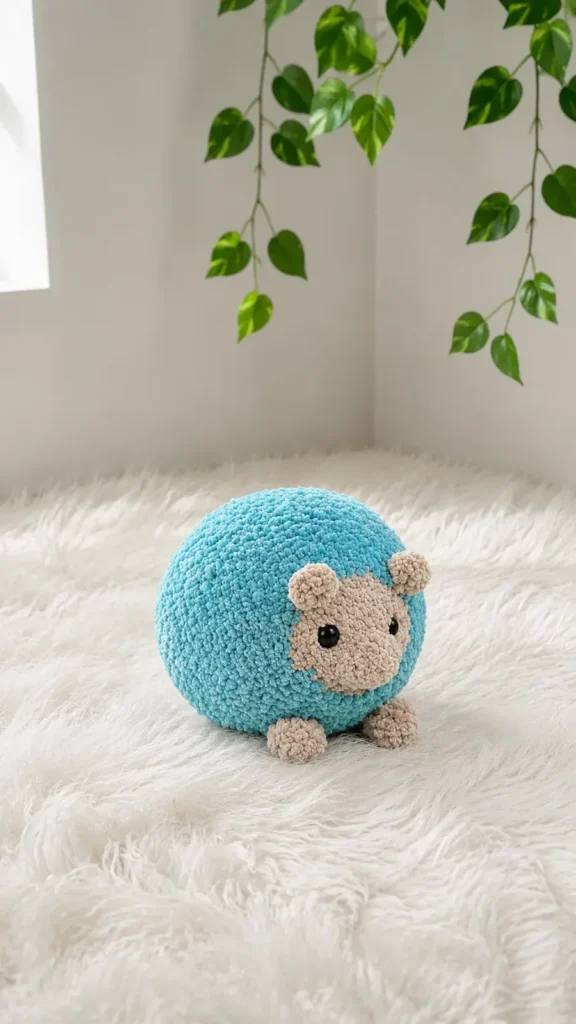
Pattern highlights
- Start by crocheting all four tiny feet using the tan yarn, stuffing each one lightly before folding and closing it flat.
- Next, make the two small ears in tan yarn, leaving long tails so they're ready for sewing later.
- Begin the face and body with a magic ring, increasing steadily in the early rounds to shape the tan head.
- Insert and secure the safety eyes with even spacing once you reach the marked rounds on the face.
- Continue working the body in fluffy yarn, stuffing gradually as you go and checking stitch counts each round.
- Sew the ears in place with the openings facing outward, using the fasten-off tail to mark the ear bottoms.
- Finish by embroidering the nose and optionally adding white eye accents before weaving in all remaining ends.
About This Pattern
This magical puff amigurumi is a irresistibly soft little creature that combines a smooth tan face with a cloud-like fluffy body, creating a striking two-texture toy that stands out on any shelf. With four tiny feet, two rounded ears, and a face packed with personality, this pattern is perfect for crocheters who love mixing yarn types and want a project that feels a little different from the usual amigurumi animal. It's an ideal make for anyone hunting for a gift that feels both cozy and whimsical.
You'll work in continuous rounds using single crochet, increases, and invisible decreases, plus a color change partway through the body to transition from tan to your fluffy yarn of choice. Safety eye placement and sewing on the ears and feet add a light assembly component. This is a great intermediate project — comfortable for confident beginners who've made a few amigurumi already, and satisfying for experienced makers who enjoy texture play. Expect to spend several relaxed evenings from feet to finished face.
The finished puff sits at a compact, huggable size with a smooth tan face, big glossy safety eyes, and a wonderfully textured fluffy body that begs to be petted. The contrast between the tidy tan feet and ears against the fuzzy body gives it a storybook-creature charm that photographs beautifully. It makes a lovely handmade gift, nursery decor piece, or a plush a child will want to carry everywhere.
Variations
One of the best parts of this pattern is how much you can play with color and texture. Try a pastel fluffy yarn in baby pink, lavender, or mint for a softer, nursery-friendly look, or go bold with a deep charcoal or burgundy fluffy body paired against the tan face for a more dramatic, striking creature. If you can't find Himalaya Koala, any brushed or bouclé-style fluffy yarn will work beautifully — look for something with loft that still lets you count stitches with your fingers. For the face and feet, swapping Alize Softy for a smooth acrylic worsted weight in cream, white, or light gray keeps the same clean contrast if that yarn isn't available to you. You can also experiment with the ears: try adding a tiny bit of contrast yarn just inside the ear opening in Round 2 for a peekaboo color pop. If you want a slightly bigger toy, consider using a bulkier fluffy yarn for the body while keeping the same stitch counts — this will naturally scale the finished size up without changing the pattern. For a special-occasion version, add a small crocheted bow or flower sewn near one ear, or embroider tiny freckles below the eyes using the same technique as the nose. Swapping the 12mm safety eyes for a slightly smaller 9mm pair gives the face a more delicate, younger look, while jumping up to 15mm eyes creates a bigger, more cartoonish expression — just be sure your fabric gauge can still hide the backing safely once stuffed.
Common mistakes
- Losing track of stitches in the fluffy yarn rounds
- Use a stitch marker at the start of every round and count out loud at the end of each one, since fluffy yarn hides the stitch loops easily.
- Placing the safety eyes without checking spacing first
- Insert the eyes but don't snap the backings on yet — check that there are 8 visible stitches between them and that they sit level before securing firmly.
- Sewing the ears facing the wrong direction
- Make sure the ear openings face outward, not down toward the head, and use the leftover fasten-off tail to mark the bottom of each ear before sewing.
- Overstuffing or understuffing the tiny feet
- Stuff the feet lightly only — overstuffing makes them too firm to fold flat, which makes attaching them to the body awkward.
- Forgetting to secure the safety eye backings tightly
- Press the backing on firmly and give it a gentle tug to test before continuing past that round, since loose backings are hard to fix later.


Intermediate
Progress Tracker
0 of 0 rounds
Tap a round to tick it off — your place is saved on this device.
Materials
Yarn
- Alize Softy in tan, option to use acrylic size 5 as well for the face, feet, and ears
- Himalaya Koala in color of choice, or any fluffy yarn for the body
Crochet Hook
- A 4.5mm hook for the fluffy yarn and a 4mm hook for the alize softy, or sizes to match your specific yarn
Safety Eyes
- 12mm size
- Scissors
- Tapestry Needle
- Stuffing
Tools
- Stitch Markers
Feet
Make 4Worked using tan yarn.
Stuff the foot lightly.
Fold in half and sc 3 across, then fasten off; no tail is needed as the feet will be crocheted directly into the body.
- Round 1sc 6 in MC. (6)
- Round 2(sc 1, inc) x2, sc 2. (8)
- Round 3sc all. (8)
- Round 4(sc 1, dec) x2, sc 2. (6)
Ears
Make 2Worked using tan yarn.
Fasten off, leaving a long tail for sewing later.
- Round 1sc 4 in MC. (4)
- Round 2sc 1, inc 2, sc 1. (6)
Face & Body
Worked using tan yarn through Round 7.
Place safety eyes between rounds 5-6, with 8 visible stitches between each eye.
Color change to fuzzy yarn and switch to the larger hook before Round 8.
For rounds 13-19, adjust the stitches as necessary to get the legs properly aligned; the leg should be on the outside of the body before crocheting it together.
Stuff firmly before Round 23, making sure to stuff the nose of the face.
Finish stuffing before closing, then fasten off and sew the hole closed.
- Round 1sc 6 in MC. (6)
- Round 2sc all. (6)
- Round 3inc in each st around. (12)
- Round 4sc 6, (sc 1, inc) x3. (15)
- Round 5sc 6, (sc 2, inc) x3. (18)
- Round 6(sc 2, inc) x6. (24)
- Round 7(sc 3, inc) x6. (30)
- Round 8(sc 4, inc) x6. (36)
- Round 9(sc 5, inc) x6. (42)
- Round 10(sc 6, inc) x6. (48)
- Round 11(sc 7, inc) x6. (54)
- Round 12(sc 8, inc) x6. (60)
- Round 13sc 3, crochet leg into body with sc 3, sc 4, crochet leg into body with sc 3, sc 47. (60)
- Round 14-18sc all. (60) *5 rounds
- Round 19sc 4, crochet leg into body with sc 3, sc 4, crochet leg into body with sc 3, sc 46. (60)
- Round 20sc all. (60)
- Round 21(sc 8, dec) x6. (54)
- Round 22(sc 7, dec) x6. (48)
- Round 23(sc 6, dec) x6. (42)
- Round 24(sc 5, dec) x6. (36)
- Round 25(sc 4, dec) x6. (30)
- Round 26(sc 3, dec) x6. (24)
- Round 27(sc 2, dec) x6. (18)
- Round 28(sc 1, dec) x6. (12)
- Round 29dec x6. (6)
Assembly
- Step 1Sew ears between rounds 7-8 with 6-7 visible stitches between each one. Use the leftover fasten-off tail to indicate the bottom of the ears. The holes should face outwards and not down towards the head.
- Step 2Embroider the nose on round 1.
- Step 3OPTIONAL: Add eye decor with white yarn around the safety eyes for additional cuteness.
Important notes
Use a hook about 0.5-1 size smaller for the tan face and feet than for the fluffy body yarn — this keeps the smooth sections tight enough to hide stuffing.
Keep several stitch markers within reach; textured and fluffy yarns make it genuinely hard to see individual stitch loops as you work.
When working the fluffy body, use your fingers rather than your eyes to feel for the next insertion point — this is faster and more accurate than visually hunting for stitches.
Check your stitch count at the very end of every single round, especially through the increase-heavy rounds early in the face and body.
Fold the feet in half and single crochet three stitches across to close them — no fastening tail is needed since they attach directly into the body.
Leave a long tail when fastening off the ears so you have enough length to sew them securely between Rounds 7 and 8.
Secure the safety eye backings firmly before moving past round 7, as it becomes impossible to reach them later.
Tension can vary, so feel free to move stitches slightly on rounds 13 and 19 so the feet line up straight on the bottom.
Use the back of a crochet hook to push small bits of stuffing into the tip of the tan nose before filling the rest of the main round body.
More photos
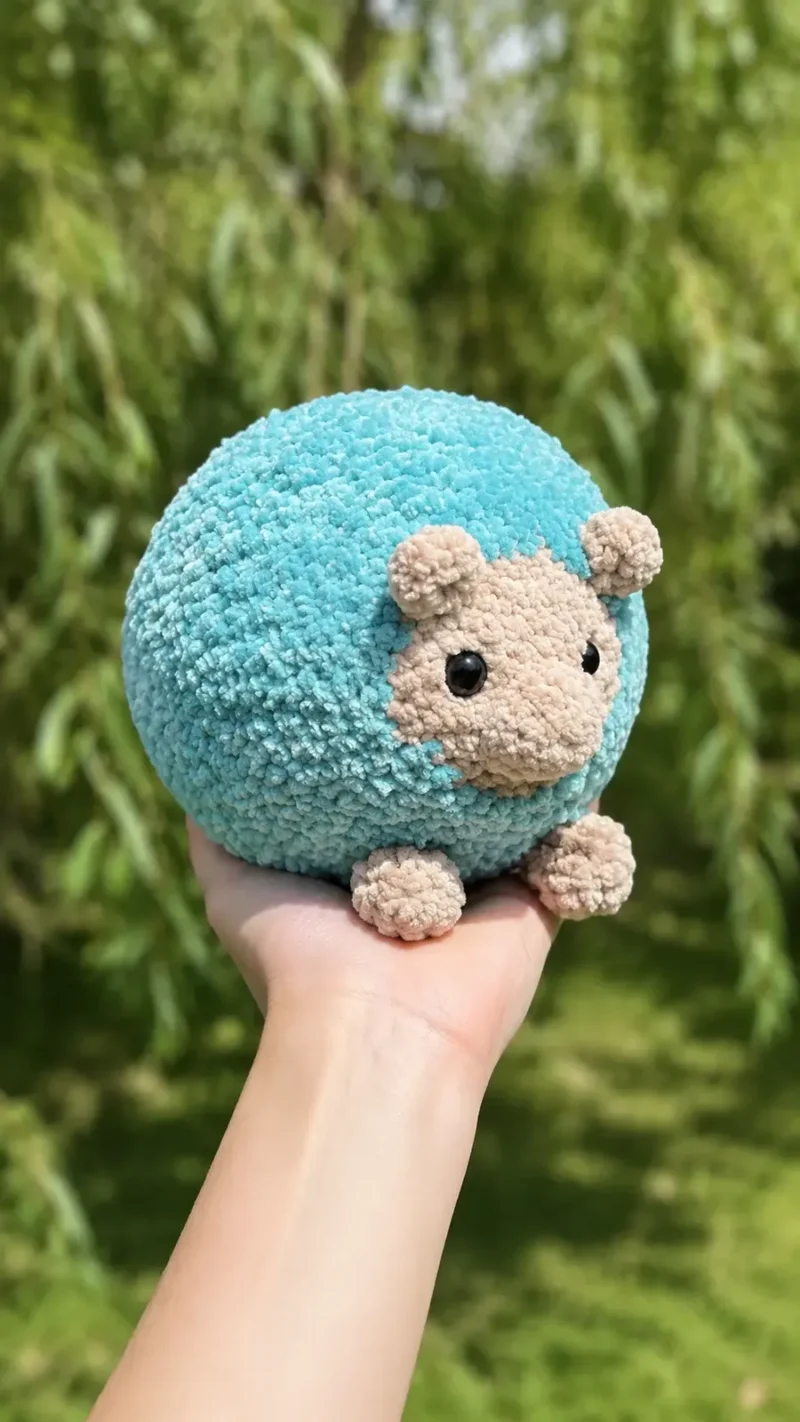
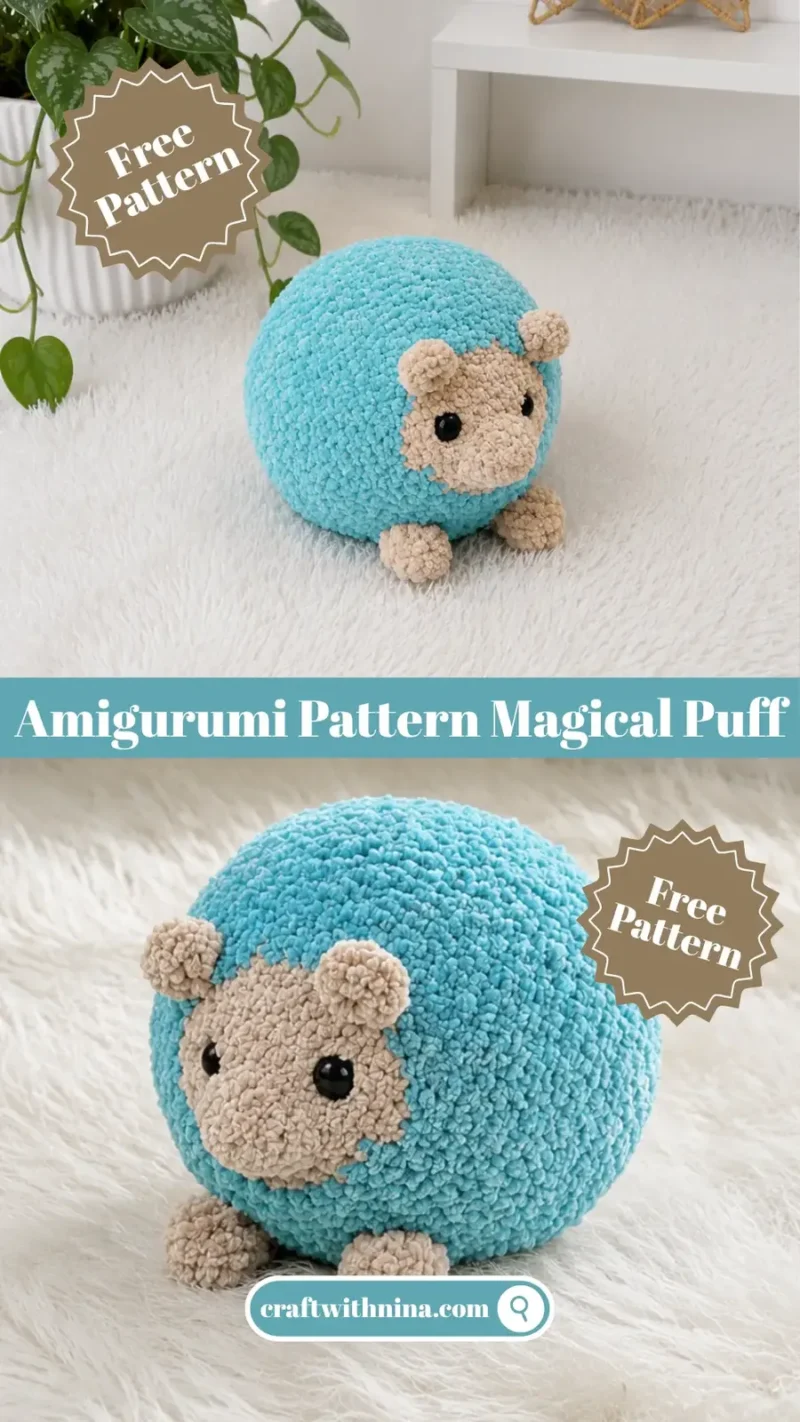
Original pattern: https://craftwithnina.com/free-amigurumi-pattern-magical-puff/
FAQ
What yarn works best if I can't find Himalaya Koala for the body?
Any fluffy or brushed yarn with a similar loft will work well as a substitute. Just make sure your hook size still lets you create a fabric tight enough to hold the stuffing in without gaps.
Why does the pattern use two different hook sizes?
The smaller 4mm hook keeps the tan face and feet stitches tight and tidy, while the larger 4.5mm hook is sized for the loftier fluffy body yarn. Using a smaller hook on smooth yarn also helps hide stuffing better.
How do I know where to place the safety eyes?
Insert them between Rounds 5 and 6 with 8 visible stitches between each eye for a balanced, centered expression. Try both eyes in place before snapping on the backings to check spacing.
Do the feet need to be stuffed firmly?
No, stuff them lightly. They're small and get folded flat before being crocheted directly into the body, so a light stuffing keeps them easy to attach neatly.
Can I skip the white yarn eye decor step?
Yes, that step is completely optional and only adds extra cuteness around the safety eyes. The toy looks charming with or without it, so feel free to skip it if you prefer a simpler face.
What should I do if my fluffy yarn sheds when I cut it?
Fluffy yarn can shed quite a bit at the raw ends. To fix this, you can gently singe the very tip of the yarn tail with a lighter for a split second, or tie a small knot at the end to keep the fluff secure.
Can I use regular acrylic yarn for the entire project?
Yes, you can use standard acrylic yarn for the whole project. Just keep in mind that your finished toy will be much smaller and will not have the signature fluffy look.
How do I join the feet into the body during rounds 13 and 19?
To crochet the feet directly in, hold the flattened top edge of the foot against your working stitches. Insert your hook through both layers of the foot and then through the body stitch, completing a normal single crochet.
What kind of thread is best for embroidering the nose?
A small strand of black or dark brown medium weight yarn works wonderfully for the nose. You can also use embroidery floss doubled up to make the nose stand out clearly on round 1.