Free Pattern
Step-by-Step
Crochet
BlanketsStormy gray neutral granny square blanket pattern
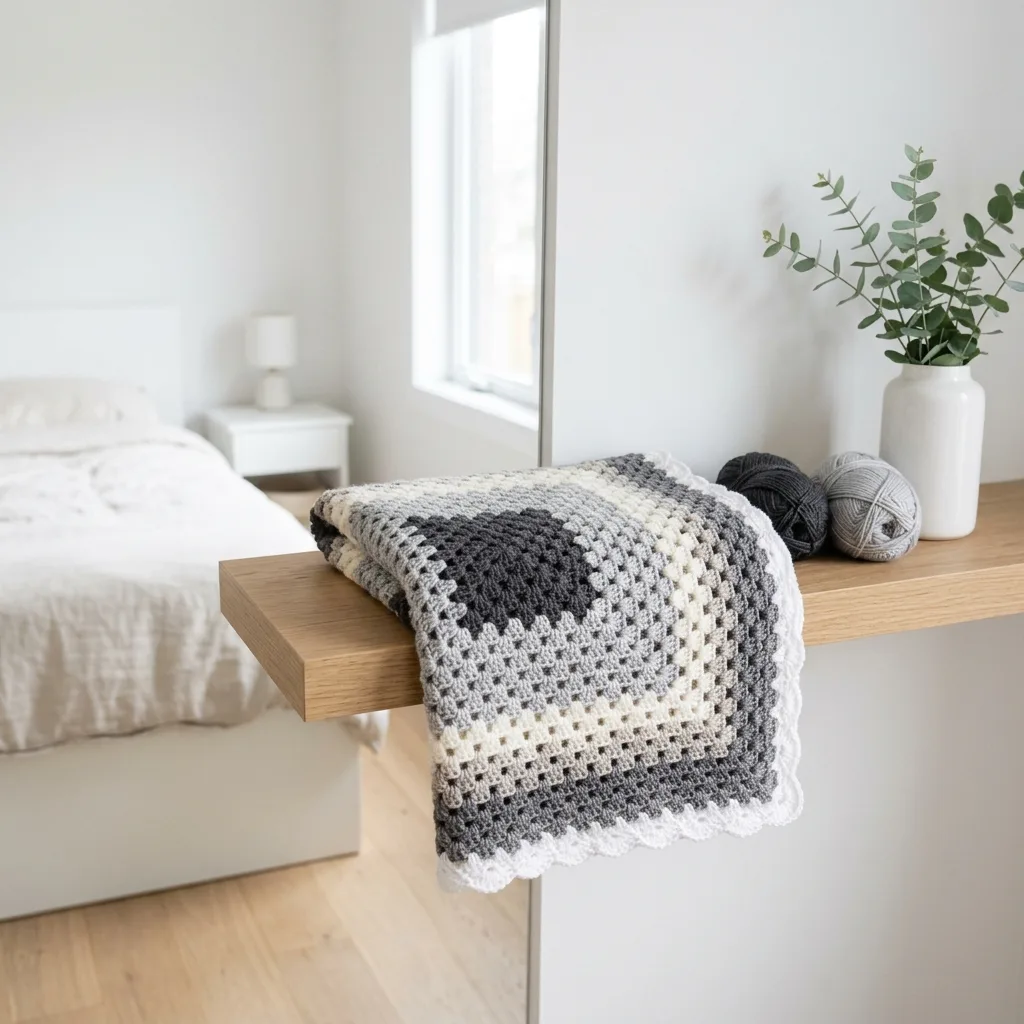
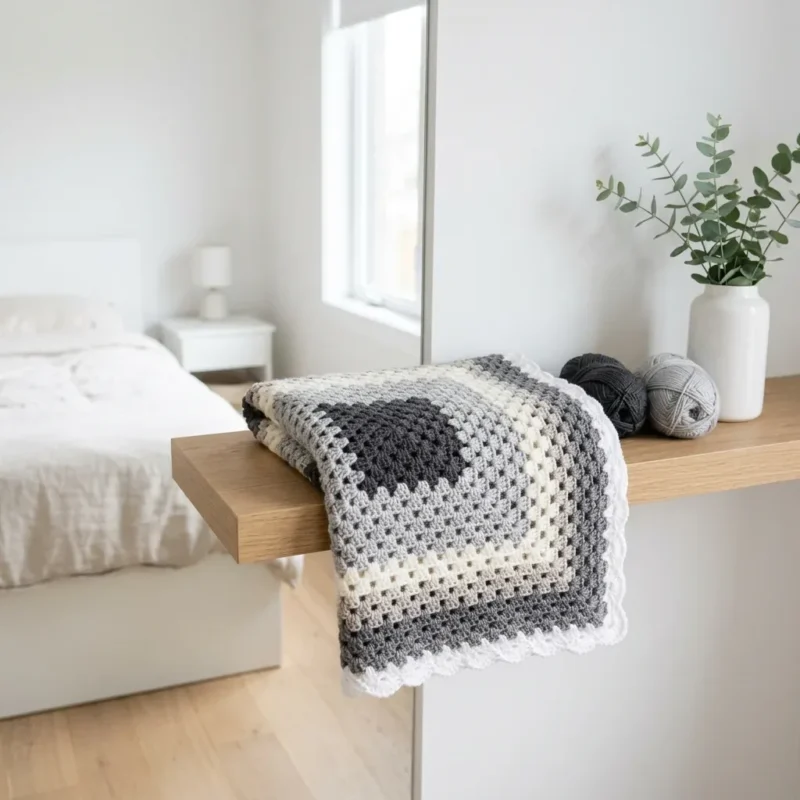
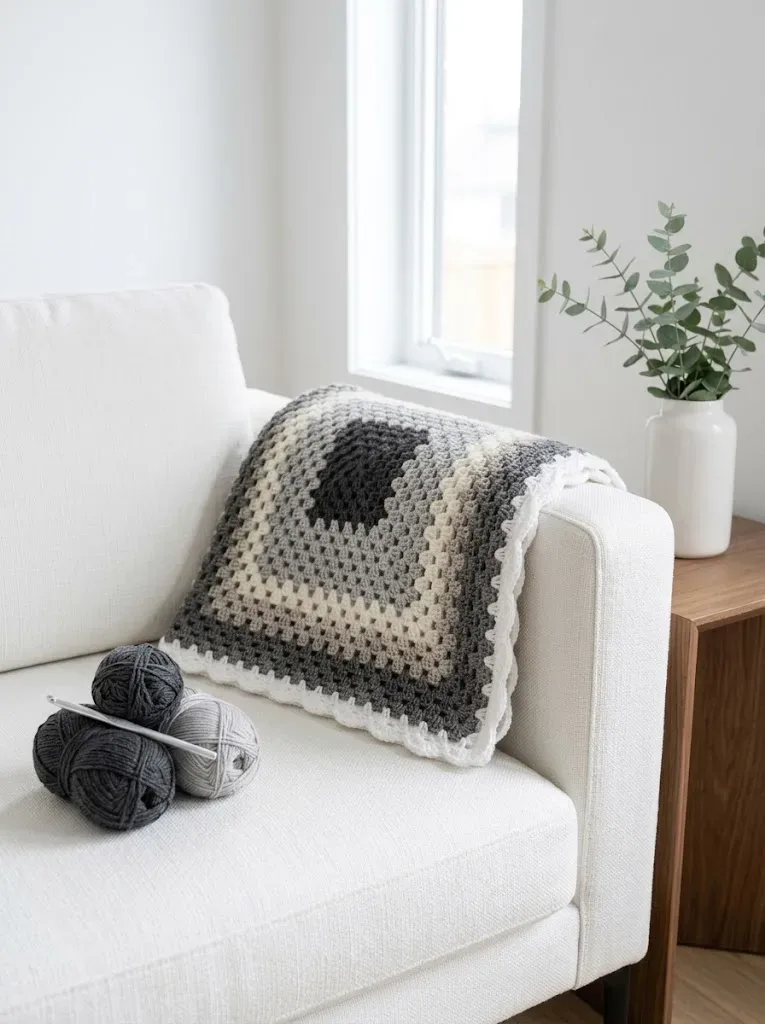
A neutral granny square blanket in four grays with cream and a scallop border edge.
- Level
- Intermediate
- Time
- 4-6 hours
- Hook
- 5.0 mm
- Yarn
- Worsted
Pattern highlights
- Begin the granny stitch pattern in your first neutral color, building clusters row by row.
- Change colors in sequence through dark charcoal, medium gray, light gray, and cream as you go.
- Keep working rows until the blanket reaches the size you want, checking your gauge swatch along the way.
- Work the second border round, alternating shells and single crochet for the scallop edge.
- Join each border round with a slip stitch before moving to the next step.
- Weave in the many ends left from color changes to finish cleanly.
About This Pattern
Every collector of granny squares ends up with a gray phase eventually. This one leans into it fully, stacking four neutral shades into something that reads calm instead of busy. I like a blanket that lets the stitch do the talking instead of the color. It sits comfortably next to the louder rainbow and floral patterns in any pattern archive, a quiet counterpoint.
The build relies on the classic granny stitch cluster, repeated row after row, with color changes marking the rhythm. Four main colors trade off across the body, and a fifth takes over for two border rounds. The second border round adds shells for a scallop edge, which is the one flourish in an otherwise restrained design.
What comes out the other end is a blanket, worked flat, with a finished scallop trim in white. The gray-to-cream gradient gives it a soft, almost tonal look. It is the kind of throw you keep on the arm of a couch and forget is handmade until someone asks.
Common mistakes
- Losing the round start Drop a stitch marker at the first stitch of each border round so the join lands in the right place.
- Tight rows after a color change Check your tension each time you pick up a new color, since four fibers rarely pull identically.
- Uneven border corners Count out exactly three single crochets in each corner space before continuing along the side.
- Crowded shells near corners Adjust the spacing slightly at corners so the shell pattern keeps flowing instead of bunching up.
- Loose ends from frequent swaps Weave in ends as each color finishes rather than saving all of them for the final step.

Intermediate
Progress Tracker
0 of 0 rounds
Tap a round to tick it off — your place is saved on this device.
The kit
Yarn
- Color A (Dark Charcoal): 350 yards
- Color B (Medium Gray): 350 yards
- Color C (Light Gray): 350 yards
- Color D (Cream/Off-White): 350 yards
- Color E (White, for border): 150 yards
Hook
- Size H/8 (5.0 mm) crochet hook, or size needed to obtain gauge
Notions
- Yarn needle for weaving in ends
- Scissors
- Stitch marker (optional but helpful for marking the beginning of rounds)
- Gauge
- 4 granny clusters and 4 rows = 4 inches in granny stitch pattern
- Gauge is not critical for a blanket, but checking it will help you estimate if your finished size will match the pattern or if you need to adjust your hook size.
Notions
Yarn needle for weaving in ends Scissors Stitch marker (optional but helpful for marking the beginning of rounds)
Gauge 4 granny clusters and 4 rows = 4 inches in granny stitch pattern
Gauge is not critical for a blanket, but checking it will help you estimate if your finished size will match the pattern or if you need to adjust your hook size.
Abbreviations and Stitch Definitions
Before we dive into the crochet tutorial, let me break down every stitch and abbreviation you will encounter:
Ch = Chain: Wrap yarn over hook, pull through the loop on your hook. This creates one chain stitch.
Sl st = Slip stitch: Insert hook into stitch, yarn over, pull through both the stitch and the loop on your hook in one motion. Used for joining rounds.
Dc = Double crochet: Yarn over, insert hook into stitch, yarn over and pull up a loop (3 loops on hook), yarn over and pull through 2 loops (2 loops remain), yarn over and pull through remaining 2 loops. One double crochet complete.
Sp = Space: The gap created by chain stitches in the previous round.
Granny Cluster = A group of 3 double crochet stitches worked into the same space or stitch. This is the building block of the entire blanket.
Corner = In granny square construction, corners are created by working 2 granny clusters with a ch 2 space between them, all into the same corner space.
Understanding Granny Square Construction
If you are new to granny squares, here is what you need to know. The classic granny square is worked from the center outward in continuous rounds. Each round adds more clusters and increases the overall size. The magic happens in the corners, where you work extra stitches to create that characteristic square shape.
Do not worry if your first few rounds look a bit wonky or like they are curling. This is completely normal. As you add more rounds, the piece will flatten out and the square shape will become more defined.
Step By Step Crochet Pattern Instructions Starting the Center (Color A, Dark Charcoal)
Magic Ring Setup:
Create a magic ring. If you are not comfortable with magic rings, you can chain 4 and slip stitch to the first chain to form a ring instead. Both methods work perfectly.
Round 1Ch 3 (counts as first dc), work 2 dc into the ring, ch 2, *3 dc into the ring, ch 2* repeat 3 more times. Sl st to the top of the beginning ch 3 to join. (4 granny clusters, 4 ch-2 corner spaces)
Pull your magic ring closed if you used one.
Round 2Sl st across the top of the next 2 dc to reach the corner space. Ch 3 (counts as first dc), 2 dc in same corner sp, ch 2, 3 dc in same corner sp (first corner made), ch 1, *in next corner sp work (3 dc, ch 2, 3 dc), ch 1* repeat around remaining 3 corners. Sl st to top of beginning ch 3 to join. (8 granny clusters, 4 ch-2 corner spaces, 4 ch-1 side spaces)
Round 3Sl st to corner sp. Ch 3, 2 dc in same sp, ch 2, 3 dc in same sp (corner made), ch 1, 3 dc in next ch-1 sp, ch 1, *corner in next corner sp, ch 1, 3 dc in next ch-1 sp, ch 1* repeat around. Sl st to join. (12 granny clusters total)
Round 4through 8: Continue in the established pattern. Each round, work a corner (3 dc, ch 2, 3 dc) in each corner space, and work a granny cluster (3 dc) in each ch-1 space along the sides. Always ch 1 between clusters.
By the end of Round 8, you will have 7 clusters along each side, plus 4 corners. (32 clusters total, 36 sts per side including corner clusters)
Fasten off Color A.
Border Round 1
Round 1Join Color E in any corner sp. Ch 1, work 3 sc in corner sp, *sc in each dc and each ch-1 sp across to next corner, 3 sc in corner sp* repeat around all 4 sides. Sl st to first sc to join.(3)
Border Round 2 (Scallop Edge):
Round 2Ch 1, sc in same st, *skip 2 sts, 5 dc in next st (shell made), skip 2 sts, sc in next st* repeat around, adjusting at corners as needed to keep the pattern flowing smoothly. Sl st to first sc to join.Fasten off and weave in all ends.(5)
Tips for Color Changes
Round 3When changing colors, I recommend joining the new color in a corner space. This keeps your color joins neat and makes them less visible. To join, simply insert your hook into the corner space, yarn over with the new color, and pull through. Then begin your chain 3 as usual.For the cleanest look, weave in your ends as you go rather than leaving them all for the end. Trust me, weaving in dozens of ends at once is nobody’s idea of a good time.
Blocking Your Finished Blanket
Blocking is optional for this blanket, but it does help even out your stitches and make the corners nice and crisp. Wet block by soaking the blanket in cool water, gently squeezing out excess moisture (do not wring), and laying it flat on a blocking mat or clean towels. Pin the corners and edges, then let it dry completely.
Customization Ideas
This beginner friendly crochet pattern is incredibly adaptable. Try a rainbow gradient, an ombre effect in a single color family, or scrappy random stripes to use up your stash. The construction method stays exactly the same.
You can also adjust the size by adding or subtracting rounds. Each round adds approximately 1 inch to the overall dimensions.
Thank you so much for choosing this pattern for your next cozy project. I genuinely hope you love making this stormy gray neutral granny square blanket as much as I loved designing it. If you make one, I would absolutely love to see it! Tag me on Instagram or share a photo in our Facebook group.
If this crochet pattern is calling your name, go ahead and save it to your Pinterest boards so you can find it whenever you are ready to cast on. And please drop a comment below when you finish yours. I read every single one, and seeing your creations honestly makes my whole day!
From the collection
Finishing
- Weave in every end left behind by the four color changes using a yarn needle.
- Block the blanket to even out the granny clusters and let the scallop border lie flat.
- Check all four corners of the border sit square before setting the blanket down for use.
Why it works
The body is worked flat in rows so the four colors can be swapped cleanly at row ends.
Border round one places three single crochets in each corner space, which squares the edges before the decorative round begins.
Border round two skips two stitches between each five-dc shell, spacing the scallops evenly along every side.
What it becomes
- Draped across a sofa in a neutral living room, paired with cream or charcoal throw pillows.
- Used as a lap blanket in a reading chair, next to a simple wood side table.
- Packed for a car ride or picnic, since the acrylic blend holds up to folding and travel.
Original pattern: https://bunnypatterns.com/stormy-gray-neutral-granny-square-blanket-free-crochet-pattern/
FAQ
How much total yarn do I need?
Add up 350 yards each for Colors A through D, plus 150 yards for Color E. That comes to 1,550 yards across all five colors.
Can I swap in my own color choices?
Yes, any four coordinating colors work in place of the charcoal-to-cream fade. Just keep the border color distinct so the scallop edge still reads clearly.
Why are there two separate border rounds?
The first round squares off the edges and corners evenly. The second round builds the decorative shells, which only look right once the base round is solid.