Free Pattern
Step-by-Step
Crochet
BlanketsTextured Baby Blanket with a Shell-Stitch Border
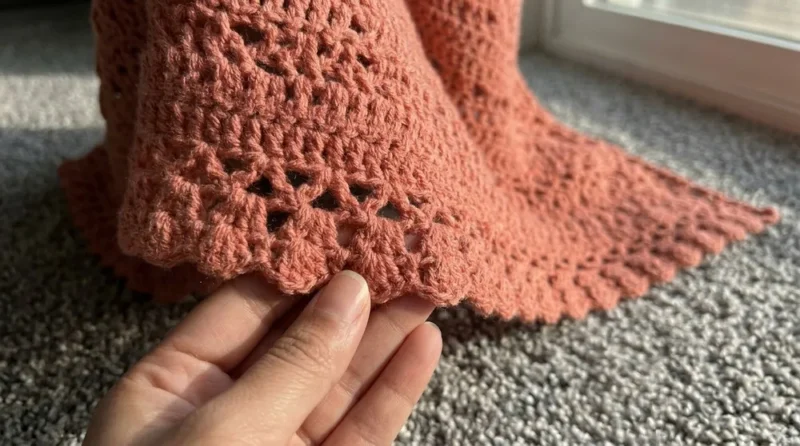
A reversible bobble-stitch baby blanket finished with a nine-round shell-style border.
- Level
- Intermediate
- Time
- 6-10 hours
- Hook
- 4.0 mm
- Yarn
- DK
Pattern highlights
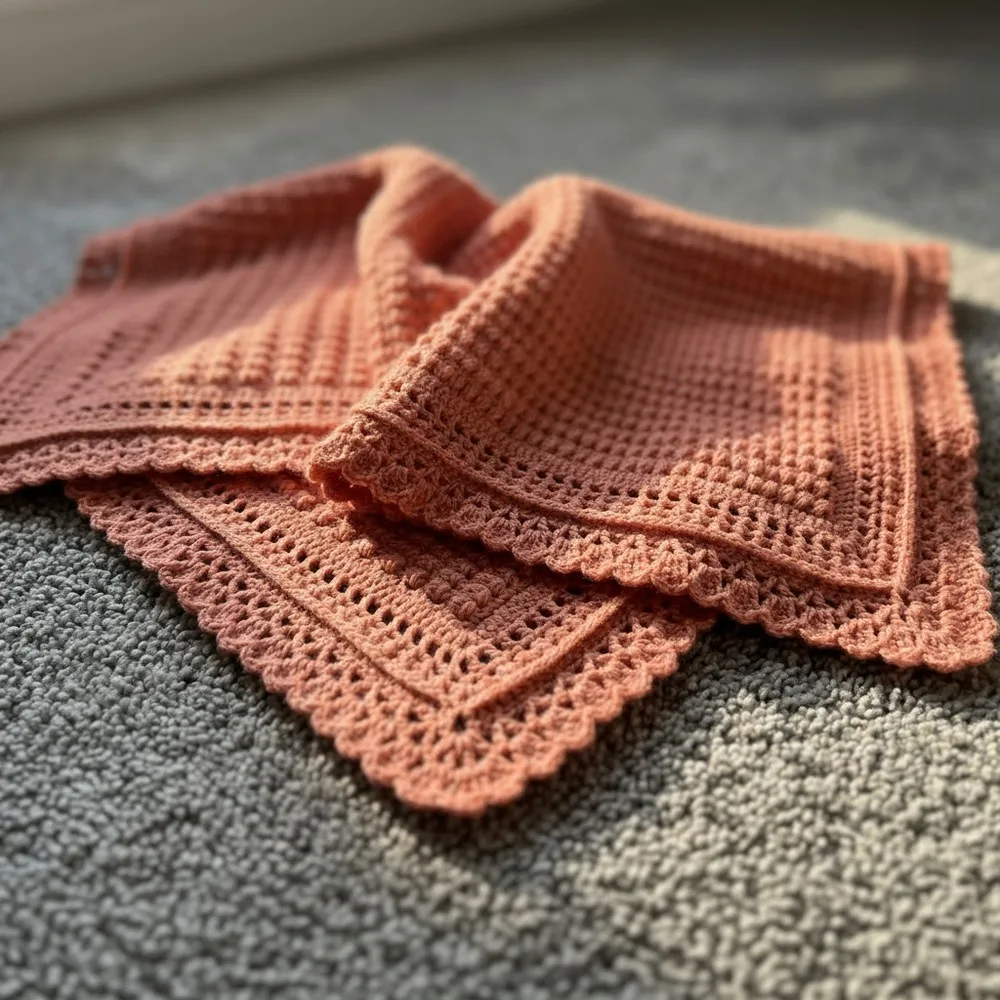
- Chain a multiple of two to set the blanket's width, then work the set-up row of single crochet across.
- Repeat the bobble row and the single crochet separation row to build the reversible textured body.
- Keep working the two-row repeat until the blanket reaches the length you want for your baby size.
- Build up through double crochet and shell-like chain rounds, shaping each corner as you go.
- Drop to the smaller hook for the last border round to pull the edge in neat and tight.
- Block the finished blanket so the border squares up and the whole piece lies flat.
About This Pattern
A blanket like this earns a spot in my collection because it plays with texture more than most. I keep a folder of pieces built on a simple row repeat that still looks complicated. This one belongs there — two rows dictate the whole body, and the payoff is a fabric that pops on both sides. It's the kind of project I reach for when I want texture without juggling a chart, something a newer crocheter could follow but a seasoned one would still enjoy making.
The technique here is a bobble row alternating with a single crochet separation row, so the bumps stay distinct instead of crowding each other. The foundation starts as a straight chain in a multiple of two, worked flat in rows before anything curves into a round. Once the body is done, a nine-round border takes over, shifting from single crochet to double crochet to a shell-like chain arrangement, squaring the edges as it goes.
The finished piece is a baby blanket worked in DK yarn on a 4.0 mm hook. Texture is reversible, so there's no wrong side to fuss over when folding or gifting. The nine-round border gives it real heft at the edge, the kind that holds a shape instead of curling. Change colors for the border rounds and the same body reads entirely differently.
Common mistakes
- Foundation chain not a multiple of two Count the starting chain twice before turning; an odd number throws off every bobble row that follows.
- Losing track of bobble vs separation rows Use a stitch or row counter, or a contrast scrap of yarn, to mark which row comes next.
- Uneven corners in the border Work the (dc, ch 2, dc) group exactly in the corner stitch each round, not one stitch off.
- Sides that don't match in stitch count Aim for the same number of single crochet along each side in Round 1 so later rounds stay square.

Intermediate
Progress Tracker
0 of 0 rounds
Tap a round to tick it off — your place is saved on this device.
The kit
Yarn
- Double Knitting (DK) yarn, 100g/330m balls, approximately 5–6 balls for the blanket (add more for the full border)
Hook
- 4.0 mm crochet hook (You may use a 3.5 mm hook for the final border round if you want a neat, tight edge)
Notions
- Stitch marker, scissors, tapestry needle, optional row or stitch counter
Border (9 Rounds)
Round 1Single crochet all around. Work approx. 1 sc in each st/row along sides, and one sc in each ch or st on top/bottom.Place 3 sc in each corner or keep corners with chain-1 and continue.Make sure all four sides are as equal as possible (aim for 140 sc per side for this size).
Round 2Double crochet in each sc, corners: (dc, ch 2, dc) in corner.
Round 3(Ch 4, sk 1, dc in next st) across, corners: (dc, ch 2, dc).
Round 4(Sc in dc, ch 2, sc in next dc), corners: as established.
Round 5“Modern” double crochet (crossed double): work into back loops for a cross, as demonstrated; (dc, ch 2, dc) in corners.
Round 6Front post double crochet around each st for enhanced 3D effect, (dc, ch 2, dc) in corners.For corners, use back loops of corner chains for smooth lines.
Round 7(Ch 5, create V-stitch: (dc, ch 2, dc) in same st), sk 2, repeat; corners: 4 dc with ch-1 between in 3-ch corners.)
Round 8In each V-st ch-2 sp, work (3 dc). Corners: (3 dc in each ch-sp in corner, total 9 dc per corner).
Round 9Optional for tight edge In each central dc of 3-dc group, (3 dc, ch 1, sc between next groups). Use a smaller hook (3.5 mm) if you wish a neater finish.
Foundation
Ch a multiple of 2 to desired width (e.g., 140 for approx. 36–41” width).
Add 2 more chains for symmetry (total: multiple of 2 + 2).
Add 2 more chains for turning. (Total ch = desired multiple + 4)
Example: For a ~36-41” blanket, ch 142.
Row 1 (Set Up Row)
Turn chain to back “bump.” Sk 1st ch, sc in 2nd ch from hook.
Sc in each ch across.
You should have one fewer sc than your chains (e.g., 141 sc for 142 ch).
Row 2 (3D Bobble Row)
Ch 4, turn (counts as first “bobble” setup).
Sk next sc, in next sc work a cluster as follows:
[Yarn over, insert hook in same st, yo, pull up lp, yo, pull through 2] four times (4 incomplete dc in same st, each leaving the last loop on the hook).
You’ll have 5 loops on the hook.
Yarn over, pull through all 5 loops , tighten slightly, ch 1 .
Sk next sc, in next sc work another bobble cluster as described above. Ch 1 after each.
Rep across, ending with last cluster in the final sc.
Do not work a ch-1 after final cluster.
Row 3 (Single Crochet Separation Row)
Ch 1, turn.
Sc in same st as ch-1, sc in space between cluster and next st.
Ch 1, sc in space between next 2 clusters.
Rep [ch 1, sc in space between clusters] to end.
Finish with 2 sc at end (last cluster and edge chain).
Row 4 (3D Bobble Row)
Ch 3, turn.
Sk next sc, work 4-part dc cluster in next ch-1 space ([yo, insert hook, yo, draw up lp, yo, pull through 2] x4 , 5 loops on hook, yo, pull through all loops, ch 1 ).
Rep in each ch-1 sp across the row, ending with a dc in the last sc.
Rep Rows 3 and 4 for pattern. Alternate “bobble row” (dc clusters with ch-1 between) and “sc row” (sc and ch-1 alternating).
Continue until blanket is approx. 80 rows or desired length (usually 40 prominent 3D “lines.”)
From the collection
Finishing
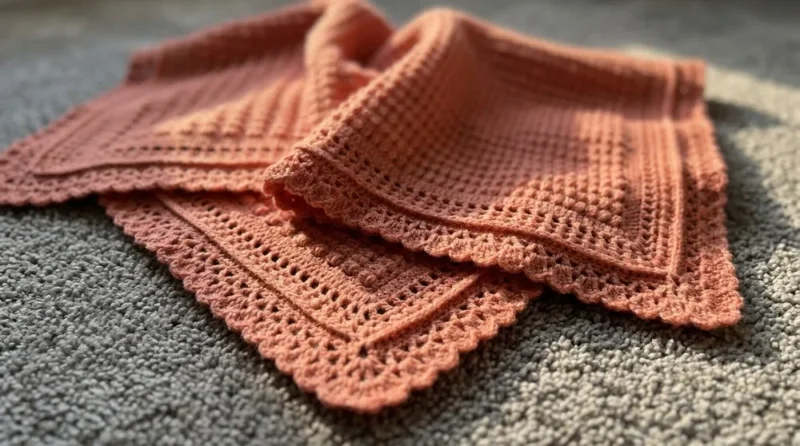
- Weave in every yarn tail along the wrong side before blocking, so nothing pulls loose later.
- Wet or steam block the blanket flat, pinning the border rounds so the corners sit square.
- Once dry, check that all four sides read as even before folding or gifting the piece.
Why it works
The foundation chain must be a multiple of two, which sets up the alternating stitch pattern used in the bobble rows.
Row 3 works as a plain single crochet separation row between the two bobble rows, which keeps each 3D cluster distinct instead of stacking on top of the last.
Border corners are built with a (dc, ch 2, dc) group, which is what lets the rectangular body turn a square corner once it's worked in the round.
What it becomes
- A stroller or car seat blanket, light enough not to overheat a baby on the go.
- A crib or bassinet layer, paired with a solid-color sheet so the bobble texture stands out.
- A baby shower gift, folded to show both the bobble side and the plain reverse.
Original pattern: https://redagapeblog.com/baby-blanket-free-pattern/
FAQ
Can I make this blanket bigger or smaller?
Yes — the foundation chain just needs to stay a multiple of two, and the border still adds the same nine rounds. Add or subtract in pairs of chains to change the width.
Why does Row 3 use single crochet instead of another bobble row?
That row acts as a separator, giving the bobbles from Row 2 room to sit forward before Row 4 starts a new set. Without it, the clusters would crowd into each other.
Do I need a smaller hook for the whole border?
No, only for the final round. The smaller hook just tightens that last edge for a neater finish.
Which side of the bobble rows do I use as the right side?
Both sides look finished, so it's really a personal choice. Pick whichever bobble row you prefer and keep it consistent.