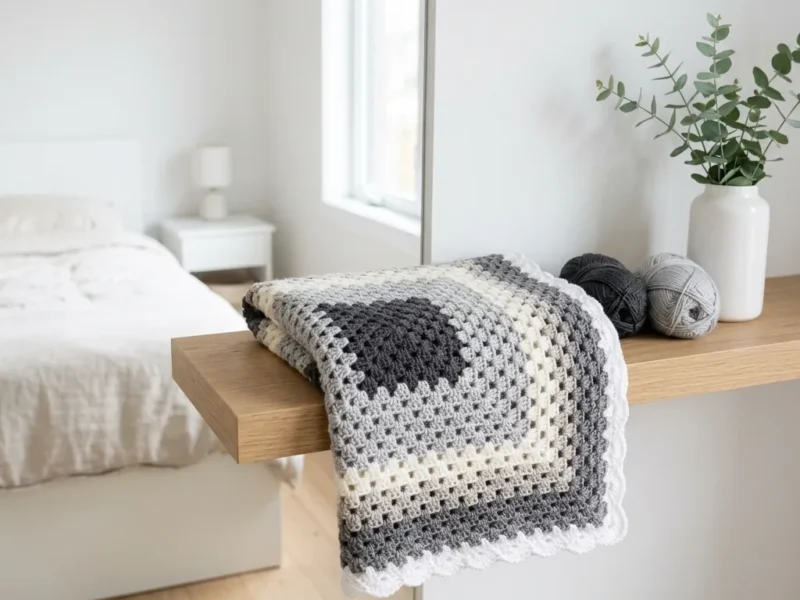
Free Pattern
Step-by-Step
Crochet
BlanketsZig zag granny square baby blanket for beginners
A beginner blanket that joins seven granny squares with a zigzag stitch and single crochet edge.
- Level
- Beginner
- Time
- 4-6 hours
- Hook
- 6 mm
- Yarn
- Worsted
Pattern highlights
- Start each of the seven squares with a magic circle, then build four corners over three rounds.
- Work the corner clusters flat, joining each round with a slip stitch before starting the next one.
- Repeat the same three rounds seven times, so every square finishes at the same size.
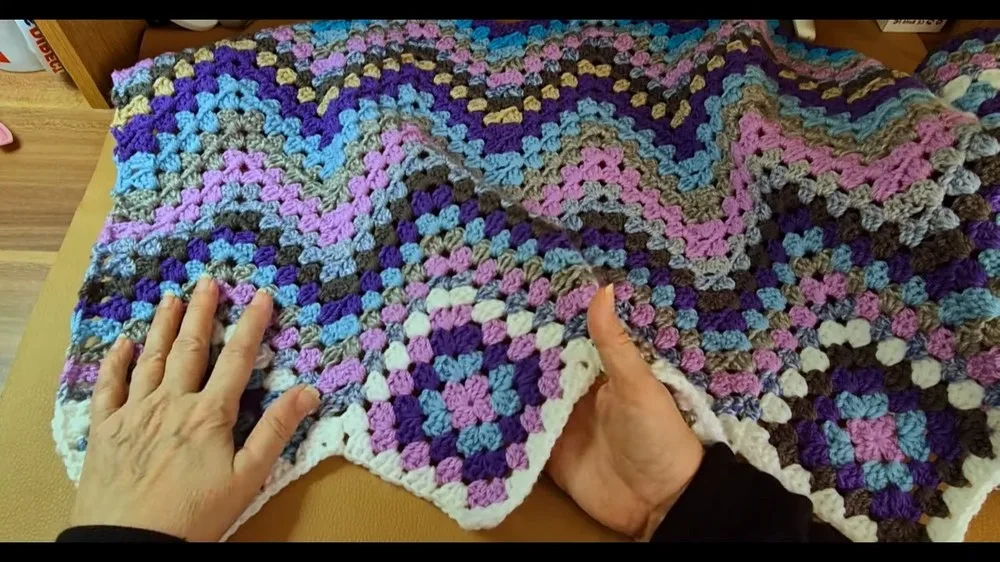
- Lay the finished squares in a row and join them along the tops with a zigzag granny stitch.
- Stitch the corners of adjoining squares together once the first zigzag row is worked.
- Edge the whole blanket in single crochet, doubling the stitches along each side row.
- Add an optional final round of granny stitch around the top and sides for a fuller edge.
About This Pattern
A blanket like this sits at the start of my granny square notebook, not the back. It's built from seven separate squares, which keeps each piece small and portable while you learn the corners. I like that a beginner can hold one square and watch the shape resolve before starting the next. The zigzag join turns a stack of squares into a single blanket. That's the part worth studying.
Every square starts the same way: a magic circle, then four corners built from three double crochet clusters. Three rounds get you a finished square, worked flat and joined at the end with a slip stitch. The real technique here is the zigzag join. It stitches the squares together along their tops, then ties off each corner so the seam doesn't gap. A single crochet border finishes the raw edges once the squares are connected.
What comes off the hook is a strip of squares that zigzags where the seams meet. A single crochet edge holds it flat. Worked in one color it reads as texture; worked in several, the zigzag becomes the whole point. It's a modest size for a beginner project. But it teaches every skill a bigger blanket will ask for later.
Common mistakes
- Pulling the magic circle too late Pull the loop tight only after all three clusters are in place, or the center gapes open.
- Joining squares before pressing Flatten curled squares with a light damp press between towels first. A curled square distorts the zigzag line.
- Skipping the chain-1 spaces Don't drop the chain-1 along straight edges after round one; it's what keeps the square lying flat.
- Uneven corner clusters Keep every corner at three double crochet, chain two, three double crochet, or the square stops being square.
- Loose single crochet edging Keep the two-stitches-per-row edging snug, or the border ripples instead of framing the zigzag.

Beginner
Progress Tracker
0 of 0 rounds
Tap a round to tick it off — your place is saved on this device.
The kit
- Any yarn of your choice (The example uses Aran yarn in the UK, which is similar to a weight 4 yarn in the US). You can also use 4-ply, double knitting, or chunky yarn.
- UK 6 mm crochet hook (or the hook size recommended on your yarn label).
- Different colours of yarn for a varied effect or a single colour according to your preference.
Main Pattern
Make 7Converted from the designer's UK terms to US terms.
Step by step: Start with a Magic Circle; wrap yarn around your hand, cross it over to create a loop; insert your hook under the first strand, pull the second strand through to create a large slip knot.
Round 1Chain 3 (counts as first stitch); work 3 dc into the loop, chain 2; repeat the process to create 4 sets of 3 dc, separated by 2 chains (these are your corners); pull the loop tight and join with a sl st to the top of the chain 3.
Round 2Chain 3 (counts as first stitch); add another dc into the same space to complete the first corner cluster, then chain 1; in each corner work 3 dc, chain 2, 3 dc; chain 1 between each corner.
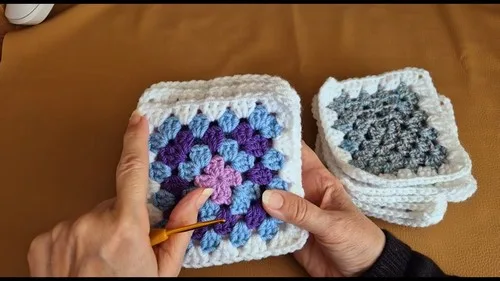
Rounds 3–5Repeat the process, creating clusters of 3 dc in each space and corners; do not chain between clusters on the straight edges, only in corners; continue until you have 5 rounds, or your desired size.Optionally, do the last round in a contrasting light colour for a 3D effect.
Assembly
Step 1Arrange 7 granny squares in a row.
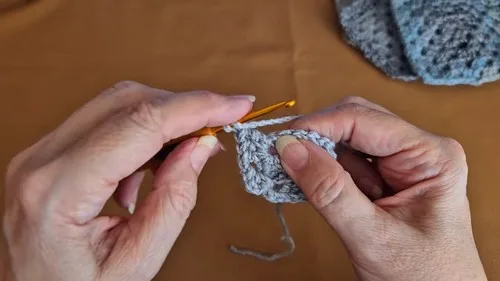
Step 2Join them using a zigzag granny stitch across the tops.
Step 3Do the first row of zigzag, then stitch the corners of the squares together.
Step 4Edge the blanket with single crochet, putting two stitches into each row along the sides.
Step 5Consider adding a final row of granny stitch along the top edges and down the sides for a comprehensive finish.
From the collection
Finishing
- Weave in every yarn end before joining, since loose tails are harder to hide once squares are seamed.
- Damp any curled squares lightly and press them flat between towels before you start the zigzag join.
- Finish with the single crochet edge, then add the optional granny round last for a fuller border.
Why it works
Each square starts from a magic circle, so there's no chain ring to tighten separately.
The four corners are built from chain-2 spaces, which is where every increase in the square happens.
Squares are worked flat in rounds and joined only after all seven are finished.
What it becomes
- A stroller blanket, small enough for a car seat and easy to fold over one arm.
- A nursery accent thrown over a crib rail, especially with a contrasting light color on the last round.
- A gift for a new baby, paired with a plain onesie so the zigzag stripe stands out.
Original pattern: https://crocheteverything.com/crochet-granny-square-zig-zag-baby-blanket-pattern-for-beginners/
FAQ
Can I use a yarn weight other than Aran?
Yes, 4-ply, double knitting, or chunky all work here. Just match your hook to the yarn label instead of the 6mm hook used in this pattern.
Do I need different colors for each square?
No, a single color works fine for the whole blanket. The varied-color option is just there for a stronger zigzag effect.
Why does the pattern mention UK terms?
The stitches were converted from UK to US terms before I wrote this up. So double crochet here is the US double crochet throughout, not the UK version.
How do I stop the squares from curling before I join them?
Damp them lightly and press between towels. This flattens the curl without stretching the corners out of shape.